
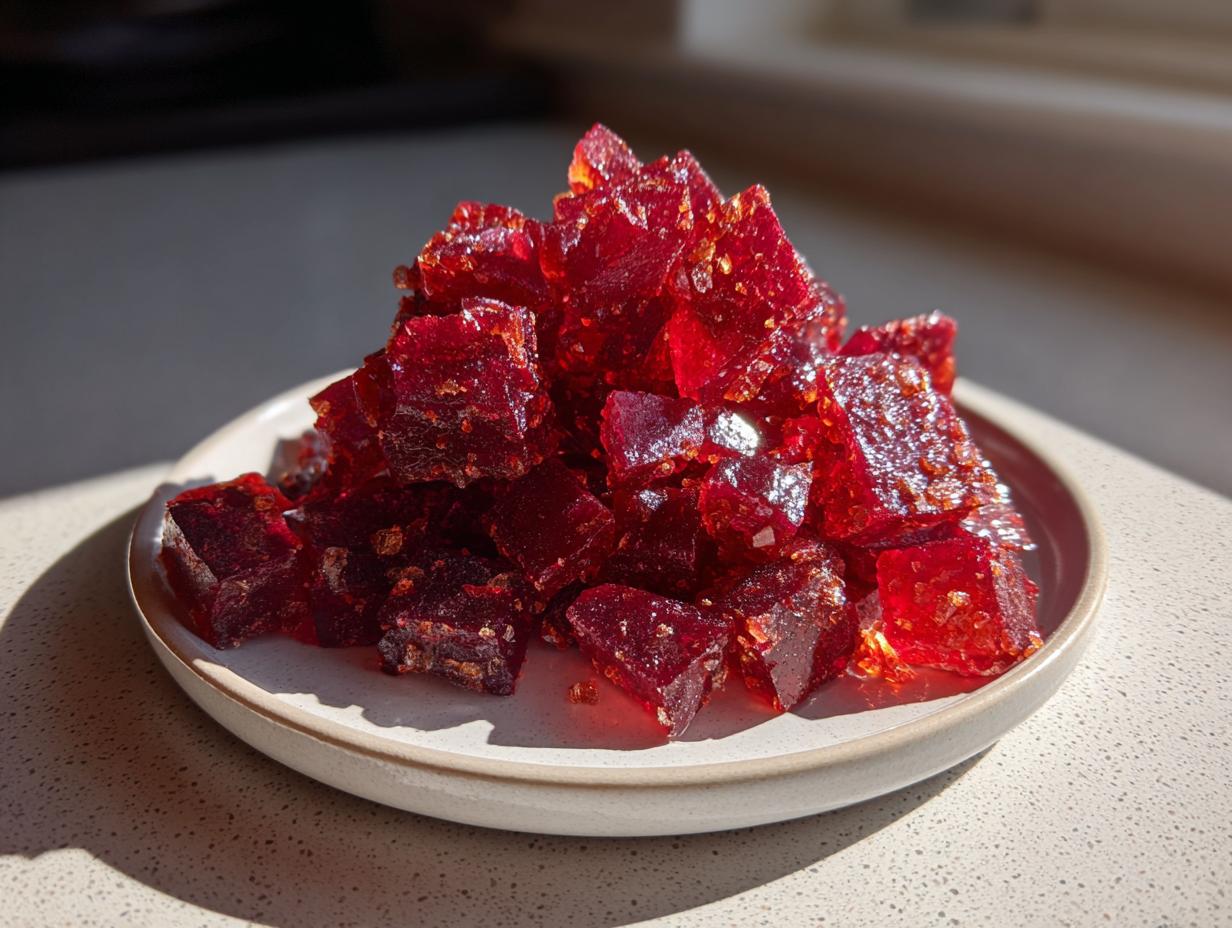
Oh, that scent! If you grew up loving those fiery red candies that pack a serious spicy punch, you know exactly the flavor I’m talking about. It’s pure nostalgia, isn’t it? Nothing quite hits the spot like a piece of that crunchy, sweet, and bold goodness right when you need a little pick-me-up. That’s why I’m so excited to share my absolute favorite recipe for **cinnamon rock candy**. This isn’t some fussy, complicated confection; this is an easy, old-fashioned candy recipe that comes together with just a few simple things from your pantry. Trust me, making treats like this at home, infused with love right here in my kitchen, is one of the greatest joys of holiday cooking. These pieces are fantastic for snacking, but they also make wonderful, thoughtful DIY holiday candy gifts!
- Why This Old Fashioned Candy Recipe is a Keeper for Your Kitchen
- Gathering Supplies for Your Cinnamon Rock Candy
- Step-by-Step Instructions for Perfect Cinnamon Rock Candy
- Tips for Success Making Classic Christmas Candy
- Variations on Your Spicy Sweet Confectionery Tutorial
- Serving Suggestions for DIY Holiday Candy Gifts
- Storing Your Homemade Cinnamon Rock Candy Properly
- Frequently Asked Questions About Making Cinnamon Rock Candy
- Share Your Homemade Candy Creations
Why This Old Fashioned Candy Recipe is a Keeper for Your Kitchen
When it comes to making candy, I always look for reliability. I want that wonderful, **bold cinnamon treat** flavor every single time, and this recipe delivers because we use corn syrup. Now, I know some folks try to avoid it, but for true, crackable **cinnamon rock candy**, corn syrup is your best friend for stopping that sugar from turning grainy.
This method gives you that perfect, satisfying crunch that defines real, **old fashioned candy recipe** perfection. It’s truly one of the easiest ways to make **easy homemade cinnamon candy** that looks like you spent hours fussing over it. You can find a lovely guide over at Paula’s site, too, if you want to see another take on this classic old-fashioned cinnamon rock candy.

Key Benefits of Our Spicy Hard Candy Recipe
- It delivers an incredibly **bold cinnamon treat** flavor that really wakes up your taste buds!
- The structure is reliably crunchy and hard—no sticky messes here.
- It’s perfect for packaging up as one of your beautiful **DIY holiday candy gifts** or stocking stuffers.
- The ingredients are simple, meaning you don’t need a massive specialty store run to get started.
Gathering Supplies for Your Cinnamon Rock Candy
Now that we know this candy is spectacular, we have to gather our supplies! Honestly, getting the right tools and checking the quality of your ingredients is where the success of any **cinnamon rock candy** really begins. Before you even turn on the stove, setting up properly will save you a whole lot of sweat later on when things get hot. Don’t worry, we’re keeping this list short and sweet!
Ingredients for Bold Cinnamon Rock Candy
For this wonderfully **bold cinnamon treat**, we are sticking close to tradition. The main flavors come from simple sugar and some fiery oil. If you have cinnamon oil, use it! It gives that classic sharp spice. But I always keep the option open if you only have ground cinnamon, just know the intensity will be a bit mellower, which is fine for a lovely homemade cinnamon candy.
- 2 cups granulated sugar
- 2/3 cup light corn syrup
- 2/3 cup water
- 1 teaspoon cinnamon oil (or 1 tablespoon ground cinnamon for less intense flavor)
- 1/2 teaspoon red food coloring (liquid or gel)
- 1/4 teaspoon citric acid (optional, for tartness)
Essential Equipment for Simple Hard Candy Making Guide
You don’t need a whole candy kitchen, thank goodness! But there are a few non-negotiables for a proper **simple hard candy making guide**. That thermometer is key—it’s your eyes when we reach those high temperatures!
- A heavy-bottomed saucepan (this helps distribute the heat evenly).
- A reliable candy thermometer.
- Parchment paper or a silicone baking mat.
- A meat mallet or the back of a heavy spoon for breaking it up later.
Step-by-Step Instructions for Perfect Cinnamon Rock Candy
Alright, deep breath! This is the fun part where we turn simple sugar water into glorious, spicy glass. You might wonder about making this a **crunchy hard candy recipe** *without* corn syrup, and I’ll tell you right now: it’s tricky. For this classic feel, the corn syrup is really what keeps that sugar from seizing up on us and turning into a sandy mess. We want smooth, hard candy, so we are sticking with the recipe as written!
Remember that patience is the best spice when making hard candy. We move from gentle dissolving to a rolling, fierce boil. You can find the full written recipe details over here if you need to glance away Cinnamon Rock Candy.
Melting and Boiling the Cinnamon Rock Candy Base
First, get that parchment paper ready and maybe give it a tiny spritz of oil. Now, grab your sugar, corn syrup, and water and stir them gently just until the sugar seems to disappear. The moment you see any bubbling starting, back off the spoon! Once it’s boiling steadily over medium heat, attach that candy thermometer. We’re aiming for a very specific spot on that gauge: 300 degrees Fahrenheit. That’s the hard crack stage, and it means we have made real rock candy! Watch it like a hawk near the end because it jumps fast.
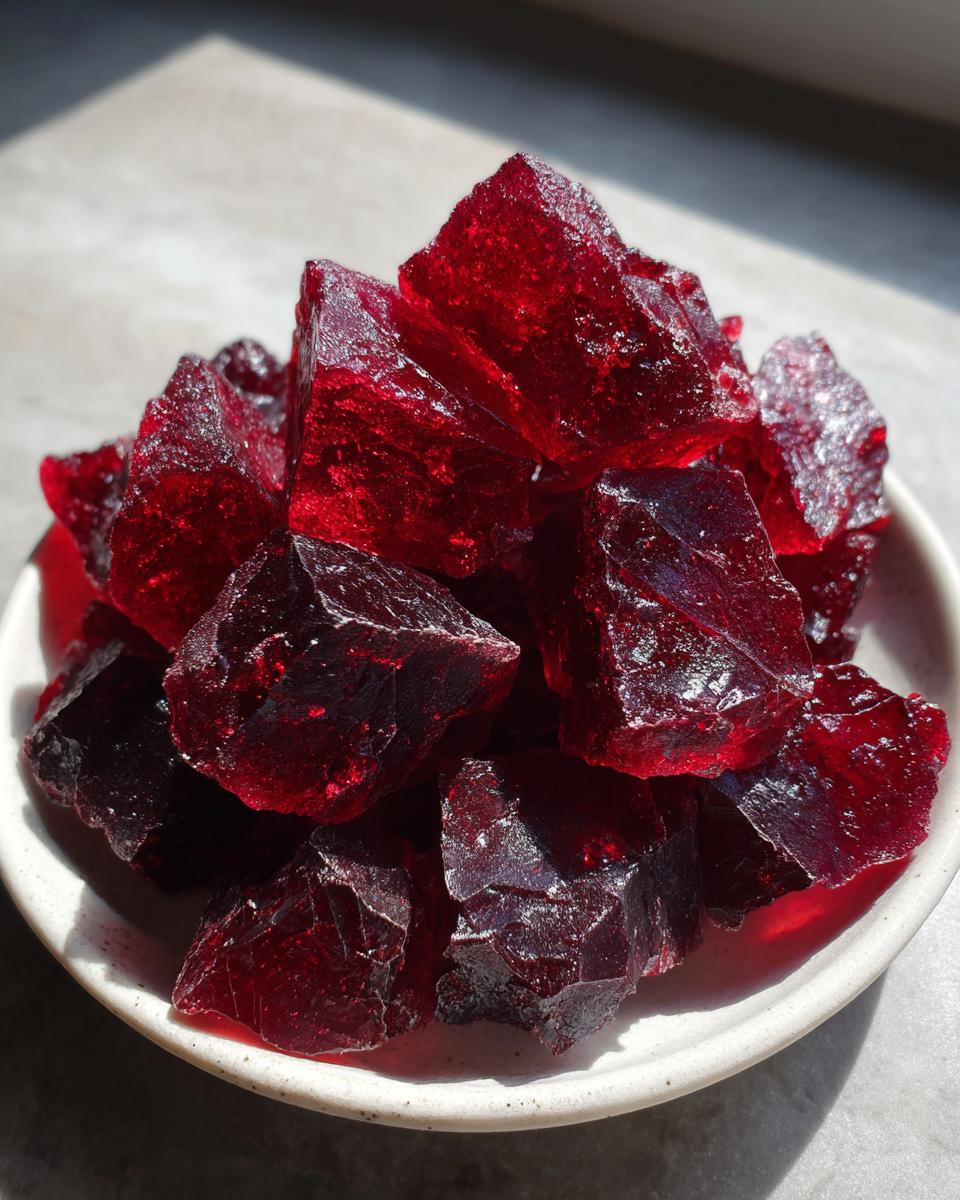
Adding Flavor and Color for Vibrant Red Cinnamon Candy
The second you hit 300°F, pull the pan off the heat! Let those aggressive bubbles calm down for just a minute—don’t rush this part. Now, quickly add your flavorings: the cinnamon oil, your food coloring to get that beautiful **vibrant red cinnamon candy** hue, and that optional little bit of citric acid if you like a bit of a sweet-and-sour bite. You only need to stir gently—just enough that the color and oil are incorporated. If you stir too hard, you introduce air and might cause those dreaded sugar crystals to form, ruining the smooth texture we worked so hard for!
Cooling and Cracking Your Crunchy Hard Candy Recipe
Pour that glorious, blazing hot red syrup right onto your prepared sheet. Let it spread naturally; don’t try to push it around with a spatula! It will look like a shiny, liquid jewel for about thirty minutes. Here is a crucial tip from my own kitchen experiments (and from reading the notes on these delicious treats): Do NOT put this in the fridge to cool! Cold air can mess with the final texture. Once it’s completely hard—give it a tap to be sure—place the sheet inside a thick plastic bag. Grab your mallet (or a nice heavy rolling pin) and whack it until you have glorious, irregular shards of **crunchy hard candy recipe** perfection. That’s how you get that lovely rock candy shape!
Tips for Success Making Classic Christmas Candy
When I was teaching, I always told my students that understanding the ‘why’ behind a rule helps you remember it! Making **cinnamon rock candy** is the same way. It seems magical, but it’s really just science working perfectly in your saucepan. We want gorgeous, clear, spicy glass, not sugar that looks like it got rained on. These little tricks are the ones I rely on every year when making batches for holiday snacking.
If you’re looking for more tried-and-true methods for **classic Christmas candy**, check out this wonderful guide I found online too; they covered a few great pointers on temperature control for old-fashioned cinnamon rock candy.
Expert Advice to Prevent Crystallization in Cinnamon Rock Candy
If you’ve ever made candy and suddenly, halfway through boiling, you see tiny little sugar specks forming on the sides of your pan, you know the panic! That’s crystallization starting, and it will ruin that perfect smooth texture. My secret, taught to me years ago, is simple: grab a clean pastry brush, dip it in plain water, and gently brush down the sides of your saucepan while the syrup is boiling.
Now, why does this work? Those stray sugar specks clinging to the sides act like seeds, causing the rest of your entire batch to crystallize! By washing them down with clean water, we are dissolving those seeds before they can take hold. It keeps the mixture smooth and ensures your final **cinnamon rock candy** is glassy and beautiful, not grainy.
Humidity Control for Crunchy Hard Candy Recipe
This is probably the biggest failure point for people storing homemade candy, and it’s all about the weather outside! Sugar loves moisture, and if you leave your hard candy sitting out on a humid afternoon, it starts pulling that dampness out of the air right through the packaging. This turns your beautiful **crunchy hard candy recipe** into a sticky, gooey mess faster than you can say ‘Christmas Eve.’
When you’re storing these lovely treats, remember this: airtight is your only friend. Keep them in a container with a tight seal, and find a spot in your pantry that stays completely dry and cool. No windowsills and definitely no placing them near the steamy dishwasher!
Variations on Your Spicy Sweet Confectionery Tutorial
Once you’ve nailed the basic recipe, that’s when the real fun begins! I always encourage folks to be a little playful in the kitchen. While this **cinnamon rock candy** is fantastic just as it is, you can easily tinker with the formula to create entirely new **homemade cinnamon candy** experiences. Think of the base syrup as a blank, spicy canvas waiting for your personal touch. You can find some of my favorite spice and fruit pairings over on my coffee cake post—the philosophy of blending warm spices is the same!
Flavor Twists for Homemade Cinnamon Candy
If you want to move beyond that pure, sharp cinnamon, a drop or two of another complementary oil can make all the difference. Just be super careful with extracts, as they are much stronger than the concentrated oils we used for the bulk flavor!
- Peppermint Zing: Right after you stir in the cinnamon oil, add just one single drop of pure peppermint oil. It creates that wonderful, fiery, cooling sensation that is incredible during the holidays. It makes the candy pop!
- Sweet Vanilla Softener: If you want to mellow that spicy kick just a hair, add about half a teaspoon of good vanilla extract when you add the coloring. It doesn’t compete with the cinnamon; it just grounds it nicely into a mellow sweetness.
- Using Ground Cinnamon: As I mentioned earlier, if you opted to use the 1 tablespoon of ground cinnamon instead of the oil, remember that the texture will be slightly less clear. That’s perfectly fine! It gives you a slightly rustic, dusty look, and it’s a great way to make a large batch of **cinnamon rock candy** without buying specialized oils.
Don’t forget, the citric acid is optional, but if you love that tart shock you sometimes get from those classic red candies, don’t skip it! It really balances out the intense, sugary sweetness.
Serving Suggestions for DIY Holiday Candy Gifts
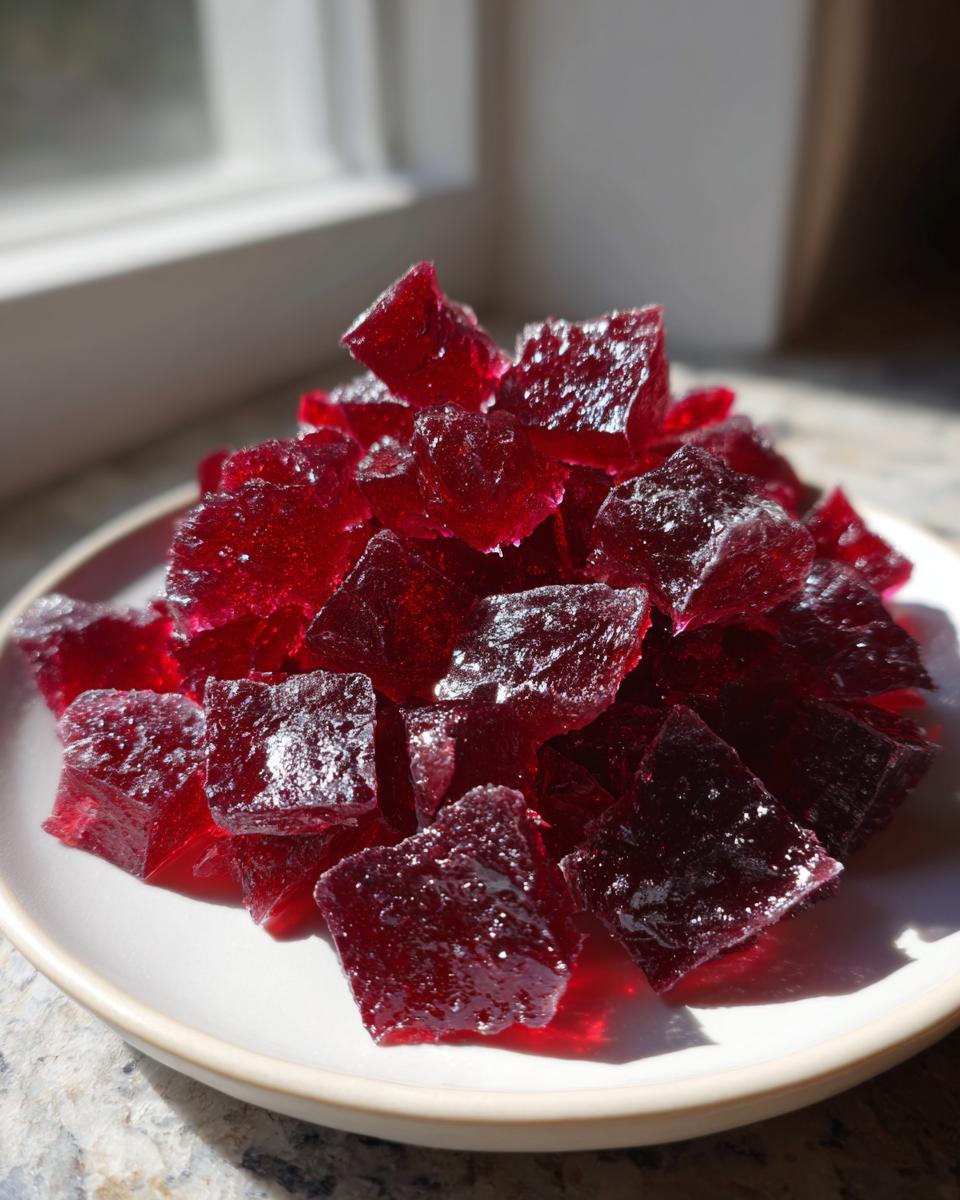
These beautiful shards of **cinnamon rock candy** always look so festive when they are packaged up right. Since they are so strong and spicy, a little goes a long way, which makes them the perfect treat for giving away! When I’m making a batch for **DIY holiday candy gifts**, I always make sure the pieces are broken into small, irregular sizes—that’s part of the charm of rock candy!
For presentation, skip the plastic wrap! I love using small glass jars or little cellophane bags tied up with a vibrant red or green ribbon. You can even attach a little tag that says ‘Spicy Sweet Seasoning’ or something fun. If you’re packaging these alongside some raspberry thumbprint cookies, they add such a wonderful pop of color and heat to the mix. People truly appreciate something handmade, especially when it tastes this bold!

Storing Your Homemade Cinnamon Rock Candy Properly
Once you’ve managed the difficult part—making the delicious, fiery candy (and resisting eating it all right off the sheet!)—the final step is making sure it stays perfect until you’re ready to serve it or give it away. Storing **cinnamon rock candy** is all about one word: dryness. Sugar and moisture are mortal enemies when it comes to hard candy. If your candy gets even a little bit damp, all that work you did to reach that hard crack stage disappears, and you’re left with a sticky, disappointing puddle!
The golden rule here is to keep it at room temperature. Never, ever put your finished rock candy in the refrigerator or freezer! The cold temperatures cause condensation to form the second you pull the container out, and that little bit of moisture is enough to ruin the beautiful crunch.
- Airtight Container is Non-Negotiable: Use a truly well-sealing, airtight container. Glass jars with two-piece lids work wonderfully, or a thick zip-top bag with all the air pressed out.
- Keep it Room Temperature: Store the container in a cool, dry cupboard. Avoid placing it near the stove, the sink, or any window where the humidity changes throughout the day.
- Humidity Check: If you live somewhere very humid, especially in the summer months, you might consider adding a small desiccant packet—the kind you find in vitamin bottles—to the container. Just make sure it’s one that says it’s food-safe!
Follow these simple steps, and your **cinnamon rock candy** will stay just as crunchy and intensely flavored as the day you broke it into those gorgeous shards!
Frequently Asked Questions About Making Cinnamon Rock Candy
It’s natural to have a few questions when working with hot sugar! Candy making involves very specific temperatures, and sometimes when the hot syrup is bubbling away, you might start wondering about a substitution or troubleshooting a tiny texture blip. Don’t worry about a thing; that’s what learning is all about! I’ve gathered up some of the most common things folks ask me when they are setting out to make this **classic Christmas candy**.
Can I make this spicy hard candy recipe without a candy thermometer?
Oh, I understand wanting to make do with what you have! Making **spicy hard candy recipe** without a thermometer is possible, but I have to be honest with you: it’s quite risky when you are trying to hit that hard crack stage for true **cinnamon rock candy**. You could try the old ‘cold water test’—dropping a bit of syrup into ice water to see if it forms a hard, brittle ball. However, I really, really recommend using a thermometer when candy is involved. That 300°F mark is so precise, and hitting it exactly guarantees you get that perfect, glassy crunch every single time, making your efforts worth it!
Why did my cinnamon rock candy turn cloudy or grainy?
This almost always comes down to one pesky phenomenon: crystallization. Remember how I stressed not stirring once boiling? That’s usually the culprit! If you stir too vigorously after the sugar dissolves, you create these microscopic sugar crystals, and those little guys act like magnets, pulling the rest of your smooth syrup over to their side until the whole batch goes dull and gritty. It can also happen if you get any stray sugar crystals clinging to the sides of the pan that fall back in. That’s why my trick with the wet pastry brush is so important for this **crunchy hard candy recipe**!
What is the best way to get vibrant red cinnamon candy?
We definitely want that gorgeous, fiery color to match that bold spice! If you are aiming for that truly deep, punchy color that makes these treats look so festive, you should choose a high-quality gel food coloring over the standard liquid drops. Liquid color can slightly dilute your syrup, which might affect the final hardness or just mute the color a bit. A concentrated gel gives you the most intense, **vibrant red cinnamon candy** color payoff with the least amount of added liquid. It really makes these look like they came right out of a vintage candy shop!
If you want to learn more about my general approach to teaching in the kitchen, you can always pop over to my About Page. Happy candying!
Share Your Homemade Candy Creations
Well, my dear friends, that is the whole journey for making truly exceptional **cinnamon rock candy**! Now that I’ve shared all my favorite tricks for getting that perfect, spicy crunch, the kitchen really becomes yours. I truly hope you found these instructions clear and perhaps even a little fun—candy making should always feel a bit like magic, after all!
I would absolutely love to hear how your batch turned out. Did you go heavy on the cinnamon oil? Did you find a perfect way to package these little gems for **homemade candy gifts**? Please don’t be shy! Head down to the comments section below and tell me all about it. Your feedback helps me know what works for you, and I read every single note that comes through.
If you gave this a try, please consider leaving a rating—it really helps other home cooks decide to try making this **bold cinnamon treat**. And if you ever have a question while you’re whipping up a batch, you can always reach out directly through my contact page. Happy snacking, and thank you for letting me share a little bit of my kitchen joy with yours!
PrintOld-Fashioned Homemade Cinnamon Rock Candy: Simple Recipe for Spicy Hard Candy
Make this classic, spicy cinnamon rock candy at home. This straightforward recipe yields crunchy, bold cinnamon treats perfect for holiday gifts or snacking.
- Prep Time: 10 min
- Cook Time: 30 min
- Total Time: 40 min
- Yield: About 2 cups 1x
- Category: Candy
- Method: Stovetop Cooking
- Cuisine: American
- Diet: Vegetarian
Ingredients
- 2 cups granulated sugar
- 2/3 cup light corn syrup
- 2/3 cup water
- 1 teaspoon cinnamon oil (or 1 tablespoon ground cinnamon for less intense flavor)
- 1/2 teaspoon red food coloring (liquid or gel)
- 1/4 teaspoon citric acid (optional, for tartness)
Instructions
- Prepare your surface: Line a baking sheet with parchment paper or a silicone mat. Lightly grease the paper with cooking spray or oil.
- Combine sugar, corn syrup, and water in a heavy-bottomed saucepan. Stir gently over medium heat until the sugar dissolves completely. Do not stir once the mixture begins to boil.
- Attach a candy thermometer to the side of the pan, making sure the tip is submerged but not touching the bottom.
- Boil the mixture without stirring until it reaches 300 degrees Fahrenheit (the hard crack stage). This usually takes 20 to 30 minutes. Watch the temperature closely as it nears 300°F.
- Remove the pan immediately from the heat once 300°F is reached. Let the bubbling subside for about one minute.
- Carefully stir in the cinnamon oil, red food coloring, and citric acid (if using). Stir just enough to incorporate the ingredients; over-stirring can cause crystallization.
- Quickly pour the hot candy mixture onto your prepared baking sheet. Do not spread it; let it flow naturally into a thin layer.
- Allow the candy to cool completely and harden, which takes about 30 to 45 minutes at room temperature. Do not place it in the refrigerator.
- Once fully hardened, place the candy sheet inside a heavy-duty zip-top bag. Use a meat mallet or the back of a heavy spoon to break the candy into small, irregular pieces, like rock candy.
- Store your crunchy hard candy in an airtight container at room temperature.
Notes
- To prevent crystallization, wipe down the sides of the saucepan with a wet pastry brush while the syrup is boiling. This washes down any sugar crystals that form on the sides.
- If you want a less intense cinnamon flavor, substitute the cinnamon oil with 1 tablespoon of ground cinnamon, adding it when you add the food coloring.
- For a vibrant red cinnamon candy, use a high-quality gel food coloring, as liquid coloring may dilute the syrup slightly.
- This candy is sensitive to humidity. Store it in a dry place to keep it crunchy.
Nutrition
- Serving Size: 1/4 cup pieces
- Calories: 750
- Sugar: 198
- Sodium: 1
- Fat: 0
- Saturated Fat: 0
- Unsaturated Fat: 0
- Trans Fat: 0
- Carbohydrates: 200
- Fiber: 0
- Protein: 0
- Cholesterol: 0