
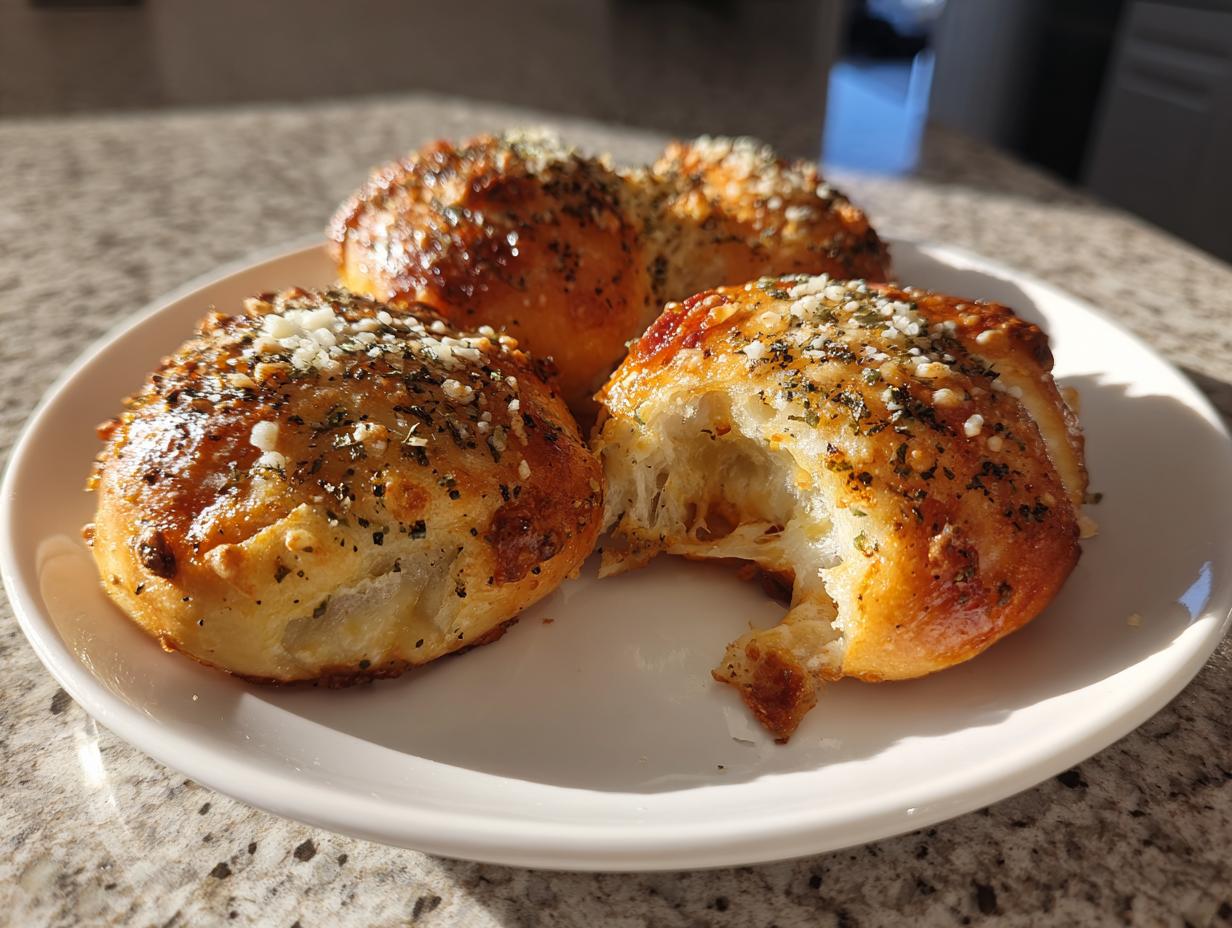
Oh, I just love it when a plan comes together, especially when that plan involves warm, bubbly cheese! If you’re looking for that appetizer that vanishes the second you set it down at a gathering, stop searching right now. We’re making cheesy garlic pepperoni pizza bombs today, and trust me, they are absolute keepers. These little bundles take the rich, comforting taste of pizza—that dough, that savory pepperoni, that garlic butter—and turn it into the easiest, hand-held snack imaginable. It’s pure magic wrapped up in dough, and it’s perfect for game day or just a cozy night in with the grandkids when movie marathon planning is underway. They truly taste homemade, but they come together faster than you’d think!
- Why You Will Crave These Cheesy Garlic Pepperoni Pizza Bombs
- Gathering Ingredients for Your Cheesy Garlic Pepperoni Pizza Bombs
- Carla's Tips for Assembling Perfect Cheesy Garlic Pepperoni Pizza Bombs
- Baking Instructions for Golden Cheesy Garlic Pepperoni Pizza Bombs
- Finishing Touches: The Garlic Butter Glaze for Your Pizza Bombs
- Making Cheesy Garlic Pepperoni Pizza Bombs in the Air Fryer
- Storage and Make Ahead Pizza Appetizers
- Frequently Asked Questions About Stuffed Pizza Dough Balls
- Sharing Your Delicious Cheesy Garlic Pepperoni Pizza Bombs
Why You Will Crave These Cheesy Garlic Pepperoni Pizza Bombs
I taught third grade for thirty years, and just like teaching fractions, I believe great recipes need to be dependable and easy to follow. That’s exactly what you get here! You don’t need to be a pro baker to nail this one. This Easy Pizza Bombs Recipe is built for success, even for folks who think rolling out dough is tricky.
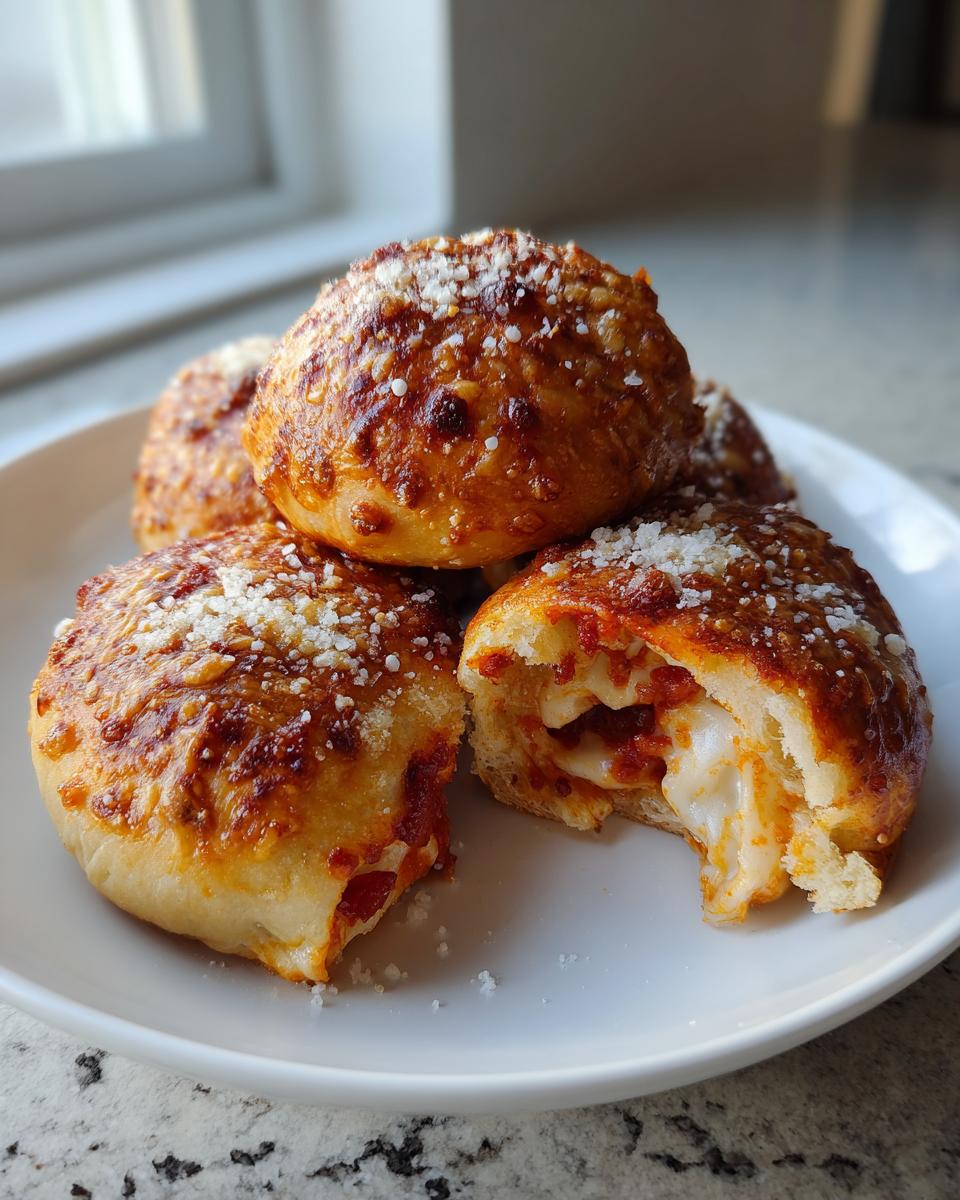
- The Goo Factor is Real: We use plenty of mozzarella, and when these bake up, the cheese stretches for days. It’s that satisfying, slow pull when you break one apart.
- Flavor Bomb Inside: It’s not just cheese and meat; we pack in that wonderful kick from fresh garlic and Italian seasoning right into the dough before baking.
- Speedy Prep: Using refrigerated dough means your prep time is only about fifteen minutes! They are ready for the oven before you’ve even set out the napkins. This makes them ideal Party Food Pizza Style.
- Family Approved Every Time: Whether I bring these to a church luncheon or just make them for my own family, they always disappear first. They are a definite crowd-pleaser, and you can easily adjust the fillings if you sneak a peek at my notes on variations! You can find more simple appetizer ideas just like this one right here.
Gathering Ingredients for Your Cheesy Garlic Pepperoni Pizza Bombs
The beauty of this recipe is that it relies heavily on pantry staples and that wonderful refrigerated pizza dough—no fussing with yeast here! You’ll want to make sure your butter is nice and melted before you start mixing your seasonings, as that’s the foundation of our flavor profile later on. Here’s what you’ll need to grab from the fridge and pantry:
- 1 (13.8 ounce) package refrigerated pizza dough (the kind that comes in a tube!)
- 1 cup shredded mozzarella cheese (make sure it’s the low-moisture kind for the best melt!)
- 1/2 cup mini pepperoni slices (or regular ones cut up small)
- 4 tablespoons unsalted butter, melted and set aside to cool just a tiny bit
- 2 cloves garlic, minced very finely
- 1 teaspoon dried Italian seasoning
- 1/4 cup grated Parmesan cheese (the finishing sprinkle!)
- 1 egg, beaten (this is just for brushing the tops to get that lovely golden crust)
Carla’s Tips for Assembling Perfect Cheesy Garlic Pepperoni Pizza Bombs
When you’re dealing with something delicious like this, technique really matters. I want everyone tackling this Homemade Pizza Pockets Tutorial to end up with happy, cheese-filled pockets, not little leaking messes! Remember, the dough is soft, so we have to be gentle but firm. Before we even think about filling them, we need that flavor base ready to go. If you’ve ever had a gummy texture on pizza dough, it’s usually because you over-worked it after the butter went in. We’re keeping things light here, just like I always taught my students!
Creating the Flavorful Garlic Butter Pizza Dough Appetizer Topping
This garlic butter isn’t just for basting later; we’re making sure that flavor gets into the crust itself. You melt down your butter—and don’t skimp!—and then you absolutely must use fresh garlic here. Crushed garlic from a jar just won’t give you that bright, pungent flavor we’re after. Mix that minced garlic in with your Italian seasoning. Stir it well, and let it sit for a few minutes while you cut up your dough squares. That resting time lets the garlic oils mingle with the fat, which is key for a great Garlic Butter Pizza Dough Appetizer flavor base.
Sealing and Shaping Your Cheesy Pepperoni Snacks
Now for the big moment: sealing! Unroll your dough and cut those twelve squares. Don’t worry too much about making them perfect rectangles; just make sure they’re roughly the same size so they all cook evenly. Put your cheese and pepperoni right in the middle. To seal, gather all four corners up to the center, like you’re pulling a little money bag closed. Pinch those seams together hard! I mean it—pinch them tightly until you feel the dough stick to itself. Then, flip it over gently and roll it quickly between your palms to smooth it out into a ball. This seals in all the cheesy goodness and prevents leaks. If you want more helpful hints on simple appetizers, I share a few of my favorites over here.
Baking Instructions for Golden Cheesy Garlic Pepperoni Pizza Bombs
Once you’ve sealed up all those beautiful little parcels of flavor, it’s time to get them in the oven where the magic happens! First things first, always preheat your oven to 400 degrees Fahrenheit. I learned early on that hot ovens give you that lovely puff and golden color fast. You need to line a baking sheet—any standard cookie sheet works fine—with parchment paper. Trust me on the parchment; it makes cleanup virtually non-existent! Then, take that beaten egg and lightly brush it all over the tops of your sealed dough balls. This step is what gives you that beautiful, shiny crust on your final Baked Pizza Bomb Recipe. Bake them for about 12 to 15 minutes. Keep an eye on them after the 12-minute mark; they should look puffed up and deeply golden brown when they are ready to come out.
Finishing Touches: The Garlic Butter Glaze for Your Pizza Bombs
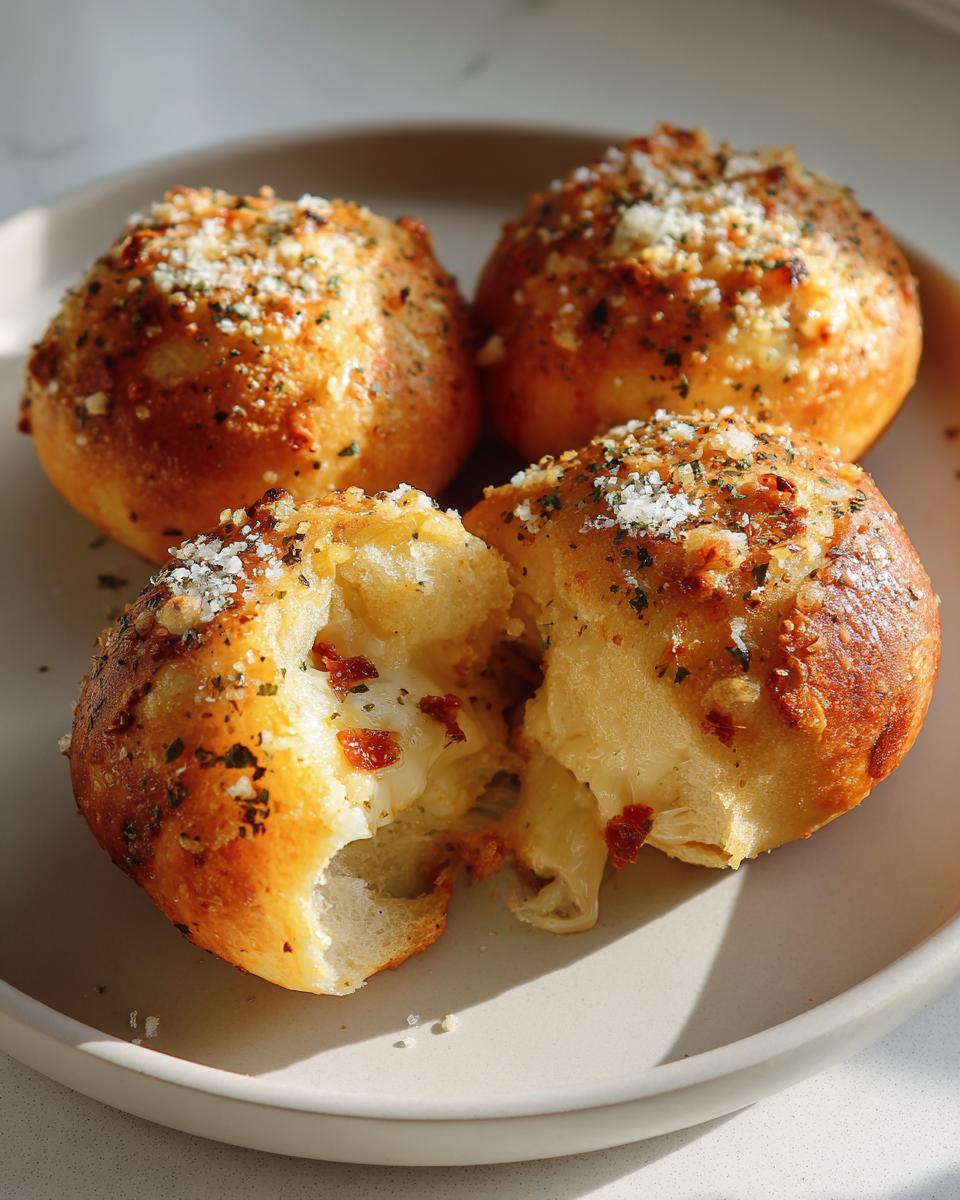
Okay, they look golden and they smell heavenly coming out of the oven, but don’t you dare stop now! The absolute best part—the step that transforms them from good to unforgettable—happens right when they come off that hot pan. Pull them out and immediately brush the tops generously with that garlic butter mixture you set aside way earlier. That hot dough soaks up all that garlic and herb flavor right away. Then, you sprinkle that grated Parmesan over the top while it’s still wet. This is what guarantees those amazing, savory, pull apart pepperoni bites when everyone digs in!
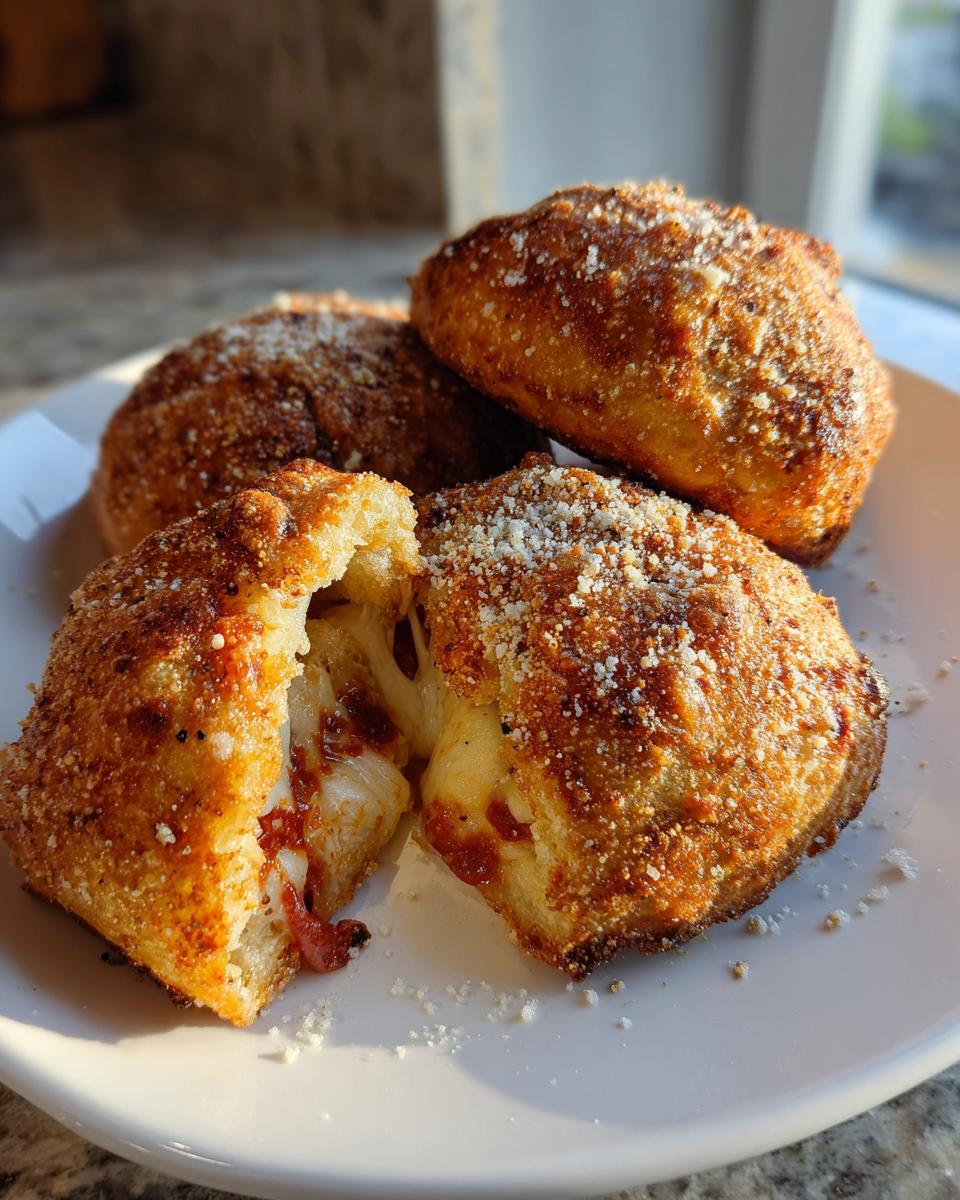
Making Cheesy Garlic Pepperoni Pizza Bombs in the Air Fryer
Now, I know some of you are already reaching for that air fryer—it gets things crispy so beautifully! If you want to try making these Air Fryer Pizza Bombs, you absolutely can! It cuts down on the cook time significantly, which is great when you need a quick snack. You just need to adjust the temperature down a little bit so the outside doesn’t burn before the middle cheese melts, okay? Set your air fryer basket to 375 degrees Fahrenheit. They’ll cook up perfectly in 8 to 10 minutes.
Remember that wonderful garlic butter glaze we made? Wait until they come out of the air fryer, just like the oven method, and then brush it on generously, followed by that Parmesan sprinkle. They come out looking fantastic! If you love easy adaptations like this one, you should check out my Air Fryer Cheeseburger Egg Rolls—another winner!
Storage and Make Ahead Pizza Appetizers
Planning for a party means sometimes you just need to get ahead, and that’s okay! These Make Ahead Pizza Appetizers are perfect for prepping the day before. If you assemble the bombs completely—filling them and pinching them shut—you can place them on your prepared baking sheet, cover that sheet tightly with plastic wrap, and pop them in the fridge for up to four hours. Don’t add the egg wash until you are ready to bake them, though!
When it’s time to bake, pull them straight into the 400-degree oven—just add about two or three extra minutes to your bake time since they are cold. Leftovers are delicious too! Store any uneaten pizza bombs in an airtight container. They are still great the next day, though I recommend reheating them quickly in the oven or toaster oven rather than the microwave so the dough stays nice and crisp. You can check out more of my make-ahead strategies right here!
Frequently Asked Questions About Stuffed Pizza Dough Balls
I always enjoy hearing from folks asking how they can tweak a recipe for their own family’s needs! That’s the beauty of home cooking—it’s adaptable. If you have questions about substitutions or serving them up, chances are I’ve thought about it too. Here are some of the questions I get most often regarding these wonderful little pockets.
Can I use homemade pizza dough instead of refrigerated dough for these cheesy garlic pepperoni pizza bombs?
Oh, absolutely! Using homemade dough is lovely, but you just need to be careful with how thin you roll it. If your homemade dough is on the thicker side, you might need to cut your squares a little bigger, or they will end up being too doughy once baked. I recommend rolling your homemade dough to about an eighth of an inch thick—that way, you get the perfect ratio of crust to filling when you seal them up to make your cheesy garlic pepperoni pizza bombs.
What is the best dipping sauce for these pull apart pepperoni bites?
While these are so flavorful on their own that they really don’t *need* anything extra, I find that kids especially love having something to dip into! Marinara sauce is the obvious favorite, warming up a little jar of your favorite store-bought sauce works wonders. Honestly though, a good quality ranch dressing is fantastic with the pepperoni grease and the garlic butter crust. It makes them feel a bit more like fancy Best Appetizers with Pizza Flavors, but totally approachable!
Are these pizza bombs suitable for young children?
They are such wonderful Kid Friendly Pizza Snacks! The shape makes them easy for little hands to hold, and they aren’t overly spicy. My only real advice is to let them sit for five minutes after they come out of the oven. That mozzarella gets scorching hot, and you need to let the internal temperature drop just a hair so nobody burns the roof of their mouth on the melted cheese!
If you want more tips on easy comfort food that everyone will love, be sure to check out my collection of easy appetizers and snacks!
Sharing Your Delicious Cheesy Garlic Pepperoni Pizza Bombs
Now that you’ve made a batch of these mouthwatering pizza bombs, I just want to hear all about them! Did you try a different cheese blend? Are you thinking of adding jalapeños next time? Please leave a rating right down below so others know how much you loved them. And if you took a picture of that glorious cheese pull—I’d be thrilled if you shared it with me! You can always send feedback or photos via my contact page. Happy baking, friends!
PrintCheesy Garlic Pepperoni Pizza Bombs

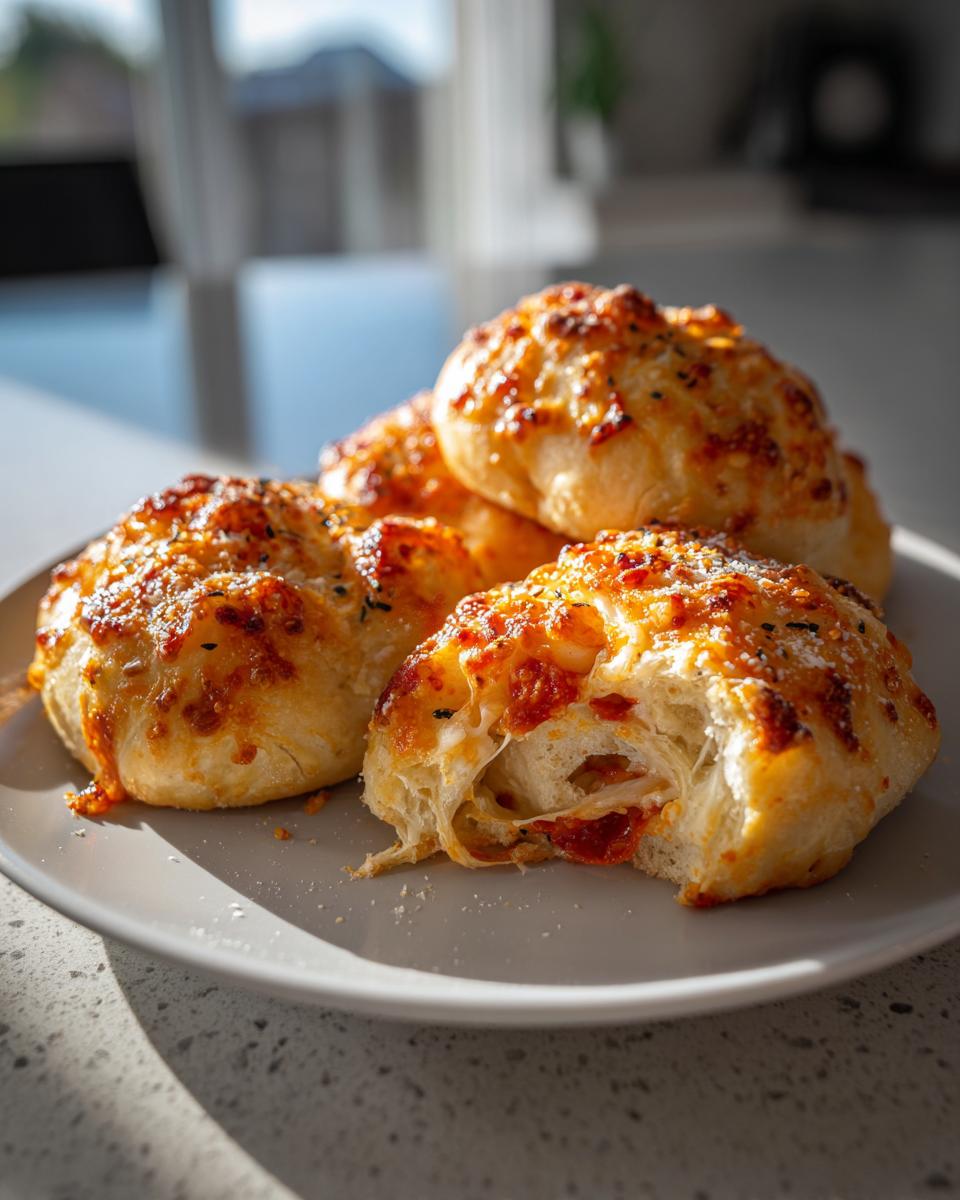
Make these easy, pull-apart pizza bombs stuffed with cheese, pepperoni, and garlic butter. They are a perfect game day appetizer or kid-friendly snack.
- Prep Time: 15 min
- Cook Time: 15 min
- Total Time: 30 min
- Yield: 12 bites 1x
- Category: Appetizer
- Method: Baking
- Cuisine: American
- Diet: Vegetarian
Ingredients
- 1 (13.8 ounce) package refrigerated pizza dough
- 1 cup shredded mozzarella cheese
- 1/2 cup mini pepperoni slices
- 4 tablespoons unsalted butter, melted
- 2 cloves garlic, minced
- 1 teaspoon dried Italian seasoning
- 1/4 cup grated Parmesan cheese
- 1 egg, beaten (for egg wash)
Instructions
- Preheat your oven to 400 degrees Fahrenheit. Line a baking sheet with parchment paper.
- In a small bowl, mix the melted butter, minced garlic, and Italian seasoning to create the garlic butter. Set aside.
- Unroll the pizza dough onto a lightly floured surface. Cut the dough into 12 equal squares.
- Place a small amount of mozzarella cheese (about 1 teaspoon) and 3-4 pepperoni slices in the center of each dough square.
- Bring the four corners of the dough square up to meet in the center over the filling. Pinch the seams together firmly to seal the dough completely, forming a ball. Roll gently between your palms to smooth the shape.
- Place the sealed pizza bombs seam-side down on the prepared baking sheet.
- Brush the tops of the dough balls with the beaten egg wash.
- Bake for 12 to 15 minutes, or until the dough is golden brown and puffed.
- Remove the pizza bombs from the oven. Immediately brush the tops generously with the reserved garlic butter mixture.
- Sprinkle evenly with the grated Parmesan cheese. Serve warm for the best cheesy pull.
Notes
- For an air fryer pizza bombs version, cook at 375 degrees Fahrenheit for 8 to 10 minutes, brushing with garlic butter after cooking.
- You can prepare these ahead of time; refrigerate the assembled bombs for up to 4 hours before baking. Add 2-3 minutes to the bake time if baking cold.
- Use your favorite pizza cheese blend if you prefer a different melt, but mozzarella works best for stretch.
Nutrition
- Serving Size: 1 bomb
- Calories: 180
- Sugar: 1
- Sodium: 350
- Fat: 10
- Saturated Fat: 5
- Unsaturated Fat: 5
- Trans Fat: 0
- Carbohydrates: 15
- Fiber: 1
- Protein: 8
- Cholesterol: 25