
There is just nothing that says ‘home’ quite like the smell of apples and cinnamon warming up the kitchen. When the air gets crisp outside, my heart immediately turns to easy, dependable desserts. That’s exactly what this apple crisp recipe is—it’s the dish I turn to when I need a guaranteed crowd-pleaser without spending half the day in the kitchen. I learned long ago, both as a teacher and now as a grandmother from the Midwest, that the best food is simple food, shared with love. This isn’t meant to be fancy; it’s meant to taste like a hug. Trust me, this classic method will become part of your family’s rotation, too. You can find more of my foundational recipes right here: this old-fashioned apple crisp recipe is one of my absolute favorites.
- Why This Classic Apple Crisp Recipe is Your New Favorite
- Gathering Ingredients for Your Apple Crisp Recipe
- Step-by-Step Instructions for the Best Apple Crisp Recipe
- Tips for Success with Your Old Fashioned Apple Crisp
- Variations for Your Homemade Apple Dessert
- Serving Suggestions for the Classic Apple Crisp Recipe
- Storage and Reheating Instructions for Leftover Apple Crisp
- Frequently Asked Questions About This Apple Crisp Recipe
- Nutritional Estimates for This Homemade Apple Dessert
Why This Classic Apple Crisp Recipe is Your New Favorite
I only share recipes here that I absolutely trust, and this one earns its keep! If you are searching for Comfort Food Desserts that taste wonderful but don’t require a culinary degree, this is it. It’s my go-to Quick Apple Crumble for weeknights when we need something sweet fast. It’s simple, straightforward, and always turns out golden brown.
- It truly is the easiest classic buttery apple crumble recipe you’ll ever make.
- It hits that perfect balance between soft filling and crunchy topping.
- Prep is under fifteen minutes, which is why I call it speedy!
Tender Baked Apples Every Time
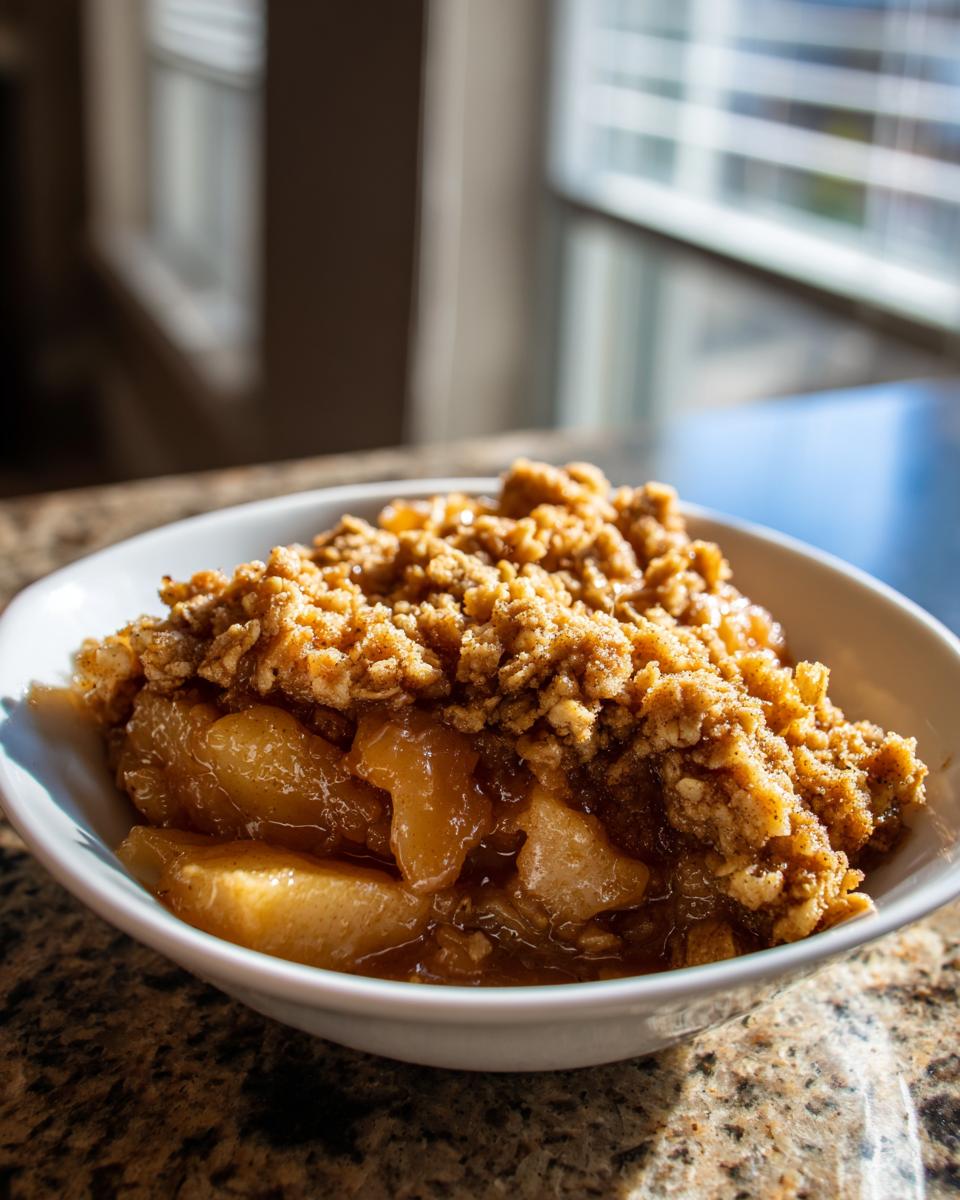
The secret to an amazing baked apple dessert lies in the apples you choose—they need to be firm enough to hold their shape. We use a mix of tart and sweet, and the lemon juice prevents them from looking too dull. Tossed with cinnamon and nutmeg, you get those deeply Warm Spiced Apples that make the whole house smell amazing.
The Perfect Crispy Topping Recipe
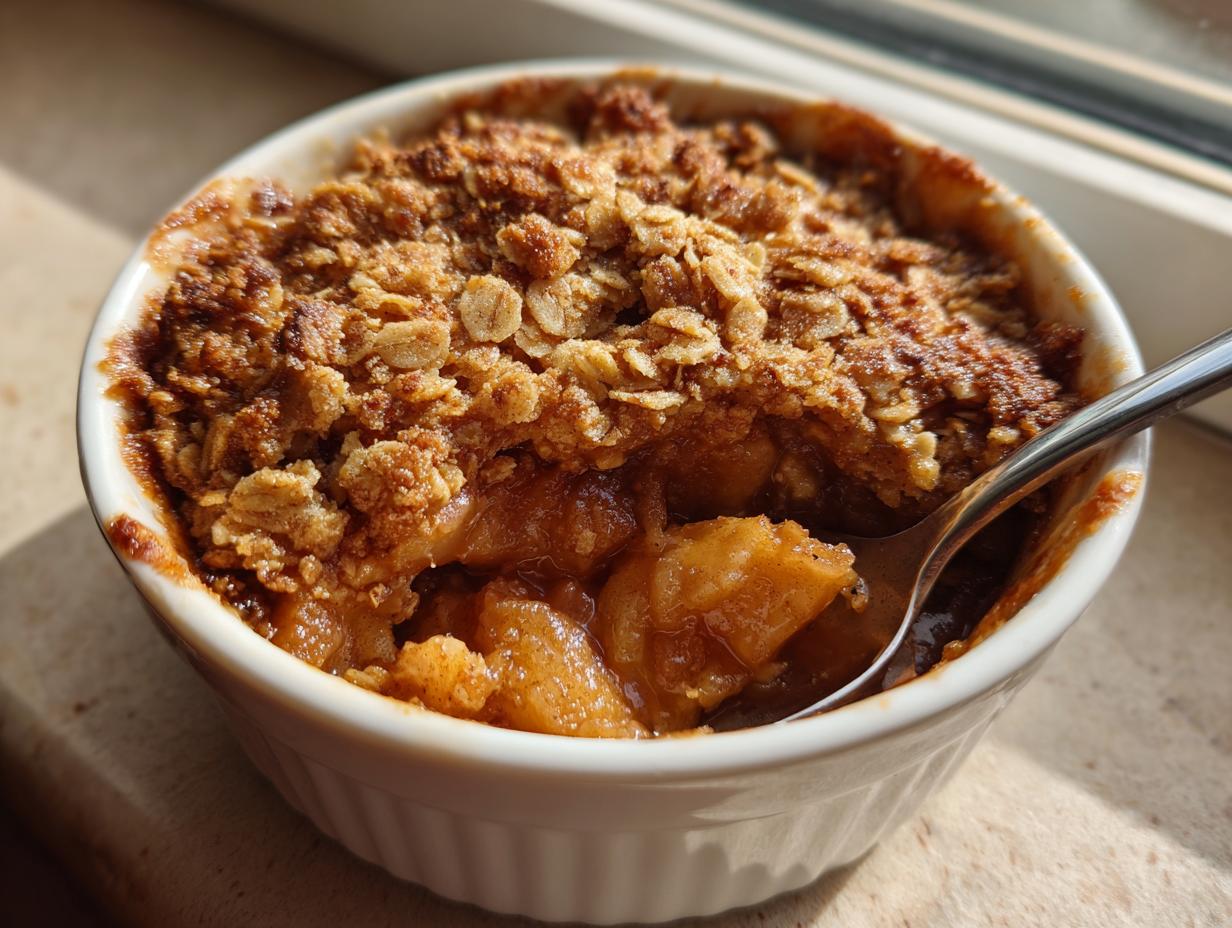
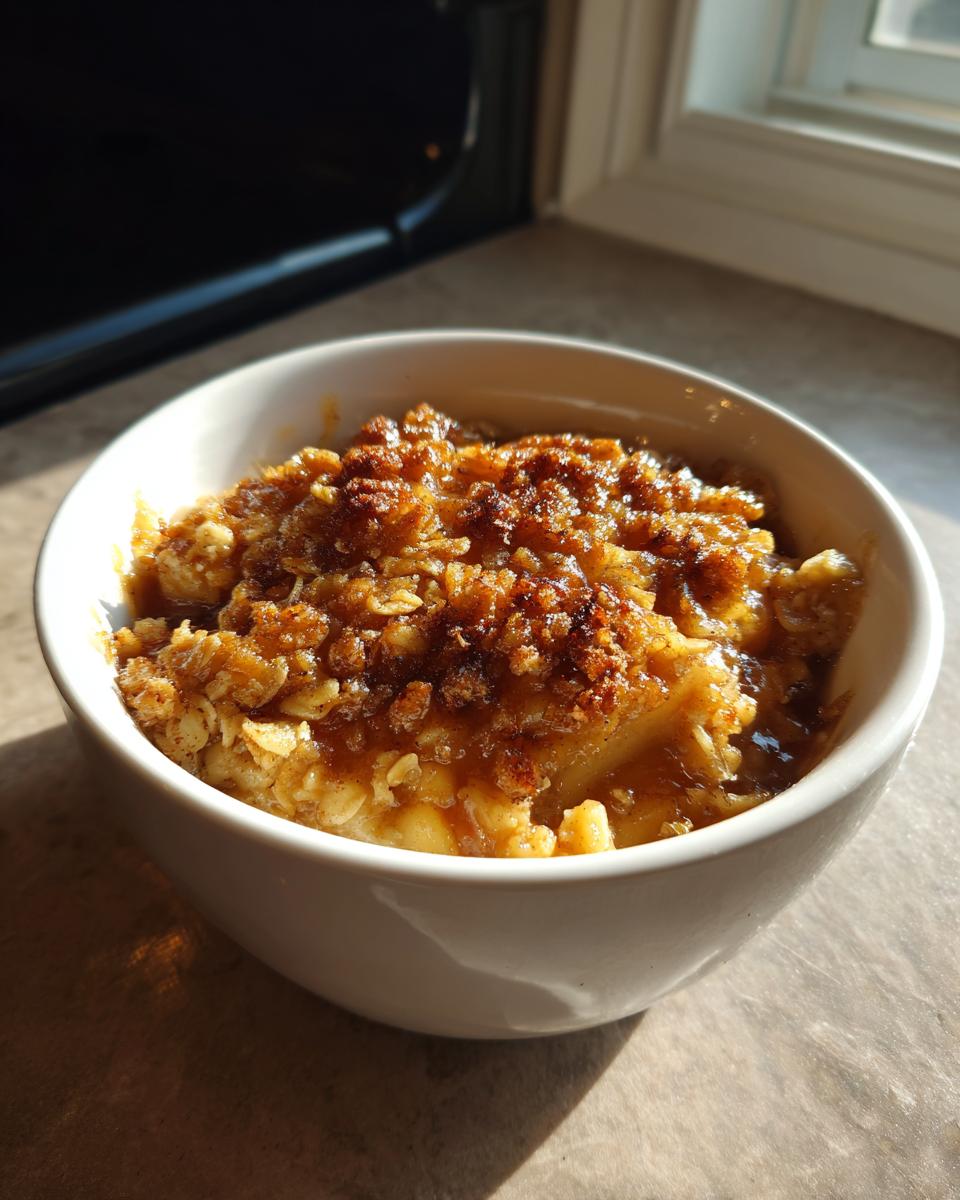
You know a crisp is good by that topping! That satisfying crunch comes from combining the old-fashioned rolled oats with brown sugar. We cut in the cold butter until it looks like coarse sand. This makes the ultimate Oat Crumble Topping Recipe that bakes up golden and buttery every single time.
Gathering Ingredients for Your Apple Crisp Recipe
Good food starts with good ingredients, and I always find that having everything laid out (my mise en place, as the fancy chefs say!) makes the whole process smoother. Since this is such a simple, straightforward homemade apple dessert, you probably have most of this in your pantry right now. Remember, clarity here prevents confusion later, especially when it comes to that cold butter for the topping. If you enjoy simple bakes, you simply must browse my easy classic banana bread recipe next!
For the Apple Filling
For the apples, I find Granny Smith or Honeycrisp are the stars—they keep their shape and offer that lovely tartness. You need:
- 6 medium baking apples (like Granny Smith or Honeycrisp), peeled, cored, and sliced about 1/4 inch thick
- 1/4 cup all-purpose flour
- 1/2 cup granulated sugar
- 1 teaspoon ground cinnamon
- 1/4 teaspoon ground nutmeg
- 1 tablespoon lemon juice
For the Oat Crumble Topping Recipe
This is where the magic happens! The key is making sure the butter is truly cold and cut into small cubes. It might seem fussy, but this makes the biggest difference to that final crunchy texture we are aiming for.
- 1/2 cup all-purpose flour
- 1/2 cup packed light brown sugar
- 1/2 cup old-fashioned rolled oats
- 1/4 teaspoon ground cinnamon
- 1/4 teaspoon salt
- 1/2 cup (1 stick) cold unsalted butter, cut into small cubes
Step-by-Step Instructions for the Best Apple Crisp Recipe
This is where we turn those lovely ingredients into a truly wonderful dessert recipe for beginners. Don’t let the two separate parts intimidate you; this process is simple, and I’ll walk you through every single step just like I would if you were standing right here in my kitchen! If you need a savory break after this sweet treat, check out my instructions for easy crockpot shredded buffalo chicken, or see how I make meat juicy with my best chicken marinade for juicy meat. Now, let’s get baking!
Preparing the Apples and Dish
First things first, we need heat! Preheat your oven right away to 375 degrees Fahrenheit. While that’s warming up, take a quick moment to lightly grease the sides of your 8×8 inch baking dish or your 9-inch pie plate. Next, grab your biggest mixing bowl. We’re gently tossing those spiced apple slices with the flour, granulated sugar, cinnamon, nutmeg, and lemon juice. You just want everything lightly coated. Then, spread those beautifully coated apples in an even layer across the bottom of your prepared dish.
Creating the Crispy Topping Recipe
Time for the satisfying part—the topping! In a separate, clean bowl, whisk together your remaining dry topping ingredients: the flour, brown sugar, oats, cinnamon, and salt. Now, drop in those cold, cubed butter pieces. You need to “cut in” that butter. I use my fingertips for this—squeeze and rub the butter into the dry mix until it starts looking like coarse crumbs. Please, do not overmix this! We want some pea-sized bits of butter left; those melt down and make those pockets of golden crunch we love.
Baking and Resting the Apple Crisp Recipe
Sprinkle that gorgeous oat crumble evenly over your apples and press it down just lightly—don’t pack it! Slide it into the preheated oven. It usually takes about 40 to 50 minutes. You’ll know it’s done when the topping looks gloriously golden brown, and the apple filling underneath is bubbling up nice and thick. This is important: Take it out and let it cool on a wire rack for at least 15 minutes before you even think about serving it. This rest time lets the filling set up so it’s not runny when you scoop it out!
Tips for Success with Your Old Fashioned Apple Crisp
Now that you have the steps down, let me share a few things I learned over the years of baking this classic dessert for my family. Remember, I taught school for thirty years, so I know a thing or two about patience and catching little mistakes early! These little notes ensure you get that perfect texture every time you pull out this old fashioned apple crisp.
Choosing the Right Apples for This Apple Crisp Recipe
This is probably the biggest question I get about any baked apple dessert. If you use a soft apple, you end up with sweet apple sauce instead of chunks, and that’s just not right for a crisp! For lovely, tender baked apples, you want apples that are naturally firm and hold up well under heat. My go-to favorites are Granny Smith because they bring a wonderful tartness to cut through the sugar, or Honeycrisp—they are just fantastic. If you can, use a mix of a few kinds! It gives the filling a bit more depth in flavor, which really elevates this simple treat.
If you want to see how I handle another beloved fall staple, check out my recipe for fluffy old-fashioned pancakes recipe! It requires a similar attentiveness to texture.
Here is a trick I always use when the oven is working hard:
If you notice your oat crumble topping is getting a little too dark—maybe it’s turning dark brown instead of just golden—don’t panic or pull the crisp out too early! Just loosely cover the dish with a piece of aluminum foil. That foil acts like a little umbrella, protecting the top while letting the apples underneath finish baking until they are perfectly tender.
Variations for Your Homemade Apple Dessert
While I adore this classic apple crisp recipe exactly as written, I always encourage my readers to treat recipes like friendly guides, not strict laws! Being adaptable is part of what makes home cooking fun, especially when you are looking for new Apple Crisp Topping Ideas. It’s easy to tweak this foundational baking recipe to use what you have on hand or simply try something new for the family.
Spice Swaps for the Apple Filling
That warm nutmeg in the apple filling is certainly lovely, but sometimes you just want a slight shift in flavor, right? If you’re feeling adventurous or perhaps just ran out of nutmeg, I’ve found that substituting it with cardamom works beautifully. Cardamom has a gorgeous, slightly floral, bright warmth that complements the cinnamon and the tartness of the apples perfectly. It gives the whole homemade apple dessert a little twist without changing the actual texture or baking time at all.
If you’re looking for other fruit-based comfort foods, you absolutely have to check out my recipe for easy brown sugar cinnamon pear crisp—pears bake up so delicately in the winter!
Adding Nuts to the Oat Crumble Topping Recipe
Our basic Oat Crumble Topping Recipe is designed to be purely crunchy and buttery. However, if you want to take that crumb to the next level of texture and richness, adding nuts is the way to go. I usually add about a half cup of chopped pecans or walnuts to the dry topping mix along with the oats and brown sugar. They toast up wonderfully in the oven, adding a lovely nutty flavor that really screams ‘cozy autumn dessert.’ Be sure to toss the nuts with the dry ingredients *before* you cut in the butter!
Serving Suggestions for the Classic Apple Crisp Recipe
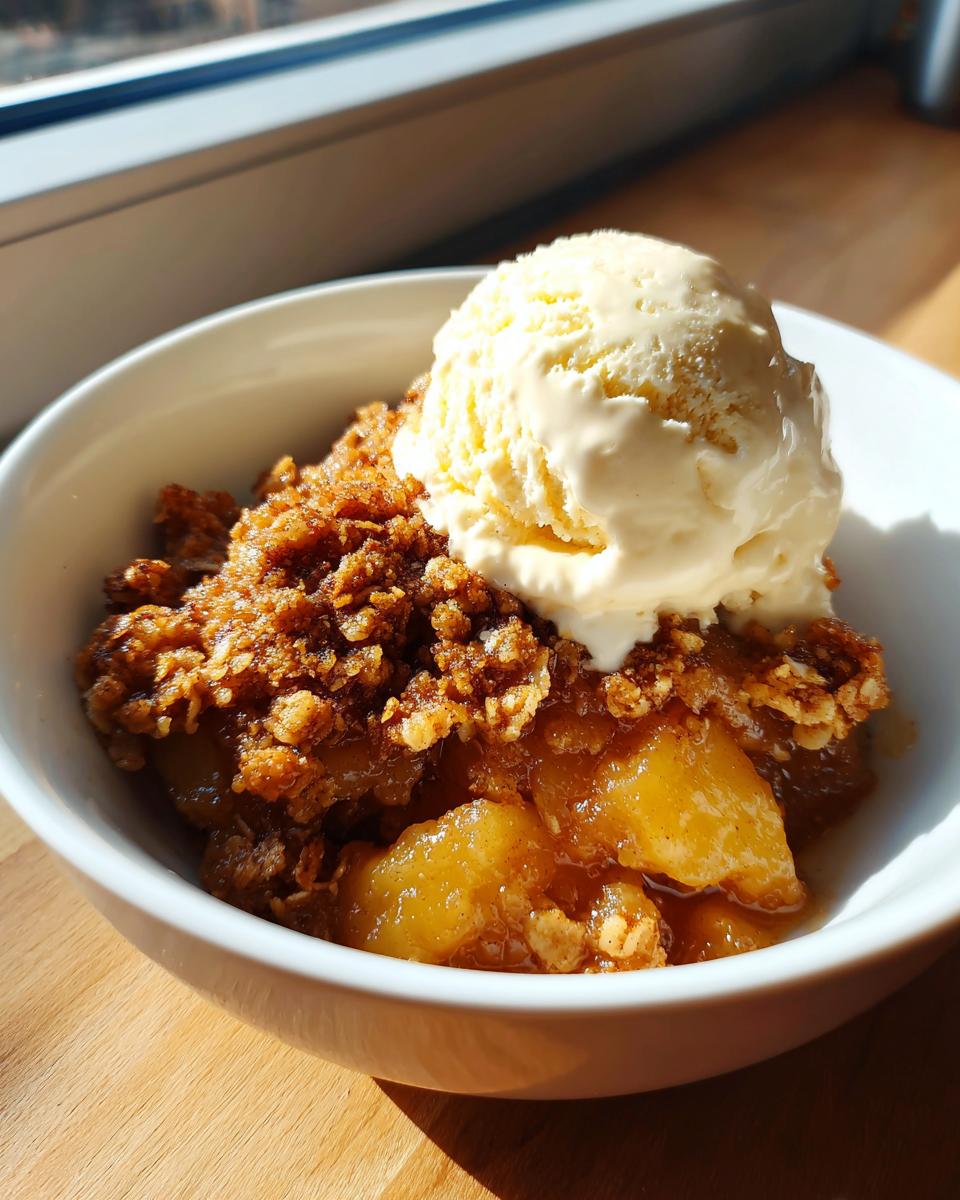
The moment I pull this classic apple crisp recipe out of the oven—and I let it rest that crucial fifteen minutes—I know the best part is coming up: the serving! A truly great comfort food dessert like this deserves the perfect partner on the plate. Honestly, you can serve this just warm, and it’s wonderful, but a good topping takes it from great to unforgettable.
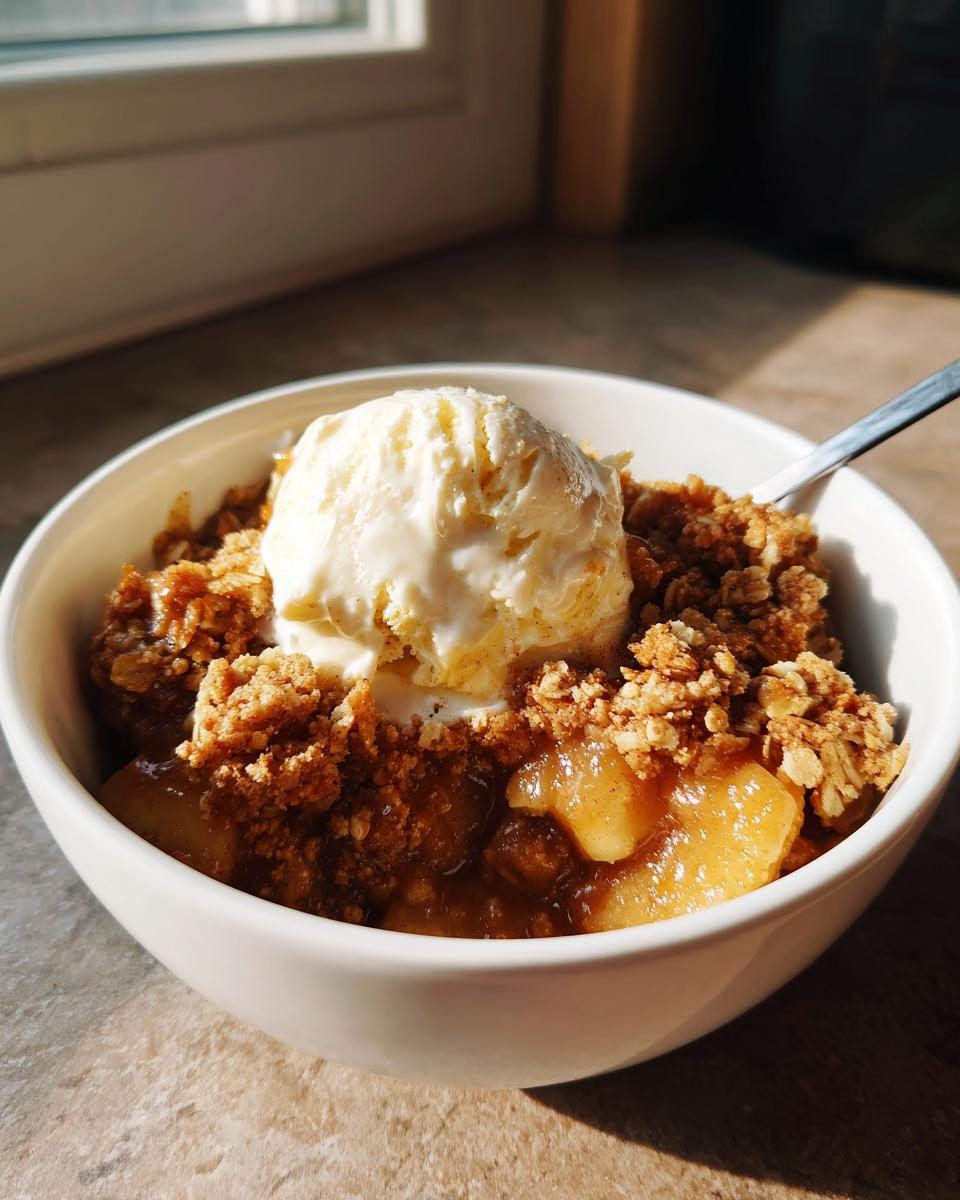
The traditional way, and what my own grandkids beg for every single time, is a generous scoop of vanilla ice cream. The contrast between the hot, spiced filling and the cold, creamy ice cream melting slowly down the sides is pure magic. It’s a texture and temperature celebration!
But don’t stop there! If you want something a little lighter but still decadent, a big dollop of fresh, lightly sweetened whipped cream works beautifully. It adds a cloud-like feel to the rich, buttery topping.
Now, for a little secret I picked up growing up in the Midwest that always surprises people: try a thin slice of good, sharp cheddar cheese right on top of a warm slice of apple crisp. I know, I know! It sounds strange, but the saltiness and tanginess of the cheese melt slightly into the sweet apples and cinnamon. It’s an old-fashioned pairing that just brightens up all those warm flavors. It’s totally optional, but if you’re feeling brave, give it a try!
If you love the combination of caramel and apple, you might want to try my recipe for a spectacular caramel apple trifle recipe next season—it uses some of these same beautiful fall flavors!
Storage and Reheating Instructions for Leftover Apple Crisp
Oh, if you have leftovers—which usually means you made a double batch because it smells too good—you need to know how to treat them right. We worked so hard to get that crispy topping recipe just perfect, and we certainly don’t want to ruin it sitting on the counter overnight! This is one of those apple dessert with oats that keeps well, but you have to be smart about it.
For general storage, you absolutely must let the crisp cool down completely first. Trying to put a hot dish into the fridge creates steam, and steam is the enemy of crispness, turning everything soggy fast. Once it’s room temperature, cover the entire dish tightly with plastic wrap or foil. I usually keep it right on the counter if I know we’ll finish it within about 24 hours, as the high sugar content acts as a mild preservative.
If you made a huge batch and need it to last longer, pop it into the refrigerator for up to four days. However, when fridge time is involved, the topping will soften up a bit. So, when reheating, we have to bring it back to life! Microwave reheating is quick, sure, but it will make that lovely oat layer turn soft and chewy, which is not what we want for this classic apple crisp.
Reheating for Maximum Crispness
If you want that gorgeous, golden crunch back, the oven is your best friend. Preheat your oven to about 350 degrees Fahrenheit. Take out the portion you want to eat and place it on a small, oven-safe plate or dish. Bake it uncovered for about 10 to 15 minutes. You will hear the juices bubble up again, and watch that topping brown up beautifully! It’s almost as good as fresh.
If you are in a huge rush and only need one spoonful warmed up? Fine, the microwave works, but here’s my trick: Microwave the slice for about 30 seconds just to warm the apples, then transfer it to a small toaster oven or even under your regular broiler for just a minute or two (watch it like a hawk—it burns fast!—but that high heat will dry out the topping just enough to crisp it again).
This simple trick ensures that even your second-day serving of this simple fall treat feels just as comforting and delicious as the first scoop!
Frequently Asked Questions About This Apple Crisp Recipe
It warms my heart to see so many of you trying this apple crisp recipe! As a former teacher, I know that having a few questions pop up is perfectly normal when you’re trying a new (or old favorite!) technique. Don’t hesitate to ask—I’m here to help you make the very best homemade apple dessert possible. If you’re looking for more quick ideas for your next gathering, feel free to swing by my collection of easy appetizers and snacks while you’re here!
Can I make this Easy Apple Crisp Recipe ahead of time?
Yes, you certainly can! As a busy mom and grandma, I often prep things in advance. If you want to make the whole dish ahead of time, assemble everything—apples coated, topping sprinkled on—in an 8×8 dish, cover it tightly with plastic wrap, and keep it in the refrigerator for up to 24 hours. Just know that if you bake it straight from the fridge, you’ll likely need to add about ten extra minutes to the total baking time to compensate for the chill in the apples.
My preferred method, though, is making the Crispy Topping Recipe ahead of time. I mix up the topping, then I place it in a zip-top bag and keep it cold until I’m ready to bake. That way, the butter stays perfectly firm, guaranteeing that wonderful crunch when it hits the hot apples.
What is the best way to store leftover Apple Crisp Topping Recipe components?
If you only made half the batch of topping and have some leftover, or if you just hate doing dishes right away, storing that topping is simple! Just make sure you keep that topping made with cold butter in the refrigerator. Store it in an airtight container or a sealed baggie. Since the butter is the main binder, keeping it cold prevents it from melting or turning greasy at room temperature. When you are ready to use it again, you can use it straight from the fridge, though it might need just a quick stir with a fork to loosen it up before sprinkling it over your next batch of fruit.
Can I use different fruit in this Crisp Recipe?
Oh, absolutely! This is the beauty of a good crisp base—it’s so versatile. While this recipe is perfect for achieving those tender baked apples, you can easily swap them out for other firm fruits. Pears are wonderful substitutes, as are firm berries mixed with rhubarb, or even stone fruit like plums or firm peaches in the summertime. If you use fruit that releases a lot more water than apples, like berries, you might want to increase the flour in the filling slightly (maybe add an extra tablespoon) to help thicken those juices. Also, fruit like berries cook faster, so keep a close eye on your baking time and start checking for tenderness around the 35-minute mark.
Nutritional Estimates for This Homemade Apple Dessert
Now, I’m a home cook, not a nutritionist, so please take these numbers with a grain of salt—or a sprinkling of cinnamon, as I like to say! When you’re making a wonderful, old-fashioned dessert like this, you aren’t looking for low-calorie options; you’re looking for comfort and flavor. I always try to keep transparency in mind here in the kitchen, though, so I’ve provided the general estimates based on the ingredients listed.
This information is meant as a guideline for everyone, whether you’re tracking macros or just balancing your week. Remember, every apple is slightly different, and if you add extra butter to your Oat Crumble Topping Recipe (and who could blame you?), these numbers will shift! Do remember that a simple scoop of vanilla ice cream on top will change this quite a bit, too!
If you’re looking for ways to clean up your lunches during the week, sometimes I swap out the sweet for savory—you can check out my tips for quick healthy lunch ideas!
- Serving Size: 1 serving
- Calories: 380
- Sugar: 35g
- Sodium: 150mg
- Fat: 18g
- Saturated Fat: 11g
- Unsaturated Fat: 7g
- Trans Fat: 0g
- Carbohydrates: 55g
- Fiber: 5g
- Protein: 4g
- Cholesterol: 45mg
The beauty of this homemade apple dessert is that most of those carbs and sugars are fueling you through the satisfying experience of eating warm, spiced apples and buttery oats. That’s worth every bite, in my book!
PrintClassic Old Fashioned Apple Crisp Recipe

This is the dependable, easy apple crisp recipe you will return to. It features tender, spiced apples beneath a crunchy, buttery oat topping. It is a perfect comfort food dessert for any gathering.
- Prep Time: 15 min
- Cook Time: 45 min
- Total Time: 60 min
- Yield: 6 servings 1x
- Category: Dessert
- Method: Baking
- Cuisine: American
- Diet: Vegetarian
Ingredients
- 6 medium baking apples (like Granny Smith or Honeycrisp), peeled, cored, and sliced about 1/4 inch thick
- 1/4 cup all-purpose flour
- 1/2 cup granulated sugar
- 1 teaspoon ground cinnamon
- 1/4 teaspoon ground nutmeg
- 1 tablespoon lemon juice
- 1/2 cup all-purpose flour (for topping)
- 1/2 cup packed light brown sugar (for topping)
- 1/2 cup old-fashioned rolled oats (for topping)
- 1/4 teaspoon ground cinnamon (for topping)
- 1/4 teaspoon salt (for topping)
- 1/2 cup (1 stick) cold unsalted butter, cut into small cubes
Instructions
- Preheat your oven to 375 degrees Fahrenheit. Lightly grease an 8×8 inch baking dish or a 9-inch pie plate.
- In a large bowl, combine the sliced apples, 1/4 cup flour, 1/2 cup granulated sugar, 1 teaspoon cinnamon, nutmeg, and lemon juice. Toss gently until the apples are evenly coated.
- Spread the apple mixture evenly into your prepared baking dish.
- In a separate medium bowl, prepare the topping. Combine the remaining 1/2 cup flour, brown sugar, rolled oats, 1/4 teaspoon cinnamon, and salt. Mix these dry ingredients together with a fork.
- Cut in the cold, cubed butter using a pastry blender or your fingertips. Work the butter into the dry ingredients until the mixture resembles coarse crumbs. Do not overmix; some pea-sized pieces of butter are fine.
- Sprinkle the oat topping evenly over the apple mixture in the baking dish. Press it down lightly.
- Bake for 40 to 50 minutes, or until the topping is golden brown and the apple filling is bubbly and tender when pierced with a fork.
- Let the apple crisp cool on a wire rack for at least 15 minutes before serving. This allows the filling to set slightly.
- Serve warm, often with a scoop of vanilla ice cream.
Notes
- For the best texture, use firm apples that hold their shape when baked, like Granny Smith or a mix of sweet and tart varieties.
- If the topping begins to brown too quickly during baking, loosely cover the dish with aluminum foil for the last 10 to 15 minutes of cooking time.
- You can substitute cardamom for nutmeg in the apple filling for a slightly different warm spice flavor.
Nutrition
- Serving Size: 1 serving
- Calories: 380
- Sugar: 35g
- Sodium: 150mg
- Fat: 18g
- Saturated Fat: 11g
- Unsaturated Fat: 7g
- Trans Fat: 0g
- Carbohydrates: 55g
- Fiber: 5g
- Protein: 4g
- Cholesterol: 45mg