
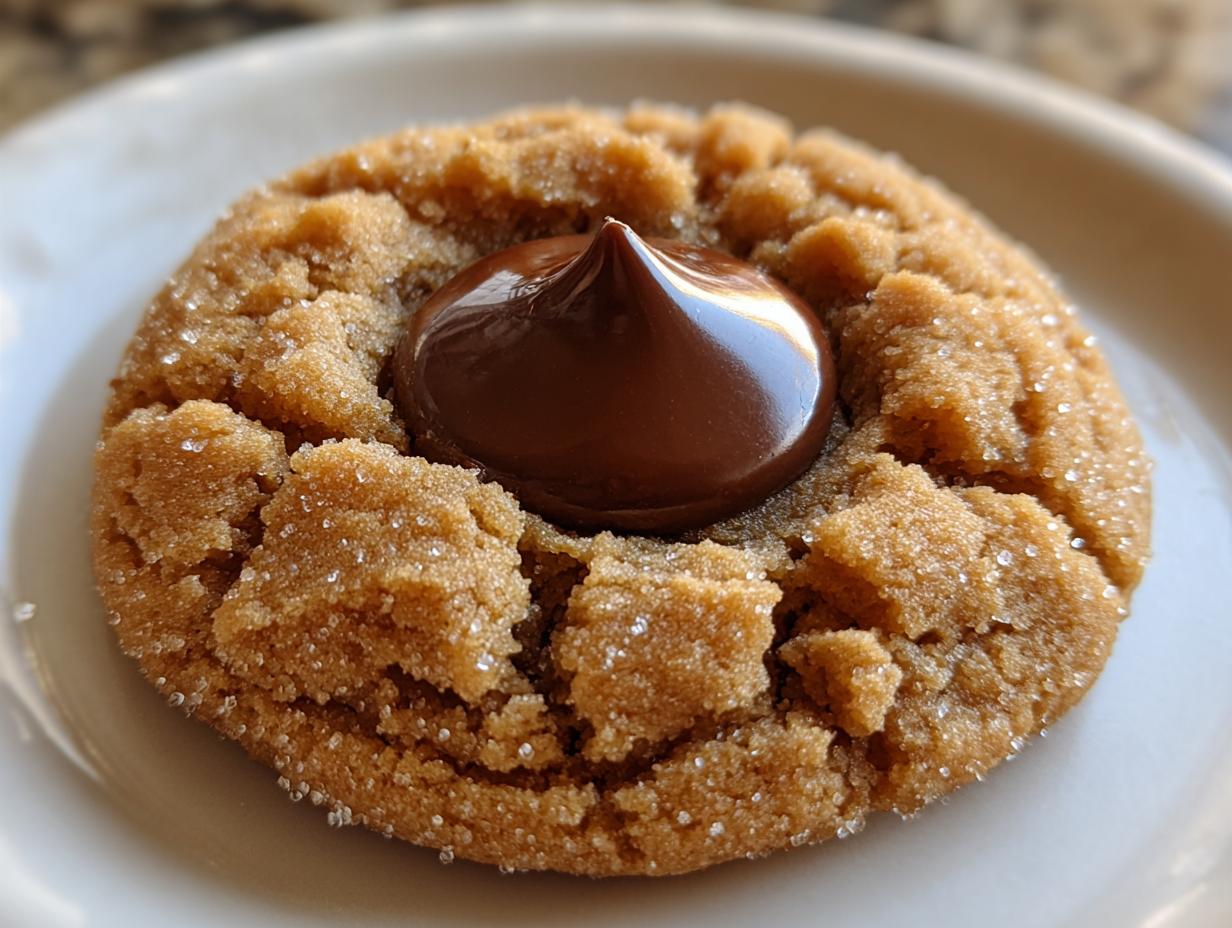
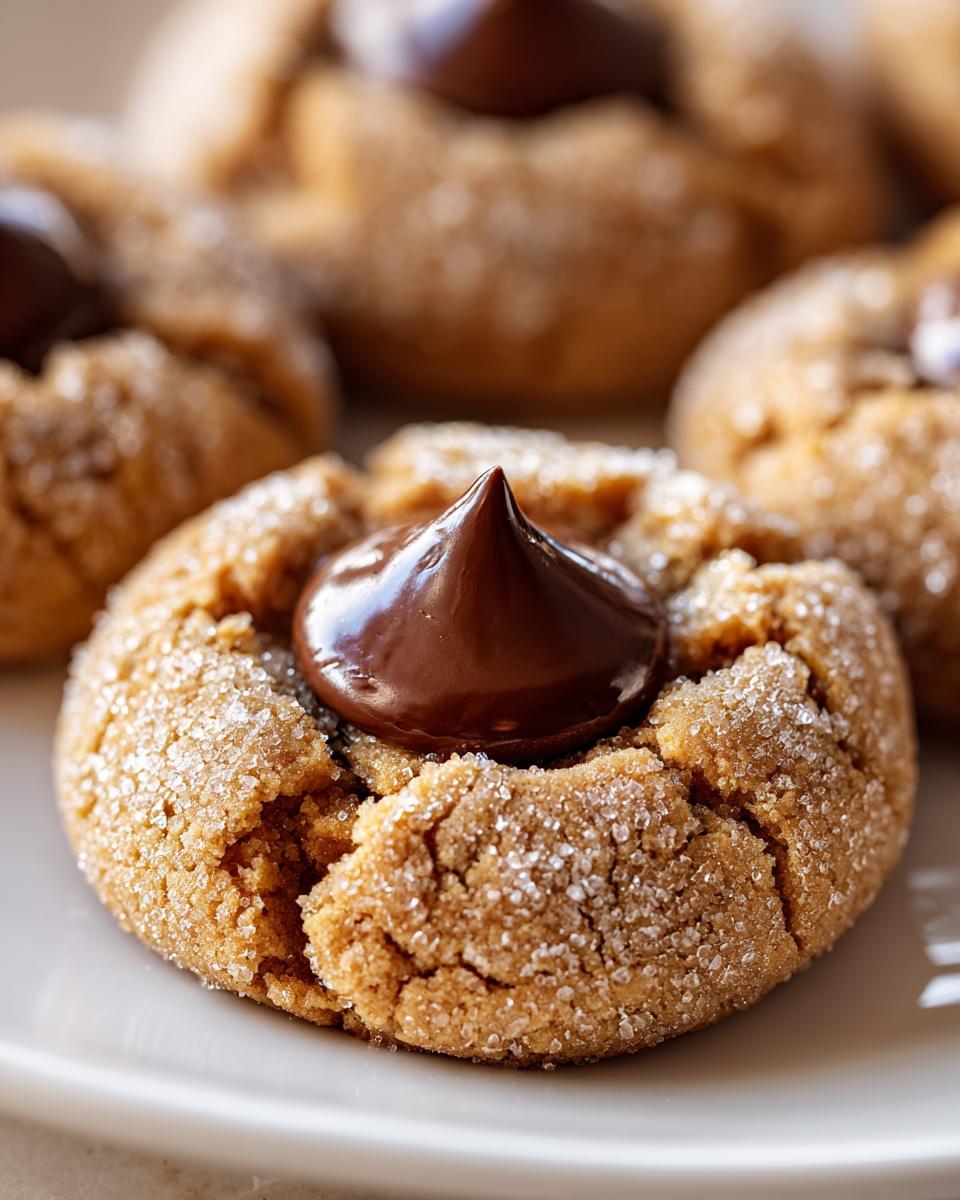
Oh, the holiday baking season! There is something so comforting when pulling out the old tins filled with classic cookies, isn’t there? If you look at any respectable Christmas cookie platter, you will always find that iconic little flower shape topped with chocolate. However, too many times, those lovely **peanut butter blossom** cookies turn out dry or crumbly by the time you serve them. Well, I’ve got wonderful news for you. After teaching baking basics to hundreds of students over thirty years, I learned that patience and clarity are the real secrets, and I’ve perfected this recipe to make sure you get the absolute best, softest, and chewiest **peanut butter blossom** cookie every single time. Forget the cakey ones; these are truly melt-in-your-mouth delicious!
- Why This is the Best Peanut Butter Blossom Recipe for Soft Cookies
- Gathering Ingredients for Peanut Butter Blossom Cookies
- Step-by-Step Guide to Making Classic Peanut Butter Blossoms
- Tips for Perfectly Soft Cookies Baking Tips
- Making Peanut Butter Blossom Cookies Ahead of Time
- Serving Suggestions for Your Iconic Christmas Cookies
- Frequently Asked Questions About Peanut Butter Blossom Cookies
- Estimated Nutritional Data for One Peanut Butter Blossom
- Share Your Peanut Butter Blossom Creations
Why This is the Best Peanut Butter Blossom Recipe for Soft Cookies
I see so many recipes out there promising the world, but a few simple swaps and techniques are what truly keep these **Classic Peanut Butter Blossoms** soft well past Christmas morning. You won’t end up with dry, rock-hard little discs, I promise. Trust the method!
- We use both granulated and brown sugar to ensure maximum softness and a richer flavor profile.
- The key is controlling the baking time—leaving them slightly soft guarantees that wonderful, chewy result.
- This isn’t one of those tricky 5-ingredient recipes; we use the full list because the quality ingredients work together beautifully. If you struggle with cookies going flat, you might want to look at my tips for my best soft and chewy oatmeal cookies too!
The Secret to Perfectly Chewy Peanut Butter Cookie Recipe Centers
Honestly, texture is everything here. The creaming of the butter and sugars—that’s step one for creating air pockets that keep the cookie light, even though it’s a decadent cookie. But the real magic happens when they come out of the oven. You must watch them like a hawk! Pulling them when they still look a tiny bit gooey in the middle is essential. The heat held in the pan continues to cook them gently, setting the edges without drying out that center. It’s a balance, dear friend, but one worth mastering if you want that perfect melt in your mouth cookies feeling. Don’t be tempted to leave them in for that extra minute!
Gathering Ingredients for Peanut Butter Blossom Cookies
Now that you know *why* these turn out so chewy, let’s look at what you need to pull from your pantry. This is a classic recipe, and while it’s very straightforward, the quality of what you use really matters for that soft finish. We need four main components: the fats/sugars, the liquids, the dry structure builders, and, of course, the chocolate topper. Make sure you unwrap all your Hershey’s Kisses before you even start mixing; trust me, trying to peel that foil off a hot, sticky cookie is a recipe for frustration!
Here is exactly what we call for:
- 1 cup unsalted butter, softened (This needs to be truly soft, like room temperature playdough.)
- 3/4 cup creamy peanut butter (This is crucial for a smooth dough!)
- 3/4 cup granulated sugar
- 3/4 cup packed brown sugar (Make sure you press that cup firmly down!)
- 2 large eggs (Bring these out a little early so they aren’t ice cold.)
- 1 teaspoon vanilla extract
- 2 1/4 cups all-purpose flour
- 1 teaspoon baking soda
- 1/2 teaspoon salt
- 1/4 cup granulated sugar, kept separate for rolling
- 1 bag (about 12 ounces) Hershey’s Kisses, unwrapped
Ingredient Notes and Simple Cookie Swaps Treats
Let’s talk about the peanut butter for a moment. While I love using a natural, stirred peanut butter on toast, for these **Peanut Butter Blossom** cookies, you really want the standard creamy kind. Natural peanut butter, the kind that separates with oil, throws off the fat ratio completely and can result in a cookie that spreads too much or doesn’t hold that beautiful crinkle when you put the Kiss in. Stick to the smooth variety for the best texture consistency here.
Also, remember those eggs? Room temperature eggs blend much more smoothly into the creamed butter and sugar mixture. If you throw in an egg straight from the fridge, it can actually cause your beautiful, fluffy creamed mixture to seize up or curdle slightly. That’s never what we want in a good batch of Peanut Butter Kiss Cookies!
Step-by-Step Guide to Making Classic Peanut Butter Blossoms
Alright, let’s get our hands dirty! Following the recipe steps precisely, especially when it comes to mixing, is how we guarantee those crinkly tops and soft centers. Don’t rush this; baking is a happy, patient process. We start with preheating the oven; a steady 375 degrees F is perfect for these. I always line my baking sheets with parchment paper—it’s just an extra layer of insurance against sticking, and it saves on scrubbing later! Now we move on to building that beautiful base dough.
Mixing the Dough for Soft Drop Cookies
First up is creaming together the softened butter, both sugars, and the peanut butter. Beat this until it looks light and fluffy. I mean genuinely fluffy—that’s where all the air gets trapped! Then, we add the eggs one at a time, followed by the vanilla. In a separate bowl, whisk up your flour, baking soda, and salt. Now, this is key: add the dry ingredients to the wet ingredients gradually. We only mix until *just* combined. That’s important! If you keep mixing once the flour disappears, you start developing the gluten, and bam! You’ve just made a batch of tough, cakey cookies instead of soft drop cookies. We want tender, not tough!
Achieving the Signature Look: Rolling and Baking the Peanut Butter Blossom
Once the dough comes together (and you’ve resisted the urge to eat it all!), pour that last quarter cup of granulated sugar into a shallow dish. Roll your dough into nice, even 1-inch balls. Remember, nice and even means they bake evenly! Roll each ball completely in the sugar so it gets that lovely, sweet, crinkled coating. Set them about two inches apart on your prepared sheets.
Bake them for only 8 to 10 minutes. Seriously, watch the clock! When you pull them out, the edges should look set, but that center should still look a little soft, maybe even a little puffy. They will firm up on the pan afterward. If you bake them until they look completely done, they will be hard as rocks five minutes after cooling. We are aiming for the absolute best peanut butter blossoms, so don’t overbake them!
The Critical Step: Adding the Hershey Kiss to Your Peanut Butter Kiss Cookies
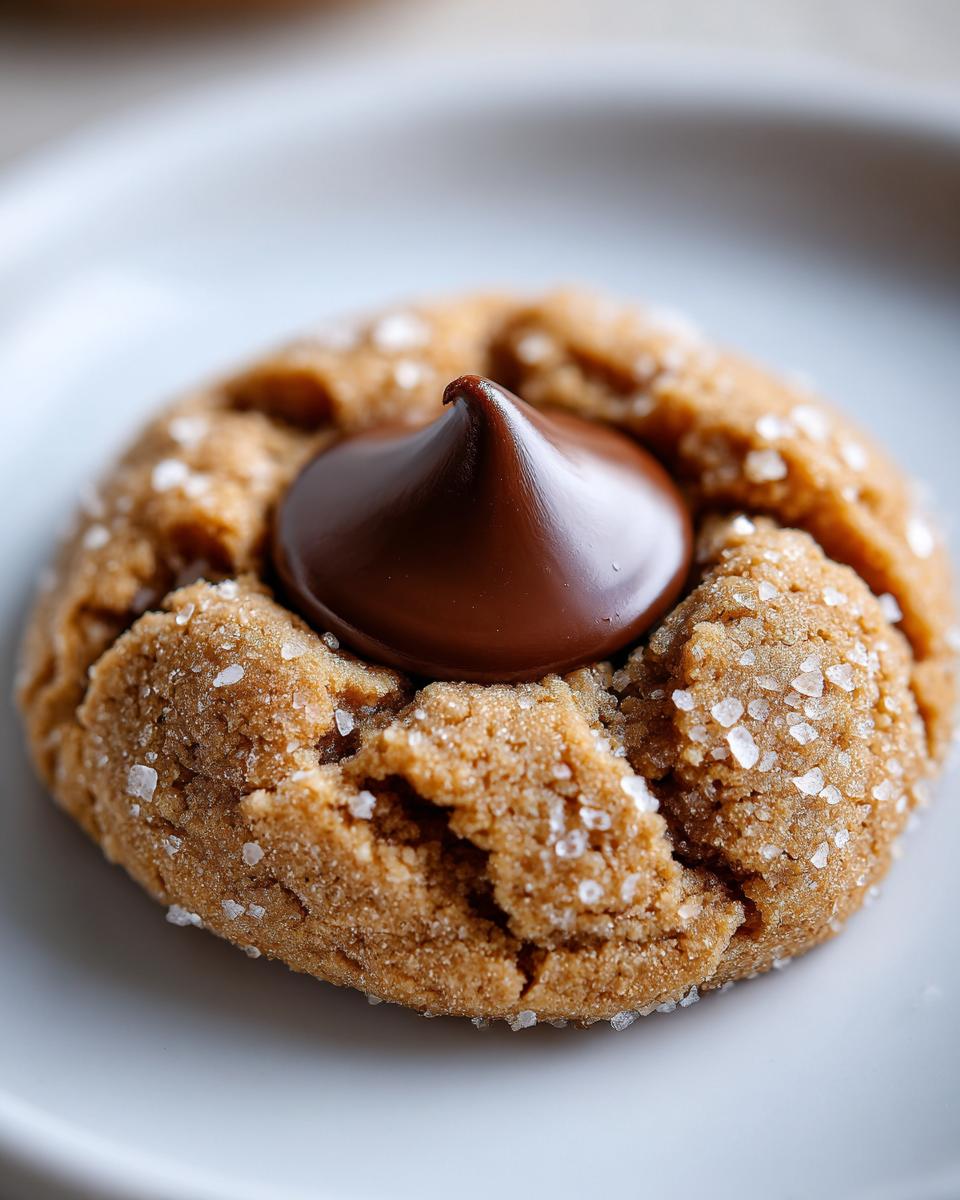
This step happens fast! As soon as those cookies come out of the oven—and I mean immediately—gently press one unwrapped Hershey’s Kiss right into the center of each warm cookie. The residual heat of the fresh cookie is what softens the chocolate just enough so it nestles in and gets that lovely swirl around the edges. If you wait even two minutes, the cookie will have cooled too much, and you’ll just end up cracking the cookie when you try to push the Kiss down. It’s time-sensitive, but it’s what gives us that iconic visual we love! Once the Kisses are settled, let them cool on the hot sheet for five minutes before moving them to the rack. We need that little bit of carryover heat to finish the job. For more wonderful family baking ideas, take a look at my guide on making things from scratch!
Tips for Perfectly Soft Cookies Baking Tips
We’ve talked about *what* to do, but let’s review the important *what ifs* and reminders that ensure these **Peanut Butter Blossom** cookies never turn dry on you. Dealing with cookies after they cool can be tricky, especially if you’re making them for a cookie exchange that won’t happen until next week. My goal is always to give you cookies that taste as fresh on day three as they did coming out of the oven!
Here are the specific things you should keep in mind—these are the little nuggets of wisdom I passed on to my fifth graders when they were tackling their first batch of Iconic Christmas Cookies:
- Creamy Only, Please: Stick strictly to creamy peanut butter. Natural or chunky varieties throw off the fat structure we need for that dense but perfectly soft cookie base. It messes with the consistency we worked so hard to achieve in the creaming stage.
- Resist the Overbake: This might be the most important rule for chewy cookies. The second you pull them out, they should look slightly soft in the very center. If you wait until they look fully golden brown, you’ve baked them too long! They set up on the hot pan, so trust the process and enjoy the slight under-baking look.
- No Long Chill Times: If you absolutely must chill the dough—maybe you need to make everything ahead of time for a big holiday baking session—only chill it for about 30 minutes maximum. If you leave the dough cold for too long, it starts drying the fats, and you risk getting a drier, more cake-like cookie when they bake. We want melt-in-your-mouth, not crumbly! If you struggle with dough handling in general, I have some great tips for working with dough firmness in my piece on fluffy southern biscuits, which uses similar principles.
- High Altitude Adjustment: If you live way up high, the air pressure changes things! You’ll need to adjust slightly to keep that moisture locked in. For every batch, try reducing the flour by 2 tablespoons. You might also want to add just a touch (about 1/2 teaspoon) of extra liquid, like milk, to keep them from getting too dry in the thin air. Trust me, people who live in the mountains need these little tweaks for their classic sweet salty Christmas cookie recipes to shine!
Making Peanut Butter Blossom Cookies Ahead of Time
I know holiday schedules get hectic, and sometimes you need to get ahead! If you plan on chilling the dough, remember what I said before: don’t let it get too cold. Pop those dough balls, rolled and sugared, into the freezer for about 30 minutes before baking. This helps them hold their shape, but bake them straight from the freezer—don’t let them warm up! If you need to store the finished peanut butter blossom cookies, keep them in an airtight container at room temperature. Truly, if you followed the low-bake rule, they should stay perfectly soft and chewy for nearly a week. Baking ahead for a party is easy with this recipe! For other make-ahead treats that don’t require a thermometer, check out my recipe for easy fudge.
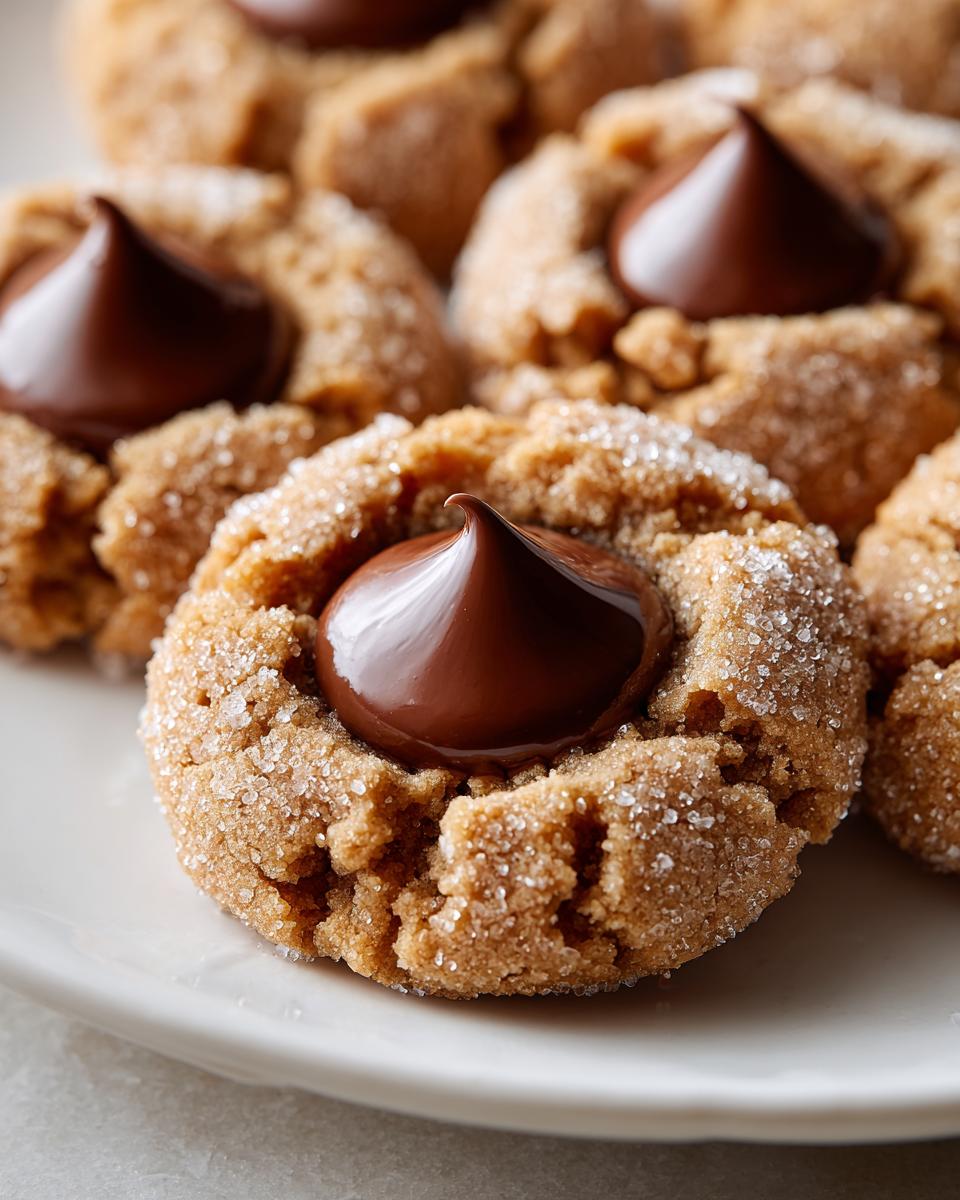
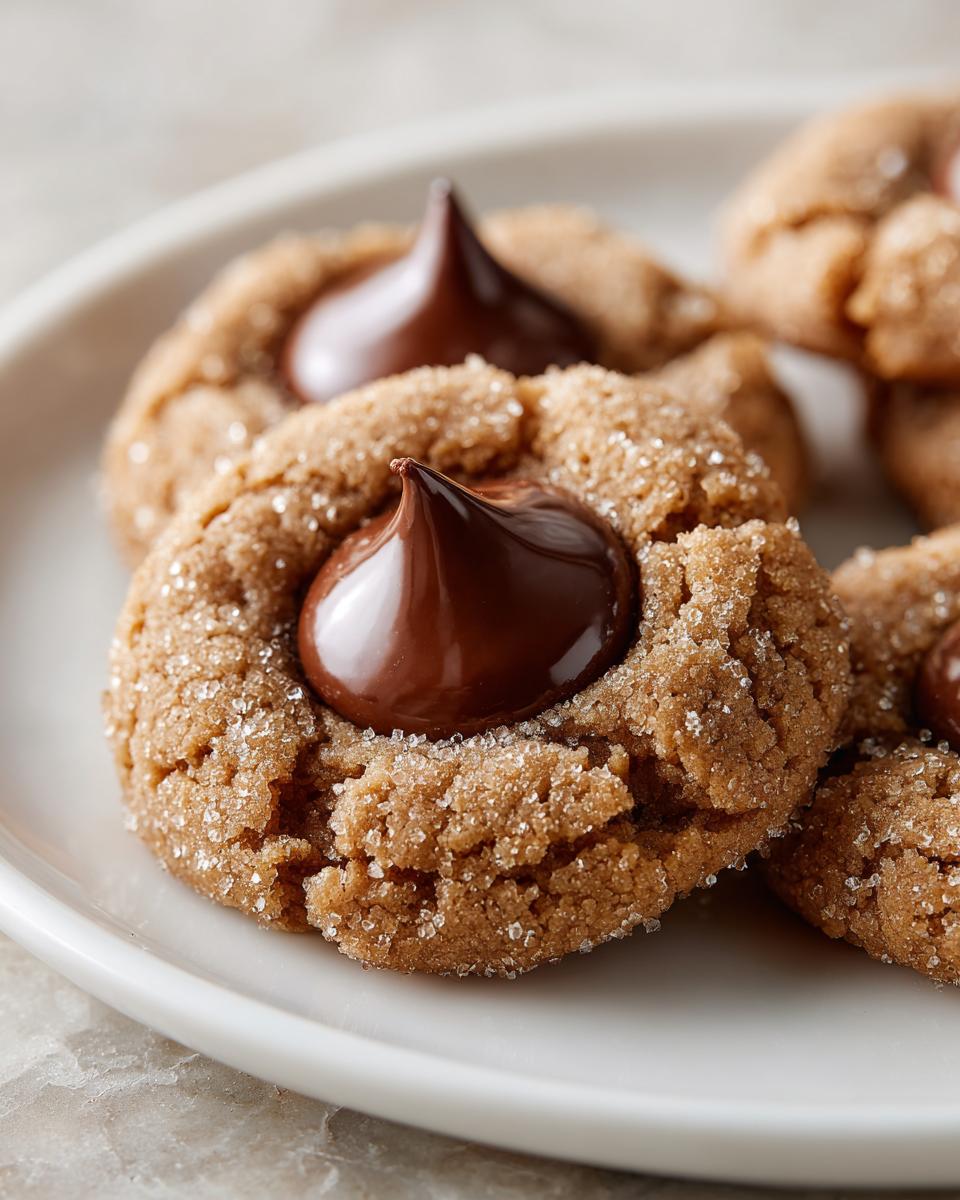
Serving Suggestions for Your Iconic Christmas Cookies
Once you’ve nailed that perfect soft texture in your peanut butter blossom cookies, the fun really begins—it’s time to show them off! These are such nostalgic, iconic treats, and they look wonderful next to other simple holiday staples. They really shine on a big platter because of that beautiful crinkle on the edge and the dark chocolate pop right in the middle.
You absolutely must serve these at room temperature. If they are too cold, the peanut butter base can firm up faster than we want, and the chocolate Kiss loses its appeal. They are fantastic right alongside a tall glass of cold milk—that classic pairing never fails, especially when the kids get involved!
For holiday gatherings, I always pair them with something slightly tart or fruity to cut through the richness of the peanut butter. Think about placing them near cranberry shortbread or maybe some lemon squares. The peanut butter and chocolate combination is so comforting, but giving your guests a little contrast makes the whole dessert table feel more exciting. If you’re looking for something different but still homemade for your platter, you might want to check out my guide for making things from scratch!
Frequently Asked Questions About Peanut Butter Blossom Cookies
I know when you dive into a classic recipe like this, little questions pop up. That’s perfectly normal! After all, figuring out the little tweaks helps you move from making good cookies to making your family’s absolute favorite version. I’ve tried to capture the most common worries folks have when baking these Iconic Christmas Cookies.
Can I use natural peanut butter in this Chewy Peanut Butter Cookie Recipe?
While I love the taste of natural peanut butter in a quick PB sandwich, I really have to say no for these blossoms if you are aiming for the soft and chewy result we worked so hard for. Natural peanut butter often separates, and that extra oil or watery part changes the fat-to-flour ratio in the dough. This can cause the cookies to spread right out while baking, and they won’t get that signature crinkle top we want. Stick to the creamy kind for the most dependable results in this recipe!
What is the best way to store Peanut Butter Kiss Cookies?
If you followed my advice and didn’t overbake them, storing these is quite simple! Keep them in an airtight container at room temperature. Don’t put them in the fridge; that dries out cookies faster than almost anything else. If you are making a huge batch for a holiday cookie swap and worry about them softening up too much before the meeting, you can place a small slice of plain white bread into the container with the cookies. The bread releases moisture into the container, keeping your Peanut Butter Blossom cookies soft and tasting fresh for days. It’s an old trick, but it works like a charm!
If you want to learn more about making wonderful, easy desserts that store well, you should check out my thoughts on my easy chocolate mousse recipe—it’s delightful and travels well, too!
Estimated Nutritional Data for One Peanut Butter Blossom
When we bake from scratch, we know exactly what we’re putting into our food, which is one of the great joys of home baking! But, of course, the richness of these treats means they aren’t exactly a low-calorie option. I’ve run the numbers based on the recipe provided so you have a general idea of what you’re enjoying. Remember that the specific brands of peanut butter and chocolate you choose can change these figures a bit, so think of this as a very good guideline.
For one of these delicious, soft, chocolate-topped wonders, here is the estimated nutritional breakdown:
- Calories: 160
- Sugar: 14g
- Fat: 8g (with 3g saturated)
- Carbohydrates: 20g
- Protein: 3g
They are a lovely, satisfying bite, perfect for that holiday cookie platter! I always say, anything made with real butter and love deserves to be enjoyed in moderation. They certainly fit the bill when you’re looking for a classic comfort treat.
Share Your Peanut Butter Blossom Creations
Well, that’s it! You now have all the secrets—the creaming method, the very important under-baking timing, and the quick kiss press—to create the absolute best, softest peanut butter blossom cookies known to humankind! I truly hope you enjoy baking these icons as much as I enjoy sharing this recipe with you.
Once you pull your batch out of the oven and see those beautiful crinkled edges with the perfect chocolate hat, I want you to take a picture! I absolutely love seeing the traditions you carry on in your own kitchens. If you followed these steps and ended up with cookies that stayed soft and chewy for days, please, please come back and let me know by leaving a 5-star rating below. It really helps other home bakers know they can trust this recipe.
If you snap a picture of your finished platter or your kids eagerly unwrapping the chocolate centers, tag me on social media! I always feature a few of your lovely culinary triumphs on my feed. Baking is about sharing, so let’s share the joy of these homemade classic cookies!
If you run into any tricky baking questions that I didn’t cover here, don’t hesitate to reach out to me directly through the contact page. Happy baking, and may your cookie tins always stay full!
PrintThe Best Soft and Chewy Classic Peanut Butter Blossoms
Make the iconic Peanut Butter Blossom cookies that stay soft and chewy long after baking. This recipe delivers the perfect balance of rich peanut butter and a chocolate kiss center, ideal for your holiday cookie platter.
- Prep Time: 15 min
- Cook Time: 10 min
- Total Time: 25 min
- Yield: About 3 dozen cookies 1x
- Category: Dessert
- Method: Baking
- Cuisine: American
- Diet: Vegetarian
Ingredients
- 1 cup unsalted butter, softened
- 3/4 cup creamy peanut butter
- 3/4 cup granulated sugar
- 3/4 cup packed brown sugar
- 2 large eggs
- 1 teaspoon vanilla extract
- 2 1/4 cups all-purpose flour
- 1 teaspoon baking soda
- 1/2 teaspoon salt
- 1/4 cup granulated sugar, for rolling
- 1 bag (about 12 ounces) Hershey’s Kisses, unwrapped
Instructions
- Preheat your oven to 375 degrees F. Line baking sheets with parchment paper.
- In a large bowl, cream together the softened butter, peanut butter, 3/4 cup granulated sugar, and brown sugar until the mixture is light and fluffy. This step helps create a soft texture.
- Beat in the eggs one at a time, then mix in the vanilla extract.
- In a separate medium bowl, whisk together the flour, baking soda, and salt.
- Gradually add the dry ingredients to the wet ingredients, mixing on low speed until just combined. Do not overmix the dough.
- Place the remaining 1/4 cup of granulated sugar in a shallow dish.
- Roll the dough into 1-inch balls. Roll each ball thoroughly in the sugar coating.
- Place the sugared dough balls about 2 inches apart on the prepared baking sheets.
- Bake for 8 to 10 minutes, or until the edges are set but the centers still look slightly soft. You want these cookies to stay soft.
- Immediately upon removing the cookies from the oven, gently press one unwrapped Hershey’s Kiss into the center of each warm cookie. The residual heat will soften the chocolate slightly.
- Let the cookies cool on the baking sheet for 5 minutes before transferring them to a wire rack to cool completely.
Notes
- For the softest cookies that stay fresh longer, use creamy peanut butter instead of natural or chunky varieties.
- Do not overbake. The cookies should look slightly underdone when you remove them, as they continue to set while cooling on the hot pan.
- If you are baking at high altitude, reduce the flour by 2 tablespoons and slightly increase the liquid or add 1/2 teaspoon of extra liquid to maintain moisture.
- If you need to chill the dough, only chill for 30 minutes maximum. Over-chilling can result in a drier, cakier cookie.
Nutrition
- Serving Size: 1 cookie
- Calories: 160
- Sugar: 14g
- Sodium: 95mg
- Fat: 8g
- Saturated Fat: 3g
- Unsaturated Fat: 5g
- Trans Fat: 0g
- Carbohydrates: 20g
- Fiber: 1g
- Protein: 3g
- Cholesterol: 20mg