
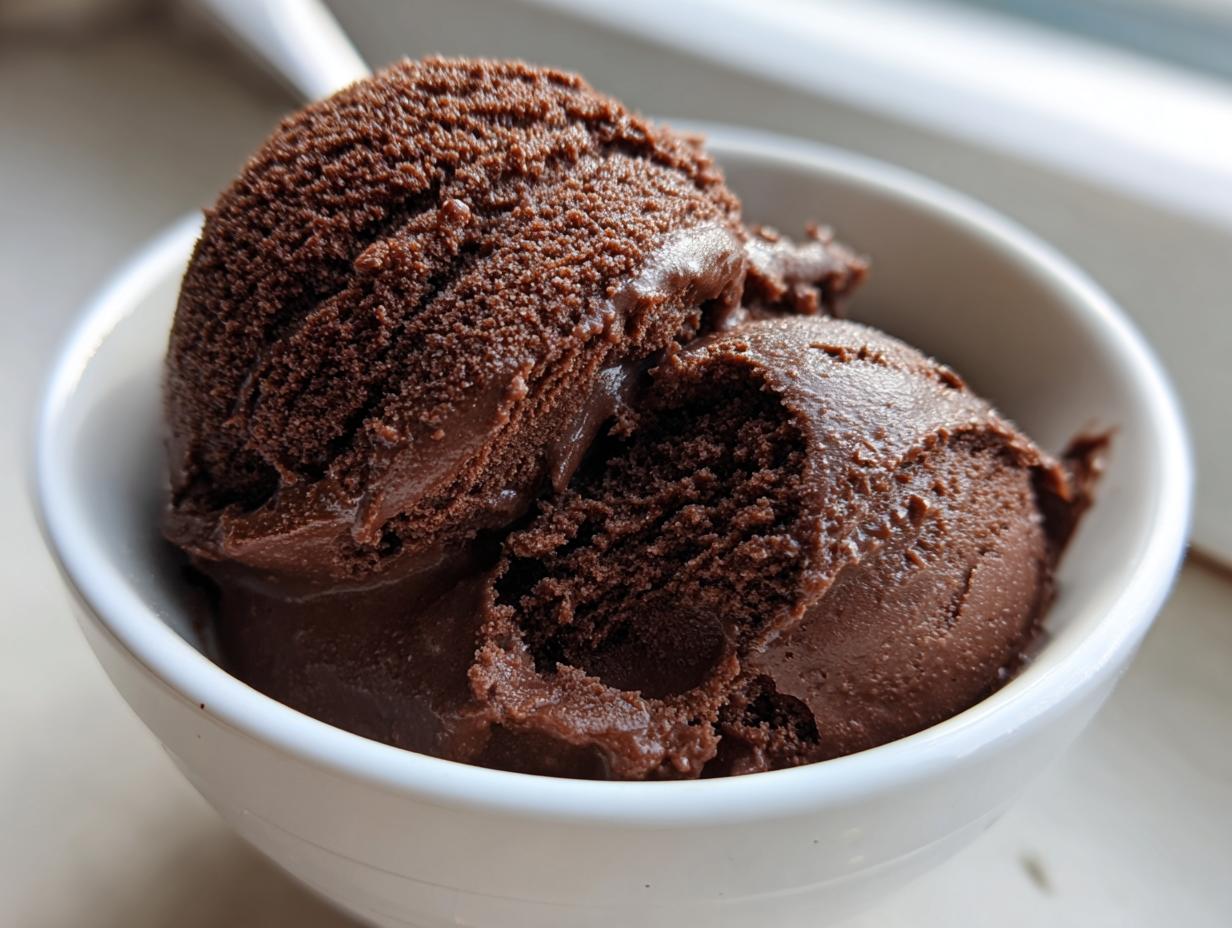
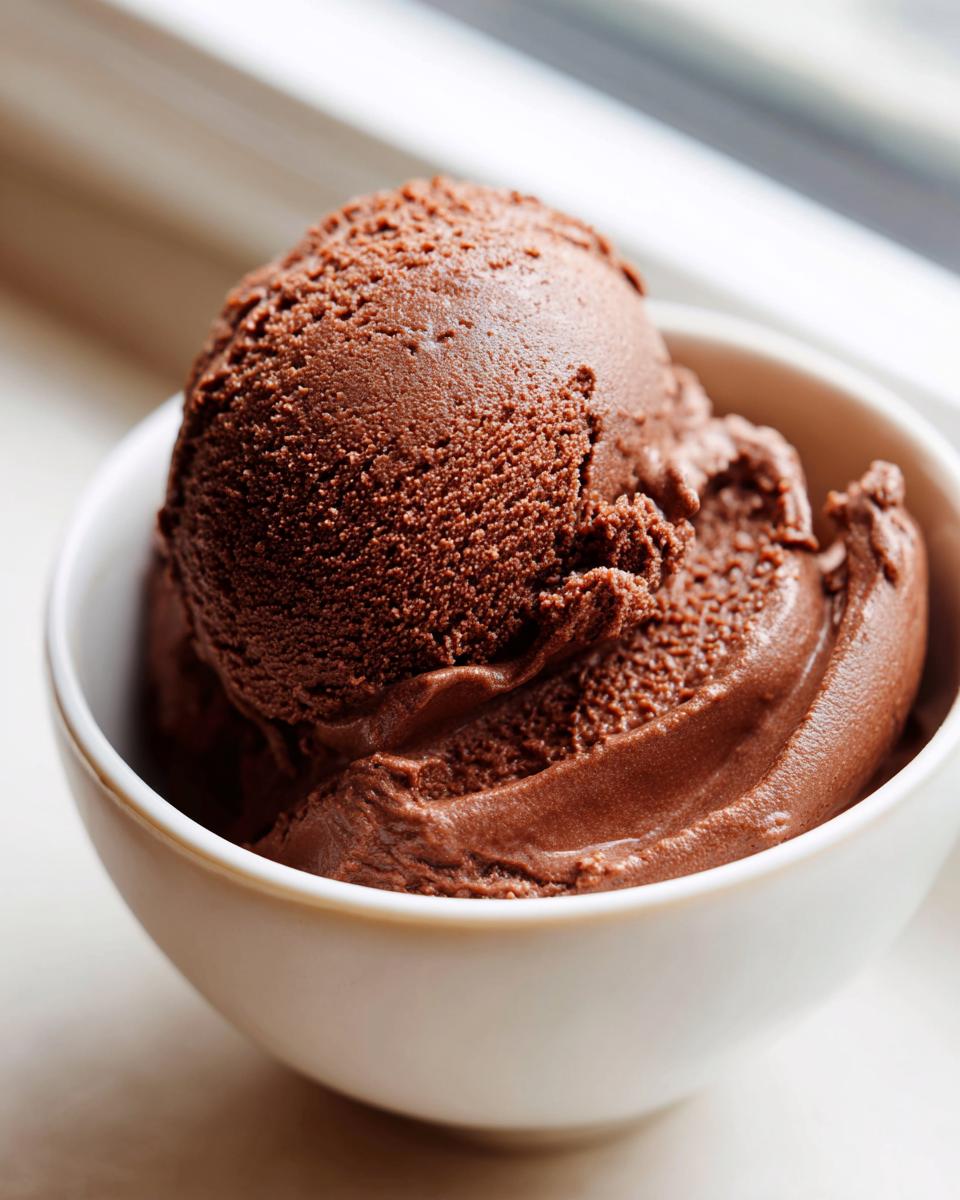
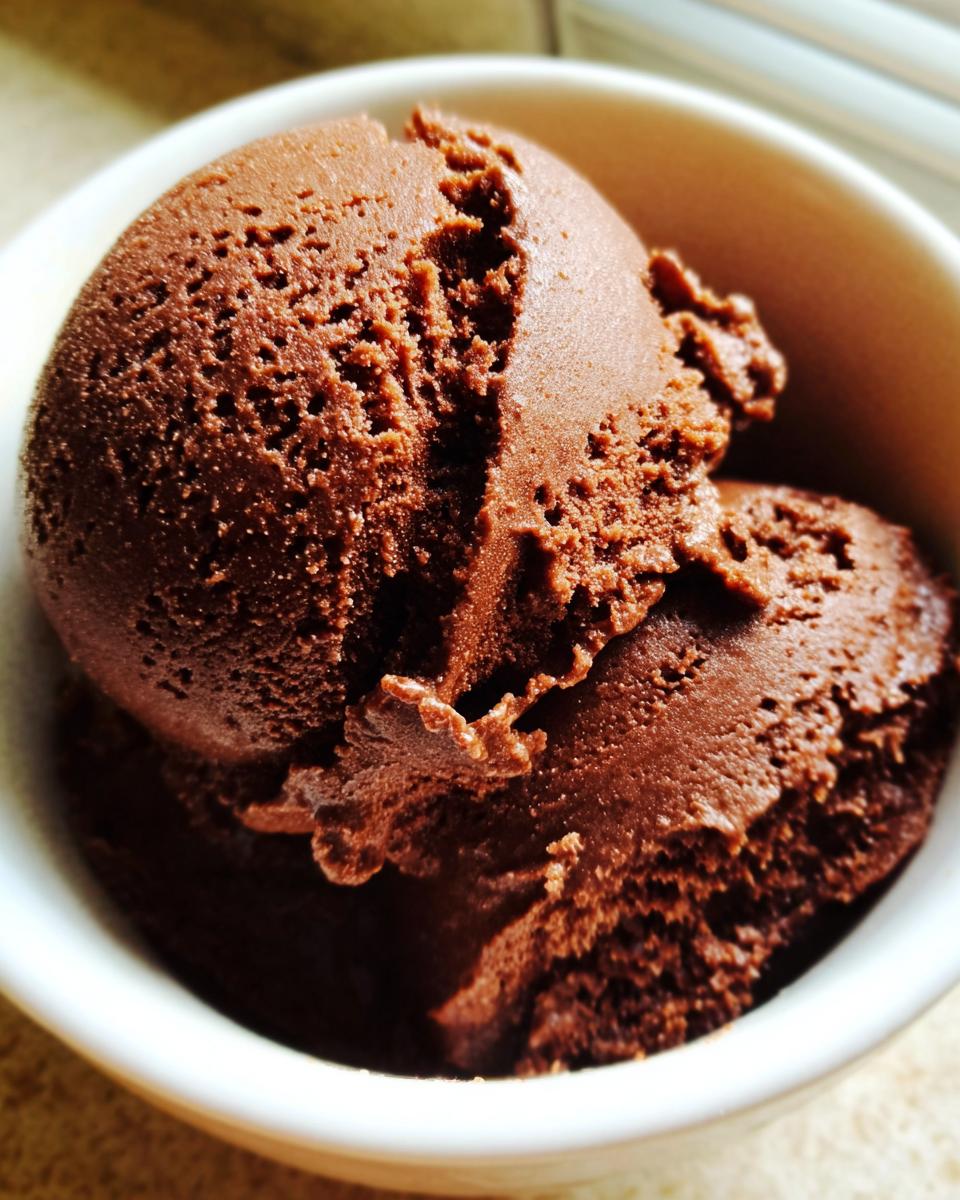
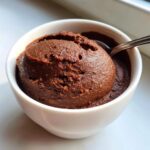
Oh, pull up a stool and let me tell you something right now: there is simply no comparison between the stuff in a box and what you can make right at your own stovetop. I’ve spent years teaching kids how to read and write, and that meant I learned how to explain things clearly, which is what I bring to this kitchen today. When it comes to comfort food desserts, nothing beats a truly decadent, velvety bowl of homemade chocolate pudding. This recipe, friends, delivers that rich, creamy texture every single time. It’s the kind of dependable recipe my own family relies on, and I just know it’s going to become a staple on your weeknight menu too. Forget the lumps; we’re making magic today! If you love rich flavors, you might also want to check out my recipe for best homemade rich creamy hot chocolate while you’re here.
- Why This Is Your New Favorite Homemade Chocolate Pudding Recipe
- Gathering Ingredients for Rich Chocolate Pudding Recipe
- Simple Stovetop Chocolate Pudding Instructions
- Tips for Success with Your Creamy Chocolate Pudding Dessert
- Serving Suggestions for This Classic Homemade Dessert
- Storage and Reheating Instructions
- Frequently Asked Questions About Homemade Pudding
- Nutritional Estimates for This Comfort Food Dessert
- Share Your Kitchen Creations
- Nutritional Estimates for This Comfort Food Dessert
- Share Your Kitchen Creations
Why This Is Your New Favorite Homemade Chocolate Pudding Recipe
I tell you what, if you’ve been relying on those little boxed envelopes, you’re missing out on a genuine treat. This easy chocolate pudding from scratch is the real deal—it’s my go-to quick chocolate treat when a craving hits. We skip anything fussy because honestly, life is busy enough! The stovetop method is so fast, and that rich chocolate pudding recipe results in the most unbelievably creamy chocolate pudding dessert you can imagine.
It sets up perfectly, giving you that wonderful velvety pudding mouthfeel without any weird aftertaste from stabilizers. It’s truly the best chocolate pudding recipe because it tastes like the comforting hug you need at the end of the day. If you’re looking for more easy-to-manage chocolate goodness, you have to bookmark my easy chocolate cupcakes recipe next!
Gathering Ingredients for Rich Chocolate Pudding Recipe
The beauty of making this an easy chocolate pudding recipe from scratch is that you likely have almost everything sitting in your pantry right now. We aren’t talking about special ordering ingredients here; we’re talking butter, sugar, milk, and cocoa! Simple, high-quality components are what make this such a dependable comfort food dessert.
- 1/4 cup unsweetened cocoa powder
- 3/4 cup granulated sugar
- 1/4 teaspoon salt
- 1/3 cup cornstarch (This is our secret for that amazing thickness!)
- 2 cups whole milk
- 2 large egg yolks (Be sure to save the whites for meringues later!)
- 2 tablespoons unsalted butter
- 1 teaspoon vanilla extract
Ingredient Notes and Substitutions for Homemade Chocolate Pudding
Now, while these ingredients are straightforward, Carla has a couple of small notes that make all the difference in ensuring you end up with that perfect rich chocolate pudding recipe, not a watery mess.
When we talk about the cocoa powder, if you want a flavor that is incredibly deep—almost a little darker and more complex—you’ll want to reach for Dutch-process cocoa powder if you have it. If you only have regular unsweetened, don’t worry one bit; it works just fine!
For the milk, I insist on whole milk because the fat content really helps create that luxurious texture. If you use low-fat milk, the pudding will still set up, but it won’t have the same satisfying mouthfeel. Remember, this is a treat, so let’s go for the richness!
Simple Stovetop Chocolate Pudding Instructions
Making this stovetop chocolate pudding is such a satisfying process. It truly proves that the best desserts come from simple cooking rather than opening a box. We’re going to build all that incredible texture right here in a saucepan—no fancy mixers needed!
First things first, grab your medium saucepan. You want to whisk together all your dry ingredients—the cocoa powder, sugar, salt, and cornstarch—really well. Don’t skip this part! If you leave clumps of cornstarch now, you’ll be fishing them out later. Once they look uniform, slowly start whisking in that whole milk until everything is completely smooth. Take your time here; water and dry ingredients like to clump!
Now, set that pan over medium heat. You must stay right there and stir constantly. I mean it! Use your whisk and keep scraping the bottom and sides. This is important because the cornstarch sinks and burns easily. After about 8 to 10 minutes, you’ll see it start to bubble and come alive. Once it starts that happy boil, keep whisking and cooking for just one more minute. That minute cooks out any starchy taste. Then, take it off the heat immediately.
For the next critical part, we add the egg yolks. If you just dump them in, you’ll get scrambled eggs, and nobody wants that in their easy chocolate pudding from scratch! We have to temper them first. Whisk your two yolks gently in a separate small bowl. Then, take about half a cup of that hot pudding liquid and whisk it *slowly* and steadily into the yolks. This gently raises their temperature without shocking them.
Achieving Velvety Pudding Texture Through Tempering
That slow addition process is called tempering, and honestly, it’s the key to getting that gorgeous, velvety pudding. If you rush it, like I said, the proteins in the yolks seize up instantly, and bam—you’ve got little bits of cooked egg instead of a smooth custard.
Once those yolks are warmed up nicely, you pour that tempered mixture right back into the saucepan with the rest of the hot pudding base. Put it back on very low heat. You only need to stir it gently for about a minute or two until it has thickened up even more. Be careful not to let it boil again once the yolks are in! Once it looks thick and glossy, pull it away from the heat entirely. Now we stir in the butter until it melts perfectly, and finally, that teaspoon of vanilla extract. That’s how you get that rich, deep flavor that beats any boxed mix!
If you want to see another fantastic easy homemade chocolate pudding recipe that comes together almost as fast, give this one a look later!
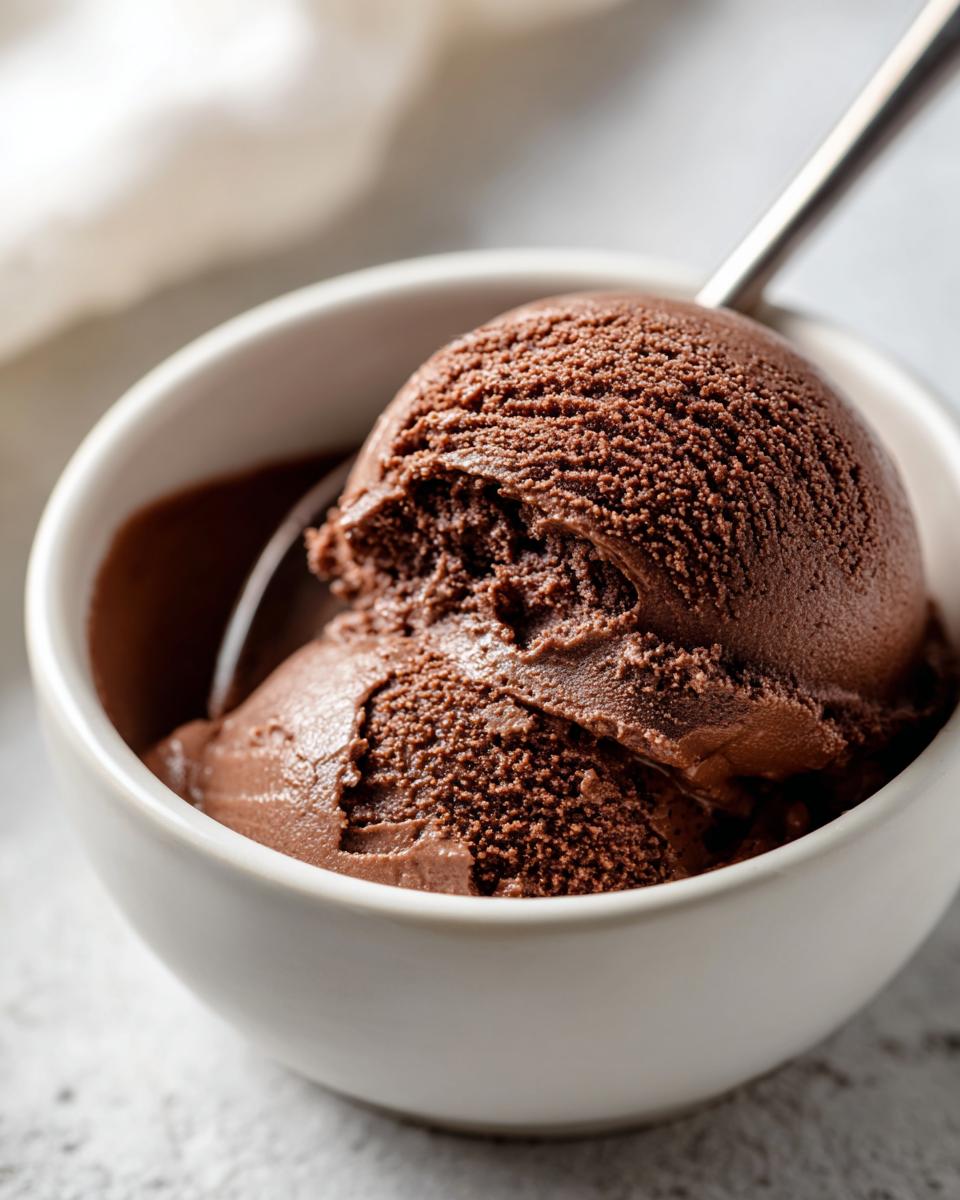
Chilling Time for the Best Homemade Chocolate Pudding
We’re almost done, but the patient part is crucial for the texture! Divide your pudding into four small bowls or one big serving dish. Here is the trick my mother taught me: take a piece of plastic wrap and gently press it directly onto the surface of the pudding. Don’t just cover the bowl; make sure the plastic touches the actual pudding itself.
Why the fuss? Because if you don’t do this, you get that rubbery skin on top that ruins the silky texture of your best homemade chocolate pudding! Pop those dishes into the refrigerator. They need at least 2 hours to chill completely and set up firm. Don’t peek too early! Patience ensures you get a thick, scoopable, perfect classic.
Tips for Success with Your Creamy Chocolate Pudding Dessert
Even though this is an incredibly straightforward easy chocolate pudding recipe from scratch, there are three little things I always tell folks in my baking classes that guarantee a perfect batch of this delicious chocolate dessert every time. Remember, I spent thirty years teaching, so I know where students usually get tripped up!
First, use a whisk, not a spoon, when you are cooking the pudding base. A whisk introduces a little bit more air, and more importantly, it is the only tool that really scrapes the bottom corners of the pan thoroughly. That’s where the cornstarch likes to settle and scorch if you aren’t paying attention. Constant, thorough whisking while it heats is your insurance policy against lumps!
Second, pay attention to the timing once you take the initial milk mixture off the heat. That one minute of boiling *after* it thickens is necessary to cook out the cornstarch flavor, but once you add those tempered egg yolks back in, you stop the temperature game. Seriously, keep the heat low and just stir until it’s thick again—no more bubbles allowed! Boiling with the yolks in there will seize them up, and then you’re back to square one.
Finally, don’t underestimate the power of good vanilla extract. It doesn’t mask the chocolate; it *elevates* it. I always use a full teaspoon right at the very end, after the heat is off, to make sure that flavor is bright and present in your final creamy chocolate pudding dessert. If you’re looking for another beautiful chocolate treat to add to your rotation, try my chocolate mousse pie recipe!
Serving Suggestions for This Classic Homemade Dessert
This classic homemade dessert shines all on its own, truly. But if you want to dress it up a little for company—or just because you deserve it!—I have a few simple suggestions that never fail. I always prefer toppings that let the smooth, deep chocolate flavor be the star.
The very best topping, in my opinion, is a big dollop of freshly whipped cream. Nothing fancy, just heavy cream whipped until it holds soft peaks. A little sprinkle of flaky sea salt right on top of the cream cuts the sweetness perfectly. If you’re feeling a bit more elaborate, try some shaved dark chocolate or even a few fresh raspberries. Or, for an extra layer of sweetness, check out this link for inspiration on using a wonderful chocolate pudding recipe delight simple ingredients style topping, though honestly, simple is my go-to!

If you want something richer, check out my recipe for chocolate frosting recipe fluffy buttercream—a small smear on top is heavenly! Enjoy that wonderful, rich indulgence.
Storage and Reheating Instructions
This pudding is best eaten cold, straight from the fridge after it has set up properly. Because we pressed the plastic wrap right onto the surface, keep it covered that way in the refrigerator. It should hold beautifully for about 3 to 4 days—it’s so good you probably won’t have any left!
Now, if you absolutely must reheat some, know that it will thicken up a lot more when cold. You can gently heat a serving in the microwave or on the stove, but you must whisk in a small splash of milk while warming it to get that homemade chocolate pudding smooth again. Honestly though, I prefer mine chilled!
For more tips on decadent desserts, you can check out this link about the best chocolate pudding recipe rich creamy made from scratch if you’re curious!
Frequently Asked Questions About Homemade Pudding
I love hearing from you all, and I know sometimes details can trip people up when it comes to a new recipe. Don’t worry if a question pops into your head; I’ve done my best to answer the most common ones about making a perfect from scratch pudding right here. These little tips are what separates a good attempt from a truly great one!
Can I make this homemade chocolate pudding without using egg yolks?
That’s a very common question! Since the recipe calls for egg yolks, they are added primarily for richness and to help the pudding thicken beautifully after tempering. If you absolutely cannot use eggs, you can leave them out, but you must compensate by increasing the cornstarch. I would suggest increasing the cornstarch from 1/3 cup to a full 1/2 cup. You’ll have to cook it a little longer after it starts to boil to ensure that starchy taste is cooked off. The texture won’t be *quite* as luxurious, but it will still be a wonderful, quick chocolate treat!
How do I fix my pudding if it turned out lumpy?
Oh, don’t panic about lumps! It happens to the best of us, especially if the dry ingredients weren’t whisked sufficiently first. The absolute best way to save lumpy pudding is to pull it off the heat and grab a fine-mesh sieve—that’s that fine strainer we use for dusting powdered sugar. Pour the entire pot of pudding through the sieve right into a clean bowl. Use the back of a spoon or a spatula to gently press the pudding through. All those annoying little lumps will be caught, leaving you with that smooth, velvety pudding texture you were aiming for. Then, proceed with adding the butter and vanilla before chilling.
What’s the absolute best milk to use for the creamiest chocolate pudding dessert?
As I mentioned before, I always lean toward whole milk in my kitchen for anything creamy, like this easy chocolate pudding from scratch. The fat content helps carry the deep chocolate flavor and creates a satisfying richness. If you must use 2% milk, go ahead, but understand it might come out tasting a little thinner. Avoid skim milk entirely if you are aiming for that decadent, gourmet pudding recipe standard. For the richest results, nothing beats whole milk!
Can I use melted chocolate instead of cocoa powder for this recipe?
You know, that’s a great idea if you’re looking to make a slightly different version! If you want to swap, you can generally substitute about 4 ounces of high-quality bittersweet chocolate for the cocoa powder in this recipe. You’ll need to melt that chocolate separately first, usually over a double boiler or very carefully in the microwave, and then whisk it in with the butter and vanilla *after* the pudding mixture has thickened on the stove and come off the heat. It will create a deeper, slightly fudgier experience. If you are interested in other easy breakfast items, you can find my easy French toast recipe too!
Nutritional Estimates for This Comfort Food Dessert
It’s smart to know what you’re eating, even when it’s a treat! Remember, these numbers are just estimates based on the standard recipe card ingredients, so they can change depending on exactly what brand of milk or cocoa powder you use. Because we use real butter and whole milk, this rich chocolate pudding recipe is certainly an indulgence, but one that’s worth every spoonful!
- Serving Size: 1 serving
- Calories: 310
- Sugar: 38g
- Sodium: 180mg
- Fat: 12g
- Carbohydrates: 48g
- Protein: 7g
Share Your Kitchen Creations
Honestly, seeing your results is the best part of this whole journey for me! I hope you found making this homemade chocolate pudding just as rewarding as eating it. This is meant to be a dependable recipe you can turn to again and again for a comforting hug in a bowl.
If you followed the steps and ended up with luscious, smooth pudding, please leave me a quick star rating right below the recipe card! And if you have any tweaks or substitutions that worked wonders for you, drop them in the comments. I read every single one, and I love learning from this wonderful community Carla has built. Happy baking (or stirring!)!
Nutritional Estimates for This Comfort Food Dessert
It’s smart to know what you’re eating, even when it’s a treat! Remember, these numbers are just estimates based on the standard recipe card ingredients, so they can change depending on exactly what brand of milk or cocoa powder you use. Because we use real butter and whole milk, this rich chocolate pudding recipe is certainly an indulgence, but one that’s worth every spoonful!
- Serving Size: 1 serving
- Calories: 310
- Sugar: 38g
- Sodium: 180mg
- Fat: 12g
- Carbohydrates: 48g
- Protein: 7g
Share Your Kitchen Creations
Honestly, seeing your results is the best part of this whole journey for me! I hope you found making this homemade chocolate pudding just as rewarding as eating it. This is meant to be a dependable recipe you can turn to again and again for a comforting hug in a bowl. For more about my philosophy on simple, dependable cooking, you can always check out my About Page anytime!
If you followed the steps and ended up with luscious, smooth pudding, please leave me a quick star rating right below the recipe card! And if you have any tweaks or substitutions that worked wonders for you, drop them in the comments. I read every single one, and I love learning from this wonderful community Carla has built. Happy stirring!
PrintThe Best Homemade Chocolate Pudding Recipe From Scratch
Make this rich, creamy, and velvety homemade chocolate pudding from scratch. This stovetop recipe uses simple pantry staples for a comforting dessert that beats any boxed mix.
- Prep Time: 10 min
- Cook Time: 15 min
- Total Time: 2 hours 25 min
- Yield: 4 servings 1x
- Category: Dessert
- Method: Stovetop
- Cuisine: American
- Diet: Vegetarian
Ingredients
- 1/4 cup unsweetened cocoa powder
- 3/4 cup granulated sugar
- 1/4 teaspoon salt
- 1/3 cup cornstarch
- 2 cups whole milk
- 2 large egg yolks
- 2 tablespoons unsalted butter
- 1 teaspoon vanilla extract
Instructions
- In a medium saucepan, whisk together the cocoa powder, sugar, salt, and cornstarch until fully combined.
- Gradually whisk in the whole milk until the mixture is smooth.
- Place the saucepan over medium heat. Cook, stirring constantly with a whisk, until the mixture thickens and begins to bubble. This takes about 8 to 10 minutes.
- Once boiling, continue to cook and whisk for 1 minute to cook out the cornstarch taste. Remove the pan from the heat.
- In a small bowl, whisk the egg yolks lightly. Temper the yolks by slowly whisking about 1/2 cup of the hot pudding mixture into the yolks.
- Pour the tempered yolk mixture back into the saucepan with the remaining pudding. Return the pan to low heat. Cook gently, stirring constantly, for 1 to 2 minutes until the pudding is thick. Do not let it boil after adding the yolks.
- Remove from heat. Stir in the butter and vanilla extract until the butter is melted and fully incorporated.
- Pour the pudding into individual serving dishes or a single bowl. Press plastic wrap directly onto the surface of the pudding to prevent a skin from forming.
- Chill in the refrigerator for at least 2 hours, or until cold and set. Serve cold.
Notes
- For a deeper chocolate flavor, use Dutch-process cocoa powder.
- You can substitute the whole milk with low-fat milk, but the texture will be slightly less rich.
- For a mocha flavor, add 1/2 teaspoon of instant espresso powder with the dry ingredients.
Nutrition
- Serving Size: 1 serving
- Calories: 310
- Sugar: 38
- Sodium: 180
- Fat: 12
- Saturated Fat: 7
- Unsaturated Fat: 5
- Trans Fat: 0
- Carbohydrates: 48
- Fiber: 2
- Protein: 7
- Cholesterol: 75