
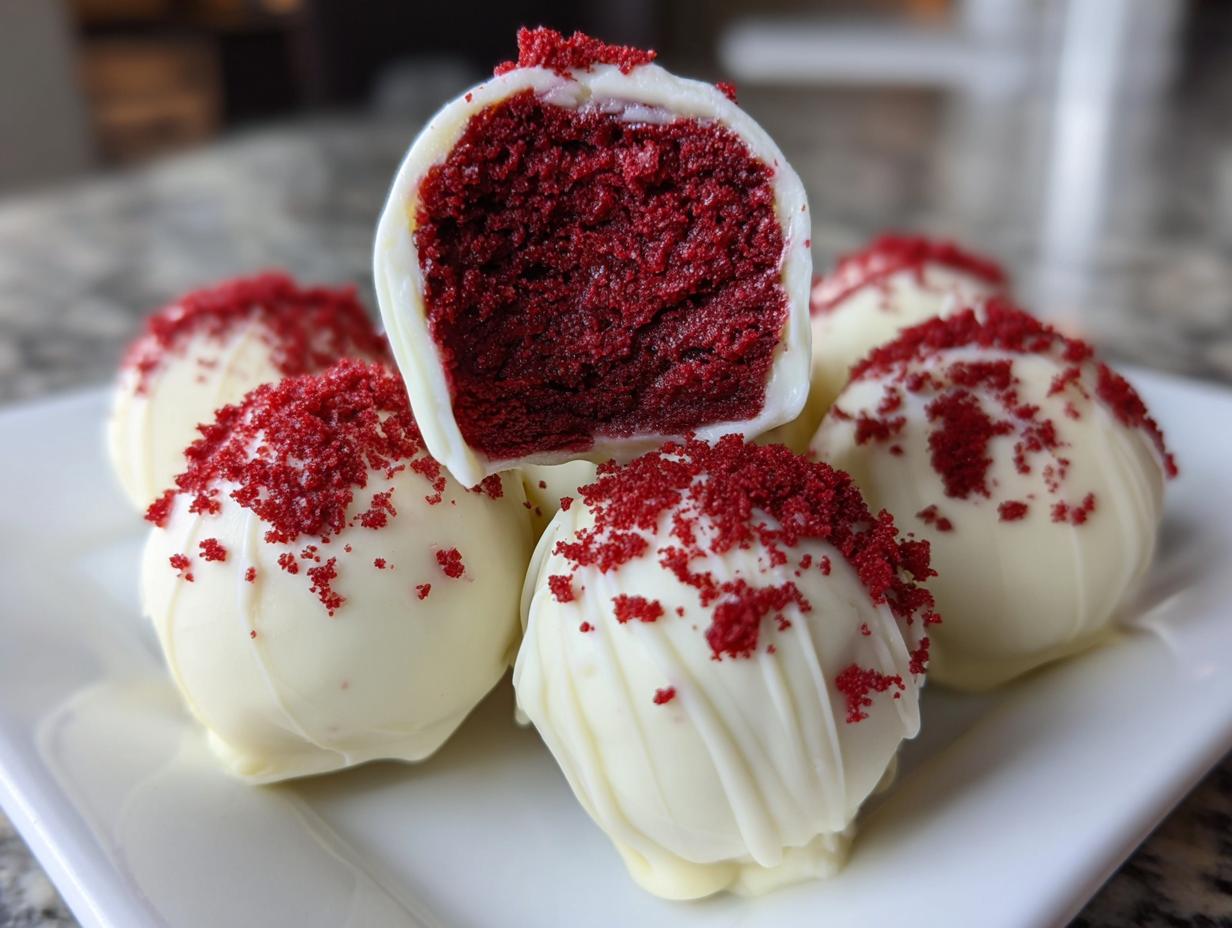
Sometimes, you just need a little bite of pure, comforting indulgence without turning on the oven, don’t you? That’s exactly what led me to perfecting these Easy No-Bake Red Velvet Cake Balls with Cream Cheese Frosting. If you’re looking for the very best way to deliver that rich, velvety flavor in a tiny package, these red velvet cake balls are it. As I always say over at Cooking by Carla, the best treats are often the simplest ones—made with love and minimal fuss. These come together quickly and taste just like the comfort you expect from a slow Sunday afternoon in the kitchen.
- Why These red velvet cake balls Are Your New Favorite Easy Red Velvet Dessert
- Gathering Ingredients for Your red velvet cake balls
- How to Make Moist red velvet cake balls Step-by-Step
- Tips for Perfect red velvet cake balls Every Time
- Serving Suggestions for Your red velvet holiday treats
- Storage and Make-Ahead Tips for red velvet cake balls
- Frequently Asked Questions About Making red velvet cake balls
- Estimated Nutritional Data for This Quick Dessert Recipe
- Share Your Homemade red velvet cake balls Creations
- Estimated Nutritional Data for This Quick Dessert Recipe
- Share Your Homemade red velvet cake balls Creations
Why These red velvet cake balls Are Your New Favorite Easy Red Velvet Dessert
There’s nothing better than a dependable recipe that delivers huge flavor without requiring hours of effort. That’s why I trust these so much for holiday tables or when I need a fun snack fast. You know they are going to be good because the foundation is that classic pairing: moist red velvet cake mixed right into that tangy cream cheese frosting. Trust me, this combination beats anything store-bought. If you need more ideas for snacks you can grab and go, check out my roundup of easy appetizers and snacks!
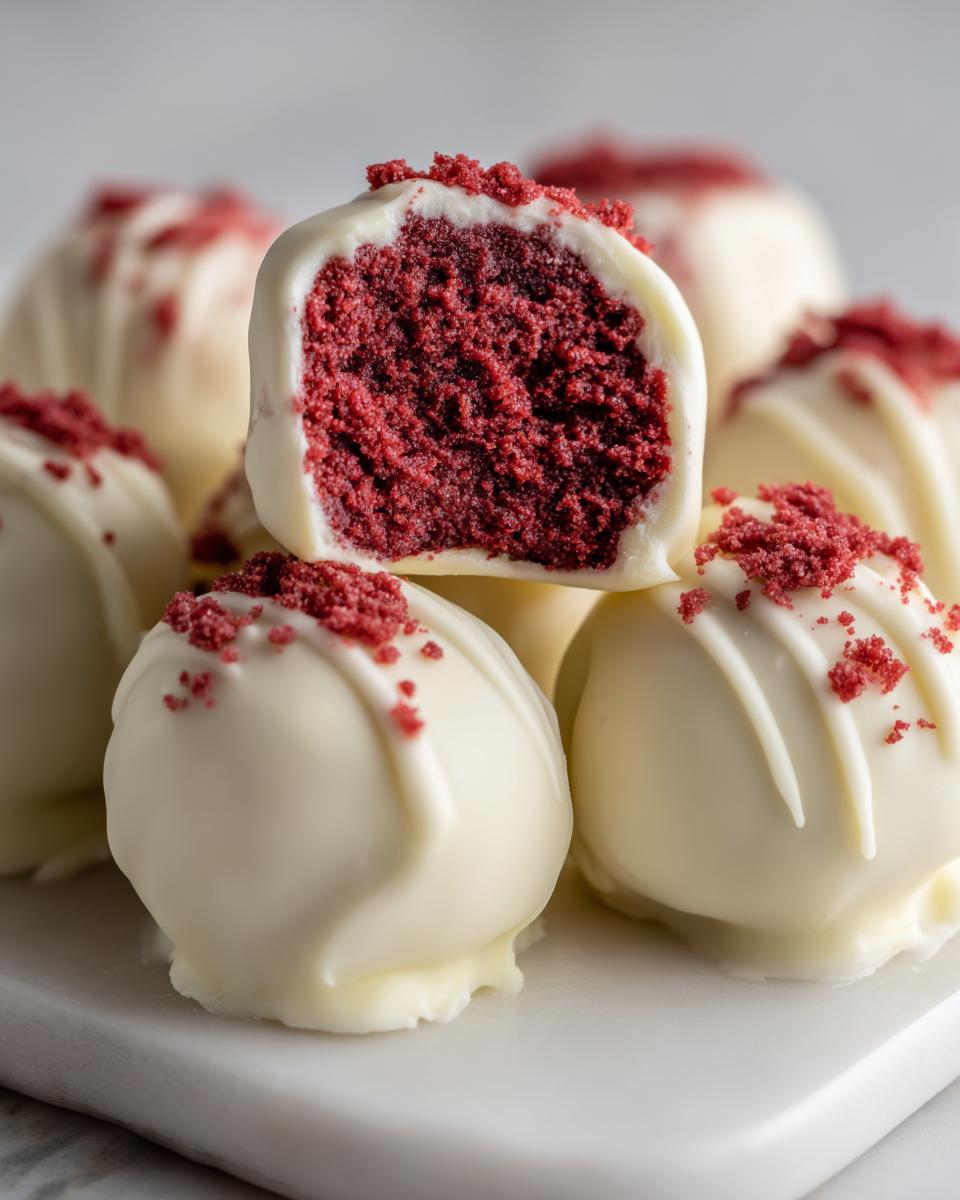
- They are completely no bake cake balls—just mix, roll, chill, and dip!
- The texture inside is just right, never crumbly, always perfectly moist red velvet balls.
- They rely on a cake mix, which saves critical time for busy home cooks like us.
- They are the definition of easy party desserts; everyone grabs one!
Because they turn out so reliably delicious, you’ll want to bookmark this one forever.
Quick Dessert Recipes for Any Occasion
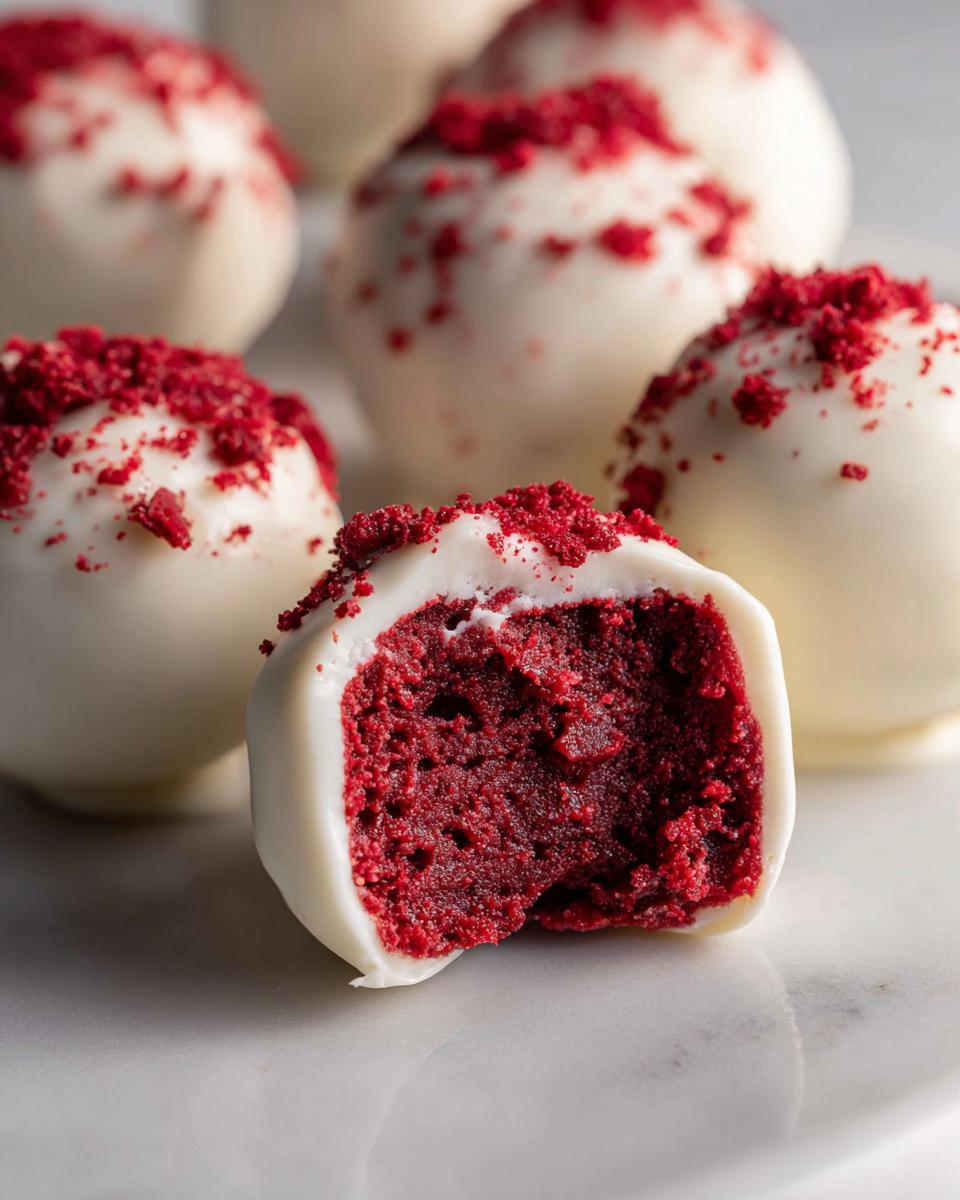
When company pops over unexpectedly or you realize you forgot to make dessert for the potluck, this recipe is my secret weapon. These definitely fall into the category of quick dessert recipes you can whip up in under an hour of active time. Since we aren’t dealing with ovens, we save so much cleanup, too. They are the perfect little two-bite indulgence—a lovely bite sized red velvet treat that satisfies everyone without leaving you feeling weighed down.
Gathering Ingredients for Your red velvet cake balls
Just look at these simple ingredients! When a recipe is this straightforward, quality really matters, and I always tell folks that using exactly what’s called for makes all the difference. We’re aiming for ultimate moisture and that perfect snap from the coating. Before you start mixing, get everything measured out and ready to go. Having your cream cheese frosting truffles components lined up makes the process fly by, which is exactly what we want in a simple homemade candy!
- 1 box red velvet cake mix
- 1 1/4 cup water
- 1/2 cup vegetable oil
- 3 large eggs
- 1 (8 ounce) package cream cheese, softened
- 12 ounces white chocolate melting wafers
Ingredient Notes and Substitutions
Now, a couple of pointers straight from my kitchen. If you are really rushing, you can absolutely skip the baking step and use one box of store-bought, unfrosted red velvet cake. Just crumble that up and proceed! The real key here, though, is the chocolate coating. You must use good quality white chocolate melting wafers. If you try to use regular white chips, they often seize up or refuse to melt smoothly, which ruins that beautiful finish on your white chocolate dipped bites.

Also, be sure that cream cheese is truly softened—not melted, mind you, but soft enough that your finger leaves an easy imprint. That makes combining it with the crumbs much cleaner.
How to Make Moist red velvet cake balls Step-by-Step
This is where the magic happens, and honestly, it’s so much easier than making a full layer cake! Even though these are no bake cake balls when it comes to assembly, we do have one small step in the oven first: baking the cake base. Don’t worry, once that cake is cool, it’s all mixing, rolling, and dipping! Remember, following the timeline is key to getting those perfectly firm balls ready for their chocolate bath. While the cake cools, you can tidy up a bit—that’s always my little trick for staying ahead of the game. If you’re looking for other quick energy boosters, you know I always share breakfast ideas too, like over at my post on easy breakfast recipes!
Baking and Crumb Preparation for red velvet cake balls
First, you’ll bake that cake mix just as the instructions say, using the water, oil, and eggs listed in the ingredient list. Once it’s baked and cooled completely—and I mean cool, not even slightly warm—it’s time to crumble! Take your time here and break the cake down completely in a large bowl. If you see any overly dark or stiff crust edges, go ahead and pull those off now; we only want the softest parts for our red velvet cake balls.
Mixing and Chilling the cream cheese frosting truffles Base
Next up is my favorite part of the base: mixing in that softened cream cheese. You want to work this in until everything is uniform and the mixture looks like moist dough that holds its shape when you squeeze a bit. Then, roll them into those perfect 1-inch dollops and get them on a lined sheet. Here’s the non-negotiable step: you absolutely must chill these for at least 30 minutes. This chilling time makes all the difference so your cream cheese frosting truffles don’t turn into a melted puddle when they hit the warm chocolate!
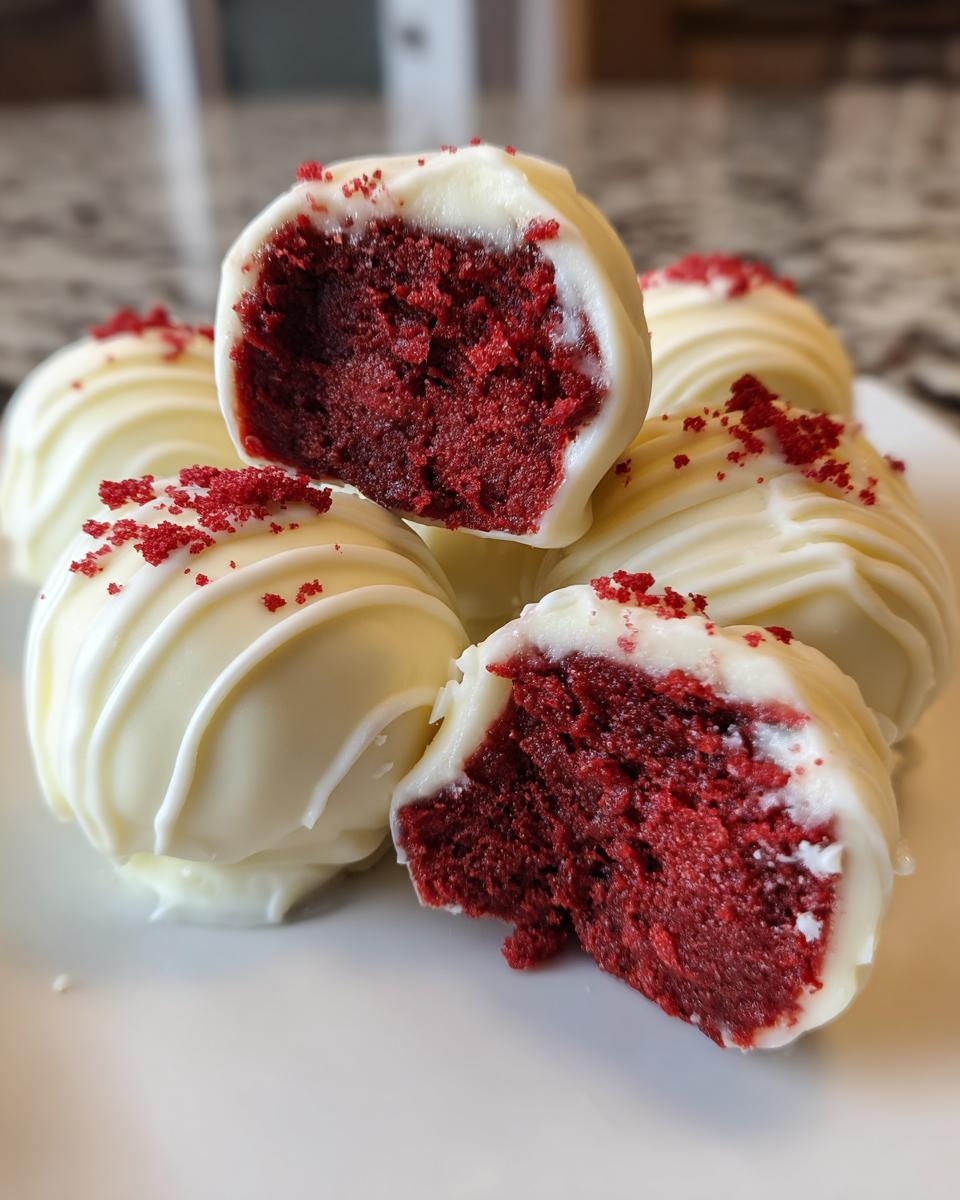
The White Chocolate Dipping Technique for chocolate covered red velvet bites
Melting the white chocolate requires patience. I prefer a double boiler, but you can use short bursts in the microwave—just stir every 20 seconds so you don’t scorch it! Once smooth, take those chilled balls and gently drop them in. Use a fork or a dipping tool to roll it around completely so you get full coverage on your chocolate covered red velvet bites. Lift it out, gently tap the fork on the side of the bowl to let that extra chocolate drip off, and then place it back on the paper. A nice, thin shell is what we’re aiming for!
Tips for Perfect red velvet cake balls Every Time
Whenever I teach classes or answer reader questions, folks often ask how to keep these little treats from falling apart or getting too soft under that pretty chocolate shell. It all comes down to those chilling times we mentioned, but I have a few extra tricks up my sleeve that I learned over the years.
Remember those notes I put on the recipe card? If you are really busy, absolutely use a store-bought cake—sometimes a shortcut is just what we need! But if you are baking, make sure that cake is stone cold before you start. I once tried to rush the cooling process using the freezer, and the cake got too hard! When I mixed in the cream cheese, the mixture was stiff and wouldn’t hold together easily. So, I learned: air cooling or a slow chill in the fridge is the way to go!
If your mixture ever feels too soft after mixing in the cream cheese—which can happen if your cream cheese wasn’t quite hard enough—don’t panic! Just pop the whole bowl into the refrigerator for another 15 minutes before rolling. That little rest helps everything firm up beautifully. If you’re looking for a great, simple chocolate frosting for drizzling designs later, be sure to check out my recipe for fluffy buttercream frosting, although for dipping, those wafers are best!
And don’t forget, if you want to make these ahead for a big event, they freeze like a dream! You can find more advice on making perfect chocolate coatings over at Basics with Bails, too.
Serving Suggestions for Your red velvet holiday treats
These beautiful red velvet cake balls just beg to be dressed up! If you’re making them for Christmas, toss a handful of crushed candy canes over the wet white chocolate—the mint and velvet flavors are just wonderful together. For Valentine’s Day, nothing beats a sprinkle of festive red and pink hearts. I also love to pair these little treasures with a cup of strong, hot coffee; the slight bitterness balances the sweetness perfectly. They look so lovely grouped together on a tiered stand alongside other Christmas chocolate cream pie variations, making a stunning centerpiece.
If you loved the idea of using festive sprinkles for Valentine’s Day inspiration, you might want to check out the wonderful ideas shared by Yum Taste for specialized Valentine’s Day desserts!
Storage and Make-Ahead Tips for red velvet cake balls
One of the reasons I adore these bite sized red velvet treats so much is that you can safely make them ahead of time. That takes so much pressure off when you’re hosting a party!
Once the chocolate shell has fully set, simply place your red velvet cake balls into an airtight container. They do best when kept cool, so the refrigerator is their sweet spot. They will stay perfectly delicious for about a week this way. Keeping them chilled ensures that lovely chocolate coating stays firm and doesn’t get soft on your counter.
Now, for the secret freezer tip from the recipe card: you can absolutely freeze these! Pop the container in the freezer for up to three months. When you realize you need a dessert tonight, just bring them out to the fridge for a few hours to thaw. Isn’t that handy? If you want even more make-ahead sweet ideas, take a peek at my recipe for easy peanut butter fudge recipe!
Frequently Asked Questions About Making red velvet cake balls
I always expect questions once folks dive into a new recipe, especially when it comes to shortcuts! I want you to feel confident making these delicious cream cheese frosting truffles, so here are a few things people ask me all the time.
Can I skip baking the cake and use store-bought cake?
Oh, absolutely! That note isn’t just for show; it’s a true lifesaver when time is tight. If you can find an unfrosted red velvet cake from your local bakery, that works perfectly. You crumble it up just like you would the baked mix. Some folks even use pre-made cake crumbs if they can find them! It makes this one of the best and easiest red velvet dessert options out there.
What if I don’t have cream cheese? Can I substitute it?
That’s a tough one, dear! The cream cheese plays two big roles: it adds that essential tangy zip, and it acts as the binder that holds the crumbs together so they don’t crumble when you dip them. If you absolutely must substitute, you’d need something similarly dense and tangy, like a very thick mascarpone, but honestly, the texture won’t be quite the same. For the best results in these chocolate covered red velvet bites, I really suggest sticking to the recipe here, or look up a recipe that uses a different binder, like a 3-ingredient version you might find elsewhere, such as the one from Food for Your Good if you need to avoid cream cheese.
How do I make sure the white chocolate coating sets hard?
This is all about the chocolate quality and temperature. Make sure you are using actual melting wafers or good quality baking chocolate, not standard chips; they contain stabilizers that help them set up beautifully and give you that desirable snap. Another factor for these white chocolate dipped treats is how cold the little balls are when they meet the warm chocolate. If the cake balls are cold from the fridge, the chocolate hardens almost instantly upon contact. If they are room temperature, the chocolate stays runny and you get a thick, messy shell. Keep ’em chilly!
Are these considered a type of truffle?
They are often called that! Because we are taking cake and frosting and forming them into small spheres, they fit right in with the world of truffles. They are definitely a richer, cakier take on the classic cream cheese frosting truffles, which usually rely heavily on ganache. I always include them in my list of the best dessert recipes because they are so versatile for parties!
Estimated Nutritional Data for This Quick Dessert Recipe
When you’re enjoying small treats like these, I always tell folks not to stress too much over the details, but awareness is good! Here is the estimated breakdown for one of these wonderful red velvet cake balls, based on the ingredients listed above.
- Serving Size: 1 ball
- Calories: 220
- Sugar: 20g
- Fat: 14g (Saturated Fat: 7g)
- Carbohydrates: 22g
- Protein: 3g
Please know that these are just estimates! If you use darker chocolate or skip the sprinkles, your numbers will shift a little bit, but hopefully, this gives you a good baseline for enjoying this quick dessert recipe.
Share Your Homemade red velvet cake balls Creations
I truly hope you enjoyed making these wonderful, easy treats! They are one of my family’s favorites for any celebration. Once you’ve got your beautiful red velvet cake balls finished—maybe you went heavy on the red sprinkles or tried a dark chocolate drizzle—I would just love to hear about it! Pop over to my contact page and let me know how they tasted or leave a rating right below the recipe. Seeing your kitchen successes makes my day!
PrintEasy No-Bake Red Velvet Cake Balls with Cream Cheese Frosting

Make these simple, bite-sized red velvet cake balls using cake mix and cream cheese frosting, then coat them in smooth white chocolate for an easy party dessert.
- Prep Time: 30 min
- Cook Time: 30 min
- Total Time: 60 min
- Yield: 24 servings 1x
- Category: Dessert
- Method: No Bake
- Cuisine: American
- Diet: Vegetarian
Ingredients
- 1 box red velvet cake mix
- 1 1/4 cup water
- 1/2 cup vegetable oil
- 3 large eggs
- 1 (8 ounce) package cream cheese, softened
- 12 ounces white chocolate melting wafers
Instructions
- Prepare the red velvet cake according to the package directions, substituting the water, oil, and eggs listed on the box with the amounts listed here. Bake the cake in a 9×13 inch pan. Let the cake cool completely.
- Crumble the cooled cake into a large bowl, removing any hard edges.
- Add the softened cream cheese to the crumbled cake. Mix them together until fully combined and the mixture holds together when pressed.
- Roll the mixture into small, one-inch balls. Place the balls on a baking sheet lined with parchment paper.
- Chill the cake balls in the refrigerator for at least 30 minutes to firm them up.
- Melt the white chocolate wafers according to package directions. You can use a double boiler or microwave in short intervals, stirring often.
- Dip each chilled cake ball into the melted white chocolate, ensuring it is fully coated. Tap off any excess chocolate.
- Return the coated cake balls to the parchment-lined baking sheet.
- If desired, drizzle with dark chocolate or add red sprinkles while the white chocolate is still wet.
- Refrigerate the red velvet cake balls until the chocolate coating is set.
Notes
- For a shortcut, you can use a store-bought, unfrosted red velvet cake instead of baking from a mix.
- If the mixture seems too soft after mixing with the cream cheese, chill it for another 15 minutes before rolling.
- These cream cheese frosting truffles freeze well. Store them in an airtight container in the freezer for up to three months.
Nutrition
- Serving Size: 1 ball
- Calories: 220
- Sugar: 20
- Sodium: 180
- Fat: 14
- Saturated Fat: 7
- Unsaturated Fat: 7
- Trans Fat: 0.5
- Carbohydrates: 22
- Fiber: 1
- Protein: 3
- Cholesterol: 35