
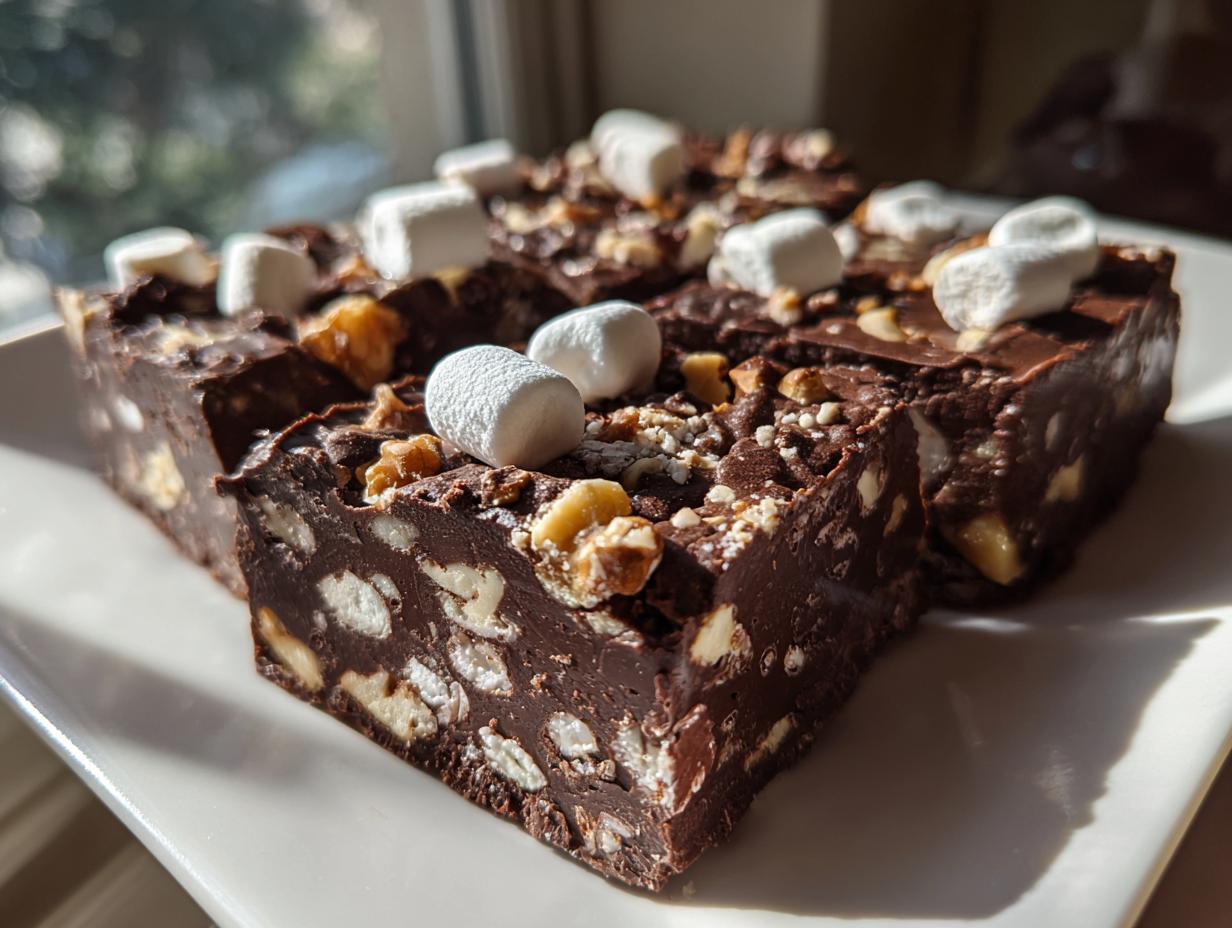
Sometimes, you just need a treat that hits all the right notes—chocolatey, chewy, nutty, and unbelievably simple. If you are like me, you appreciate a recipe that disappears instantly but doesn’t require turning on the oven, especially when the afternoon hits and you need a quick fix! That’s exactly what my simple, no-bake recipe for the best rocky road fudge delivers. It’s a family favorite because it perfectly balances rich chocolate, soft mini marshmallows, and crunchy walnuts.
After thirty years of teaching kids how to follow instructions, I know that simplicity and dependability matter most in home cooking. This marshmallow chocolate fudge is truly one of those reliable recipes you can whip up using ingredients you probably already have. Trust me, this easy dessert idea is so addictive, you’ll want to double the batch immediately!
- Why This Easy Rocky Road Fudge is Your New Favorite No Bake Treat
- Gathering Ingredients for the Best Rocky Road Fudge
- Step-by-Step Instructions for Your Marshmallow Chocolate Fudge
- Tips for Success When Making Rocky Road Fudge
- Serving Suggestions for Your Easy Dessert Ideas
- Storage and Keeping Your Marshmallow Chocolate Fudge Fresh
- Frequently Asked Questions About Rocky Road Fudge
- Estimated Nutritional Information for Rocky Road Fudge
- Share Your Homemade Rocky Road Fudge Creations
Why This Easy Rocky Road Fudge is Your New Favorite No Bake Treat
Listen, I love a good double-layer cake, but sometimes life calls for something ridiculously fast and satisfying, right? That’s why I call this my essential collection of no bake treats. You won’t need a mixer, you won’t need an oven—just a saucepan and a pan!
If you are ever looking for a guaranteed crowd-pleaser or a last-minute gift, this rocky road fudge is the answer. Here’s why it earns its spot on my regular rotation:
- It is genuinely a truly no-bake treat. Mix, pour, chill. That’s it!
- The prep time is lightning fast (under 20 minutes total), leaving you more time for sipping coffee.
- It’s sturdy and holds up beautifully, making it superb for cookie tins or holiday platters.
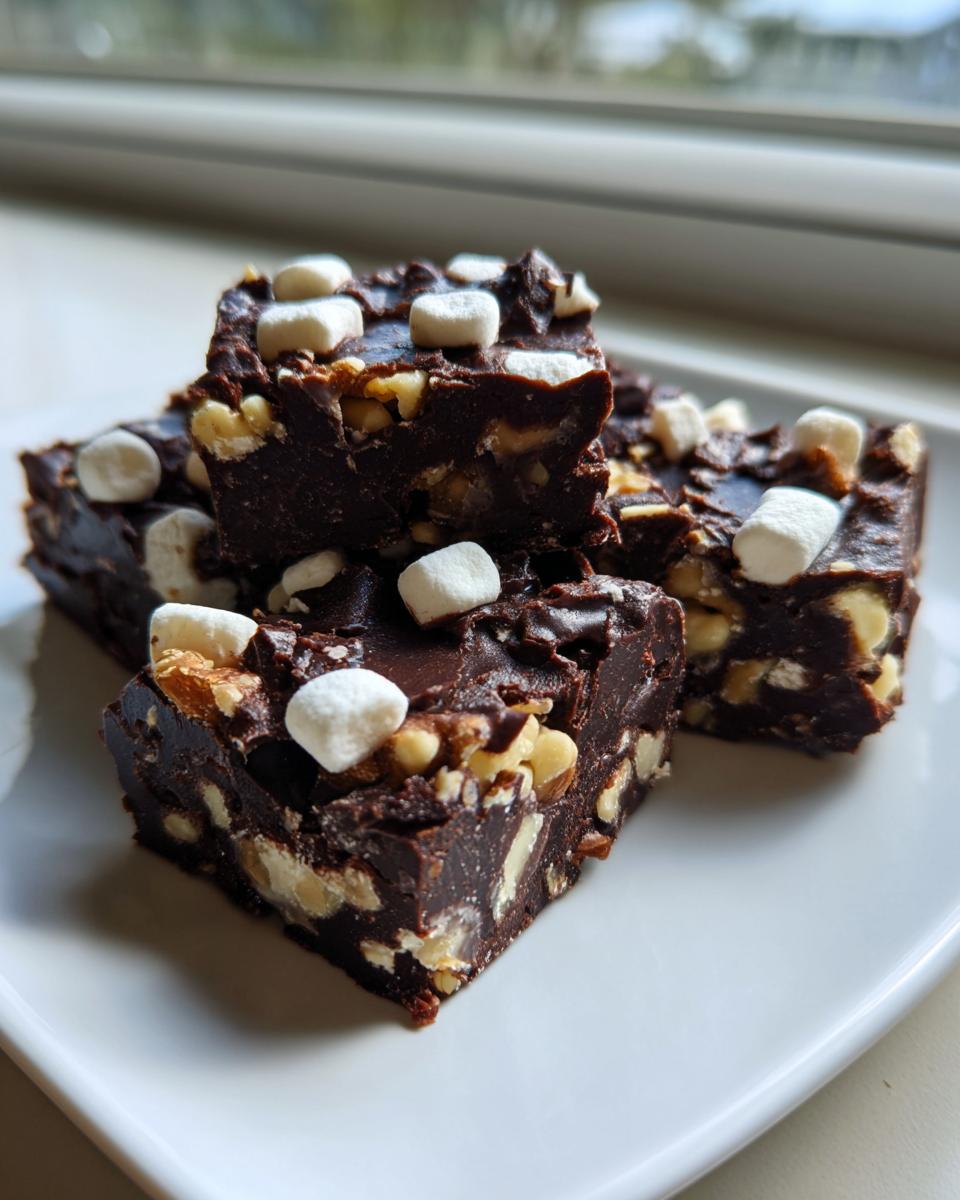
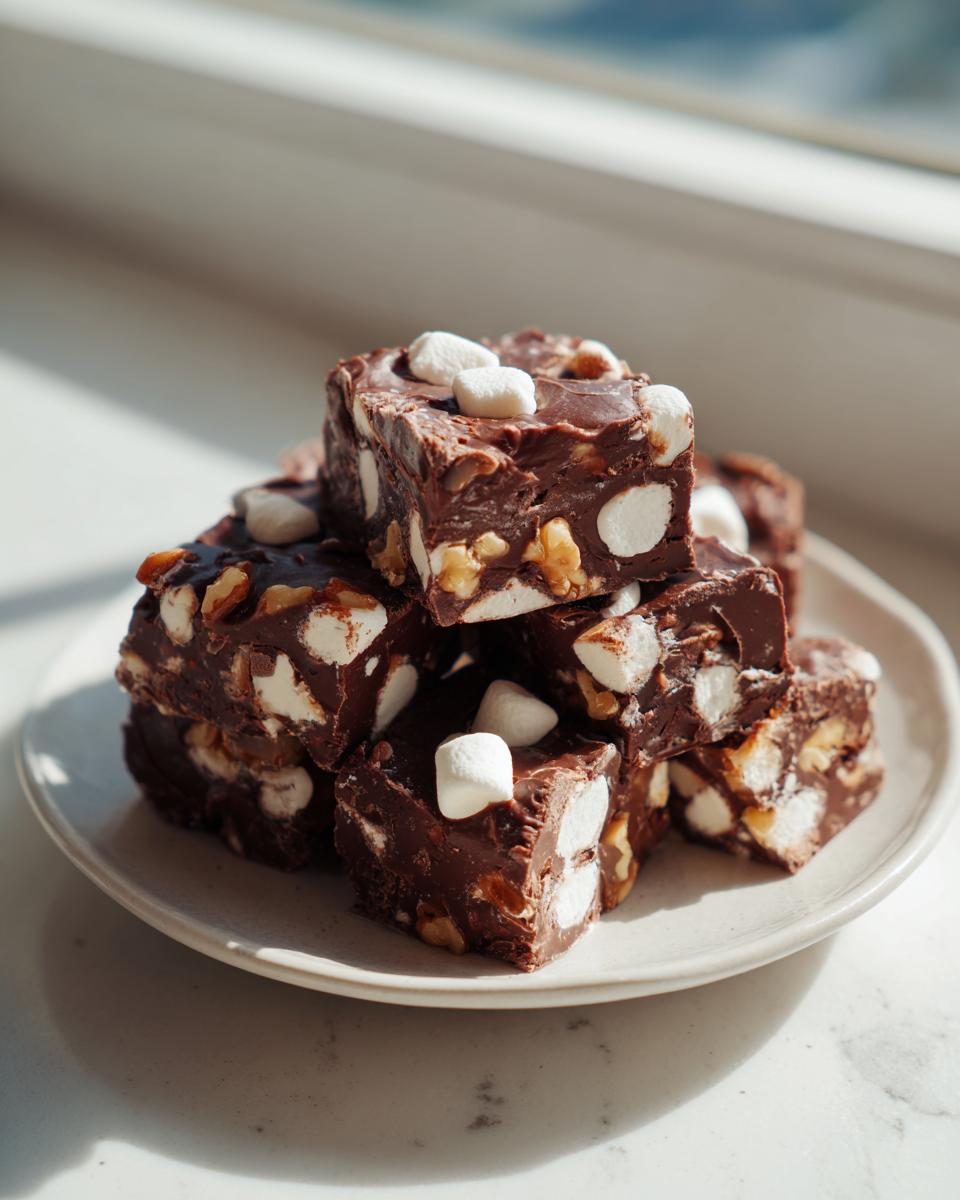
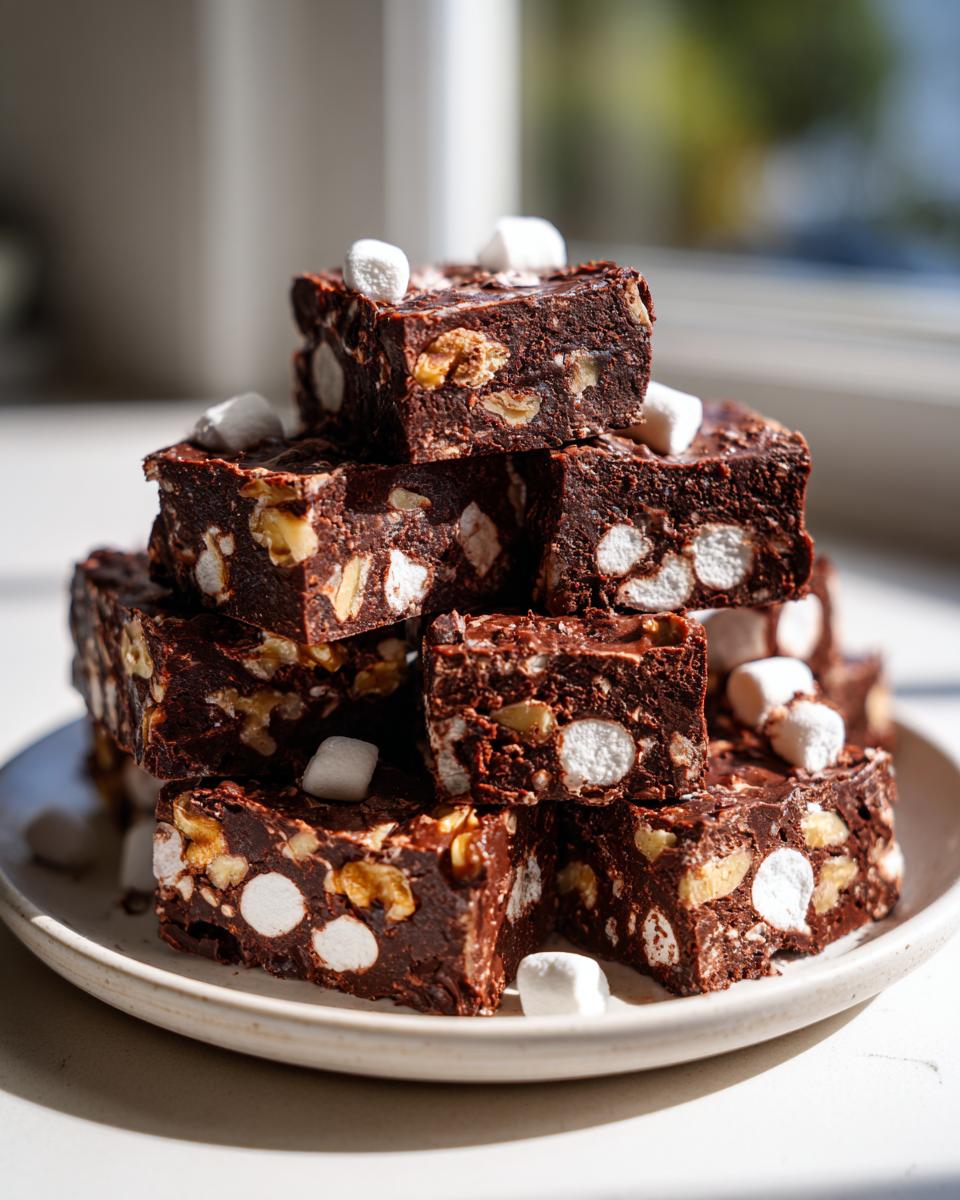
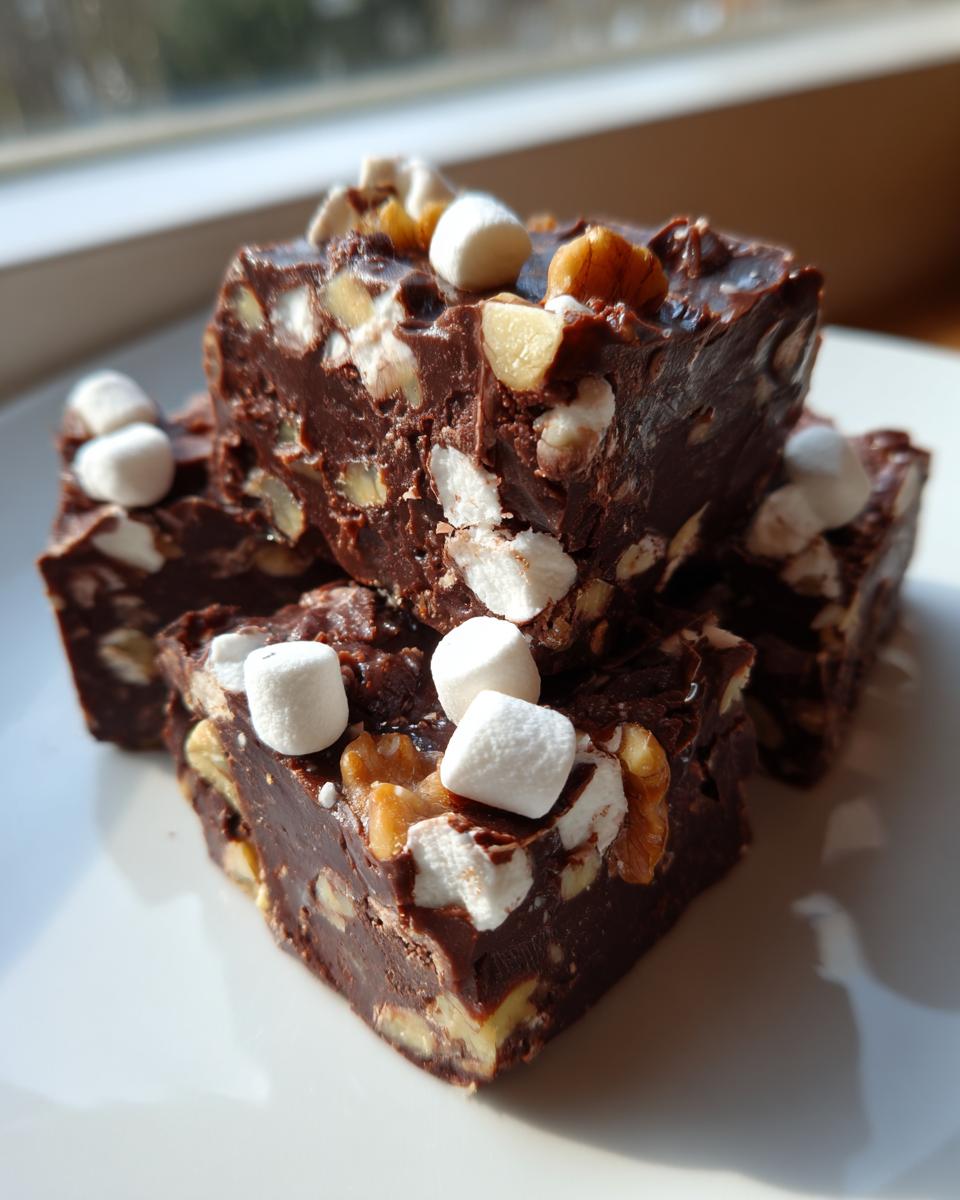
- The balance of textures—creamy fudge, soft chew from the marshmallows, and that satisfying crunch from the walnuts—is just addictive. Seriously, hide this from yourself!
Gathering Ingredients for the Best Rocky Road Fudge
In my kitchen, we always focus on using dependable ingredients. If a recipe relies on five things, those five things better be excellent! This rocky road recipe is no different. Because it’s so straightforward, the quality of what goes in really shines through. Don’t fret about complicated steps; this is about getting the right staples together.
Here’s exactly what you need to gather for 36 squares of this wonderful marshmallow chocolate fudge:
- One 14-ounce can of sweetened condensed milk (the smooth, creamy stuff!)
- 2 cups of semi-sweet chocolate chips
- 1 teaspoon of pure vanilla extract
- 1 cup of walnuts, chopped up nicely
- 1 cup of mini marshmallows (the tiny ones work best here!)
Ingredient Notes and Substitutions for Your Rocky Road Recipe
Okay, let’s talk specifics so your fudge turns out perfect. I call for semi-sweet chocolate chips, but if your family leans toward richer flavors, absolutely substitute those with dark chocolate chips. That swaps out some sweetness for a deeper cocoa punch, which I love! As for the walnuts, they give that classic ‘rocky’ texture we need, but if you have allergies, pecans are a wonderful swap, or you could even use chopped pretzels for a salty crunch! Just make sure those nuts are chopped small enough so they distribute evenly.
Step-by-Step Instructions for Your Marshmallow Chocolate Fudge
Now for the fun part! Since this is a truly no-bake process, most of the magic happens right on the stovetop, but we have to be gentle. Remember, we are making creamy fudge, not chocolate cement! Pay close attention to the heat settings here, because that’s my biggest piece of advice from years of troubleshooting kitchen mishaps.
Prep Work: Lining the Pan for Perfect Rocky Road Fudge Removal
Before anything else, grab that 8×8 inch baking pan. You absolutely must line it completely with parchment paper. Make sure you leave a good overhang on two sides—those flaps are your handles later to lift this beautiful creation right out without breaking it!
Melting Chocolate: Creating the Smooth Base for Your Rocky Road Recipe
Grab your medium saucepan and set it on low heat. We are combining the sweetened condensed milk and those chocolate chips. Now, listen closely: you must stir this constantly! I mean it—keep that spoon moving so nothing sticks or scorches on the bottom. The goal is just to get everything smooth and melted together. If you see it even start to bubble, take it off the heat right away because boiling ruins the texture of good fudge glaze! Once it’s beautifully shiny and homogenous, take it off the burner completely and stir in your vanilla extract.
Folding in the Goodies: Marshmallows and Walnuts for Classic Rocky Road Fudge
This is where things get wonderfully rocky! Gently fold in your chopped walnuts and those mini marshmallows. You don’t want to beat them in; you want to *fold* them gently so they get coated in the chocolate but don’t completely dissolve or deflate—we want those chewy surprises! Once everything looks well distributed, scrape that thick, glorious marshmallow chocolate fudge into your prepared pan and smooth the top out evenly.
The final, hardest step is waiting! Pop that pan into the refrigerator. You’ll need to chill it for a minimum of three hours until it’s totally firm. Don’t rush this part, or cutting it later will be a sticky mess!
Tips for Success When Making Rocky Road Fudge
I’ve made this rocky road fudge more times than I can count, and I’ve learned a few tricks over the years to make sure it comes out consistently perfect every time. That low-heat melting is truly non-negotiable for that silky texture. If you let the milk and chocolate heat too fast, that condensed milk starts to seize up, giving you grainy fudge instead of that beautiful, smooth base we are aiming for.
Now, let’s talk about cutting it neatly, because even though this is an easy dessert idea, we still want it to look nice for gifting! If you wait until the fudge is rock solid after those three hours, cutting it can result in jagged edges. My favorite trick is to let it chill until it’s just barely firm—maybe after an hour and a half—then use a sharp, warm knife to score the squares. Pop it back in the fridge to finish setting up. See? A little patience during the chilling process makes a huge difference!
Also, if you often have trouble with your chocolate mixture looking dull, sometimes using room-temperature additions like the walnuts helps them integrate better. But honestly, with this simple recipe, it’s all about keeping that heat low and steady. If you’ve tried other fudge recipes that melted smoothly, you can replicate that success right here! Check out my tips for perfect chocolate chip cookie bars too, for more simple dessert magic!
Serving Suggestions for Your Easy Dessert Ideas
Once you’ve finally managed to wait for this rocky road fudge to set up—which is always the hardest part, if you ask me—it’s time to enjoy your hard work! Since this is rich, decadent stuff, I find that cutting it into small squares is the best way to go. You get about 36 little squares out of one batch, which is perfect for sharing.
This marshmallow chocolate fudge is lovely on its own, but it pairs beautifully with a strong cup of coffee or a tall glass of cold milk—it just cuts through that intense chocolate flavor perfectly. For a special touch, sometimes I drizzle just a tiny bit of melted white chocolate across the top before it fully sets, just for visual appeal. You can find some of my other favorite simple recipes over here at easy dessert ideas if you’re looking for more quick wins!
Storage and Keeping Your Marshmallow Chocolate Fudge Fresh
The best part about this rocky road fudge? It hangs around if you let it! But honestly, it rarely lasts more than a couple of days in our house. For optimal flavor and texture, keep your fudge in a truly airtight container.
I always store mine in the refrigerator. Even though it’s dense, those tiny marshmallows stay chewier and the chocolate stays firmer when it’s cool. You can count on it staying fresh and delicious for up to a full week stored this way. It’s perfect for making ahead for potlucks or bake sales!
Frequently Asked Questions About Rocky Road Fudge
I know when I try a new recipe, I always have a few little questions floating around in my head. It’s smart to check the details before you start mixing! This marshmallow chocolate fudge is so forgiving, but a little planning goes a long way, especially if you’re making it for a special event.
Can I make this rocky road recipe without walnuts?
Of course! This is your kitchen, dear reader! If you aren’t a fan of walnuts, or maybe there’s an allergy concern, you can absolutely leave them out. You’ll just have a richer, chewier marshmallow chocolate fudge without the crunch. Alternatively, I often substitute pecans, which you chop just as finely. Sometimes, just for fun, I throw in some crushed candy canes during the holidays instead of nuts!
Is this considered one of the best kids baking projects?
Oh, absolutely! This is one of my favorite kids baking suggestions because it’s so rewarding and nearly impossible to mess up. The kids can handle measuring the chips, folding in the marshmallows, and spreading the mixture into the pan. The only part they need supervision for is the stovetop when melting the chocolate and milk—we need to make sure little hands stay far away from that hot saucepan.
If you are looking for more excellent hands-on fun, take a peek at some of my other simple recipes over at easy appetizers and snacks. I find that when kids help create the food, they are much more likely to eat it!
Estimated Nutritional Information for Rocky Road Fudge
Now, I know some of you are watching macros, and others are just curious about what you’re sneaking into your coffee break! Since this fudge is built on chocolate chips and condensed milk, it is certainly a rich treat, not an everyday health food. Remember, cooking at home means you control the quality, even if the numbers are a bit indulgent!
The nutritional breakdown below is based on dividing the recipe yield (36 small squares) using standard ingredient averages. These are just estimates, mind you; your batch might vary based on the exact brand of chocolate chips or how thick you cut your squares.
- Serving Size: 1 square
- Calories: 150
- Sugar: 18g (Yes, sugar wins in fudge, dear ones!)
- Fat: 8g
- Saturated Fat: 4g
- Carbohydrates: 19g
- Protein: 3g
- Cholesterol: 10mg
It’s a wonderful treat for sharing, especially since they are small bites! Treat yourself to one square—you deserve it after making this fantastic rocky road fudge.
Share Your Homemade Rocky Road Fudge Creations
Well, my dear friends, that’s the whole journey for Carla’s Easy No-Bake Rocky Road Fudge! Seriously, isn’t it the best kind of magic trick? Taking five simple things and turning them into something so satisfying? I hope this recipe brings as much fun to your kitchen as it brings to mine.
When you sit down with your first warm cup of coffee or tea and break off a corner of this deliciously addictive marshmallow chocolate fudge, I truly hope you smile. If you loved how simple and reliable this was, please come back and tell me! Leaving a five-star rating right below the recipe card lets other home cooks know this one is a keeper.
And honestly, I just adore seeing what you all whip up! If you make a batch for a party or a neighbor, snap a picture and tag me, or send a note through the contact page. I read every single email and comment, and seeing your successful, tasty results truly makes my day. Happy baking—or rather, happy *mixing*!
PrintCarla’s Easy No-Bake Rocky Road Fudge

Make this simple, addictive marshmallow chocolate fudge with walnuts. It is a family-friendly, no-bake treat perfect for gifting or sharing.
- Prep Time: 15 min
- Cook Time: 5 min
- Total Time: 15 min
- Yield: 36 small squares 1x
- Category: Dessert
- Method: No Bake
- Cuisine: American
- Diet: Vegetarian
Ingredients
- 1 (14 ounce) can sweetened condensed milk
- 2 cups semi-sweet chocolate chips
- 1 teaspoon vanilla extract
- 1 cup chopped walnuts
- 1 cup mini marshmallows
Instructions
- Line an 8×8 inch baking pan with parchment paper, leaving an overhang on the sides for easy removal.
- In a medium saucepan over low heat, combine the sweetened condensed milk and chocolate chips. Stir constantly until the chocolate is completely melted and the mixture is smooth. Do not let it boil.
- Remove the pan from the heat and stir in the vanilla extract.
- Gently fold in the chopped walnuts and mini marshmallows until they are evenly distributed throughout the fudge mixture.
- Pour the fudge mixture into the prepared pan and spread it evenly.
- Refrigerate for at least 3 hours, or until the fudge is firm enough to cut.
- Use the parchment paper overhang to lift the fudge from the pan. Cut into small squares before serving.
Notes
- For a richer flavor, use dark chocolate chips instead of semi-sweet.
- If you want a cleaner cut, chill the fudge for 30 minutes, then cut it into squares while it is still slightly soft, and return it to the refrigerator to fully set.
- This marshmallow chocolate fudge keeps well in an airtight container in the refrigerator for up to one week.
Nutrition
- Serving Size: 1 square
- Calories: 150
- Sugar: 18
- Sodium: 35
- Fat: 8
- Saturated Fat: 4
- Unsaturated Fat: 4
- Trans Fat: 0
- Carbohydrates: 19
- Fiber: 1
- Protein: 3
- Cholesterol: 10