
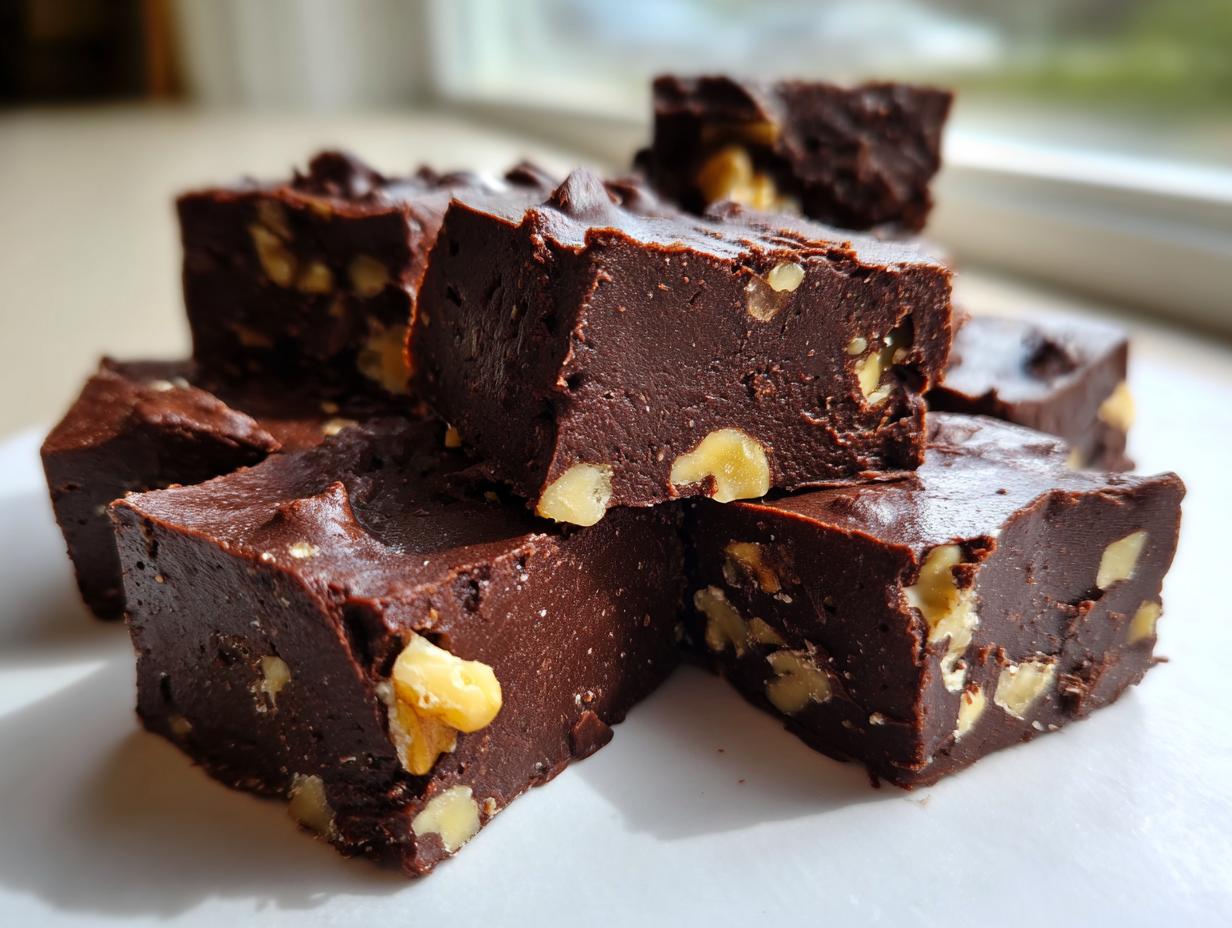
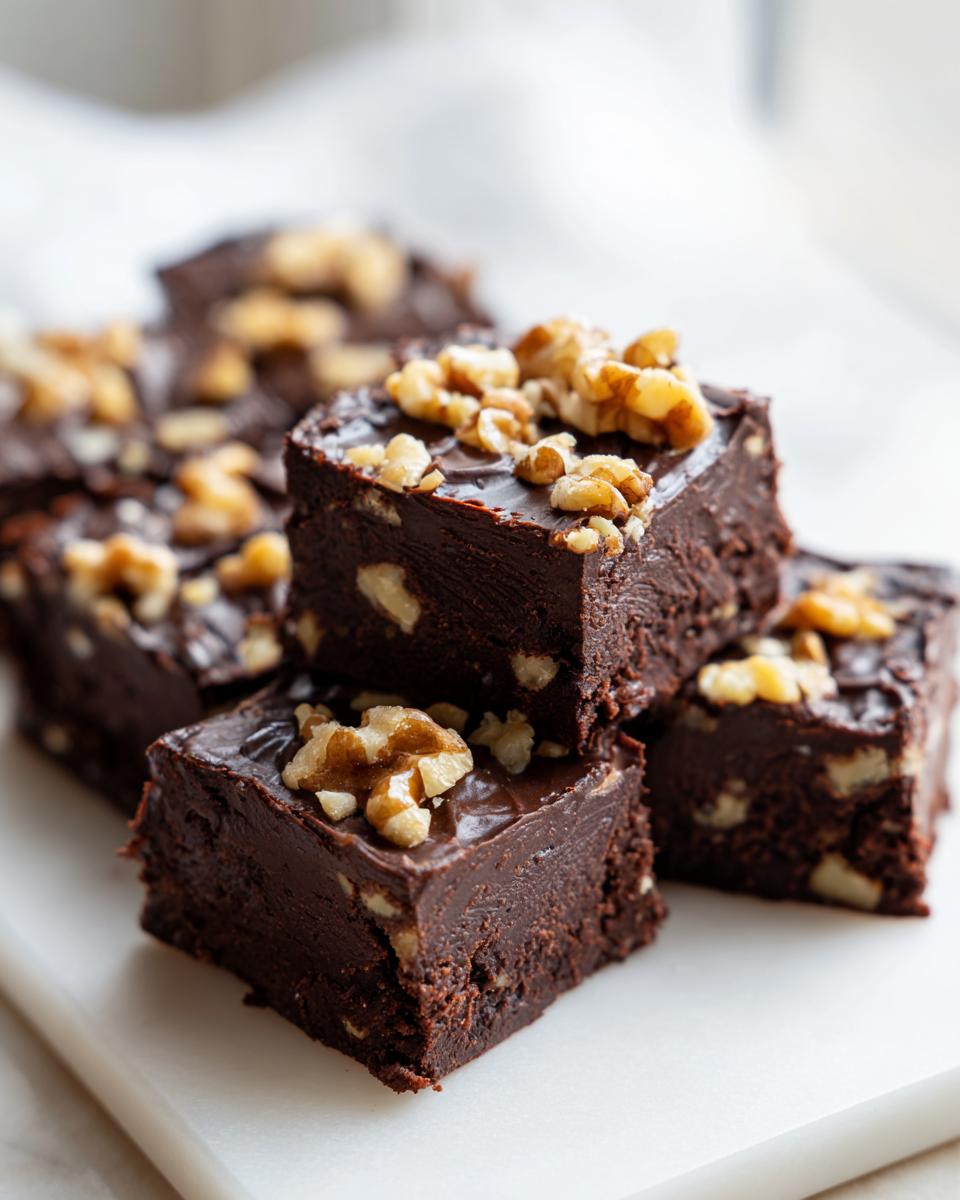
Sometimes, you just need that one perfect bite of creamy, rich candy to fix everything. And when National Nutty Fudge Day rolls around, I always think back to the recipes that truly stand the test of time. This Vassar College chocolate walnut fudge recipe is absolutely one of them. It’s the candy I turned to when I needed reliable gifts for my teacher friends at the end of the school year, and now, it’s perfect for appreciating our wonderful nurses this week!
I learned long ago that making great homemade fudge isn’t about fancy equipment; it’s about sticking to the old ways that guarantee a smooth result. My mother always said that a good candy recipe needs clear direction, and this classic delivers. It’s rich, deeply chocolaty, and the walnuts give it just the right amount of crunch. Don’t even think about using a shortcut here; the traditional method is incredibly dependable.
If you want to see another one of my guaranteed-to-work sweet treats, check out my guide on how to make fudge without needing a thermometer, but for this Vassar version, the candy thermometer is our best friend.
- Why This Vassar College Chocolate Walnut Fudge Recipe Works
- Gathering Ingredients for Your Homemade Fudge Recipe
- Step-by-Step Instructions for Perfect Chocolate Walnut Fudge
- Tips for Success Making Classic Chocolate Walnut Fudge
- Gifting Fudge: Perfect Presentation for Your Chocolate Walnut Dessert
- Storing Your Chocolate Walnut Fudge
- Frequently Asked Questions About Chocolate Walnut Fudge
- Nutritional Estimates for Chocolate Walnut Fudge
- Share Your Vassar College Chocolate Walnut Fudge Creations
Why This Vassar College Chocolate Walnut Fudge Recipe Works
Folks, there are a thousand ways to make fudge, but this Vassar College chocolate walnut fudge truly shines because it solves the biggest candy-making problem: graininess! It’s reliable, and that’s what I aim for in all my home recipes.
- Achieving the Perfect Smooth Chocolate Walnut Fudge Texture: We rely strictly on hitting that perfect soft-ball stage temperature. Trust me, once you see that thermometer hit 234°F, you know you’re getting that luxurious, non-grainy melt-in-your-mouth feel every single time.
- The Ideal Crunch: Nuts in Your Chocolate Walnut Dessert: Those walnuts stay perfectly crunchy! We add them right at the very end when the mixture has already started to cool, which locks in that satisfying snap against the smooth chocolate.
Gathering Ingredients for Your Homemade Fudge Recipe
Now, let’s talk supplies! For this homemade fudge recipe, high quality is what makes the difference between good and absolutely unforgettable. You’ll need just nine items, but please pay attention to the chips. Since this is strictly a chocolate walnut fudge, use semi-sweet chocolate chips you genuinely love the taste of. They form the backbone of this rich candy!
- 2 cups granulated sugar
- 2/3 cup evaporated milk
- 1/4 cup light corn syrup
- 1/4 cup unsalted butter
- 1 teaspoon vanilla extract
- 1/2 teaspoon salt
- 1 cup semi-sweet chocolate chips
- 1 cup chopped walnuts
- 1/4 cup sweetened condensed milk
Step-by-Step Instructions for Perfect Chocolate Walnut Fudge
Alright, let’s get cooking! Making candy can seem scary, but this fudge is straightforward if you follow the precise timing. Patience is key until that first boil hits. Don’t worry; I’ll walk you through every turn. If you want more easy candy recipes that build confidence, take a peek at my collection of easy candy recipes.
Preparing the Pan and Boiling the Base
First things first, get an 8×8 inch pan lined with parchment paper with plenty of overhang—this is your lifeline for getting the fudge out later! Lightly grease that paper. Now, combine your sugar, evaporated milk, corn syrup, and butter in a heavy pot. You have to stay right there and stir constantly over medium heat until that sugar is completely dissolved. Once it starts boiling rollingly, stop stirring entirely!
Reaching the Soft-Ball Stage for Smooth Chocolate Walnut Fudge
This is where your candy thermometer earns its keep! Cook the mixture without touching it until it hits exactly 234 degrees F. That’s the soft-ball stage we need for smooth texture. As soon as you see that number, yank that pan right off the heat. Every second counts here; we don’t want it to overcook and get grainy.
Mixing and Setting the Final Chocolate Walnut Fudge
Right off the heat, stir in your chocolate chips, vanilla, and salt until everything melts into a glossy pool. Then, whisk in the sweetened condensed milk until it’s perfectly smooth. Only now, quickly fold in those crunchy chopped walnuts. Pour that beautiful mixture into your prepared pan—and I mean it, *do not scrape* the sides of the saucepan! Let it set up completely at room temperature for about four hours. That slow set keeps everything wonderfully soft.
Tips for Success Making Classic Chocolate Walnut Fudge
If you follow the process but your fudge gets gritty, don’t fret! This happens sometimes, even to me, but we have a couple of tricks up our sleeve for that perfectly smooth chocolate walnut fudge.
My biggest rule, which I mentioned before but can’t stress enough, is this: once that mixture hits a true, rolling boil, keep your hands off the spoon! Stirring introduces air bubbles that can cause crystallization later, leading to that awful grainy texture. We are aiming for the clean, creamy result you get from the Vassar classic.
Also, remember to use high-quality chocolate chips. Since we aren’t using baker’s chocolate here, the quality of those chips dictates the overall flavor of your chocolate walnut dessert. Use the butter and condensed milk straight from the fridge when mixing them in; the slight temperature shock helps stabilize that gorgeous melted chocolate.
Gifting Fudge: Perfect Presentation for Your Chocolate Walnut Dessert
This rich chocolate walnut fudge makes such a thoughtful token of appreciation, especially as we finish up Appreciation Week for our nurses! They deserve something truly special. Since this candy is so dense and sturdy, it’s fantastic for gifting fudge.
Once it’s totally firm—don’t rush this part!—use those parchment paper overhangs to lift the whole slab out. I cut mine into nice generous squares so everyone gets plenty of nuts. Then, just wrap individual pieces in small cellophane bags, maybe tied with a nice ribbon. It makes them look professional and keeps them fresh. If you want other ideas for sweet gifts, I have a few favorites in my best dessert recipes collection.
Storing Your Chocolate Walnut Fudge
Once you’ve patiently waited for your beautiful chocolate walnut fudge to set up, the next big question is how to keep it perfect. The good news is, this candy stores wonderfully, but you have to follow the rules for that melt-in-your-mouth texture!
Because of the high sugar content, this fudge truly prefers to rest at room temperature. We talk about setting it on the counter for four hours, right? Well, once it’s cut, keep those squares stored in an airtight container right there on your counter. It stays fantastic for nearly a week this way. The sugar structure keeps it safe and delicious for us!
Now, I know some folks freeze their candy, and you *can* with this chocolate walnut dessert, but I usually advise against it for anything more than a week. If you must freeze it, wrap pieces tightly in plastic wrap, then foil, and freeze for up to two months. The only catch is that when it thaws, the texture might change slightly because of condensation. Room temperature is always the winner for maintaining that classic Vassar smoothness!
Frequently Asked Questions About Chocolate Walnut Fudge
It’s natural to have a few questions when you tackle something as classic as this Vassar fudge. Making candy often feels intimidating, but after teaching for so many years, I promise we can walk through this together. Don’t worry about things like substitutions when trying to master this chocolate walnut fudge.
Can I make this chocolate walnut fudge without a candy thermometer?
Oh, I wish I could say yes, but for this specific recipe – getting that smooth, Vassar texture – you really need that thermometer. That 234°F mark is the secret handshake between the sugar and the milk that prevents graininess. If you try the cold water test, you might end up with something closer to taffy or very grainy fudge. If you’re looking for something simpler, I have a great collection of simple weeknight dinners, but for candy, precision matters!
What is the best way to cut clean squares from the chocolate walnut fudge?
This is such a good question! If you try to cut it while it’s room temperature, you end up with ragged edges, and that’s a shame when you’ve made such beautiful chocolate walnut dessert. Wait until it’s totally firm—at least four hours. Then, take a long, sharp knife and dip it briefly into a tall glass of hot water. Wipe the blade completely dry, and then make your cut. Dip, wipe, cut, repeat! That hot, clean blade glides right through like butter.
Is this considered an easy candy recipe?
I absolutely consider this one of the most approachable easy candy recipes out there, *provided* you follow the instruction about the thermometer. The active mixing time is very short—maybe 15 minutes total! The difficulty isn’t in the skill; it’s in the patience required while you wait for the temperature to climb and then the time needed for it to set up. So yes, it’s easy in technique, but it asks you to wait nicely!
Nutritional Estimates for Chocolate Walnut Fudge
Now, because this is a rich, celebratory chocolate walnut fudge, we aren’t eating this every day! But knowing what’s in it is important, whether you’re sharing it with folks or just tracking what you eat. Remember that this information is just an estimate based on the ingredients listed in the recipe, and your exact nutrition might shift slightly based on brands.
For one small square, here’s what you can generally expect from this wonderful chocolate walnut dessert:
- Serving Size: 1 square
- Calories: 185
- Sugar: 25 grams
- Fat: 9 grams (with 4 grams being saturated fat)
- Carbohydrates: 26 grams
- Protein: 3 grams
- Cholesterol: 12 milligrams
It’s loaded! But that’s what makes a classic homemade fudge recipe so perfectly indulgent. Enjoy every bit of that sweetness!
Share Your Vassar College Chocolate Walnut Fudge Creations
Well, that’s it! You’ve made classic Vassar chocolate walnut fudge! I truly hope this recipe brings as much joy to your kitchen as it has to ours over the years. I’ve shared my best tips on temperature and keeping things smooth, but now I want to hear from you!
Did you find the soft-ball stage tricky, or did you nail that perfect non-grainy texture right away? Please leave a review down below—I read every single comment. Knowing how much you enjoy this homemade fudge recipe keeps me inspired to keep sharing these heirlooms.
And if you snap a photo of your shiny, perfectly set squares, especially if you’re gifting fudge to someone special, tag me! I love seeing my recipes out in the world. Come on over to the main page at Cooking by Carla anytime you need another comforting, straightforward recipe to fill your home with good smells.
PrintVassar College Chocolate Walnut Fudge
Make this classic, smooth chocolate walnut fudge, perfect for gifting or enjoying as a sweet treat.
- Prep Time: 15 min
- Cook Time: 10 min
- Total Time: 4 hours 25 min
- Yield: About 36 pieces 1x
- Category: Dessert
- Method: Stovetop Cooking
- Cuisine: American
- Diet: Vegetarian
Ingredients
- 2 cups granulated sugar
- 2/3 cup evaporated milk
- 1/4 cup light corn syrup
- 1/4 cup unsalted butter
- 1 teaspoon vanilla extract
- 1/2 teaspoon salt
- 1 cup semi-sweet chocolate chips
- 1 cup chopped walnuts
- 1/4 cup sweetened condensed milk
Instructions
- Line an 8×8 inch pan with parchment paper, leaving an overhang on the sides. Lightly grease the paper.
- Combine the sugar, evaporated milk, corn syrup, and butter in a heavy-bottomed saucepan.
- Stir the mixture constantly over medium heat until the sugar dissolves and the mixture reaches a rolling boil.
- Stop stirring once the mixture boils. Cook without stirring until the mixture reaches 234 degrees F on a candy thermometer (soft-ball stage). This usually takes about 5 to 7 minutes after the boil starts.
- Remove the pan from the heat immediately.
- Stir in the chocolate chips, vanilla extract, salt, and sweetened condensed milk until the chocolate is completely melted and smooth.
- Add the chopped walnuts and mix them in quickly.
- Pour the fudge into the prepared pan. Do not scrape the sides of the pan.
- Let the fudge cool completely and set at room temperature, about 4 hours, or until firm. Do not refrigerate.
- Once firm, lift the fudge out using the parchment overhang and cut it into squares.
Notes
- For the smoothest texture, avoid stirring the mixture once it reaches a full boil.
- Use high-quality chocolate chips for the best flavor in this homemade fudge recipe.
- If you are making this as a thank you gift for nurses, wrap individual pieces in small cellophane bags.
Nutrition
- Serving Size: 1 square
- Calories: 185
- Sugar: 25
- Sodium: 45
- Fat: 9
- Saturated Fat: 4
- Unsaturated Fat: 5
- Trans Fat: 0
- Carbohydrates: 26
- Fiber: 1
- Protein: 3
- Cholesterol: 12