
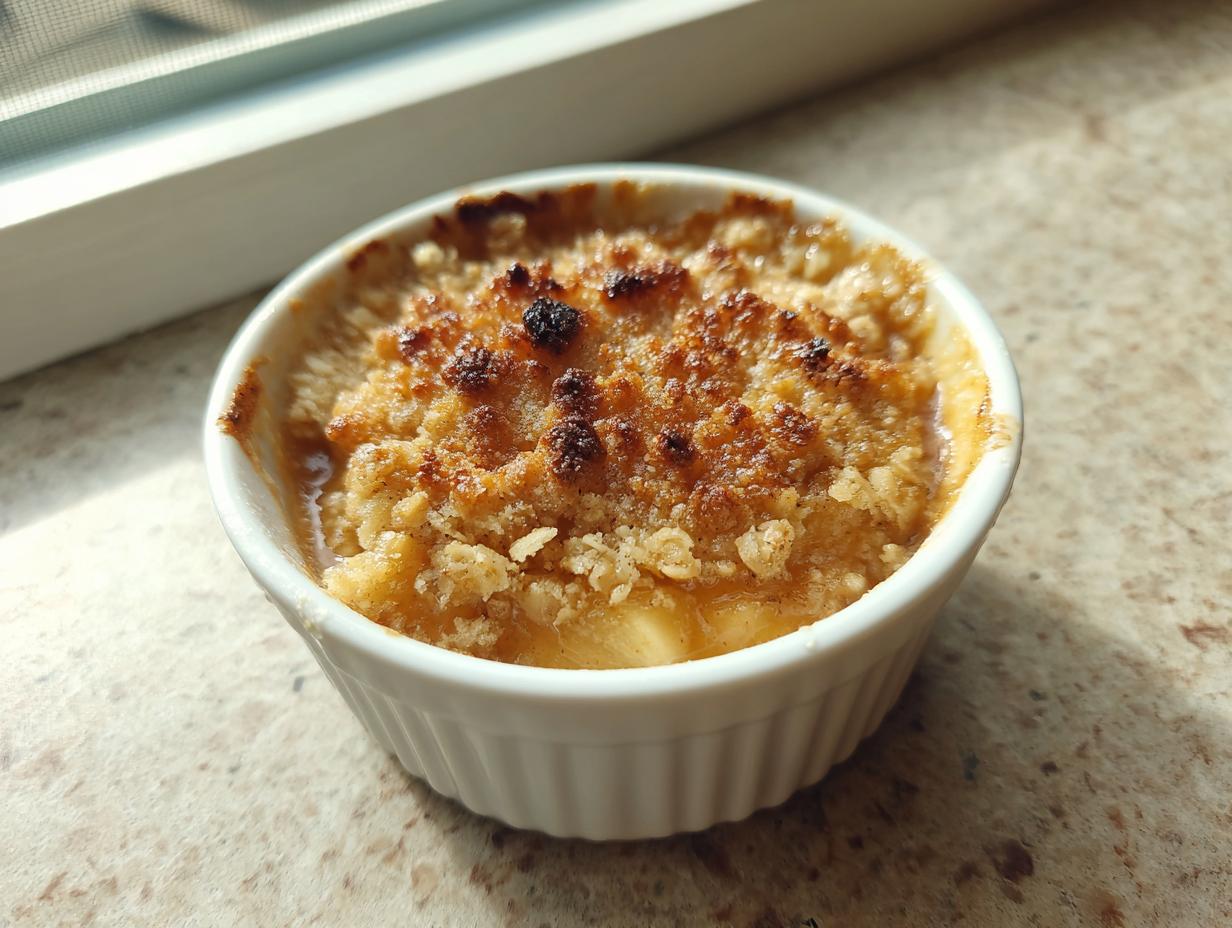
Oh, friends, when the air gets just that little bit crisp—you know the feeling—my mind immediately goes to baked apples, rich cinnamon, and that satisfying crunch. There’s nothing sadder than wanting a warm, comforting **mini apple crisps** but knowing you’ll end up with half a gigantic pan leftover. That’s why I’m sharing my favorite way to get that perfect fall flavor in a single, personal serving.
When I was teaching, these little portions were perfect for quick after-school snacks, and now, my grandchildren love that they each get their very own little bubbling dessert dish. As someone whose upbringing was steeped in farm-to-table cooking, I always look for ways to make classics feel manageable for today’s busy table. Baking these **personal apple dessert** portions in individual ramekins is pure magic. It cuts down on cleanup, controls the portions perfectly, and lets that spiced apple steam right up to your face as you pull them out of the oven—truly the best kind of comfort food.
- Why You Will Love These Easy Mini Apple Crisps
- Gathering Ingredients for Your Mini Apple Crisps
- How to Prepare Perfect Apple Crisp in Ramekins
- Tips for Success Making Your Single Serving Apple Crisp
- Ingredient Notes and Substitutions for Easy Mini Desserts
- Serving Suggestions for Your Personal Apple Dessert
- Storage and Reheating Baked Fruit Dessert Portions
- Frequently Asked Questions About How to Make Small Apple Crisps
- Share Your Mini Apple Crisps Experience
Why You Will Love These Easy Mini Apple Crisps
I truly believe that good food doesn’t need to be complicated to be wonderful. These little crisps prove that point every single time they come out of my oven. Here is why I think this is going to be your new favorite apple crisp recipe:
- Portion Perfection: No more scraping the bottom of a big dish! You get your own perfectly crisp top and bubbling filling every single time.
- Speedy Baking: Because the portions are so small, they bake up in next to no time. Perfect for a quick weeknight treat!
- Classic Comfort: We nail that perfect balance of tart apple, warm cinnamon, and sweet, buttery crunch, just like you remember.
- Easy Cleanup: If you use a sturdy, greased ramekin, cleanup is almost nonexistent. Now that’s a win in my book!
Gathering Ingredients for Your Mini Apple Crisps
When I was growing up, my father always said that half the battle in baking was starting with good, honest ingredients. For these wonderful classic buttery apple crumble flavors, the apples are absolutely non-negotiable! I insist on Granny Smith—they hold their shape beautifully when baked and provide that slight tartness to cut through the sugar.
Since this is a small batch fall baking recipe, we only need a few things. Remember, the butter must be super cold for that topping to get nicely crumbly. Don’t skip that step; it’s key to achieving the crunch we are looking for in these **baked fruit dessert portions**.
Here is what you’ll need for two lovely servings:
- The Filling: Two medium Granny Smith apples, peeled, cored, and diced (aim for about half-inch pieces).
- For Moisture and Sweetness: 1 tablespoon lemon juice, 2 tablespoons granulated sugar, 1 teaspoon ground cinnamon, 1/4 teaspoon ground nutmeg, and 1 tablespoon of all-purpose flour.
- The Topping Crumble: 1/4 cup old-fashioned rolled oats, 2 tablespoons packed light brown sugar, 1 tablespoon of all-purpose flour, and 1 tablespoon of cold unsalted butter, cut into tiny pieces. (We use an extra tablespoon of cold butter right at the start, too!)
How to Prepare Perfect Apple Crisp in Ramekins
Now that we have our beautiful ingredients ready—especially those firm Granny Smiths—it’s time to bring this quick apple crumble together. Making things in these little dishes is so satisfying because you get to manage every step right down to the topping distribution. It’s my favorite way to ensure every scoop of these **baked apple dessert cups** is perfect.

Prepping the Apples and Oven for Your Mini Apple Crisps
First things first: get that oven warmed up to 375 degrees Fahrenheit. We want it nice and hot when these babies go in. While it’s doing that, take a tiny bit of butter or cooking spray and lightly grease your two small ramekins—we are aiming for about 6-ounce cups here. This just helps things release easily later; we don’t want to fight a stuck dessert!
Next, let’s focus on the filling. Grab a bowl and toss in your diced apples. Remember, I love Granny Smith because they don’t turn to mush, keeping that lovely texture. Now mix in the lemon juice—that stops them from browning too much—and then add your granulated sugar, cinnamon, nutmeg, and that first tablespoon of flour. Give it a really good stir until every piece of apple looks coated in spice. Divide this mixture evenly between your two greased ramekins.
Assembling and Baking the Individual Apple Crisp Recipe Portions
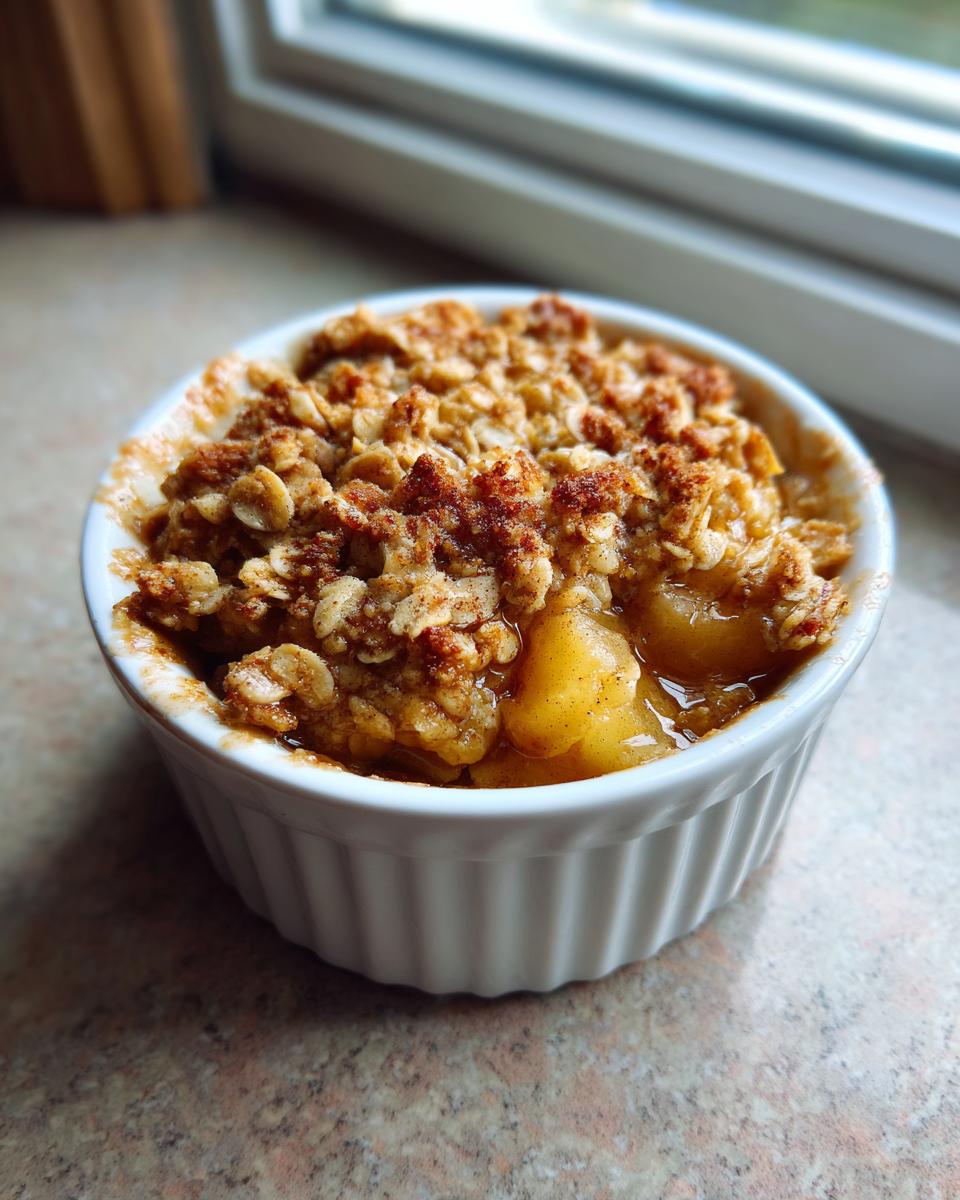
This is where the magic happens that turns it from baked apples into a true crisp! In a separate little bowl, we’re making the topping. Add your rolled oats, the brown sugar, the remaining tablespoon of flour, and that last tablespoon of cold butter. Now, use your fingertips—or if you have one, a pastry blender—and work that butter into the dry ingredients. You aren’t looking for a smooth dough; you want **coarse crumbs**. It should look a little uneven and sandy, not sticky!
Sprinkle that crunchy topping evenly over the top of the apples in each ramekin. Don’t pack it down; keep it light and airy so it toasts up nicely. Pop those ramekins onto a small baking sheet—that catches any little bubbly overflow—and slide them into the hot oven. Bake them for 25 to 30 minutes. You’ll know they are done because the topping will be beautifully golden brown, and you’ll see the apple filling bubbling hot around the edges. Let them sit for just five minutes before diving in!
Tips for Success Making Your Single Serving Apple Crisp
When you’re scaling down a recipe, sometimes the technique needs a little tweak to keep things perfect, especially when dealing with crumb toppings. I’ve found a few little secrets over the years that make these **cinnamon apple crunch for one** portions absolutely shine every time.
First, let’s talk flavor fortification. If you happen to have some vanilla extract nearby, mixing in just a half teaspoon right into that apple filling mixture, as suggested in my classic homemade apple pie recipe notes, gives the whole dessert depth. It just warms up the fruit flavor wonderfully. Don’t skip it if you have it!
Second, if your heart truly yearns for a softer experience, maybe you’re not feeling the oat crunch today? You can swap out the oats entirely. Just use an extra 1/4 cup of all-purpose flour in the topping mix instead. That transforms it instantly into a delicate **quick apple crumble** top, which is equally delicious.
Finally, remember that butter needs to be cold. I know it feels fussier when you are only cutting up one tablespoon, but that cold fat hitting the oven heat is what gives you those little pockets of crunchy goodness. Don’t let it melt before it hits the flour mixture!
Ingredient Notes and Substitutions for Easy Mini Desserts
When we talk about making **easy mini desserts**, sometimes we have to work with what’s in the pantry, and that’s perfectly fine! My teaching career taught me patience, and cooking has taught me flexibility. You don’t need exotic ingredients for a crowd-pleaser like this.
Let’s tackle substitutions right now for your **caramel apple crisp bites**. If you find yourself out of nutmeg, don’t panic! Nutmeg adds that beautiful warmth, but you can lean a bit harder on the cinnamon. I’d suggest adding an extra quarter teaspoon of cinnamon and maybe just a tiny pinch of allspice if you have it lurking in the spice drawer. You’ll still get that lovely fall aroma.
What about the apples? While I preach Granny Smith for shape and tartness, Honeycrisp or Braeburn are wonderful, too. Just be sure that if you use a sweeter apple like Fuji, you might want to reduce the granulated sugar in the filling by just a teaspoon or two. You want that balance we talked about!
And for the vessel, absolutely! If you don’t have two six-ounce ramekins handy, you can use a standard muffin tin. They are even easier for portion control! If you choose the muffin tin route for your **baked fruit dessert portions**, just know they might bake a little faster—keep an eye on them around the 20-minute mark. You can get a little inspiration for other tray bakes over here at my recipe for easy buttery squares.
Finally, if you’re out of light brown sugar for that topping, you can use all granulated sugar, but I honestly prefer the moisture and molasses flavor the brown sugar brings to the crunch. It just makes the whole thing taste richer, which is what we want in comforting home cooking!
Serving Suggestions for Your Personal Apple Dessert
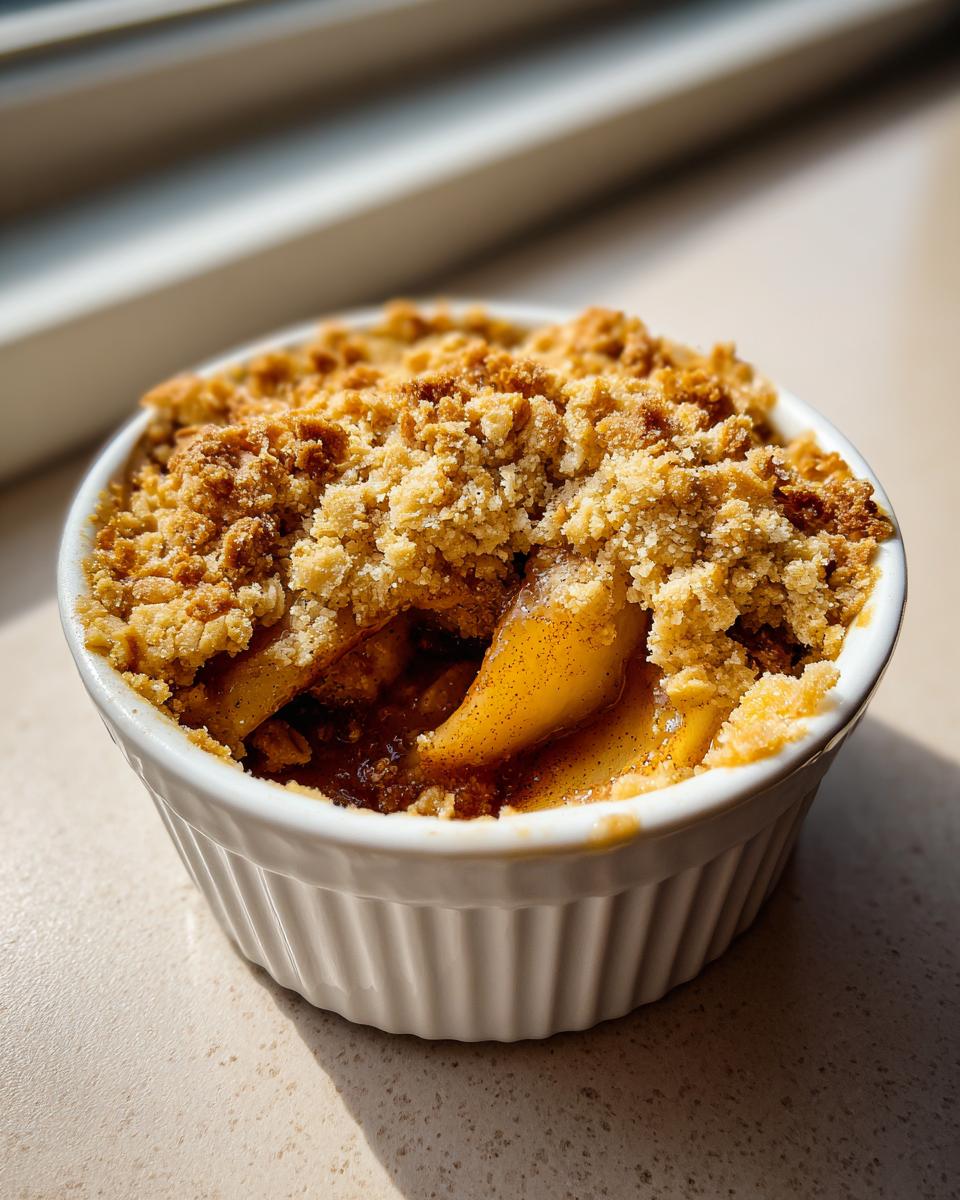
Honestly, these mini apple crisps are delicious all by themselves, hot out of the oven. That combination of tart apples and crunchy, buttery topping is pure satisfaction. But, my dear friends, why stop at good when we can aim for spectacular? These **baked apple dessert cups** are just begging for a little something extra, especially when you have company or just want to treat yourself!
The absolute classic pairing, and the one my grandkids flock to the most, is a scoop of good, cold vanilla ice cream right on top. The temperature contrast is just heavenly—the cold cream melting slowly into the warm, spiced apples beneath that crunchy cover? Perfection!
If ice cream feels like too much work, a big dollop of freshly whipped cream is magnificent. I’m not talking about the stuff in the pressurized can, though I won’t judge if that’s what you need on a Tuesday evening! Whipping heavy cream with just a teaspoon of powdered sugar stiff peaks takes about two minutes and elevates this **personal apple dessert** immediately. That light, airy texture blends so nicely with the dense crisp.
But if you really want to take it over the top, think about caramel. Seeing as we are leaning into those cozy fall flavors, a drizzle of salted caramel is my secret weapon. You can find my recipe for salted caramel cheesecake bars which has a great caramel sauce recipe, but honestly, a store-bought drizzle works in a pinch!
Whatever you choose—or if you choose nothing at all—just make sure you eat them warm. Freshly baked fruit desserts lose about 90% of their charm when cold, in my opinion. Let that warmth remind you of sitting around the kitchen table after a long day. That’s what good cooking is all about!
Storage and Reheating Baked Fruit Dessert Portions
Now, since this is an easy mini desserts recipe, I’m betting you might not even have leftovers! But just in case you managed to save one of those wonderful **single serving apple crisps**, or maybe you made a double batch for tomorrow, we need to talk about storage.
These individual servings should always be stored in the refrigerator once they have cooled down to room temperature. The apples just will not keep well sitting out, and we want to keep everything fresh until it’s time for a snack!
Just pop a lid on your ramekin—if you don’t have a proper lid, sturdy plastic wrap works fine, but make sure it’s sealed against the edges. They’ll keep nicely for about three days. Because they are individual portions, you won’t get that awkward hardened layer you sometimes find in the middle of a huge pan.
The Best Way to Reheat Your Mini Apple Crisps
The golden rule for reheating any crisp or crumble is simple: You must bring back that crunch! If you try to rush it with the microwave, you’ll end up with a soggy topping, and we worked too hard cutting that butter in cold for that to happen!
To truly bring that **mini apple crisps** back to life, use the oven or a toaster oven. Preheat it to about 350 degrees Fahrenheit. Place your covered ramekin carefully on a small baking sheet (just in case the lid isn’t tight!) and let it warm up for about 10 minutes. This gentle heat warms the apples through while allowing the topping to crisp up again.
If you absolutely cannot wait—and I’ve been there, believe me—you can use the microwave, but you have to do it in short bursts. Do about 20 seconds, check it, then maybe 10 more seconds. The topping will still be a little soft, but at least the filling inside will be hot and bubbly. Trust me, though, five extra minutes in the oven is worth the payoff!
Frequently Asked Questions About How to Make Small Apple Crisps
It’s so wonderful seeing all your sweet questions come in! When we scale down a favorite, like these **small batch fall baking** delights, it brings up all sorts of good questions. I’ve gathered a few of the most common ones I receive below. I hope this helps you get started with your small batch fall baking projects!
Can I make these mini apple crisps in a muffin tin instead of ramekins?
Oh, absolutely, yes you can! A standard muffin tin works beautifully for these **baked fruit dessert portions**. In fact, sometimes it’s even easier because they pop out a little cleaner when they are done. You just need to remember that smaller volume means less time in the heat. If the recipe calls for 25 to 30 minutes in a ramekin, start checking your muffin tin crisps around the 18 to 20-minute mark. You’re looking for that same golden top, but keep a closer eye on them so they don’t dry out!
What is the best apple to use for an individual apple crisp recipe?
If you want a crisp that holds its shape beautifully and doesn’t turn into applesauce, you need structure! For my preferred **individual apple crisp recipe**, I always point folks toward Granny Smith apples. They are tart, which is the perfect contrast to the sweet buttery topping, and they bake up firm. If Granny Smiths aren’t available near you, Honeycrisp or Braeburn are excellent second choices. They both offer good texture and a nice mix of sweet-tart flavor that sings with cinnamon.
Can I make a two serving apple crisp recipe without oats?
You certainly can! Some people just prefer the texture of a pure crumble over a crisp topping, and that’s okay! If you want that softer texture, simply leave out the 1/4 cup of rolled oats entirely. Instead, use an extra 1/4 cup of all-purpose flour in the topping mixture, along with the brown sugar and butter. You’ll end up with a lovely, buttery crumble top that melts right into those spiced apples. It’s a great way to adapt your **personal apple dessert**!
Share Your Mini Apple Crisps Experience
Well, that’s it! We’ve turned a few simple apples and pantry staples into two perfect, comforting, bubbling dishes of autumn goodness. These **mini apple crisps** are truly one of the most rewarding **easy mini desserts** you can make, and sharing them with your family is the best part of my job here at Cooking by Carla.
Now that you’ve got this wonderful individual apple crisp recipe down, I would absolutely love to hear how they turned out for you! Did you serve yours with ice cream or just enjoy that perfect warmth all by itself? Don’t be shy—let me know in the comments below! Rating the recipe helps other home cooks, just like you, find dependable meals for their tables.
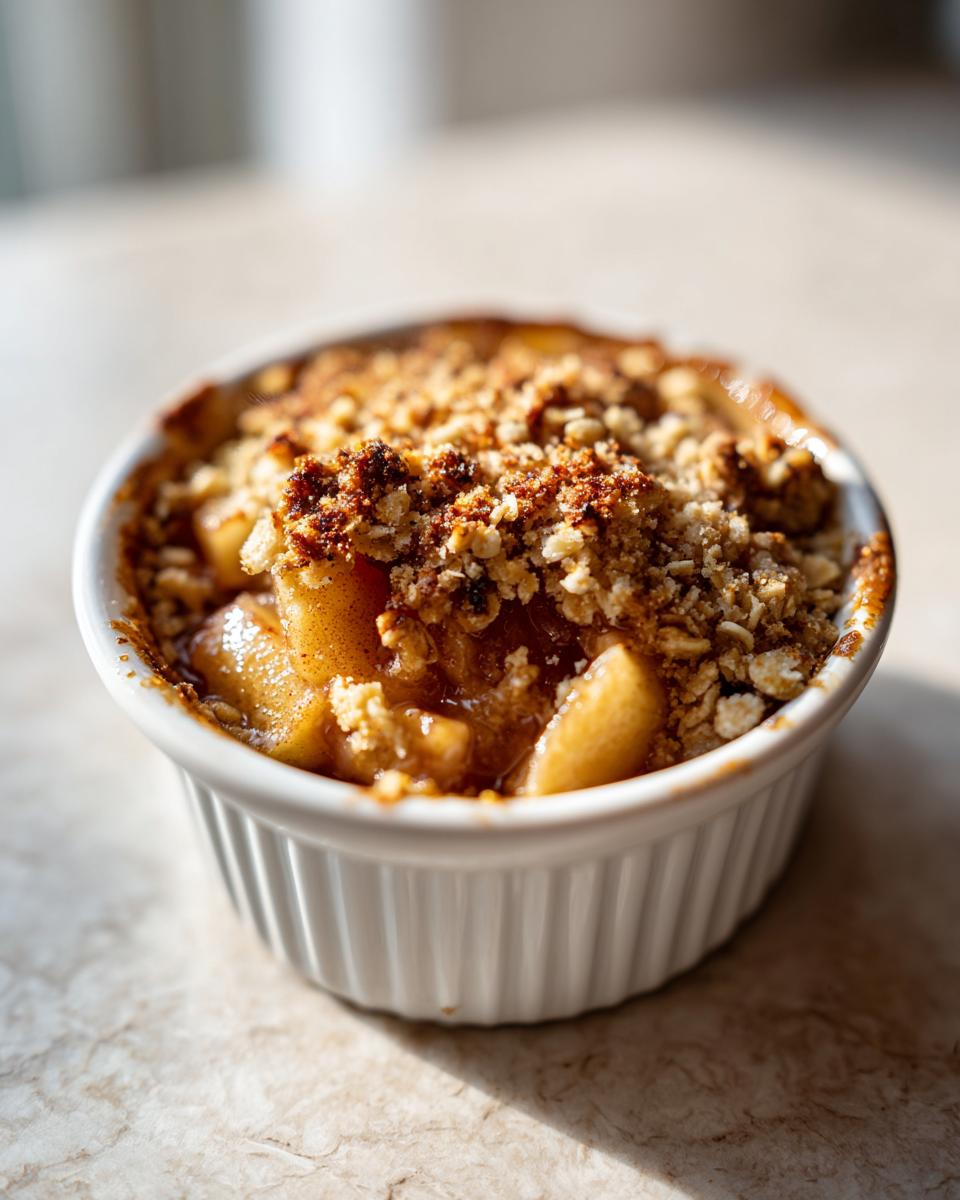
And if you happen to snap a picture of those golden-brown tops and bubbly apple filling, please share it on social media! Tag me so I can see your work. It truly brings me such joy to see my recipes becoming part of your home memories. Happy baking, everyone! I guarantee this will be one of your favorite **baked fruit dessert portions** to pull out all season long.
PrintEasy Mini Apple Crisps for Individual Servings

Make comforting, single-serving apple crisps baked perfectly in ramekins. This easy recipe delivers the classic cinnamon-spiced apple filling and crunchy topping in personal portions.
- Prep Time: 10 min
- Cook Time: 30 min
- Total Time: 40 min
- Yield: 2 servings 1x
- Category: Dessert
- Method: Baking
- Cuisine: American
- Diet: Vegetarian
Ingredients
- 2 medium Granny Smith apples, peeled, cored, and diced
- 1 tablespoon lemon juice
- 2 tablespoons granulated sugar
- 1 teaspoon ground cinnamon
- 1/4 teaspoon ground nutmeg
- 1 tablespoon all-purpose flour
- 1 tablespoon cold unsalted butter, cut into small pieces
- 1/4 cup old-fashioned rolled oats
- 2 tablespoons packed light brown sugar
- 1 tablespoon all-purpose flour
- 1 tablespoon cold unsalted butter, cut into small pieces
Instructions
- Preheat your oven to 375 degrees Fahrenheit. Lightly grease two small ramekins (about 6-ounce size).
- In a small bowl, combine the diced apples, lemon juice, granulated sugar, cinnamon, nutmeg, and 1 tablespoon of flour. Mix well to coat the apples.
- Divide the apple mixture evenly between the two prepared ramekins.
- In a separate small bowl, prepare the topping by mixing the rolled oats, brown sugar, 1 tablespoon of flour, and 1 tablespoon of cold butter. Use your fingers or a pastry blender to cut the butter into the dry ingredients until the mixture resembles coarse crumbs.
- Sprinkle the topping evenly over the apple mixture in each ramekin.
- Place the ramekins on a small baking sheet. Bake for 25 to 30 minutes, or until the topping is golden brown and the apple filling is bubbly.
- Let the mini apple crisps cool slightly before serving.
Notes
- For a richer flavor, add 1/2 teaspoon of vanilla extract to the apple filling mixture.
- If you prefer a softer topping, substitute the oats with 1/4 cup of all-purpose flour in the topping mixture for a quick apple crumble texture.
- These individual apple crisp recipe portions are excellent served warm with a scoop of vanilla ice cream.
Nutrition
- Serving Size: 1 ramekin
- Calories: 280
- Sugar: 25
- Sodium: 5
- Fat: 12
- Saturated Fat: 7
- Unsaturated Fat: 5
- Trans Fat: 0
- Carbohydrates: 42
- Fiber: 4
- Protein: 3
- Cholesterol: 25