
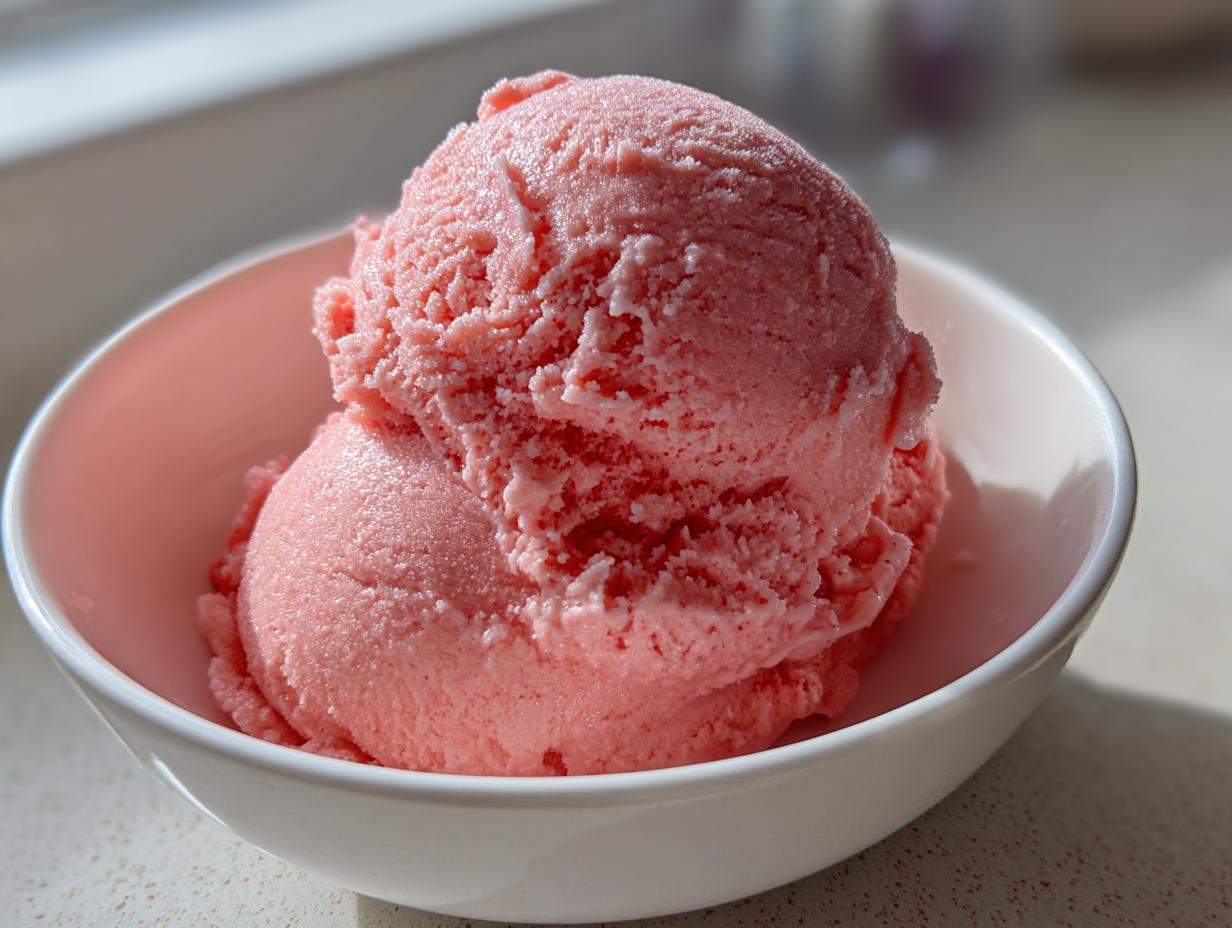
When those big summer heat waves hit, my kitchen practically locks down. I don’t want to stand over a hot stove, and frankly, I don’t want anything complicated sitting on my countertops either! That’s when I turn to the absolute simplest recipes—the kind my mother always relied on when the days stretched long. Honestly, standing in front of the stove baking pies just isn’t a summer vibe for me. That’s why I’m so excited to share what I consider the MVP of hot weather desserts: the ultimate, effortless **2-ingredient summer sherbet**. It’s bright, it’s creamy, and it comes together faster than you can run the mixer for a batch of cookies. It perfectly captures my philosophy that the best food is often the simplest food, made with just a couple of quality items.
- Why You Need This 2-Ingredient Summer Sherbet Now
- Gathering Ingredients for Your 2-Ingredient Summer Sherbet
- How to Make Your 2-Ingredient Summer Sherbet: Step-by-Step
- Tips for the Best 2 Ingredient Sherbet Experience
- Variations on This Minimal Ingredient Sweet
- Serving Suggestions for Light and Refreshing Frozen Snacks
- Storage and Reheating Instructions
- Frequently Asked Questions About Simple Homemade Sherbet
- Share Your Simple Summer Sherbet Creations
Why You Need This 2-Ingredient Summer Sherbet Now
When I teach my grandkids how to make something sweet, I always look for recipes that skip steps but don’t skip flavor. This frozen treat is the answer when you need something delicious *right now*. You don’t need fancy gadgets or hours of waiting, which is just what summer cooking should be about!
- It’s incredibly fast—we’re talking five minutes from start to finish if you eat it soft!
- It uses bright, fresh fruit goodness, making it feel lighter than heavy ice cream.
- Cleanup is minimal because everything happens in one bowl—the blender!
- It’s versatile; you can easily swap out the fruit based on what looks best at the market that week. Stop by and check out my collection of easy appetizers and snacks while you wait for it to blend!
Maximum Simplicity: The True 2-Ingredient Summer Sherbet
I mean it when I say two ingredients. That’s it! You skip the sugar ratios, the stabilizers, and all that measuring that takes up too much time when you want to be outside. This **2-ingredient summer sherbet** is proof that less really is more when you rely on naturally sweet fruit.
No Machine Sherbet: Fast Homemade Ice Cream Alternative
Do you own an ice cream maker? That’s okay! You won’t need it here. This counts as a wonderful **No Churn Frozen Treat**. It’s a fantastic **Fast Homemade Ice Cream Alternative** that gets creamy simply by using the power of a good blender. It’s the fastest way to get that satisfying **Simple Homemade Sherbet** texture.
Gathering Ingredients for Your 2-Ingredient Summer Sherbet
Now, let’s talk about what you need. Because this recipe is so minimal, the quality of these two items really shines through. Don’t try to sneak in anything too weird here, trust me! You are only gathering two things: frozen fruit and yogurt. That’s where the magic is hiding. If you happen to be looking for other quick meal ideas later, make sure you check out my section on quick healthy lunch ideas, but for now, focus on the fruit!
Ingredient Notes and Substitutions for Simple Homemade Sherbet
The recipe calls for one standard 16-ounce bag of frozen fruit. I usually reach for frozen mango because it blends up unbelievably smooth, but strawberries are a classic! The second piece of your **Simple Homemade Sherbet** puzzle is the yogurt. You absolutely need one cup. This helps make it creamy instead of icy. You can use any plain yogurt you have on hand—regular is wonderful, but if you need a dairy-free option, just swap in a nice, thick coconut or almond yogurt. They work just as well to achieve that **Minimal ingredient sweet** body.
A little note from me: If your fruit isn’t perfectly sweet, just add one teaspoon of honey or maple syrup before you blend. It doesn’t count as an official ingredient because it’s optional, but it really brightens things up!
How to Make Your 2-Ingredient Summer Sherbet: Step-by-Step
Okay, this is the fun part! Cooking should feel like play, not homework, and this is as close to dessert playtime as we get. Forget waiting around while things bake; we are using the power of high speed blending here! You’re going to need a stand mixer, a sturdy food processor, or a powerful blender. Make sure your fruit is rock-solid frozen, or you’ll end up with a smoothie instead of a sherbet. When you’re ready, check out my friends’ suggestions for simple weeknight dinners for later tonight.
Achieving the Perfect Soft-Serve Texture
First, toss your frozen fruit and that cup of yogurt right into the machine. Start pulsing. You’ll notice it looks chunky at first—that’s normal! When it looks like colorful gravel, turn the machine off. I always tell my helper: stop, scrape down the sides, and push that mixture back toward the blades. You might have to do this three or four times. Keep processing until it suddenly catches, and bam—it smooths out like thick, beautiful soft-serve!

Firming Up Your Quick Fruit Sorbet Recipe
If you want it right away, you can eat it like soft-serve—it’s glorious! But if you’re like me and you want something you can actually scoop into a bowl, you need one more step. Transfer your blended mixture into an airtight container. Be sure to press plastic wrap right onto the surface before you put the lid on to stop any weird freezer crystals from forming on the top. Pop it in the freezer for about an hour or two. This turns your soft treat into a perfectly scoopable **Quick Fruit Sorbet Recipe**!
Tips for the Best 2 Ingredient Sherbet Experience
Because we are relying on so few ingredients, we need to make sure we treat them right! My biggest piece of advice here is about temperature. If your fruit isn’t rock hard frozen, you have to use much more yogurt to get it to blend, and that just waters down the whole flavor profile. Those frozen berries or mango chunks need to be straight from the coldest part of your freezer.
Also, pay attention to the ratio! That one full cup of yogurt compared to the bag of fruit is what creates that perfect creamy body, stopping it from being just a frozen fruit slushie. If you mess with this ratio too much, you’re basically making a smoothie, not a sherbet. Take a peek at my favorite easy breakfast recipes; sometimes a quick breakfast is just what we need before diving into dessert prep!
Variations on This Minimal Ingredient Sweet
While the beauty of this recipe lies in its simplicity, sometimes a cook just needs a little flair, right? I know when I’m teaching the grandkids, offering a few ways to dress things up keeps them engaged. You can absolutely play around with this **Minimal Ingredient Sweet** without breaking the two-ingredient spirit.
For instance, if you want extra creaminess that feels downright decadent, try swapping half of your yogurt portion for frozen banana chunks. Bananas blend up like magic! If you’re using strawberries, a tiny squeeze of fresh lime juice right before blending brightens the berry flavor up beautifully. And honestly, you can’t go wrong adding just a little splash of vanilla extract—it doesn’t change the core recipe, but it deepens the flavor in a wonderful way.
Serving Suggestions for Light and Refreshing Frozen Snacks
Even the simplest frozen treat deserves a nice presentation sometimes, especially when you’re serving guests! While this sherbet is glorious all by itself, I love suggesting a few ways to dress these **Light and Refreshing Frozen Snacks** up a bit. If you used mango, a sprinkle of toasted coconut flakes on top makes it feel tropical and fancy. Or, if you used berries, just a little drizzle of pure honey goes a long way.
For the kids, serving it right out of the blender temporarily—like a quick soft-serve—in a cute little bowl or even a mini waffle cone is always a hit. Before you jump into making these, take a look at my other favorites over in my collection of best dessert recipes!
Storage and Reheating Instructions
If you manage to have any leftovers—and trust me, it’s tough when it’s this good!—you need to store it correctly. This is where you want to protect your creamy creation from getting those icy shards on top that ruin the texture. Scoop any extra sherbet back into a container that seals tightly. My trick is to press a small square of plastic wrap directly onto the surface of the sherbet before putting the lid on. That barrier keeps air out, which is the key to avoiding freezer burn.
Now, you know that when you take something like this out of a deep freeze, it can sometimes turn into a rock for about ten minutes? If that happens, don’t panic and don’t put it in the microwave! Just leave the sealed container on the counter while you go pour a glass of iced tea. About 10 to 15 minutes is usually perfect for it to soften up just enough so you can easily scoop it again. Patience brings reward, even with five-minute desserts!
Frequently Asked Questions About Simple Homemade Sherbet
I always get a few questions when I introduce a recipe this simple, mostly because folks don’t believe it can be this easy! Below are the things I hear most often regarding this **Simple Homemade Sherbet**. If you have more questions, please don’t hesitate to reach out via my contact page—I love hearing from you all!
Can I use fresh fruit instead of frozen fruit in this recipe?
Oh, I wish you could! But no, you really can’t use fresh fruit here, dear cooks. Remember, we aren’t using an ice cream machine to churn air into the mixture while freezing it; we are relying on the frozen fruit to provide the coldness and the bulk. If you use fresh fruit, what you’ll end up with is a slightly thin, sweet yogurt drink—delicious, but not the creamy sherbet texture we are aiming for!
Is this a healthy frozen fruit dessert alternative?
Absolutely! I designed this to be a much lighter option when those sweet cravings hit. Because we are only using fruit and plain yogurt—and skipping all that added refined sugar you see in store-bought versions—it’s a wonderful **Healthy Frozen Fruit Dessert** option. When you stick to plain yogurt, you control the sugar, and you get that lovely protein boost from the dairy or non-dairy base!
Share Your Simple Summer Sherbet Creations
Now that you have the secret to the fastest frozen treat on the block, I fully expect you to try this **2-ingredient summer sherbet**! Seriously, the pleasure I get from knowing you’re keeping cool with something I developed right here in my own kitchen is why I do this. Once you’ve blended up your first batch, please come back and leave a star rating—it really helps other folks who are hesitant about trying something so simple.
I especially love hearing which fruit combinations you land on! Did you try the frozen pineapple? Did you dare mix peach and raspberry? Snap a picture and tag us online! Seeing your beautiful, minimal-ingredient sweets makes my whole week. You can read a little more about my own journey over on my About Page, but I’d much rather hear what you’ve been up to in your kitchen!
Print2-Ingredient Summer Sherbet

Make this incredibly simple, refreshing frozen treat using just two ingredients. This no churn sherbet is perfect for a quick summer dessert.
- Prep Time: 5 min
- Cook Time: 0 min
- Total Time: 5 min
- Yield: 2 servings 1x
- Category: Dessert
- Method: Blending
- Cuisine: American
- Diet: Vegetarian
Ingredients
- 1 (16 ounce) bag frozen fruit (like mango or strawberries)
- 1 cup dairy free yogurt or regular plain yogurt
Instructions
- Place the frozen fruit and the yogurt into a food processor or high-powered blender.
- Process the mixture, stopping to scrape down the sides as needed, until the mixture becomes smooth and creamy, resembling soft-serve ice cream.
- Serve immediately for a soft sherbet texture.
- For a firmer treat, transfer the mixture to an airtight container and freeze for 1 to 2 hours before scooping.
Notes
- You can use any frozen fruit you prefer for this recipe. Pineapple, peaches, or mixed berries work well.
- For a slightly sweeter result, use frozen fruit that is naturally sweeter, or add one teaspoon of honey or maple syrup before blending.
- This recipe makes a great healthy frozen fruit dessert alternative.
Nutrition
- Serving Size: 1/2 cup
- Calories: 150
- Sugar: 20
- Sodium: 30
- Fat: 2
- Saturated Fat: 1
- Unsaturated Fat: 1
- Trans Fat: 0
- Carbohydrates: 32
- Fiber: 3
- Protein: 4
- Cholesterol: 5