
Oh, those sticky cookies! If you’ve ever spent hours decorating beautiful sugar cookies only to have the icing feel tacky days later, or worse—smudge the moment you try to stack them for gifting—I understand your frustration completely. That simply won’t do, especially when you pour your heart into holiday baking.
You need a reliable solution, and that’s exactly what I’m sharing today. This is my absolute favorite Royal Icing recipe, and believe me after thirty years of feeding teachers’ kids and now my grandkids, I know what works! This recipe delivers the perfect sugar cookie icing that hardens completely, giving you those glossy, professional edges that stack beautifully. You can finally decorate with confidence! If you want more tips on getting that smooth finish before hardening, you should check out my guide on smooth icing techniques.
- Why This Sugar Cookie Icing That Hardens Is Your New Go-To
- Ingredients for Sugar Cookie Icing That Hardens Perfectly
- How to Prepare Your Hard Decorating Icing Recipe
- Decorating Steps for Sugar Cookie Icing That Hardens
- Tips for Perfect Sugar Cookie Icing That Hardens
- Storage and Keeping Your Hardening Cookie Icing Fresh
- Frequently Asked Questions About Icing That Sets Firm
- Estimated Nutritional Data for This Perfect Sugar Cookie Topping
- Share Your Beautifully Decorated Cookies
Why This Sugar Cookie Icing That Hardens Is Your New Go-To
I’ve tried the simple powdered sugar and milk glazes, and let me tell you, they just don’t cut it when you need that professional, rock-solid finish. The secret here is using meringue powder. That little ingredient is what transforms this from a simple glaze to a true royal icing that sets up firm. It’s the reliable foundation I teach everyone who asks about decorating.
Achieving That Durable, Stackable Finish
When I bake cookies for my grandchildren to take to school, I need to know they will survive the journey! This is the secret to consistently making durable cookie icing that sets firm. Once dry, you can stack these cookies high, pack them up for gifting, and not worry about the beautiful designs getting ruined. That’s peace of mind you can taste.

The Glossy Look of Bakery Style Cookie Icing
Who doesn’t want that beautiful shine? This recipe naturally gives you the glossy icing for cookie stacking that you see in those lovely bakery displays. We skip anything artificial; the combination of meringue powder and proper beating gives it that high-sheen finish all on its own.
Beginner Cookie Decorating Icing Confidence
If you’re just dipping your toe into decorating cut-out cookies, this is the recipe for you. It’s straightforward, and because it sets so reliably, you gain confidence fast. You’ll feel proud knowing you mastered a true beginner cookie decorating icing on your very first try. You can check out some of my favorite cookie shapes over here at my sugar cookie cheesecake post for inspiration!
Ingredients for Sugar Cookie Icing That Hardens Perfectly
The beauty of this recipe is that it comes together with just a few simple items from the pantry. You don’t need a million fancy things to make a sturdy, beautiful coating for your cookies. However, we do need precision here, especially with the dry ingredients, so pay attention to the details!
If you want that dazzling, pure-white finish for your holiday cookies—especially if you’re using darker gel colors—I always tell folks to grab clear vanilla extract instead of the regular brown kind. It’s a small trick, but it really enhances the final look of this fantastic royal icing recipe.
Ingredient Clarity: Powdered Sugar and Meringue Powder
First things first: take your two cups of powdered sugar and sift it! You absolutely must do this, otherwise, you’ll end up with little hard lumps in your beautiful icing. That’s one thing we absolutely do not want in our finished sugar cookie icing that hardens.
Then, measure out three tablespoons of meringue powder. This powder is our secret weapon; it’s what gives this coating its structure and ensures it sets rock solid instead of staying soft and sticky. Mix those dry items together first before we introduce any liquid. See? Easy, reliable, and just what you need!
How to Prepare Your Hard Decorating Icing Recipe
Now that our dry ingredients are perfectly combined, it’s time to bring this magic icing to life! When I first started using meringue powder years ago, I remember thinking, “Is this supposed to look like thick paste?” I was afraid to beat it long enough, but let me assure you: you must be patient here. This mixing stage is what guarantees you get that lovely, stiff consistency we need for beautiful outlines. For more ideas on getting your base just right, don’t forget to look at the tips for smooth icing techniques.
Mixing for the Perfect Stiff Consistency
Take your bowl with the sugar and meringue powder mixture. We need to introduce the liquid slowly. Add your teaspoon of vanilla extract and most of your warm water—save just a tiny bit in case you need it later. Start the mixer on low so the dry powder doesn’t fly everywhere! Once it’s mostly together, ramp that mixer up to medium-high and let it go for a full five to seven minutes.
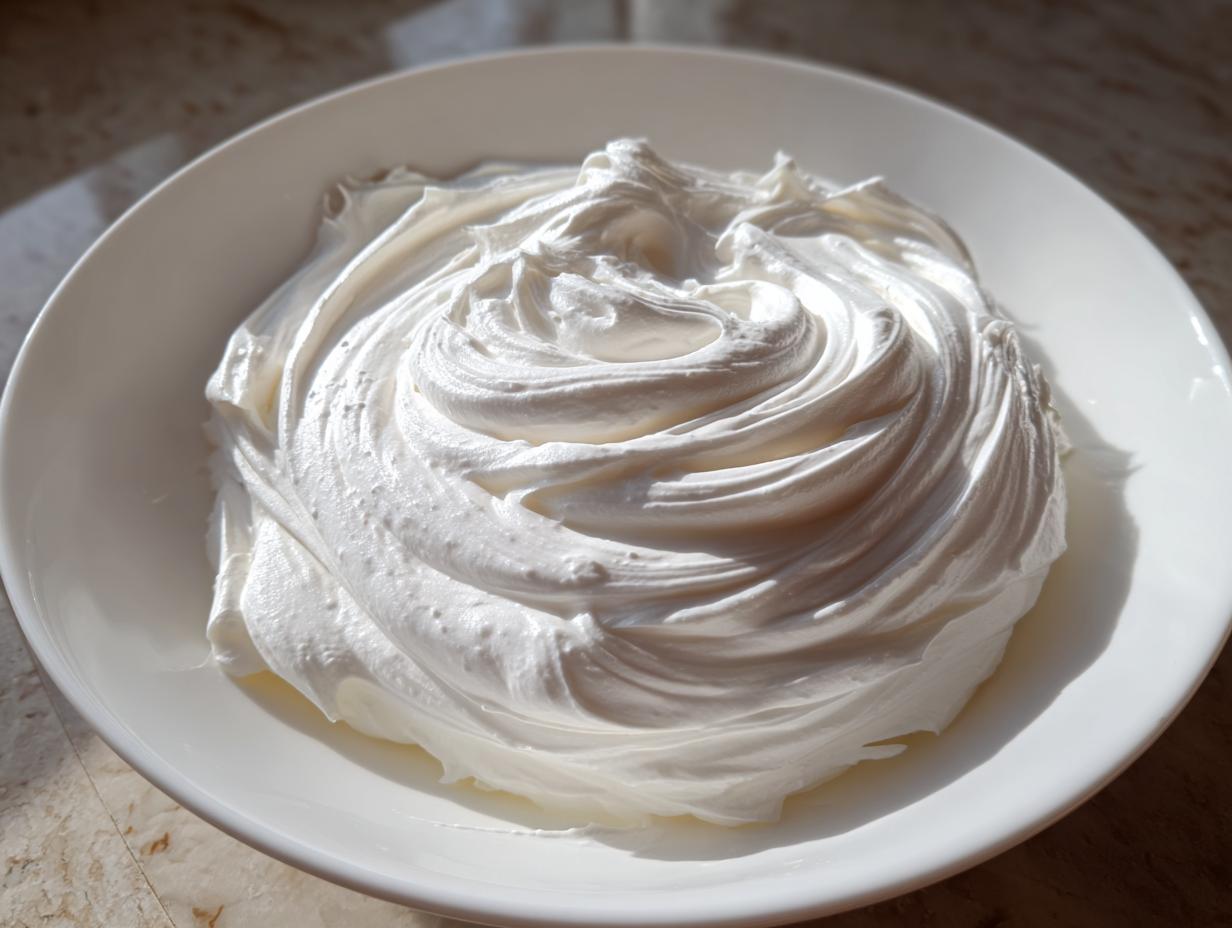
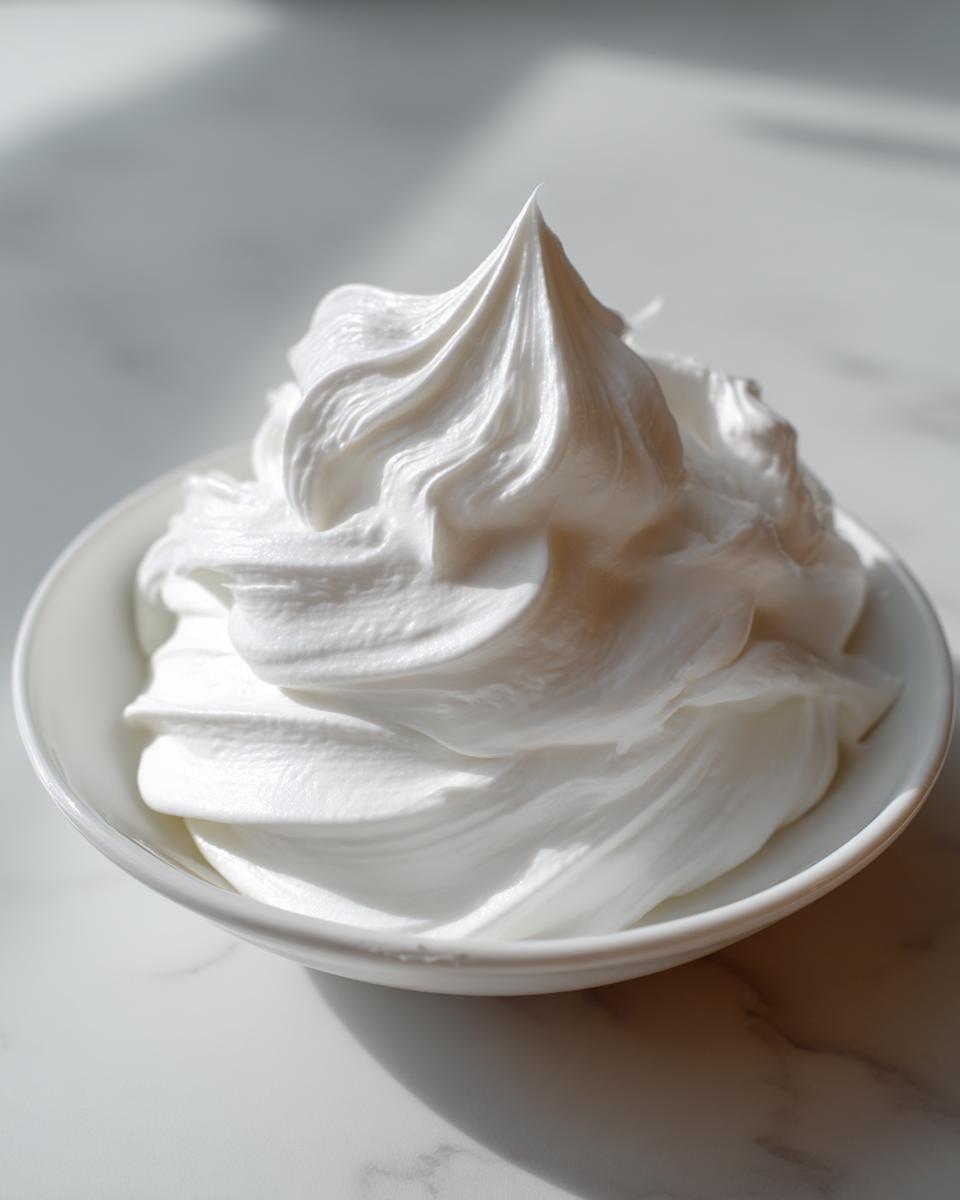
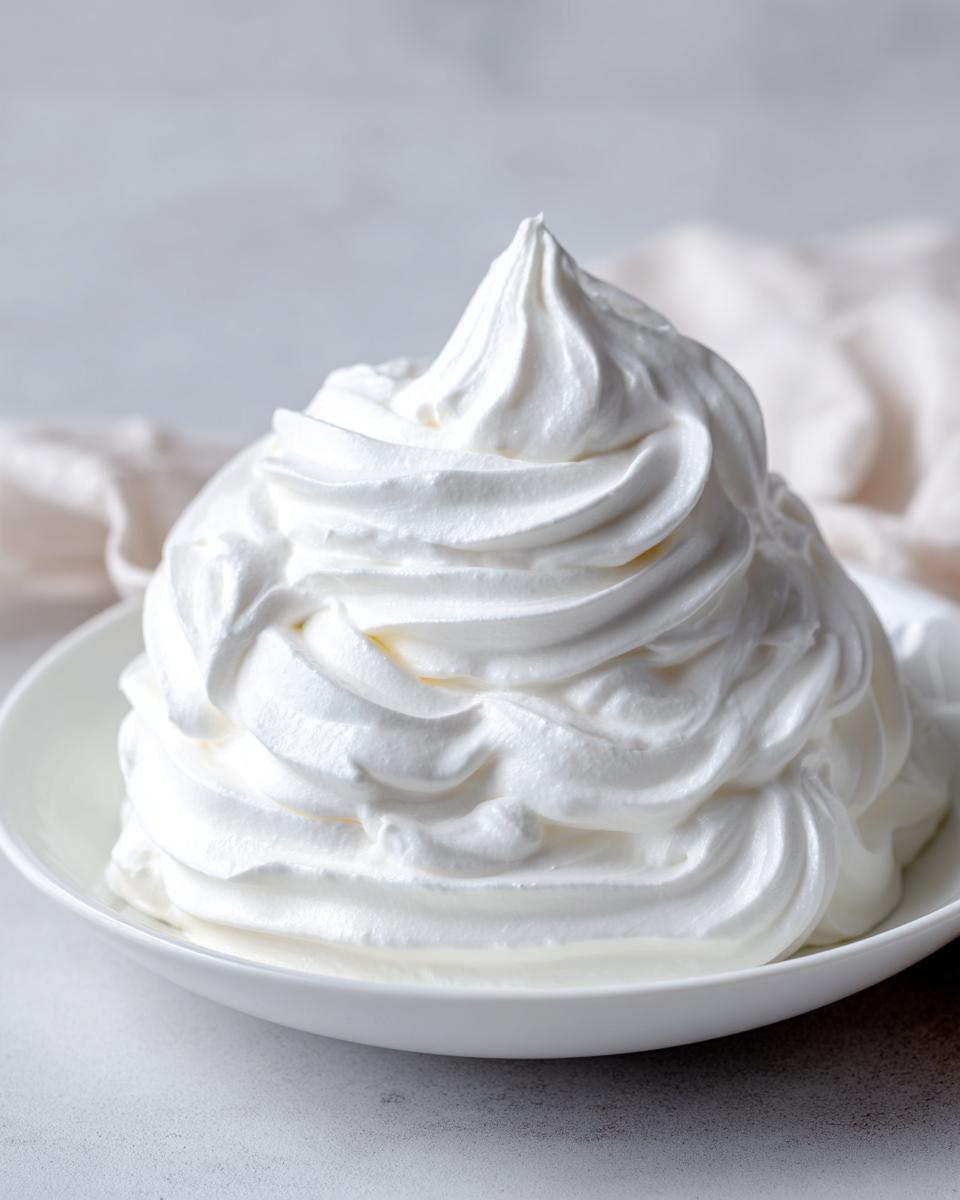
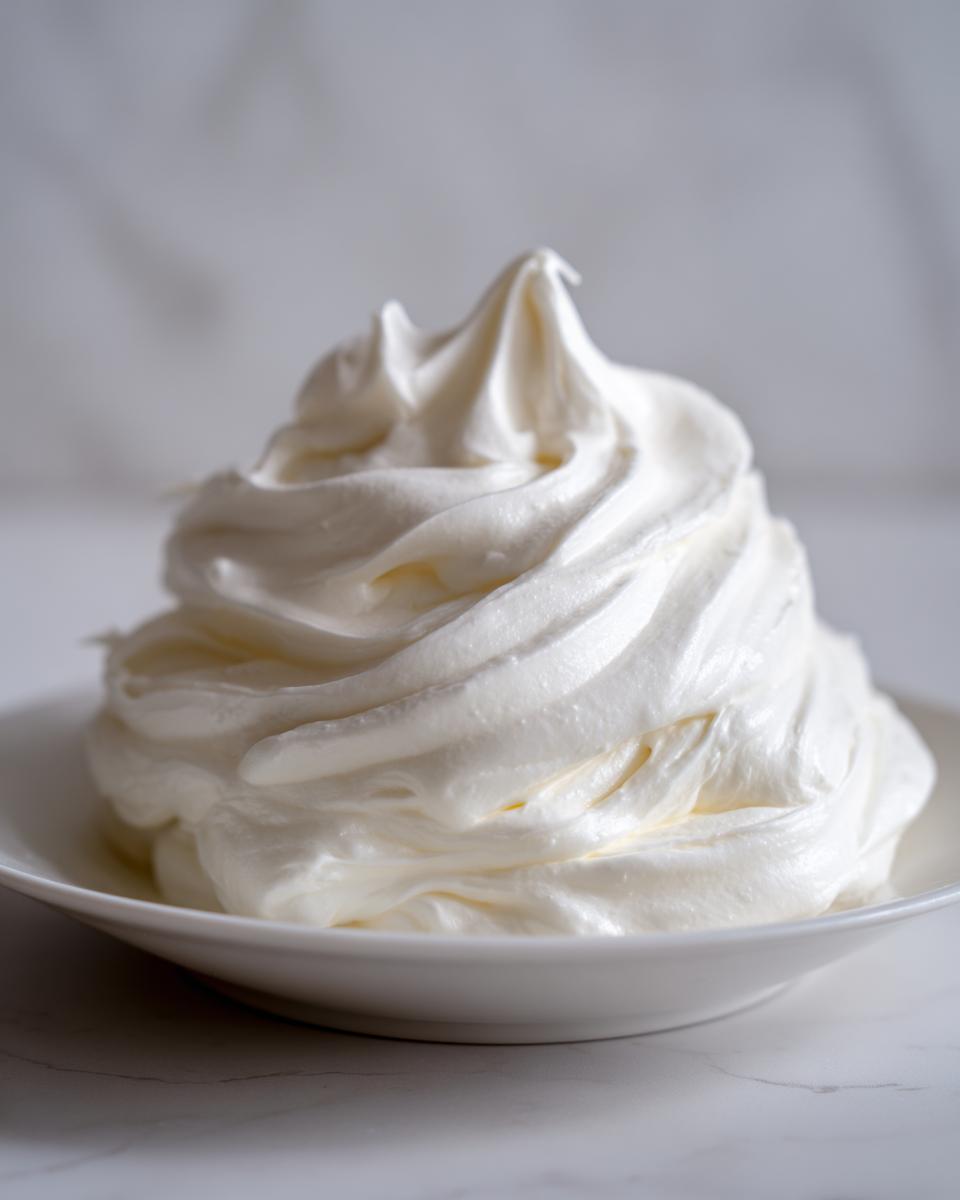
Trust me on this time! When it’s done, it will be bright white, thick, and should stand right up in **icing that dries completely hard** peaks when you lift the whisk. This stiff icing is what we use for outlining all our cut-out cookies first. If you are struggling to get it right, check out this great resource on making sugar cookie icing that hardens.
Achieving Flood Consistency for Filling
After you’ve outlined your cookies and let those edges set for about 30 minutes, you need a thinner batch for filling in those centers—that’s the ‘flood’ consistency. If your remaining icing is too thick, just grab that reserved water, adding it a teaspoon at a time. You want it thin enough to carefully spoon inside your outline but thick enough that it doesn’t run right off the cookie.
This slight thinning is what creates that incredibly smooth surface on your cookies. Watching it settle perfectly inside the outline is so satisfying! This careful thinning is exactly what helps achieve that beautifully smooth sugar cookie glaze that dries hard without breaking the outline wall you built.
Decorating Steps for Sugar Cookie Icing That Hardens
Now for the fun part! Getting this royal icing onto your cookies requires a little patience, but once you see how neat the results are, you’ll be hooked. Remember, we are working with two different consistencies here, and that’s the key to a professional finish that doesn’t run all over the place. It’s like building a strong little dam for your pretty colors! I learned early on that trying to rush this step just leads to a messy disaster, especially around the holidays when you have so many to trick out.
The Two-Step Process: Outline and Flood
First, take that stiff icing we just made—the piping consistency—and load it carefully into a piping bag fitted with a small tip. Work along the edge of one of your cooled sugar cookies. This outline is the wall that holds everything in, creating a beautiful, defined border that results in a lovely no spread cookie icing recipe look. You really have to let this outline set before moving on; you can learn more about getting professional edges from tips like those shared at Emma’s Cake Studio.
Now, step away! You must let that border dry for at least 30 minutes. If you flood it too soon, the thinner icing will push right through your outline wall and escape. Once that border is firm to the touch, you grab your slightly thinned flood icing and carefully fill in the center space. Tap the cookie gently on the counter a few times to coax out any little trapped air bubbles.
Final Drying Time for Icing That Dries Completely Hard
This is where we rely on the goodness of the meringue powder and a little bit of time. We need the cookies to air dry—no popping them in the fridge, please! Leave them out on your counter at room temperature for a full 6 to 12 hours. Some folks leave them overnight, and that’s perfectly fine!
Patience right here is what guarantees you end up with that fantastic sugar cookie icing that hardens perfectly. If you try to touch it too soon, you’ll get a smudge, but after that drying time, they’ll be hard, glossy, and ready for stacking and gifting. You can check out some of my own decorative finished cookies over at my Christmas Sprinkle Sugar Cookies post!
Tips for Perfect Sugar Cookie Icing That Hardens
Now that you have the recipe down, I want to share a few little secrets I learned over the years of testing and teaching. A great baker like you shouldn’t have to fight your ingredients! These pointers help troubleshoot the inevitable little hiccups that happen when you are decorating a big batch, especially for those holiday cookie swaps.
Achieving Maximum Shine with Corn Syrup
If you really want that show-stopping look—the kind that really makes your designs pop—the secret is adding just a teaspoon of light corn syrup to the main batch before you divide it for coloring. It doesn’t affect the hardening process at all, but it boosts that shine factor beautifully. It’s my favorite way to guarantee a gorgeous, shiny cookie icing recipe!
Adjusting Consistency Mid-Decorating
Sometimes, as you work, the icing in the last bowl starts to thicken up on you, doesn’t it? That’s just the air working on it. Please don’t panic and add a spoonful of water, or you risk having a runny mess!
If your stiff icing gets too stiff to pipe smoothly, just grab a utensil and work in just a few drops of water at a time until it loosens up enough to move nicely through your tip. This might seem tedious, but it saves you from having to remix a whole new batch!
Preventing Cracking After Drying
One thing that frustrates people is when the sugar cookie icing that hardens ends up cracking later. This usually happens for two reasons: either you applied the flood layer way too thick, or the cookie dough itself was too delicate. If you stick to the outline-and-flood method I showed you, you won’t have that issue. For more ideas on making sure your cookies themselves don’t break, take a look at my tips in my favorite sugar cookie recipe.
If you want a deeper dive into making sure your icing stays glossy and smooth while setting, the folks over at Bliss Batter have some wonderful visuals on that shiny finish!
Storage and Keeping Your Hardening Cookie Icing Fresh
If you’re like me, sometimes you only decorate half your cookies one day, and the rest the next. Good news! You don’t have to toss that leftover icing. That royal icing mix is quite sturdy.
The key is keeping the air out. Pop any unused portions into a truly airtight container—I mean *really* sealed tight—and just leave it right there on the counter at room temperature. It keeps wonderfully for a couple of days, tops. When you go to use it again, it will look a little stiff and maybe have a slight crust on top, but don’t worry!
Just give it a gentle whisk or stir before you put it back on the mixer, maybe adding a tiny drop of water if you need to loosen it up. A gentle remix is all it takes to bring that sugar cookie icing that hardens right back to life the next day!
Frequently Asked Questions About Icing That Sets Firm
When you’re working hard to create beautiful cookies, you’re bound to have questions! I collected a few of the things my own grandkids ask me every time we decorate together. It’s what I love about teaching—we learn together as we go along. Getting that perfect, solid finish isn’t always intuitive, but once you know the trick, it’s simple.
Can I use milk instead of water in this sugar cookie icing that hardens?
That’s a great question, dear! You absolutely can use milk, especially if you’re making a quick glaze, but for this specific royal icing where we need it rock hard, I usually stick to water. Both liquids work to thin the icing, but water tends to evaporate cleaner, leaving you with that sharper, more durable finish. Milk has fats, and sometimes those can keep the coating just a hair softer than we want when we are aiming for that firm result.
How do I prevent my icing from cracking when it dries hard?
Cracking is often a sign of imbalance, either in the mix or how you applied it. If you feel like your icing is cracking after it dries, check two things. First, make sure you beat it for the full seven minutes so the thickness is right for outlining and flooding. Second, make sure you aren’t applying the flood layer too heavily—a thin, smooth layer dries much more evenly than a very thick glob.
What is the best way to make icing that is not sticky?
If you’ve followed these steps, you are already on the right track to say goodbye to sticky frosting! The two biggest factors here are the meringue powder, which is key for structure, and patience for the drying time. If you allow the full 6 to 12 hours for air drying, you will have successfully figured out **how to make icing that is not sticky**. Remember, if you try to stack them after only 4 hours, that’s when you get the dreaded smudges!
If you are looking for more reliable solutions for beautiful cookie coatings, you can find my guide on easy hardening cookie frosting, which offers a slightly different angle. And for troubleshooting that glossy shine, check out the great advice from the team at Kitchen User!
Estimated Nutritional Data for This Perfect Sugar Cookie Topping
Now, even though this icing is all about looks and structure, I know some of you like to keep track of the details. Please keep in mind these numbers are just estimates based on the classic ingredients listed—your specific brand of sugar or water use can change things a bit!
This calculation is based on a standard serving size of about 1/4 cup of the prepared icing:
- Calories: 160
- Sugar: 40g
- Protein: 2g
- Fat: 0g
- Sodium: 45mg
This is a sweet topping, as you can see, but it’s pure joy when you’re decorating! We don’t worry too much about the numbers when we’re making something this special for the holidays.
Share Your Beautifully Decorated Cookies
I truly hope this recipe makes your next batch of holiday cookies the prettiest and sturdiest ones yet! I put my whole heart into making sure this sugar cookie icing that hardens works reliably for you, just like it does for my family.
Please do leave a rating here on the blog so I know you found this guide helpful. And if you’re sharing your gorgeous, glossy creations on social media, tag me! I just love seeing your success. If you’re looking for the bases for these iced beauties, be sure to check out my favorite dessert roundup here: my best dessert recipes!
PrintFoolproof Royal Icing That Hardens Perfectly for Sugar Cookies

Make sugar cookie icing that hardens completely for durable, stackable, and glossy decorated cookies. This easy royal icing recipe is perfect for beginners and holiday baking.
- Prep Time: 10 min
- Cook Time: 0 min
- Total Time: 10 min
- Yield: Covers about 2 dozen medium cookies 1x
- Category: Dessert Topping
- Method: Mixing
- Cuisine: American
- Diet: Vegetarian
Ingredients
- 2 cups powdered sugar, sifted
- 3 tablespoons meringue powder
- 1/4 teaspoon salt
- 6 tablespoons warm water
- 1 teaspoon vanilla extract
- Gel food coloring (optional)
Instructions
- In a medium bowl, whisk together the sifted powdered sugar, meringue powder, and salt.
- Add the warm water and vanilla extract to the dry ingredients.
- Beat the mixture with an electric mixer on low speed until combined, then increase to medium-high speed and beat for 5 to 7 minutes until the icing is stiff, bright white, and holds firm peaks. This is your outlining consistency.
- If you need thinner icing for flooding, add water one teaspoon at a time until the desired consistency is reached.
- If coloring the icing, divide it into separate bowls and mix in gel food coloring until you achieve your desired shade.
- Use the stiff icing immediately to outline your sugar cookies.
- Let the outline dry for at least 30 minutes until it feels firm to the touch.
- Thin remaining icing slightly with water, if necessary, to create a flood consistency. Carefully spoon the flood icing inside the outlines.
- Gently spread the flood icing to cover the cookie surface, tapping the cookie gently on the counter to release air bubbles.
- Allow the cookies to dry completely at room temperature for 6 to 12 hours, or until the icing is completely hard and non-sticky.
Notes
- For a very glossy finish, add 1 teaspoon of light corn syrup to the icing mixture.
- If the icing becomes too thick while you are working, add water a few drops at a time until it loosens slightly.
- Store unused icing in an airtight container at room temperature for up to two days; remix gently before using again.
Nutrition
- Serving Size: 1/4 cup
- Calories: 160
- Sugar: 40g
- Sodium: 45mg
- Fat: 0g
- Saturated Fat: 0g
- Unsaturated Fat: 0g
- Trans Fat: 0g
- Carbohydrates: 40g
- Fiber: 0g
- Protein: 2g
- Cholesterol: 0mg