
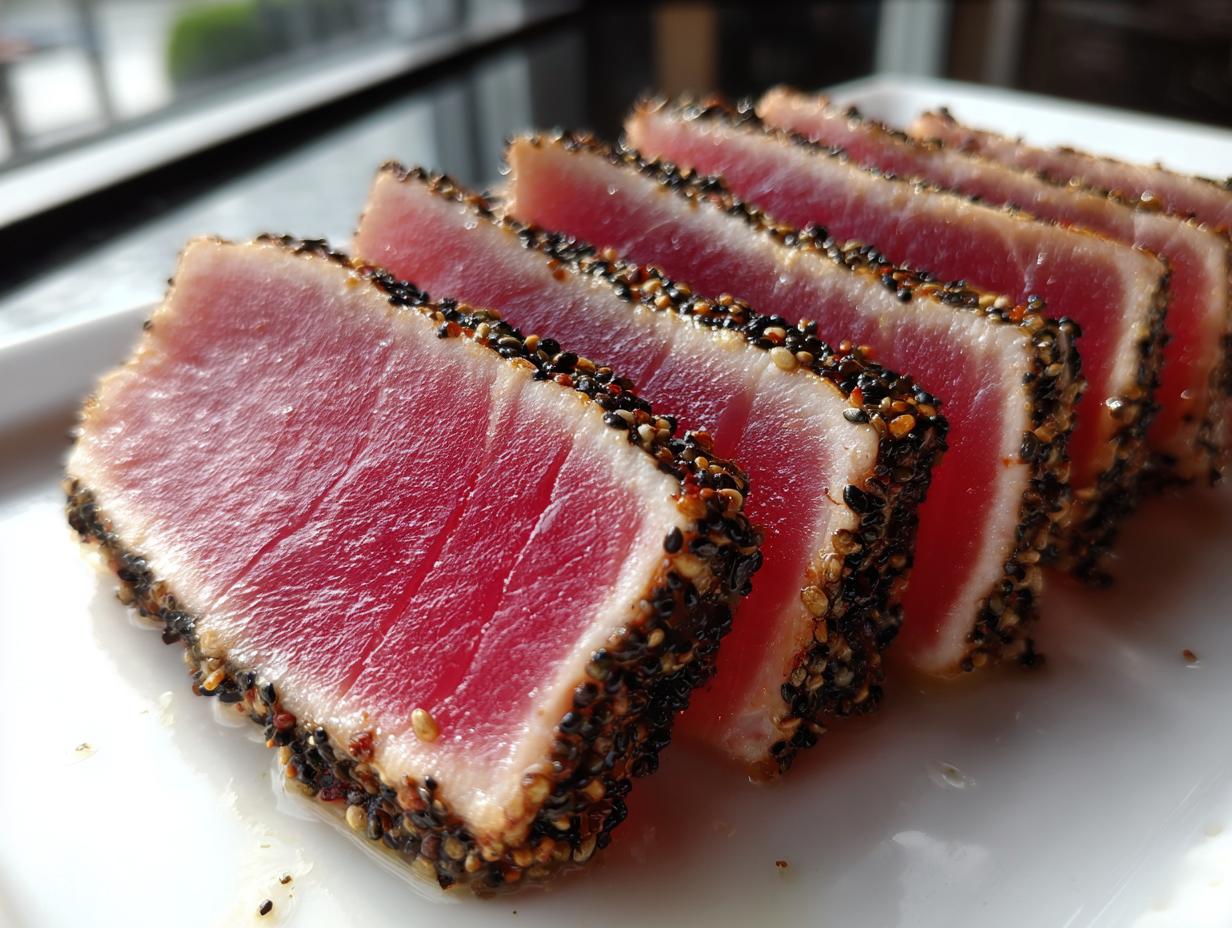
You know those unbelievable tuna appetizers you see at fancy restaurants? The ones where the fish is pink and cool on the inside, with just a whisper of crust on the outside? I used to think that technique was impossible to master at home, but trust me, it’s not! My goal with this Seared Ahi Tuna recipe is to get you that exact restaurant-quality result in under 20 minutes. Because I spent thirty years teaching kids how to read, I know how important it is to break down complex steps clearly. That’s why I think you’re going to nail this sear perfectly the very first time you try it!
- Why This Seared Ahi Tuna Recipe Works for Your Kitchen
- Essential Ingredients for Gourmet Tuna
- Step-by-Step Instructions for Perfect Seared Ahi Tuna
- Tips for Success When Making Seared Ahi Tuna
- Serving Suggestions for Your Healthy Dinner
- Storage and Reheating Instructions for Seared Ahi Tuna
- Frequently Asked Questions About Seared Ahi Tuna
- Estimated Nutritional Information for Seared Ahi Tuna
- Share Your Perfect Seared Ahi Tuna Experience
Why This Seared Ahi Tuna Recipe Works for Your Kitchen
I promise you, this recipe makes weeknight cooking feel gourmet without needing an hour of fuss. It’s such a quick seafood recipe that you can have something truly special on the table faster than ordering takeout. When you follow these simple steps, you get amazing payoffs.
- It’s incredibly quick—just a few minutes of high heat!
- The flavor is bright and fresh, perfect for a light meal.
- It’s a wonderfully healthy dinner option packed with protein.
Now, here’s where the expertise comes in: success hinges entirely on getting the right cut. Since we aren’t cooking this all the way through, you absolutely must use true sushi or sashimi-grade fish. That high quality is what lets us skip the complicated cooking and focus on that perfect outer crust.
Perfecting the Seared Ahi Tuna Sear Time
This is the part that makes everyone nervous, but that’s why I’m here! For the classic, cool, raw pink center—the way most people love their Seared Ahi Tuna—you need high heat and very strict timing. I’m talking 1 to 1.5 minutes per side in a smoking hot pan. If you want just a kiss of warmth through the middle—medium-rare—stick firmly to 2 minutes per side. Any longer, and you lose that beautiful texture we’re aiming for!
Essential Ingredients for Gourmet Tuna
When you’re only cooking something for a minute or two, every single ingredient has to pull its own weight, right? That’s why using the best supplies makes this gourmet tuna feel so easy. You only need a handful of items, but we are serious about quality here. The star, of course, is the tuna—make sure you’re getting true, high-quality sushi grade tuna. When I talk about tuna for this recipe, I’m usually looking for beautiful chunks of yellowfin tuna that are deep red.
For the flavor base, I always insist on fresh ginger and garlic. Carla, bless her heart, always said the pre-minced jar just doesn’t have the same ‘zing’ as starting fresh. Sesame oil brings that lovely nutty aroma, and a good quality soy sauce binds it all together. That’s truly it!
Ingredient Notes and Substitutions for Seared Ahi Tuna
Let’s talk about substitutions because I know not everyone keeps specialty items stocked. If you need to skip the soy sauce for gluten reasons—no problem! Use tamari instead. Since tamari can sometimes be a little saltier or thicker, just watch that marinating time. Maybe pull it back to 8 minutes if you switch it out.
Also, pay attention to the fat you use for searing. The recipe calls for olive oil because it has a high smoke point compared to regular butter, which would burn instantly with the high heat we need. You want an oil that can take the sizzle so your sesame seeds can toast up beautifully before the fish goes in. Don’t skimp on that oil; it’s your barrier between perfectly seared fish and a stuck mess!
Step-by-Step Instructions for Perfect Seared Ahi Tuna
This is where the magic happens! You’ve got your ingredients ready, and now we just follow the order. Because I want you to feel completely confident every time you make an Asian tuna recipe like this, remember that patience in the prep work pays off hugely in the final sear. If you want to learn more about why my method works so well, you can always pop over and read a bit about my teaching approach on the About Carla page. It keeps things straightforward!
Preparing the Marinade and Coating the Seared Ahi Tuna
First thing’s first: whisk up that marinade! It’s simple—soy sauce, sesame oil, a little fresh ginger, and garlic. Now, hear me out on this part: when those beautiful sushi grade tuna steaks go in, set a timer for exactly 10 minutes, tops. Soy sauce is salty and acidic, and if you leave the fish sitting too long, it actually starts cooking the outside of your tuna before it even hits the pan. That’s fish turning into ceviche, and we do not want that! We want sear, not cure!
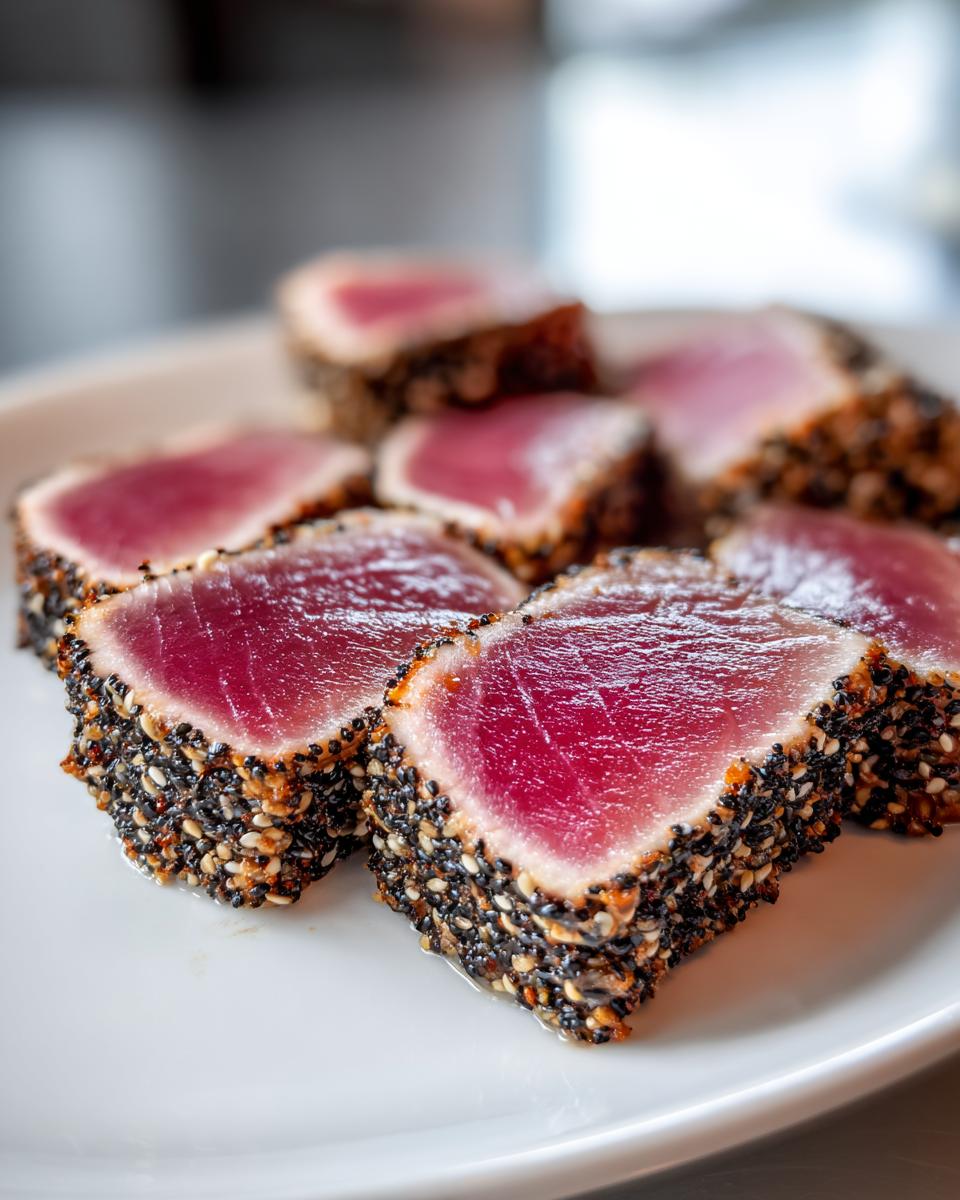
Once the timer buzzes, take them out, let the extra marinade drip off—you don’t want puddles of liquid steaming your beautiful crust. Then, grab your mixed sesame seeds, and press those tuna steaks firmly into the seeds. I mean press them! You want a nice, thick, crunchy coating all the way around so that when it hits the oil, it forms a solid crust.
Achieving the Ideal High-Heat Sear
Heat is your most important tool here. Pop your heavy skillet—cast iron is my absolute favorite for this—on medium-high. Add your olive oil and wait until it’s shimmering. If the oil isn’t shimmering, it’s not hot enough yet, and your tuna will just soak up the oil instead of searing. Watch carefully!
Gently lay the coated tuna steaks in that hot pan. For that rare center, you are looking at 1 to 1.5 minutes per side. That crust should instantly go golden brown and smell amazing. If you are worried about the center being too raw, stick with 2 minutes per side for medium-rare. Pull them out the absolute second that time is up. Seriously, get them out! They will continue to cook slightly after they leave the heat.
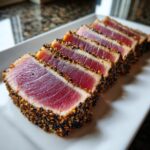
Don’t skip the resting step! Just three minutes on a cutting board lets those juices settle. Then, slice them against the grain into nice half-inch pieces. Wow, what a beautiful piece of gourmet tuna!
Tips for Success When Making Seared Ahi Tuna
Okay, you’ve seared it, you’ve rested it—now for the last little bit of pro-knowledge to make sure your Seared Ahi Tuna looks and tastes incredible! These little extras are what turn a good meal into a showstopper. My mom always said, “Presentation is just one more way of showing love,” and it’s true!
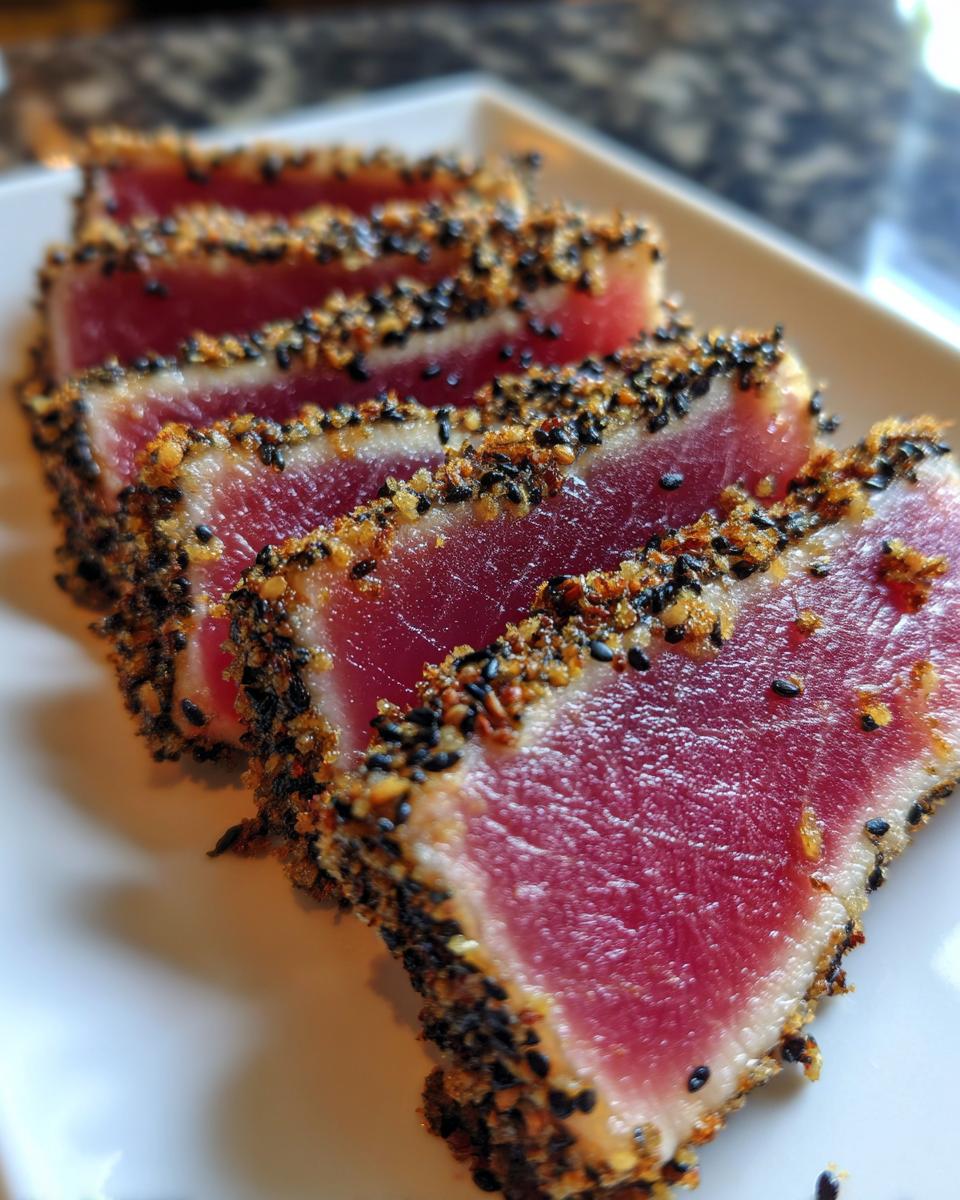
First off, let’s talk about slicing. This is crucial, especially since the center is raw. You absolutely must slice the tuna against the grain. If you slice with the grain, you’ll end up with long, stringy pieces that are tough to chew, even though the fish is perfectly cooked. Look closely; you might even see faint lines running through the fish—slice perpendicular to those lines. It makes the texture melt-in-your-mouth soft.

Another quick tip: make sure your skillet is truly dry before you start. Any leftover water from washing the pan will steam your fish instead of searing it, stopping that nice brown crust from forming properly. Wipe it down completely, even between batches if you’re cooking two servings at once. Focus on that hot, shimmering oil, and your beautiful yellowfin tuna will cooperate every time!
Serving Suggestions for Your Healthy Dinner
Now that you’ve got this gorgeous, perfectly seared gourmet tuna, you need something to put it on! Since this is such a fantastic, light, and healthy dinner choice, I love keeping the sides super fresh. A simple bed of fluffy jasmine rice is always a winner because it soaks up all those delicious marinade drippings you might have left. Or, if you want greens, quickly toss some snow peas or bok choy in boiling water for just two minutes, drain them, and hit them with a tiny squeeze of lime juice.
And don’t forget that little dipping sauce I mentioned hiding in the notes! It’s so easy: just mix up some soy sauce and rice vinegar, and add a dash of sriracha if you like a little pop of heat. You don’t need anything heavy when the tuna itself is this flavorful. Spoon the sliced tuna right over your rice or greens, drizzle with that sauce, and dinner is served in fifteen minutes flat!
Storage and Reheating Instructions for Seared Ahi Tuna
Oh, leftovers. That’s the tricky part with a masterpiece like Seared Ahi Tuna! Because the whole point is that delicate, cool, raw center, heating it up later just turns it into, well, cooked tuna, and we don’t want that transformation. It just doesn’t have the same appeal once it goes past medium-rare.
If you’ve already sliced your tuna after resting, I highly suggest eating what you need immediately. Anything leftover that’s sliced should be stored in an airtight container in the coldest part of your fridge—and honestly, try to eat that within 24 hours. Once it’s sliced, it starts to dry out faster.
If you managed to resist slicing some of the steak right away, that whole piece will keep slightly better, maybe for up to two days. But when you go to eat it the next day, you cannot put it back in a hot pan! That will cook the center all the way through. If you absolutely need it to be warmer on the outside, you can quickly flash it in a *barely* warm pan for just 10 seconds a side, but truly, the best way to enjoy that leftover Seared Ahi Tuna is cold, maybe chopped up into a fresh salad the next day. Think of it as a bonus protein boost!
Frequently Asked Questions About Seared Ahi Tuna
I totally get it; when you’re working with such a beautiful piece of raw fish, you want to make absolutely sure you’re doing it right! I’ve answered the questions I get asked most often about sourcing this delicious gourmet tuna. If you still have questions after trying this recipe out, feel free to drop me a line using the contact page—I love hearing from you!
Can I use frozen tuna steaks for this Seared Ahi Tuna recipe?
You absolutely can start with frozen, but you have to thaw it properly! Never let it thaw on the counter; that warms up the outside too much. Thaw it slowly overnight in the refrigerator, then pat it super dry before marinating. Thawing can sometimes change the final texture a little, so be prepared to be even more careful with that sear time!
What is the safest way to ensure my tuna is safe to eat rare?
This is the most important point, hands down. You must only ever use high-quality, specifically labeled sushi grade tuna or sashimi-grade fish. This isn’t just marketing jargon; it means the yellowfin tuna has been handled and often flash-frozen under strict guidelines to kill any potential parasites. If it’s not specifically labeled that way, you should cook it all the way through for safety.
Estimated Nutritional Information for Seared Ahi Tuna
Now, I know some of you check labels, and since this is such a wonderfully light and healthy dinner, I wanted to share what Carla’s recipe usually works out to. Remember, these numbers are just estimates based on the ingredients listed for one steak, and they can change depending on how much marinade soaks in or the exact brand of soy sauce you grab!
If you’re watching your macros while making this amazing Seared Ahi Tuna, here’s the breakdown she usually sees per serving:
- Serving Size: 1 steak
- Calories: Around 250
- Protein Power: That’s a whopping 32 grams of protein!
- Fat Content: About 12 grams total, mostly the good unsaturated kind.
- Carbohydrates and Sugar: Very low here—only about 3 grams of carbs and just 1 gram of sugar.
This is why this recipe is such a favorite in our family for quick, clean eating. It packs such a punch without weighing you down. Just take these figures as a good starting point—your exact numbers might vary slightly, especially if you use a different oil for searing or decide to use a heavier dipping sauce. This information is provided purely for your planning convenience, as noted on our site policies!
Share Your Perfect Seared Ahi Tuna Experience
Now that you’ve managed to master this simple, yet elegant, Seared Ahi Tuna, I truly want to hear about it! This is how we build this wonderful cooking community together, sharing what works and cheering each other on.
If you loved how easy this quick seafood recipe turned out, please do me a huge favor and click those five stars at the top of the recipe card! Five stars helps other home cooks find reliable recipes when they’re searching for something delicious for dinner.
And please, tell me in the comments below: did you stick to the quick 1-minute sear for a completely rare center, or did you like the slightly warmer, 2-minute medium-rare? Seeing how you prefer your yellowfin tuna cooked is fascinating to me! I always appreciate the feedback, and I check every single comment. If you snapped a picture of your gorgeous, crusted gourmet tuna ready to be sliced, I’d be thrilled if you shared it on social media and tagged us—seeing your plates makes my whole week!
Remember, if you are ever wondering about the rules or guidelines for using my recipes—though I’m pretty relaxed about sharing the love—you can always check out the specifics over on our Terms of Use page. Now go on, let me know how perfectly pink your fish turned out!
PrintSimple Seared Ahi Tuna Steaks
Learn how to perfectly sear sushi-grade Ahi tuna for a quick, healthy, and flavorful meal.
- Prep Time: 10 min
- Cook Time: 4 min
- Total Time: 17 min
- Yield: 2 servings 1x
- Category: Dinner
- Method: Pan Searing
- Cuisine: Asian
- Diet: Low Fat
Ingredients
- 2 (6 ounce) sushi grade Ahi tuna steaks
- 2 tablespoons soy sauce
- 1 tablespoon sesame oil
- 1 teaspoon grated fresh ginger
- 1 clove garlic, minced
- 1 tablespoon olive oil
- 1 teaspoon black sesame seeds
- 1 teaspoon white sesame seeds
Instructions
- In a shallow dish, whisk together the soy sauce, sesame oil, ginger, and garlic. This is your marinade.
- Place the tuna steaks in the marinade. Turn to coat both sides. Let the tuna marinate for 10 minutes. Do not marinate longer, as the soy sauce can begin to cure the fish.
- While the tuna marinates, mix the black and white sesame seeds together on a small plate.
- Remove the tuna from the marinade, letting excess drip off. Press both sides of each steak into the sesame seed mixture to coat evenly.
- Heat the olive oil in a heavy skillet (cast iron works well) over medium-high heat until the oil shimmers.
- Carefully place the coated tuna steaks in the hot skillet. Sear for 1 to 1.5 minutes per side for rare (cool, raw center) or 2 minutes per side for medium-rare.
- Remove the tuna from the skillet immediately. Let the steaks rest on a cutting board for 3 minutes.
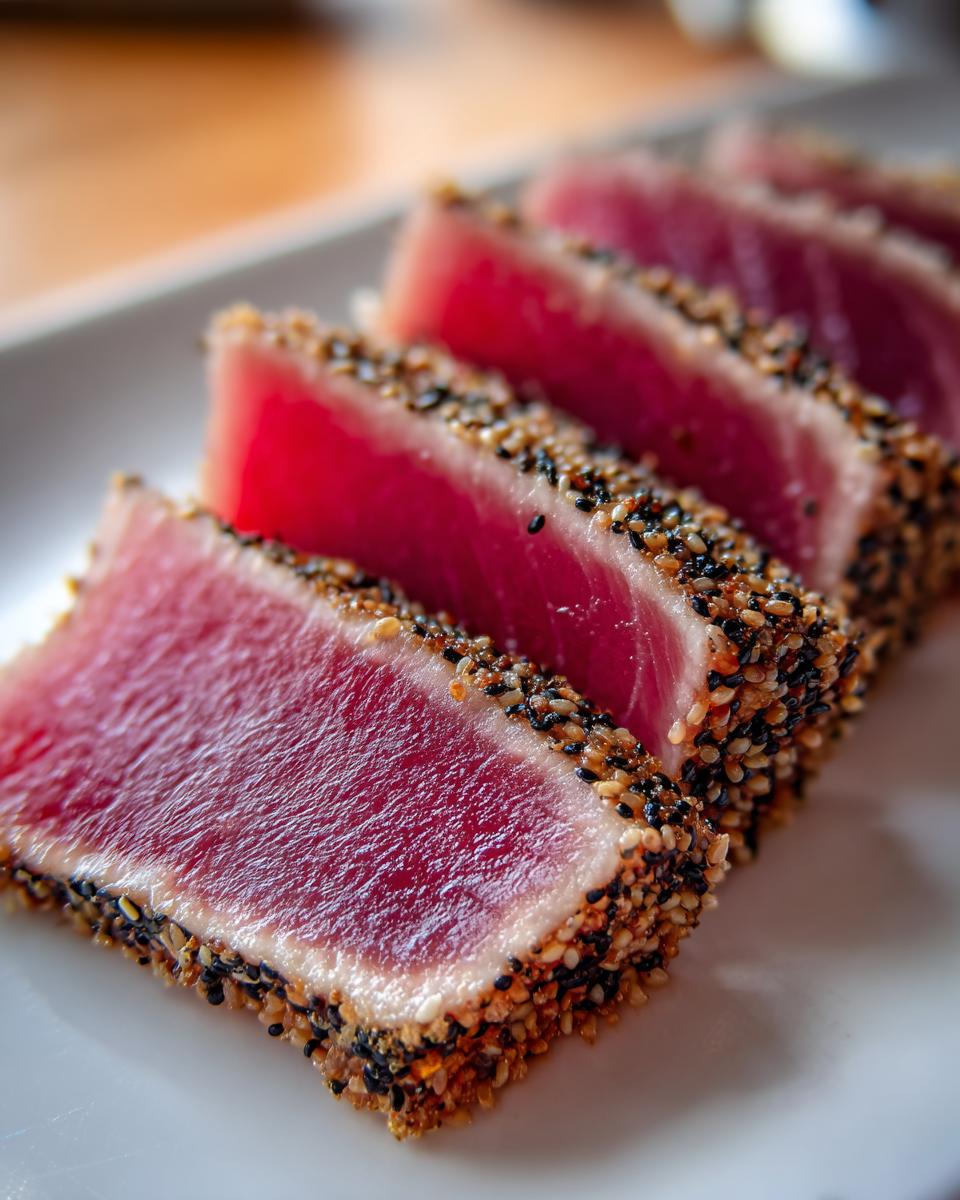
- Slice the tuna against the grain into half-inch thick pieces. Serve right away.
Notes
- For a dipping sauce, mix equal parts soy sauce and rice vinegar with a small dash of sriracha.
- If you prefer a warmer center, you can cook the tuna for an extra minute per side, but avoid overcooking to keep the texture tender.
- Use only sushi-grade or sashimi-grade tuna when preparing this dish raw in the center.
Nutrition
- Serving Size: 1 steak
- Calories: 250
- Sugar: 1
- Sodium: 550
- Fat: 12
- Saturated Fat: 2
- Unsaturated Fat: 10
- Trans Fat: 0
- Carbohydrates: 3
- Fiber: 0
- Protein: 32
- Cholesterol: 75