
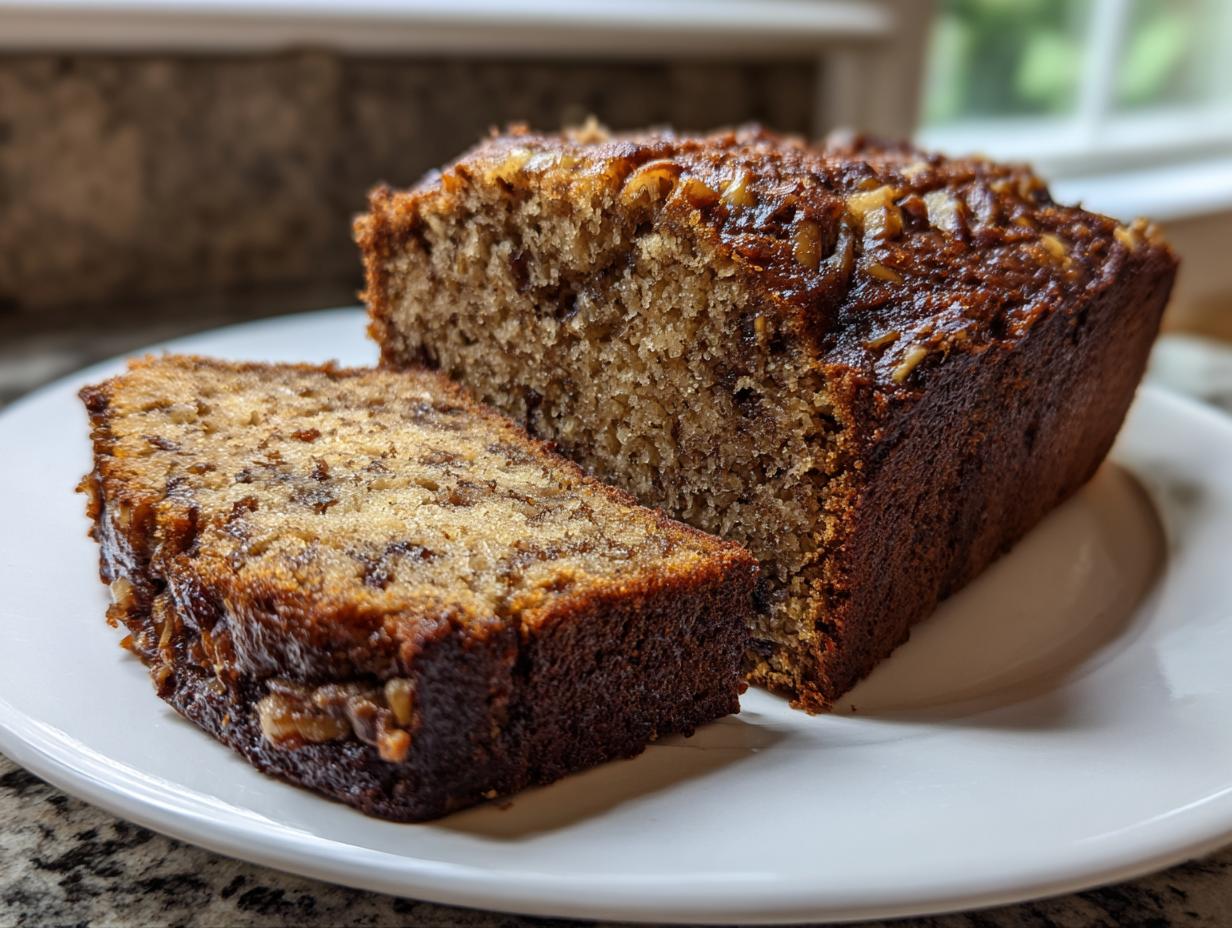
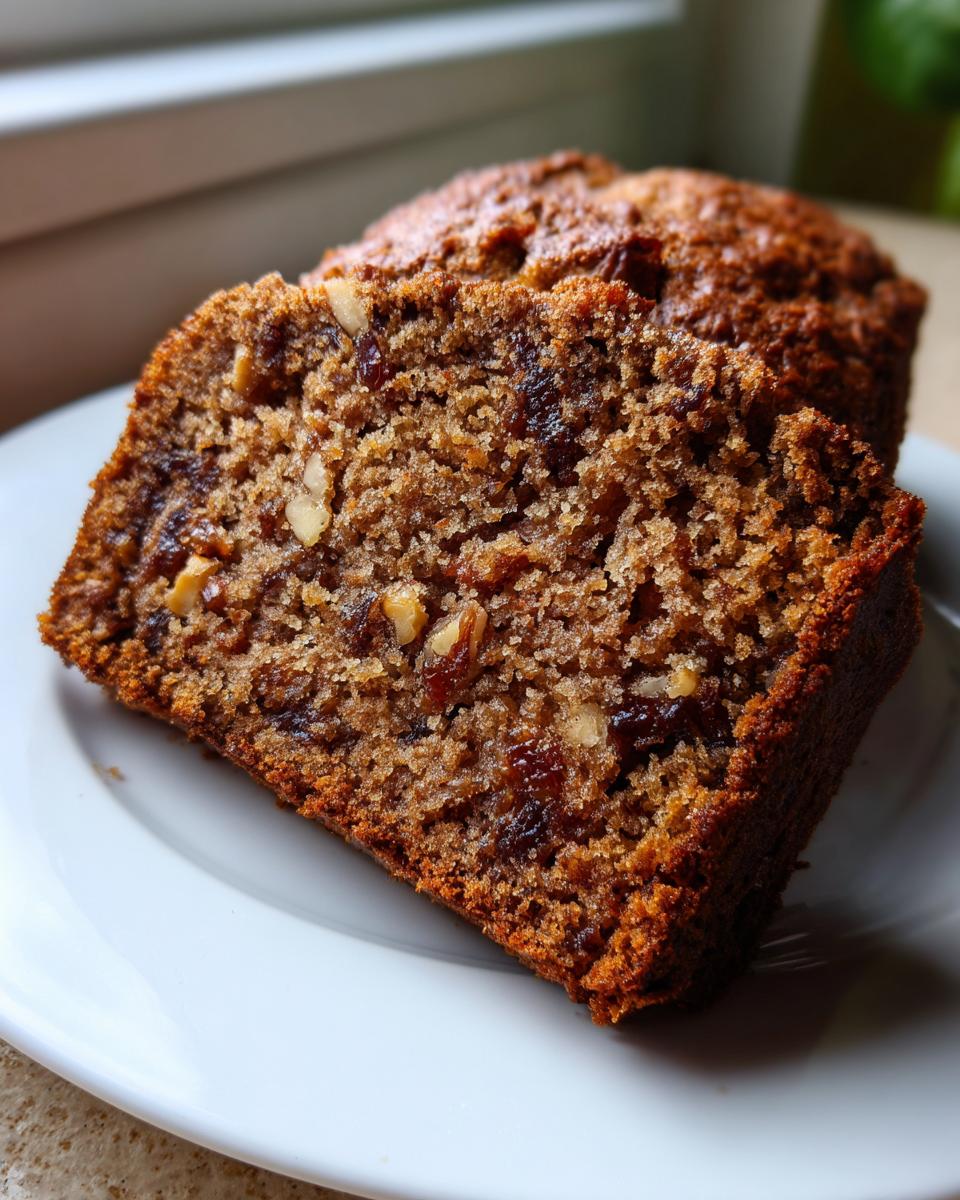
There is nothing quite like the scent of something warm and comforting baking on a cool afternoon, is there? Back home in the Midwest, my mom always swore by her recipes that tasted like tradition, and that’s exactly what we’re doing today. Forget those dry, crumbly loaves you sometimes find; we are making an Old-Fashioned, Ultra-Moist Date Nut Bread Recipe that just never fails. This is the kind of wholesome baking that sticks to your ribs and feels like a hug. If you’re searching for the best date nut bread that stays perfectly tender day after glorious day, you’ve found it right here. I promise you’ll be sharing this one for years to come! You can read more about where this commitment to trustworthy, simple recipes comes from over on my About Page.
- Why This Old-Fashioned Date Nut Bread Recipe Works So Well
- Gathering Ingredients for Your Homemade Date Bread
- Step-by-Step Instructions for the Best Date Nut Loaf
- Baking Time and Cooling for Perfect Date Nut Bread
- Serving Suggestions for This Classic Loaf Cake
- Storage and Make Ahead Bread Tips for Your Date Nut Bread
- Variations on the Traditional Date Nut Bread Recipe
- Frequently Asked Questions About Old Fashioned Quick Bread
- Estimated Nutritional Data for Date Nut Bread
Why This Old-Fashioned Date Nut Bread Recipe Works So Well
When you are talking about quick breads, moisture is everything, right? So many recipes promise joy but deliver sawdust! Trust me, I learned early on that a good date nut bread has to be spoonable, slightly sticky, and never, ever dry. That’s where my foundation in Midwest home cooking truly shows up—we rely on proven methods, not just fancy additions. This recipe is sturdy enough for breakfast but sweet enough for an afternoon snack, giving you that reliable comfort food baking feeling every single time you pull the loaf out.
The Secret to a Moist Date Nut Bread Recipe
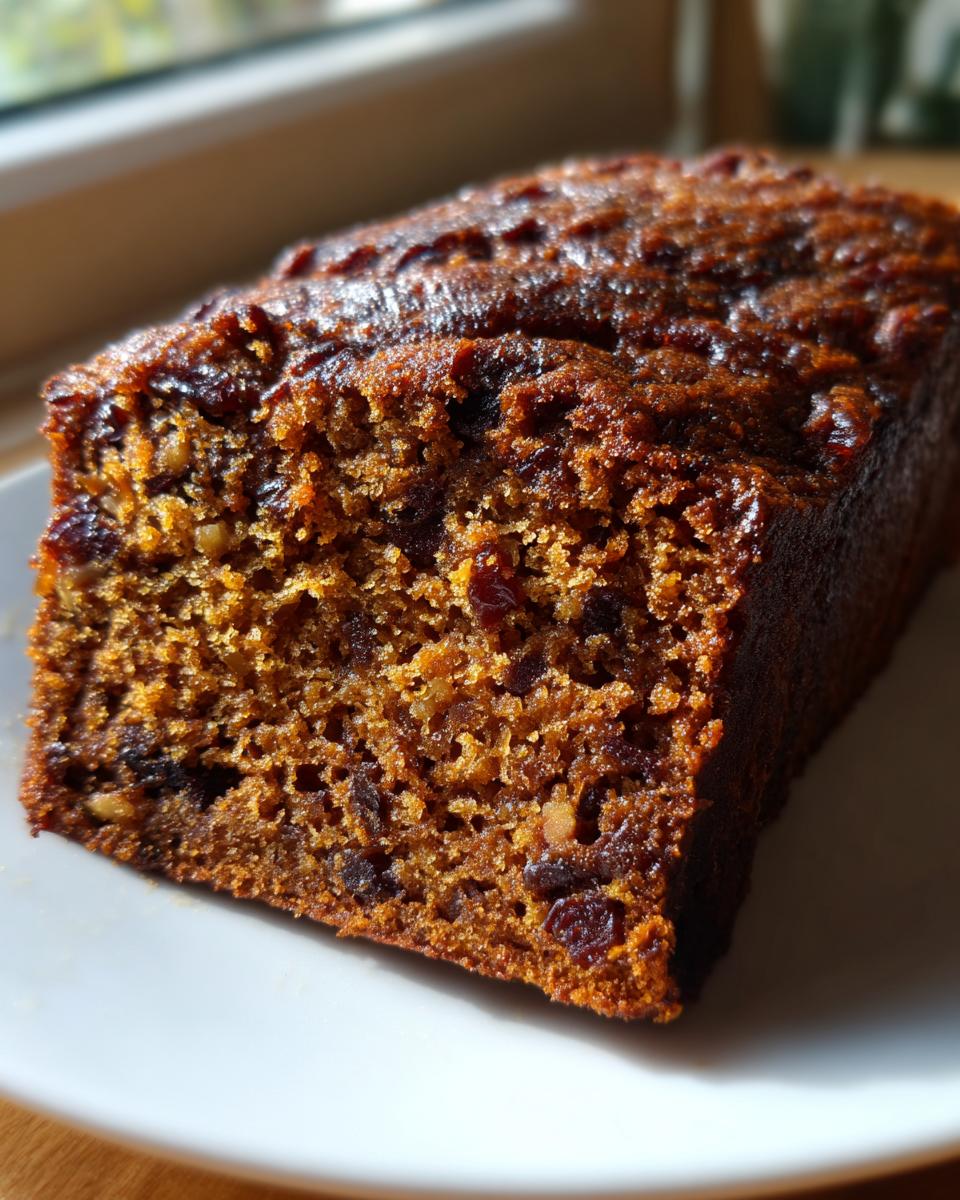
The absolute magic wand for this loaf happens right at the very beginning, before we even touch the mixer! We take our chopped dates and pour boiling water right over them, mixing in the baking soda immediately. That combination starts a reaction that begins breaking down the dates right there. This pre-soak is the key to getting the deepest flavor and making sure that every bite of your date nut bread is unbelievably moist instead of just chewy.
Simple Baking Recipes for Everyday Comfort Food Baking
Even though the results taste like they took all day, this is truly one of those wonderful simple baking recipes. You don’t need a stand mixer or fancy equipment, just your hands and a hearty bowl. If you’re making this for the first time, don’t feel intimidated! It’s designed for home bakers who just want that reliable, delicious result without any fuss. That’s the goal of good comfort food baking, after all—deliciousness without stress.
Gathering Ingredients for Your Homemade Date Bread
Okay, let’s talk about what goes into this magic loaf. Getting your ingredients ready first—your *mise en place*, as the fancy chefs say—is half the battle when you’re making a date nut bread. This recipe keeps things classic: we need the dates, brown sugar, butter, eggs, and the dry basics. But listen closely, because the way you prep the dates and butter makes a huge difference between a good quick bread and a spectacular one. Having everything ready means smooth sailing when it’s time to combine!
Ingredient Notes and Walnut Date Loaf Substitutions
You must use dates that are fully pitted and roughly chopped; don’t grab those whole chewy ones! We need them small enough to mix nicely but chunky enough to taste. Also, the butter absolutely needs to be softened—not melted, just soft enough to press your finger into easily. For the nuts, the recipe calls for walnuts, and they provide a wonderful crunch in this walnut date loaf. If walnuts aren’t your favorite, pecans work beautifully! And if you wanted to turn this into a slightly heartier nut and date cake recipe, you could swap out maybe half the all-purpose flour for whole wheat flour, too. That keeps the spirit of the recipe while offering a little twist!
Step-by-Step Instructions for the Best Date Nut Loaf
Alright, let’s get baking! Since this is an old fashioned quick bread, we need to move with a little purpose, but don’t panic—it’s all straightforward. The most important thing here is patience during the initial soak, which sets us up for success later. We’re going to focus on gentle mixing once the flour comes out to ensure our loaf stays tender, not tough. Getting these steps right means you’ll have the most reliably delicious date nut bread you’ve ever made. You can always reach out through my Contact Page if you get stuck!
Preparing the Dates and Wet Mixture
First things first: get your oven set to 350°F and grease that 9×5 pan! Now for that crucial step: put your chopped dates into a small bowl and pour the full cup of boiling water right over them. Stir in that teaspoon of necessary baking soda, give it a quick toss, and let it sit for ten full minutes. You’ll see the dates plump up beautifully. That baking soda is actually helping them soften up perfectly; it’s chemistry working in our favor to make the best, moistest bread!
Mixing the Batter for Your Date Nut Bread
While the dates are relaxing, go ahead and cream your softened butter and brown sugar until they look fluffy—it should lighten up nicely. Beat in your eggs one at a time, followed by the vanilla—just get them incorporated. Now, whisk your flour, baking powder, and salt in a separate bowl. Add those dry ingredients into the creamed butter mixture slowly, mixing until you see *just* combined. Seriously, stop mixing! Then, gently fold in the entirety of your date mixture *and* those lovely chopped walnuts. That’s how you guarantee a soft, tender crumb for your date nut bread.
Baking Time and Cooling for Perfect Date Nut Bread
Now that our beautiful batter is ready, it’s time for the oven to do its job! Pour all that rich mixture right into your prepared 9×5 inch loaf pan. Set your timer for 50 minutes, but keep an eye on it after that mark. We are looking for that skewer test to come out clean—no wet batter clinging to it! That’s how you know this date nut bread isn’t going to let you down on moisture.
Once it seems done, pull it out, but don’t rush the cooling! I know you want to slice into it immediately, but patience is key here. Let the loaf hang out in the pan for a good ten minutes. This lets it firm up just enough so it doesn’t steam itself to mush or fall apart when you try to flip it out onto the cooling rack. Give it that gentle cool-down time, and your gorgeous loaf is set!
Serving Suggestions for This Classic Loaf Cake
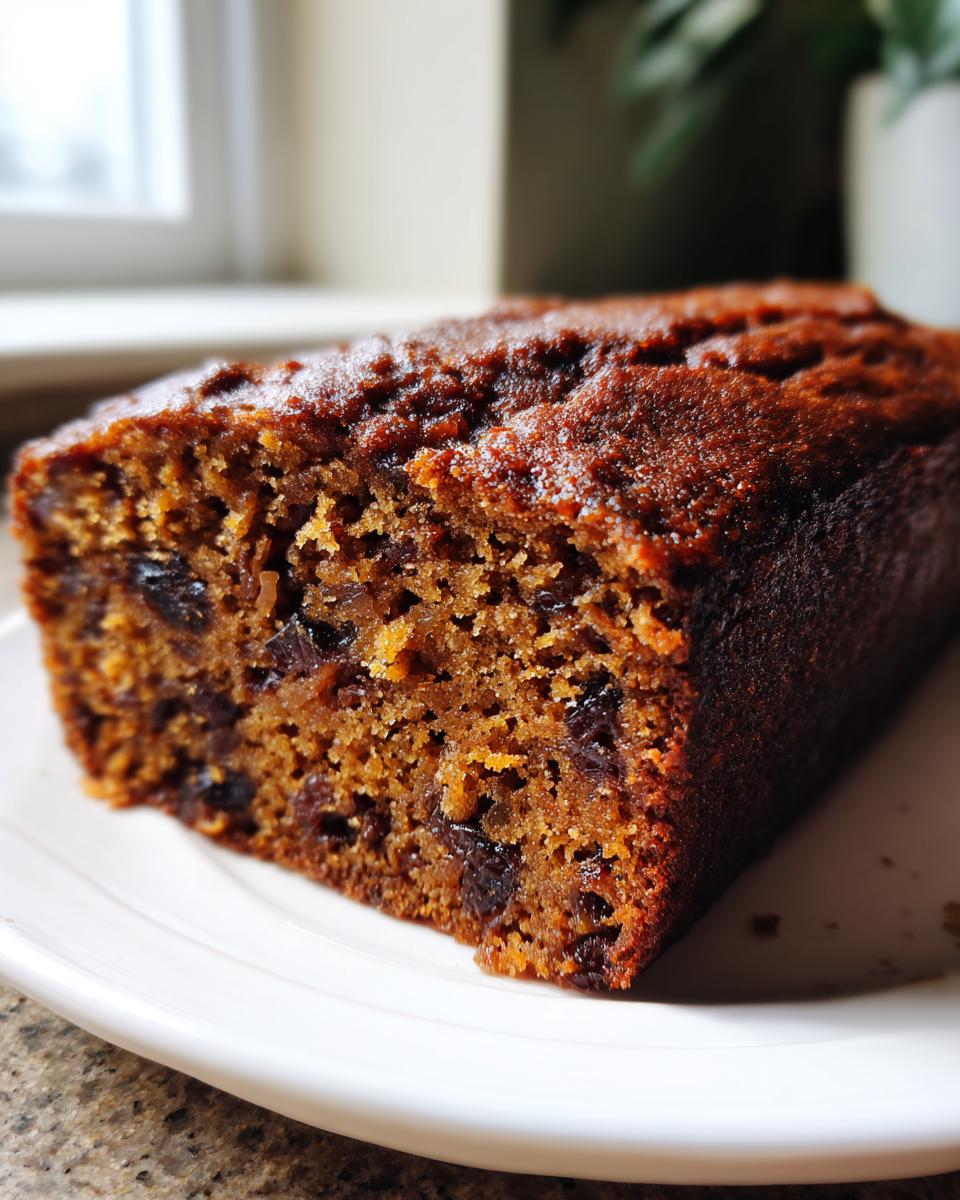
So, you’ve got this stunning, fragrant loaf cooling on the rack. Now what? The absolute, non-negotiable best way to enjoy this bread is when it’s slightly warm. Seriously, grab a knife and spread a good thick layer of real butter on a slice; it melts right into those sweet nooks and crannies. It’s just heavenly!
This bread is such a versatile treat. It shines as a hearty quick bread for breakfast when you need something satisfying to pair with your coffee. But honestly, its rich flavor profile and texture also make it fantastic as one of those cozy holiday fruit bread options people look forward to all year. If you’re looking for more great ways to serve seasonal bakes, check out some inspiration over at this recipe for holiday inspiration!
Storage and Make Ahead Bread Tips for Your Date Nut Bread
One of the best things about this recipe is that it’s perfect for making ahead of time! That’s right, this is a truly terrific make ahead bread. Once your loaf of date nut bread has cooled completely—and I mean completely, no warm bread wrapping allowed—you want to wrap it up tight. I usually use plastic wrap first, followed by a layer of foil or popping it right into an airtight container.
At room temperature, it stays beautifully moist for about four days. If you need it to last longer, the freezer is your friend! Wrap it well, and it freezes perfectly for up to two months. When you pull a slice out a few weeks later, just let it thaw on the counter, and it tastes just as fresh as the day you baked it!
Variations on the Traditional Date Nut Bread Recipe
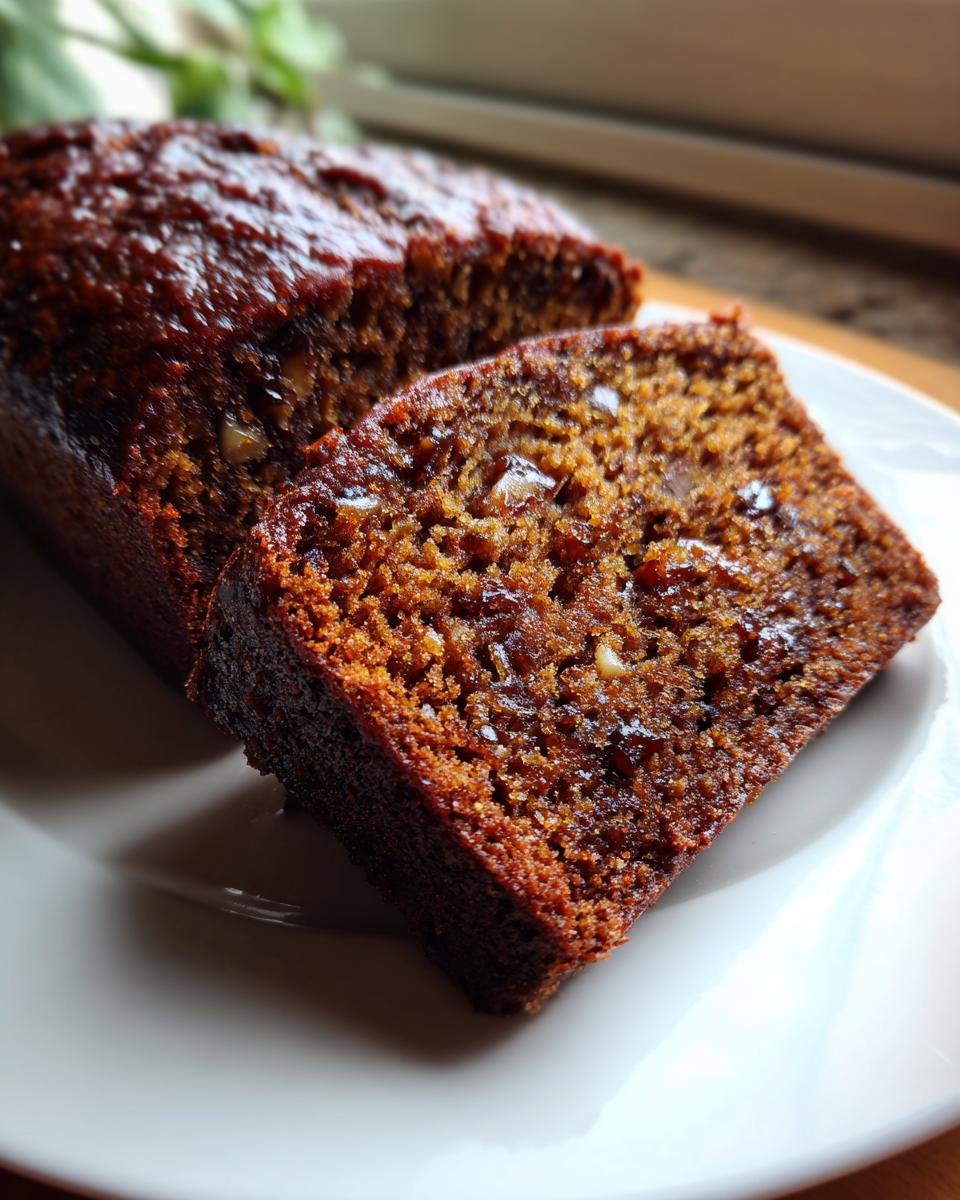
While my heart belongs to this original, simple date nut bread, I love hearing how you all tweak Grandma’s style recipes! You certainly don’t have to stick to the exact script, and some modifications turn out just marvelous for a change of pace. If you’re looking to mix things up but keep that dense, moist crumb, I have a couple of great family-tested ideas for you.
One hugely popular twist is adding banana—creating a fantastic Banana Date Nut Bread Variation. You just mash up one ripe banana and decrease your other liquid components slightly. It adds incredible softness! Or, if you want to lean harder into the holiday feeling, try boosting the spices. A little extra clove or even a tiny pinch of allspice can transform this into a wonderfully warm Spiced Date Bread. You can find a great idea for using maple syrup instead of brown sugar over at this lovely spot! It’s all about making your perfect, personal loaf of date nut bread.
Frequently Asked Questions About Old Fashioned Quick Bread
I get so many messages asking for tweaks and tips! It’s wonderful that everyone is diving into old fashioned quick bread baking. Honestly, if you follow the primary recipe, you’ll be golden, but here are a few things that seem to come up when folks are getting familiar with this classic loaf.
Can I make this a Naturally Sweetened Bread?
You absolutely can try to lean toward a naturally sweetened bread! The brown sugar is key for texture here, but if you are trying to cut back, you can reduce it slightly. Some people swap half the sugar for maple syrup, but remember that maple syrup adds liquid, so you might need to take out a tiny bit of the date soaking water to keep the balance right.
What is the best way to store this Wholesome Snack Bread?
To keep this wholesome snack bread at its peak moisture level, you really need a tight wrap. Make sure it’s totally cool, then wrap it first in plastic wrap and then foil. This prevents any air from getting in and drawing out that precious moisture we worked so hard to lock in!
Because this recipe relies on baking soda and baking powder for its lift, it’s perfect for immediate enjoyment or making ahead. It doesn’t rely on yeast, so you don’t have to worry about over-proofing or anything fussy like that. Just good, solid ingredients giving you a reliably delicious result!
Estimated Nutritional Data for Date Nut Bread
Now, let’s chat about the numbers. When you’re baking something this flavorful—full of dates and nuts—it’s good to have a rough idea of what you’re enjoying! The estimates below are based on dividing the recipe into 10 generous slices. Remember, these figures are just guidelines for our traditional recipe, since ingredient brands and exact measurements can always vary a little bit. If you want to read more about how we handle your data on this site, check out the Privacy Policy!
- Serving Size: 1 slice
- Calories: 280
- Sugar: 25g
- Fat: 13g
- Protein: 5g
- Carbohydrates: 40g
Old-Fashioned, Ultra-Moist Date Nut Bread Recipe
Bake a classic, moist date nut bread loaf using simple ingredients. This recipe delivers the comforting flavor you expect from homemade quick bread, perfect for breakfast or snacking.
- Prep Time: 15 min
- Cook Time: 60 min
- Total Time: 75 min
- Yield: 1 loaf (about 10 servings) 1x
- Category: Quick Bread
- Method: Baking
- Cuisine: American
- Diet: Vegetarian
Ingredients
- 1 cup boiling water
- 1 cup packed pitted, chopped dates
- 1 teaspoon baking soda
- 1/2 cup (1 stick) unsalted butter, softened
- 1 cup packed light brown sugar
- 2 large eggs
- 1 teaspoon vanilla extract
- 1 1/2 cups all-purpose flour
- 1 teaspoon baking powder
- 1/2 teaspoon salt
- 1 cup chopped walnuts
Instructions
- Preheat your oven to 350°F (175°C). Grease and flour one 9×5 inch loaf pan.
- Place the chopped dates in a small bowl. Pour 1 cup of boiling water over the dates and stir in the baking soda. Let this mixture stand for 10 minutes to soften the dates.
- In a large bowl, cream together the softened butter and brown sugar until light and fluffy. Beat in the eggs one at a time, then mix in the vanilla extract.
- In a separate medium bowl, whisk together the flour, baking powder, and salt.
- Add the dry ingredients to the wet ingredients gradually, mixing just until combined. Do not overmix.
- Stir in the softened date mixture (including any liquid) and the chopped walnuts until they are evenly distributed throughout the batter.
- Pour the batter into the prepared loaf pan.
- Bake for 50 to 60 minutes, or until a wooden skewer inserted into the center comes out clean.
- Let the bread cool in the pan for 10 minutes before turning it out onto a wire rack to cool completely.
Notes
- Serve this wholesome snack bread warm with butter for the best texture.
- This make ahead bread freezes well once completely cooled. Wrap tightly in plastic wrap and foil.
- For a variation, substitute half the all-purpose flour with whole wheat flour for a nut and date cake recipe with more fiber.
Nutrition
- Serving Size: 1 slice
- Calories: 280
- Sugar: 25
- Sodium: 180
- Fat: 13
- Saturated Fat: 5
- Unsaturated Fat: 8
- Trans Fat: 0
- Carbohydrates: 40
- Fiber: 3
- Protein: 5
- Cholesterol: 55