
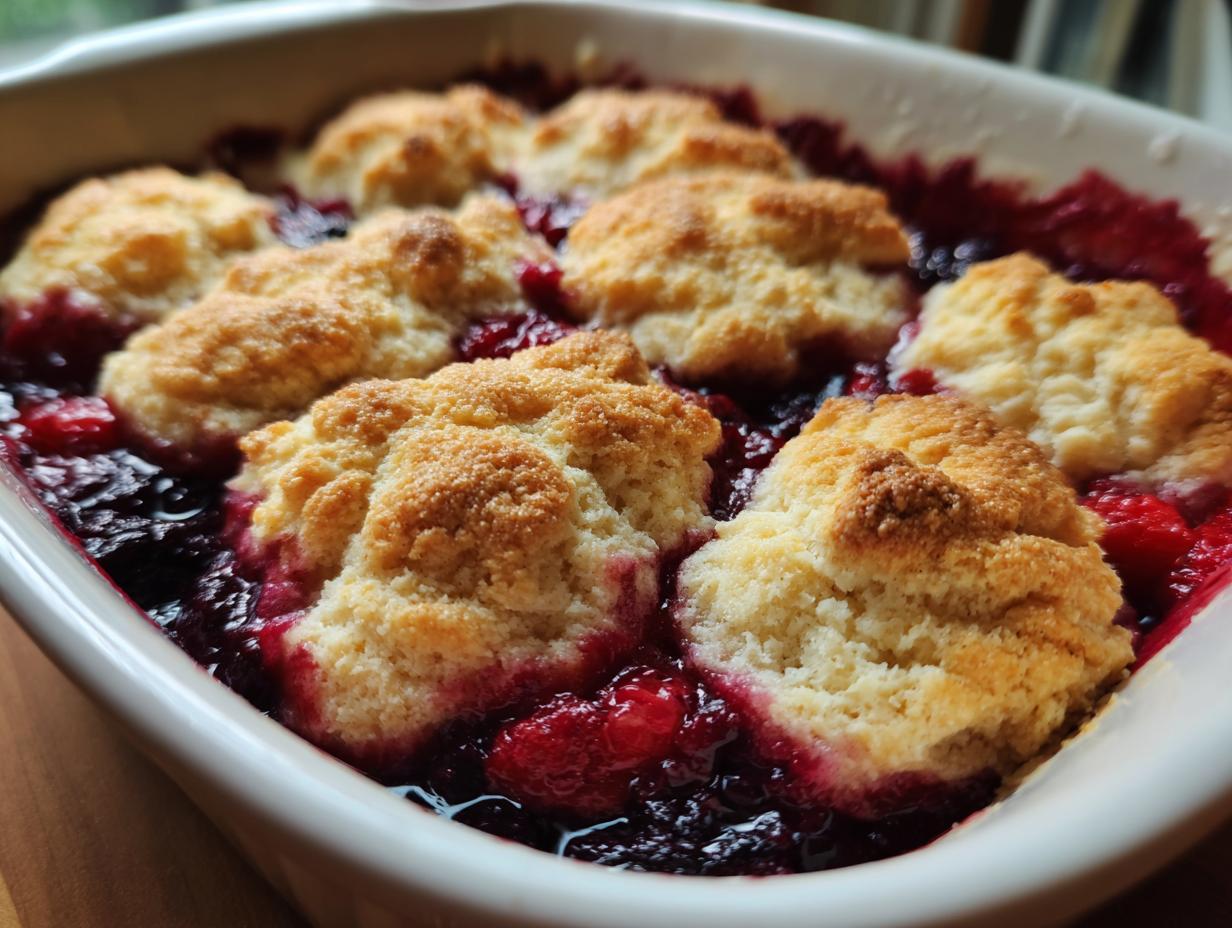
There is just nothing that says ‘home’ quite like a warm, bubbling fruit dessert, is there? When the weather shifts, or when you just need a little bit of comfort spooned into a bowl, a cobbler is the perfect answer. And today, friends, we are diving into what I truly believe is the Best Mixed Berry Cobbler Recipe, featuring that gorgeous, flaky, buttery cobbler topping that just melts in your mouth.
I know so many of you hesitate when it comes to fruit desserts, worried about soggy bottoms or runny fillings. But please trust me here. My focus, coming from thirty years of teaching little ones—and now baking for my own grandkids—is clarity and reliability. This recipe is straightforward, designed to work whether you pick your berries fresh or just grab a bag of frozen ones from the freezer. It promises that perfect, juicy berry filling every single time. If you’re looking for dependable, delicious easy summer baking, you’ve found your new favorite treat. Feel free to check out all my best dessert recipes while you’re here!
- Why This is the Best Mixed Berry Cobbler Recipe
- Ingredients for Your Juicy Berry Filling and Buttery Cobbler Topping
- How to Prepare Your Easy Mixed Berry Cobbler
- Tips for the Perfect From Scratch Cobbler
- Variations for Your Mixed Berry Cobbler
- Serving Suggestions for a Warm Berry Dessert
- Storage and Reheating Instructions for Homemade Fruit Cobbler
- Frequently Asked Questions About Making Mixed Berry Cobbler
- Nutritional Estimate for This Comfort Food Dessert
- Share Your Homemade Mixed Berry Cobbler Creation
Why This is the Best Mixed Berry Cobbler Recipe
I’ve spent years perfecting the basics, which is why I know this recipe beats out so many others! I designed this to be the Best Cobbler Recipe you’ll ever try—no fancy tricks, just pure, comforting flavor. Look at why folks love coming back to this one again and again:
- Easy Prep Time: You can have this thing assembled in about 15 minutes. It’s a wonderful quick berry dessert for busy weeknights.
- The Buttery Topping: We aren’t messing around with cake mix here (though that’s fine sometimes!). This is a proper, flaky biscuit topping that gets wonderfully golden.
- Works With Frozen Berries: Don’t let a lack of fresh fruit stop you! This recipe handles frozen berries beautifully without getting watery.
- The Juicy Berry Filling: Thanks to a little cornstarch magic, you get that rich, thick, jammy filling without any soupy mess at the bottom of the dish.
Ingredients for Your Juicy Berry Filling and Buttery Cobbler Topping
Alright, getting the ingredients gathered is half the battle, right? When you’re making a wonderful, from scratch cobbler like this, I always keep my ingredients measured out before the oven even thinks about preheating. That way, assembly is a breeze! You’ll see we are splitting these right into the fruit part and the topping part. Take a look below—and if you love learning the secrets to the perfect dough, you should absolutely read up on my advice for a great flaky butter pie crust. It uses a similar approach!
For the Juicy Berry Filling in Your Mixed Berry Cobbler
This part is what makes the dessert so bright and flavorful. The cornstarch is absolutely critical here to make sure you get that perfect, thick, juicy berry filling instead of a puddle at the bottom of your dish.
- 4 cups mixed berries (use them fresh, or pull them straight from the freezer—no need to thaw them first, trust me!)
- 1/2 cup granulated sugar
- 2 tablespoons cornstarch (this is our secret thickening agent!)
- 1 tablespoon lemon juice (just a touch for brightness)
- 1/4 teaspoon ground cinnamon
Making the Buttery Biscuit Topping Recipe
This topping is what turns this from a baked fruit dish into a true, comforting cobbler. We want that golden, flaky texture, so pay attention to the temperature of that butter!
- 1 1/2 cups all-purpose flour
- 2 teaspoons baking powder
- 1/2 teaspoon salt
- 1/2 cup cold unsalted butter, cut into small pieces (This needs to be COLD!)
- 1/2 cup milk
- 2 tablespoons granulated sugar (reserved just for sprinkling over the top later)
How to Prepare Your Easy Mixed Berry Cobbler
This is where the magic happens, and I promise you, if you follow these simple steps, you will have a beautiful, rustic dessert ready in under an hour! Since this is a relatively quick berry dessert, the key is setting your kitchen up for success before you even touch the berries. This straightforward method keeps things moving fast, which is why I love sharing this simple berry bake with bakers just starting out. If you are looking for dependable, delicious easy summer baking, you’ll find all the steps you need for success right here.
Step 1: Prepare the Pan and Berry Filling for the Mixed Berry Cobbler
First things first, get your oven warmed up! Preheat it to 375 degrees Fahrenheit. Next, lightly grease up whatever dish you’re using—I usually pull out my favorite 9-inch pie plate for this—or an 8×8 inch baking dish if I want a slightly taller bake. Now for the filling! In a separate bowl, gently toss your four cups of mixed berries with the sugar, the cornstarch, that little splash of lemon juice, and the cinnamon. Please be gentle here! We want plump berries, not mashed-up juice, so just toss until everything is lightly coated. Pour that lovely berry mixture right into your prepared dish.
Step 2: Constructing the Biscuit Topping Recipe
Time to work on that award-winning buttery cobbler topping. In a different bowl—make sure it’s dry!—whisk together the flour, baking powder, and salt. Now, grab your **cold**, cubed butter. You need to cut this butter into the dry ingredients until it really looks like coarse crumbs. I like using my fingertips for this because I can feel when the butter is perfectly blended, but a pastry blender works just as well! Once you have those crumbs, pour in the milk all at once and stir. And listen to me on this—this is critical for texture—stir *just* until the dough forms together. Seriously, stop mixing the second you see no dry streaks. Overmixing is what makes tough biscuits, and we want flaky goodness here!
Step 3: Assembling and Baking the Mixed Berry Cobbler
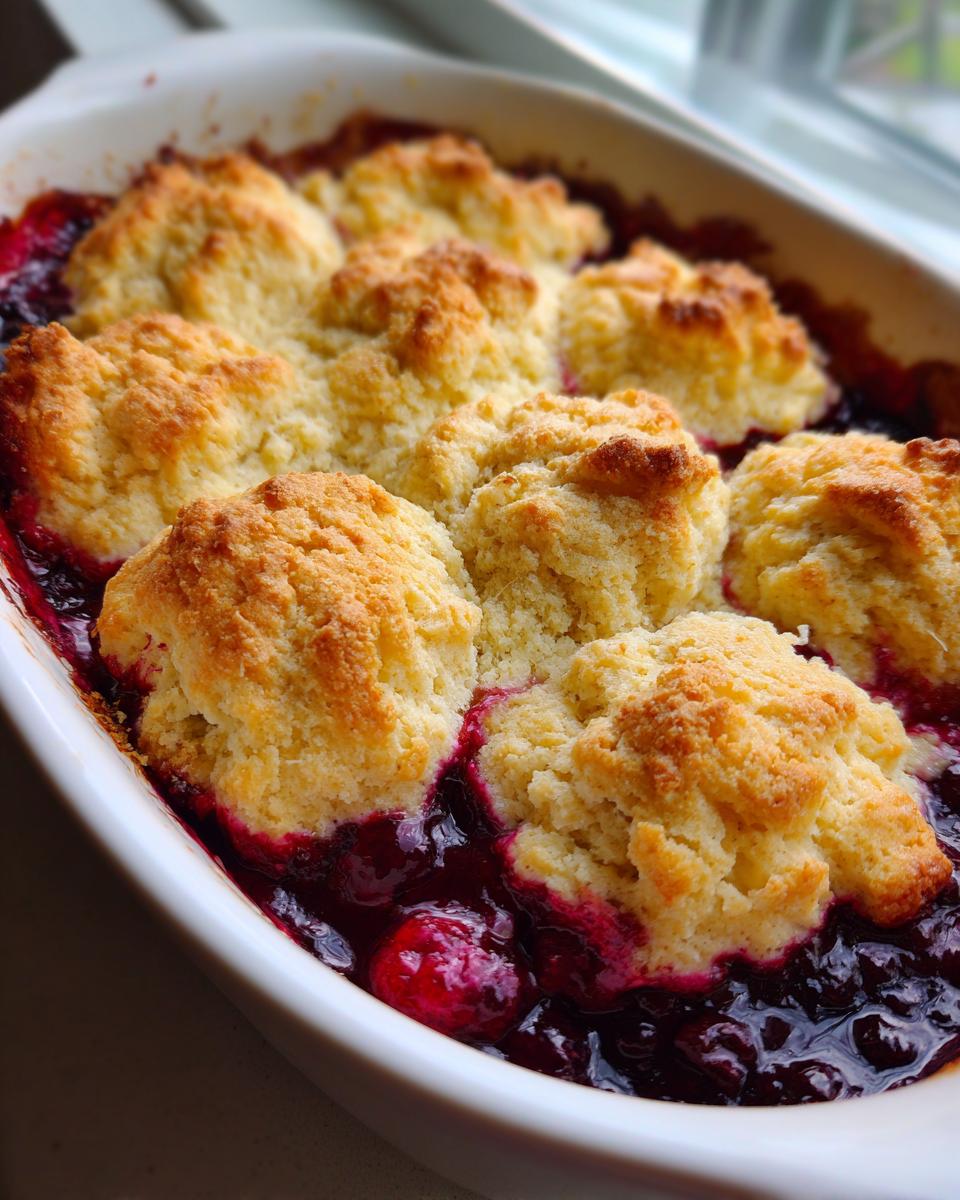
Take the dough you just made and drop messy spoonfuls evenly over the berry filling. Don’t try to make it look perfect; that’s the beauty of a homemade fruit cobbler! Leave little gaps between those biscuits so the steam can escape as it bakes. Once the topping is placed, take that last two tablespoons of sugar and sprinkle it right over everything. Pop it into your preheated oven for about 35 to 45 minutes. You’ll know your mixed berry cobbler is done when that topping is totally golden brown and you can hear and see the berry filling bubbling up around the edges. It smells like heaven when it’s ready!
Tips for the Perfect From Scratch Cobbler
When you’re committing to making a from scratch cobbler, you want it to turn out perfectly every time, right? That’s where those little bits of experience, the ones you only learn after making a dish a hundred times, really come into play. I’ve written down the things I always watch out for in the recipe notes so you don’t have to guess. Think of these as the little secrets to guaranteeing that beautiful, thick filling and crisp topping.
If you’re planning a big week and want to make mornings easier, these tips can help you prepare, or you can look at some of my other easy recipe ideas!
Here are the few things I always stand by when making this homemade fruit cobbler:
- Do Not Thaw Frozen Berries: This is a big one! If you are using frozen fruit, toss them straight into the sugar and cornstarch mixture while they are still frozen solid. If you thaw them first, you’ll end up with a mushy mess, and the juices will be too runny for the cornstarch to handle during the bake.
- Butter the Topping for Extra Richness: The recipe calls for sprinkling sugar over the biscuits, which is lovely, but if you want to push it into decadent territory, melt just a teaspoon or two of butter and gently brush it right over the top of the biscuit dough right before it goes into the oven. That little extra fat helps them brown up beautifully and adds a richer flavor counterpoint to the tart fruit.
- Think Rustic, Not Perfect: Cobblers are meant to look like they were just pulled from a farmhouse oven—no fussy cuts needed! When you drop the spoonfuls of dough, just leave gaps; don’t try to connect them all into one solid crust. Those little open spots let the steam out, which is vital for preventing a soggy bottom layer.
- Give It Time to Settle: I know it’s hard when it smells that warm and wonderful, but let this simple berry bake sit on the cooling rack for at least 15 minutes after it comes out of the oven. This allows those berry juices, which are nice and hot, to finally thicken up properly. If you cut into it right away, you risk losing all that beautiful thickening work the cornstarch did!
Variations for Your Mixed Berry Cobbler
Now, I hope you see that my preference for this classic buttery cobbler topping is strong, but I also know that sometimes you need a little change-up, or maybe you’re missing an ingredient! That’s the joy of home cooking, isn’t it? We make the base recipe work for us.
Since I know folks are always searching for quick hacks, I wanted to touch on a few ways you can easily pivot your mixed berry cobbler preparation after you master the biscuit dough. Feel free to explore these ideas next time you’re in the mood for a fun twist. If you are interested in how I adapt other classic recipes, you might enjoy my notes on making sweet potato muffins—a different kind of baking, but the idea of adapting base ingredients is the same!
When it comes to the fruit filling, don’t be afraid to switch up the flavors a bit. If you have fresh orange zest on hand, try swapping that tablespoon of lemon juice for a teaspoon of zest. It brightens up the sweet berries beautifully!
For those days when you need an even faster easy berry cobbler, I certainly understand the allure of the cake mix or oat toppings you see floating around!
- The Cake Mix Hack: If you’re really strapped for time, you can skip making the biscuit dough entirely. Just spread your berry filling in the dish, sprinkle a box of yellow or white cake mix evenly over the top, and then drizzle maybe half a cup of melted butter right over the dry mix. It’s a totally different texture—more crumbly than flaky—but it’s incredibly fast and still tasty!
- For a Crunchy Finish: If you like a little more texture and spice than just plain sugar, try mixing oats into your topping. Before you drop the dough spoonfuls, you can toss your cut-in butter/flour mix with about 1/4 cup of rolled oats and a pinch of brown sugar right before you add the milk. This gives you a lovely, almost streusel-like crispness when baked.
Remember, whether you stick to the flaky biscuits or try one of these other topping ideas, the heart of this dessert is that warm, slightly tart fruit filling. That’s the part I never change!
Serving Suggestions for a Warm Berry Dessert
There’s nothing quite like pulling a pan of warm fruit straight from the oven. That steam rising off the berries, the smell filling the whole house—it’s just pure comfort! This warm berry dessert is nearly perfect all on its own, but let’s be honest, cobbler is often just the vehicle for something even better on top. If you’ve followed the recipe right, you’ve got this beautiful golden biscuit topping that cradles intensely sweet and tart berries underneath.
When I bring this mixed berry cobbler out to my grandkids, the sound they make when they see the topping is honestly wonderful. But the reaction gets a whole lot louder once we add the finishing touches. I usually keep things simple because the fruit flavor needs to shine, but adding a creamy, cold element is non-negotiable for me!
I’ve got a few tried-and-true ways to top this that I think you’ll absolutely love. I encourage you to look through some of my other sweet posts, like my recipe for homemade chocolate pudding, just to see how I approach building layers of flavor in simple dishes.
Here are my favorite pairings for serving this dessert:
- The Classic Pairing: Dessert with Vanilla Ice Cream. This is my number one choice, friends. The extreme hot-meets-cold contrast is unbeatable. I always use a high-quality vanilla bean ice cream because that rich dairy flavor cuts through the sweetness of the berries just perfectly. Watching that scoop start to melt down the bubbly fruit is pure therapy.
- A Lighter Touch with Whipped Cream: If ice cream feels too heavy, a big dollop of lightly sweetened, freshly whipped heavy cream is divine. You just need heavy cream, a touch of powdered sugar, and maybe a tiny splash of vanilla extract. Whip it until it holds soft peaks—don’t over-whip it into stiff peaks! That soft fluffiness is what you want resting on the warm biscuit topping.
- A Simple Cream Drizzle: Sometimes, you just want something smooth that runs down the sides. I’ll thin out a couple of tablespoons of heavy cream with a teaspoon of milk, maybe adding just a drop of almond extract if I have it handy. It’s subtle but adds necessary moisture to the topping.
Honestly, whatever you pick, make sure you are serving it warm. That’s the key to loving every bite of your beautiful warm berry dessert!
Storage and Reheating Instructions for Homemade Fruit Cobbler
Oh, the glorious problem of leftovers! If you manage to have any of this exquisite homemade fruit cobbler left over after diving in—and I sometimes struggle to save any because it’s just too tempting while it’s warm—you need to know how to treat it right. Cobblers are sturdy desserts, but they do need a little care to keep that biscuit topping from getting heavy the next day.
If you’ve wrapped this up tightly and stored it away, I have good news: it keeps its wonderful flavor for days! For any leftovers, I generally recommend keeping them covered on the counter for about a day if your kitchen isn’t too hot, but if you want to keep it around for three or four days to enjoy, pop it in the refrigerator. Make sure it’s in an airtight container or covered tightly with plastic wrap directly on top of the cooled cobbler; we don’t want any fridge smells mixing with our lovely berries! If you’re looking for other reliable make-ahead sweets, you can see how I handle aging an old-fashioned fruit cake recipe for future enjoyment.
The trick with this dessert, just like any baked good with biscuits or pastry, is getting that topping crisp again. You have two main options for reheating, depending on how much patience you have after dinner!
For the Best Reheat (Crispy Topping): I always strongly recommend using your oven. It keeps the topping from getting tough. Cover the dish loosely with foil—just enough to stop the very top from burning—and heat it slowly at about 300 degrees Fahrenheit for about 15 to 20 minutes, until the filling is hot all the way through. You might want to slip the foil off for the last 5 minutes if you want that biscuit to really crisp up again!
For the Quick Reheat (Softer Topping): If I just need one slice warming up right now, I won’t lie, I use the microwave. Place a single slice on a plate and heat it in short bursts—maybe 20 seconds at a time. It will warm up fast, but be warned, the topping will be softer and maybe a little chewier than when it first came out of the oven. But hey, warm berries are warm berries!
No matter how you store or reheat your homemade fruit cobbler, it always tastes best with a fresh scoop of vanilla ice cream melting over the top!
Frequently Asked Questions About Making Mixed Berry Cobbler
Whenever I share a recipe, there are always a few questions that pop up repeatedly once folks start gathering their ingredients. That’s perfectly normal! When you’re making something as wonderfully rustic as a mixed berry cobbler, sometimes you need a little confirmation on the trickier bits or creative substitutions. I’ve gathered the most common inquiries below to help you have complete confidence before you even turn on your oven. And if you’re looking for other savory kitchen tips, you can always check out my guide on making chicken gravy without drippings!
Can I use only one type of berry in this mixed berry cobbler recipe?
Absolutely, you can! The beauty of using ‘mixed berries’ is that it gives you that wonderful blend of sweet and tart notes that berries offer. If you only have, say, frozen blueberries or a big batch of fresh blackberries, go ahead and use four cups of that single berry. Just keep in mind that the flavor profile will change slightly. It won’t have that complex sweet-tart balance you get from the mix, but it will still be delicious, warm, and comforting. It’s a great way to use up whatever fruit you have on hand!
How do I prevent the bottom crust from getting soggy?
Ah, the dreaded soggy bottom! This is the number one fear for any fruit baker, but we have two easy ways to stop that from happening in our mixed berry cobbler. First, remember that cornstarch we added? It’s essential! Make sure you vigorously toss the berries until every piece of fruit is lightly coated. That starch needs to grab onto the juices to thicken them up right while baking. Second, pay attention to where you place your dish in the oven. If you know your oven runs hot on the bottom, I always suggest placing your pie plate on the lower-middle rack. This gives the heat enough time to cook the crust through before the juices start boiling up and overwhelming it. It’s all about balance, honey!
Since we are talking about making dependable, delicious food, here are a couple more quick checks many folks ask about:
- Can I make the topping dough ahead of time? Yes, you can mix the dry ingredients and cut in the butter ahead of time. Keep that mixture chilled in the fridge, covered well, for up to two days. When you’re ready to bake, just stir in the cold milk quickly and drop those biscuits right on top!
- What if I don’t have lemon juice? Lemon juice is really there just to brighten the flavor of the berries and help balance the sugar. If you don’t have any, you can leave it out entirely. The cobbler will still be great, just slightly sweeter. Don’t try to substitute it with vinegar, though—that’s a step too far away from comfort food!
Nutritional Estimate for This Comfort Food Dessert
Now, I always tell my grandkids that when we bake with real butter and lots of fresh fruit, we aren’t exactly making diet food—we are making *real* food that tastes incredible, and that’s important too! Since this recipe uses whole ingredients like flour, butter, and plenty of fruit sugars, it certainly counts as a marvelous treat rather than an everyday staple.
Please remember that these numbers are just estimates based on the exact measurements provided in the recipe above. If you add extra sugar to the topping or use a different style of flour, these counts will shift. Think of this as a helpful guide for when you are planning meals, not a strict dietary count. If you are looking for savory options, you might want to check out my tips on making savory chicken cobbler!
Here is the breakdown per serving, assuming this recipe yields six generous portions:
- Calories: Approximately 380
- Total Fat: Around 18 grams (Remember, that’s mostly from the quality butter we use for the topping!)
- Carbohydrates: About 52 grams
- Sugar Content: Roughly 35 grams (This is where all those lovely berries and the added sugar add up.)
- Protein: About 5 grams
- Saturated Fat: Roughly 11 grams
This is a classic, soul-satisfying comfort food dessert, packed with fruit, meant to be enjoyed warm, likely with a scoop of vanilla ice cream making it even richer. Every single bite is worth it!
Share Your Homemade Mixed Berry Cobbler Creation
Well, friend, that’s it! You’ve made yourself a genuine, comforting, homemade fruit cobbler that tastes every bit as good as something you’d find at a summer picnic. We started with simple berries and flour, and now you have this glorious, bubbling dessert ready to serve warm. I truly hope that the process felt easy and rewarding for you.
Now, the best part of sharing recipes, especially family-tested ones like this mixed berry cobbler, is hearing back from you! Did you serve it with vanilla ice cream, or did you try a dollop of fresh whipped cream? Did you use fresh raspberries from your garden? I want to know all the details!
If this recipe worked its magic for you—if you found the biscuit topping nicely flaky and the filling perfectly thick—please do me a huge favor and leave a rating right here on the page. Those stars really help other folks who are searching for reliable, straightforward recipes know they can trust my guidance. It’s my greatest joy to share these simple, delicious techniques that make home cooking so rewarding. If you ever need to reach out with a baking question or just want to say hello, you can always head over to my Contact Page. Happy baking, and thank you for trusting Carla in your kitchen!
PrintThe Best Mixed Berry Cobbler with Buttery Biscuit Topping

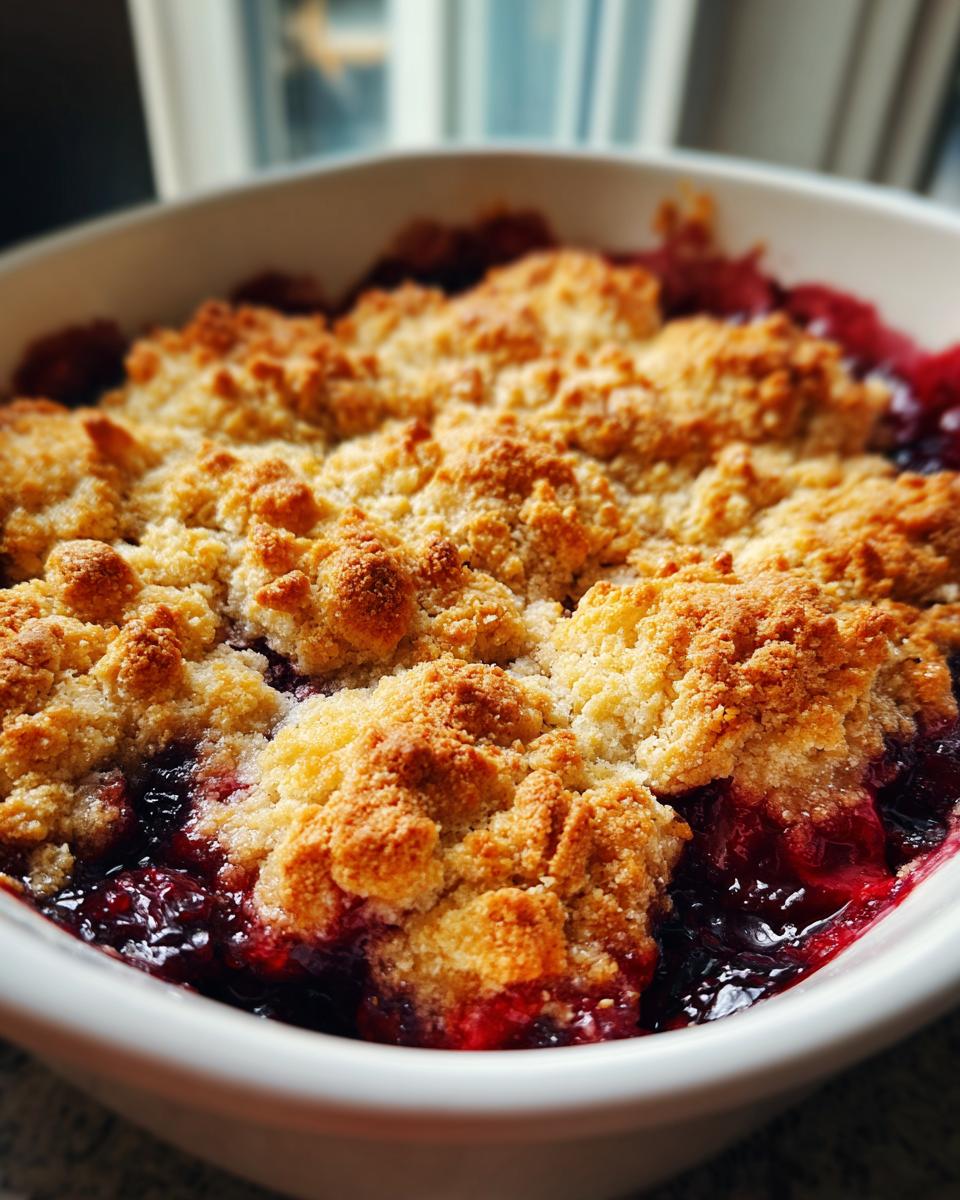
Make this ultimate comfort dessert, a Mixed Berry Cobbler bursting with juicy berries and topped with a golden, flaky biscuit crust. This recipe works perfectly with fresh or frozen fruit and is best served warm with vanilla ice cream.
- Prep Time: 15 min
- Cook Time: 40 min
- Total Time: 55 min
- Yield: 6 servings 1x
- Category: Dessert
- Method: Baking
- Cuisine: American
- Diet: Vegetarian
Ingredients
- 4 cups mixed berries (fresh or frozen)
- 1/2 cup granulated sugar
- 2 tablespoons cornstarch
- 1 tablespoon lemon juice
- 1/4 teaspoon ground cinnamon
- 1 1/2 cups all-purpose flour
- 2 teaspoons baking powder
- 1/2 teaspoon salt
- 1/2 cup cold unsalted butter, cut into small pieces
- 1/2 cup milk
- 2 tablespoons granulated sugar (for topping)
Instructions
- Preheat your oven to 375 degrees Fahrenheit. Lightly grease a 9-inch pie plate or an 8×8 inch baking dish.
- Prepare the berry filling: In a bowl, gently toss the mixed berries with 1/2 cup sugar, cornstarch, lemon juice, and cinnamon. Pour this mixture into your prepared baking dish.
- Make the buttery cobbler topping: In a separate medium bowl, whisk together the flour, baking powder, and salt.
- Cut in the cold butter using a pastry blender or your fingertips until the mixture resembles coarse crumbs.
- Pour in the milk and stir just until the dough comes together. Do not overmix.
- Drop spoonfuls of the biscuit dough evenly over the berry filling. Leave small gaps between the biscuits to allow steam to escape.
- Sprinkle the remaining 2 tablespoons of sugar over the topping.
- Bake for 35 to 45 minutes, or until the topping is golden brown and the berry filling is bubbly.
- Let the cobbler cool slightly before serving warm with a scoop of vanilla ice cream for the ultimate treat.
Notes
- If you use frozen berries, do not thaw them first. The cornstarch in the filling will help thicken the juices as they bake.
- For an extra rich topping, brush the tops of the biscuits lightly with melted butter before sprinkling with sugar.
- This rustic fruit dessert is excellent for summer gatherings or as a simple, satisfying end to any family dinner.
Nutrition
- Serving Size: 1 serving
- Calories: 380
- Sugar: 35g
- Sodium: 250mg
- Fat: 18g
- Saturated Fat: 11g
- Unsaturated Fat: 7g
- Trans Fat: 0.5g
- Carbohydrates: 52g
- Fiber: 3g
- Protein: 5g
- Cholesterol: 45mg