
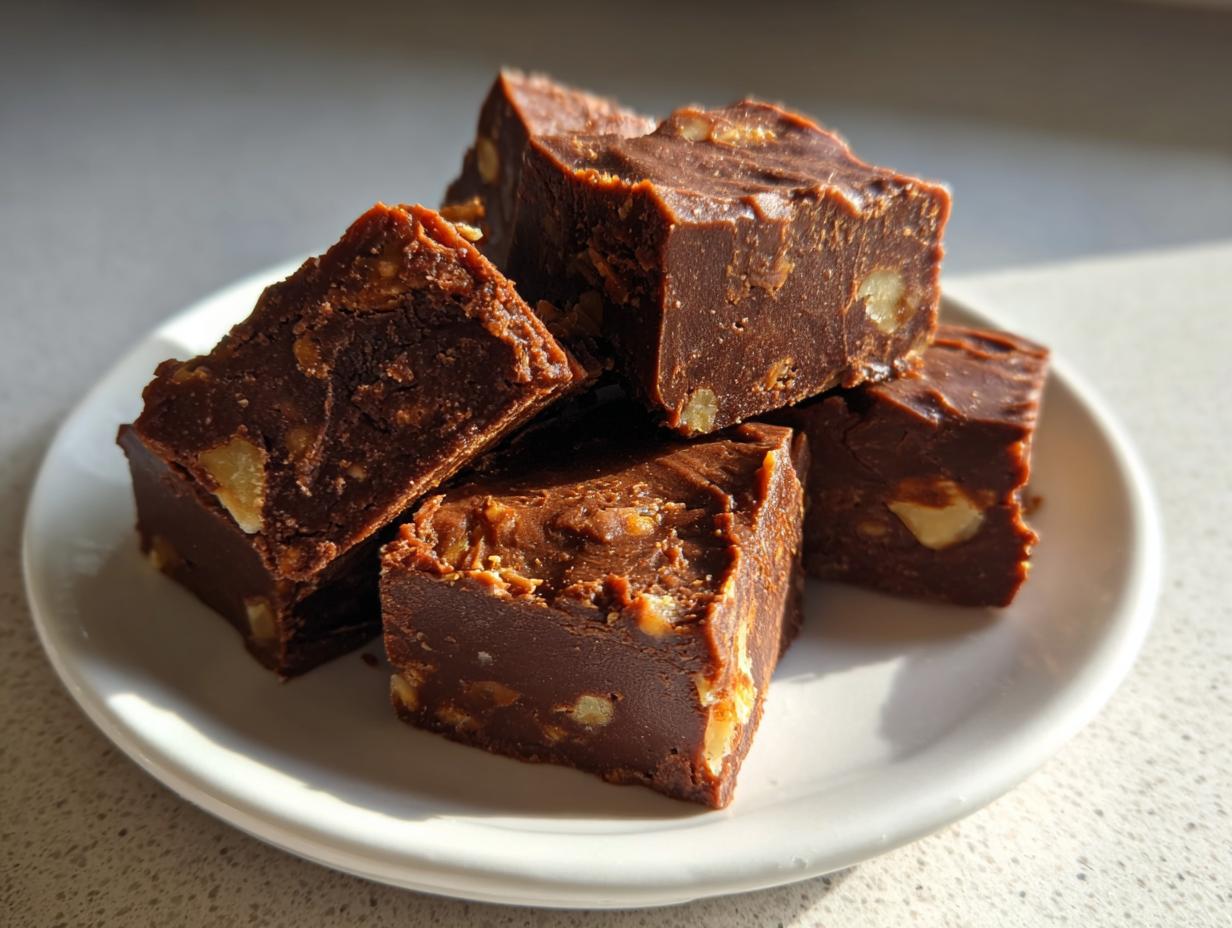
If you are searching for that true taste of comforting nostalgia, I have exactly what you need. Forget the complicated chocolate recipes for a moment; this creamy, rich maple walnut fudge is what I pull out every single time someone asks for an old fashioned candy treat. It’s the taste of home, honestly. As a former teacher who grew up firmly rooted in the Midwest, I learned early on that the best things in life—especially food—are usually the most straightforward ingredients handled with care. This recipe is dependable, just like a good lesson plan. It’s the perfect luxurious treat to whip up, even if you’re just looking for a quick, wonderful homemade gift that doesn’t require dipping or tempering. If you’ve ever worried about getting the candy temperature right, don’t stress; I even have a trick for when you don’t have a thermometer in my section on tips, which you can sneak a peek at here: easy fudge recipe no thermometer needed. Let’s get stirring!
- Why You Will Love This Old Fashioned Maple Walnut Fudge
- Gathering Ingredients for Perfect Maple Walnut Fudge
- Step-by-Step Instructions to Make Maple Walnut Fudge
- Expert Tips for the Best Maple Walnut Fudge Texture
- Making Maple Walnut Fudge for Homemade Gifts
- Storage and Keeping Your Maple Fudge Fresh
- Variations on Classic Maple Fudge Recipe
- Frequently Asked Questions About Maple Walnut Fudge
- A Note on Yield and Nutritional Estimates
Why You Will Love This Old Fashioned Maple Walnut Fudge
Honestly, if you try one traditional candy this year, make it this one. It embodies comforting flavors, and it’s wonderfully simple once you learn the temperature trick. This isn’t the grainy fudge you find sometimes; this is pure, smooth decadence. It makes the perfect addition to any care package or as a lovely homemade gift, showing someone you truly care.
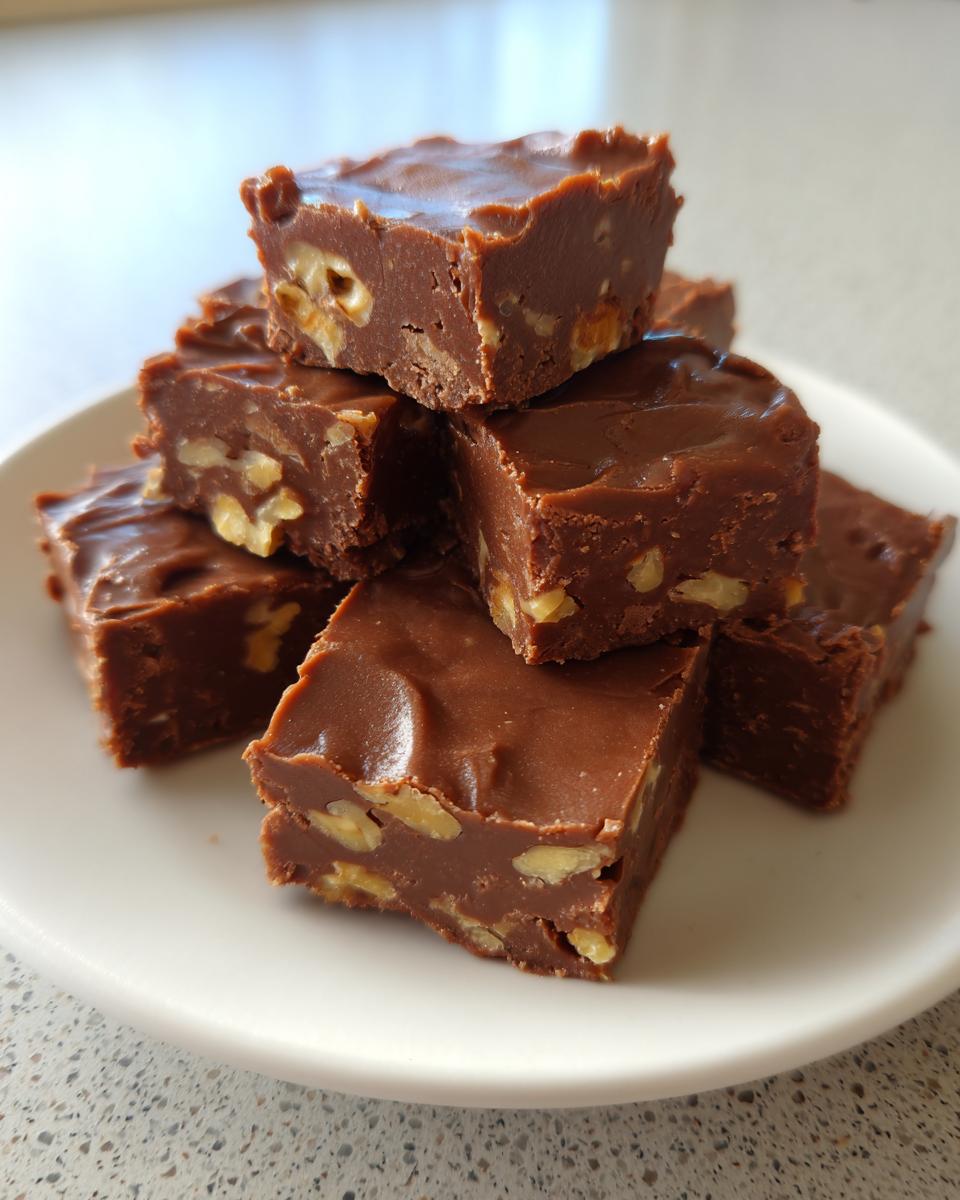
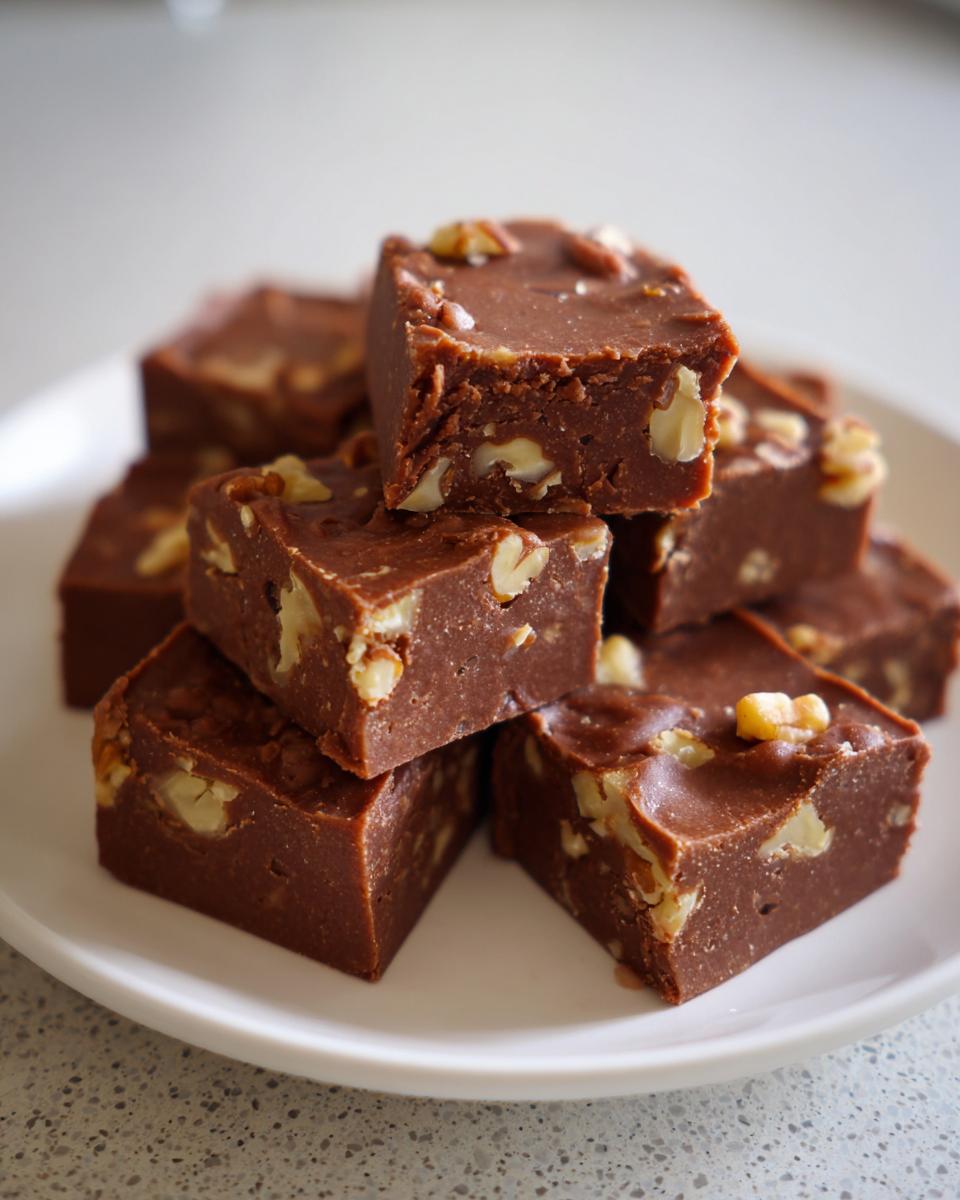
- The texture is incredibly creamy—it just melts on your tongue!
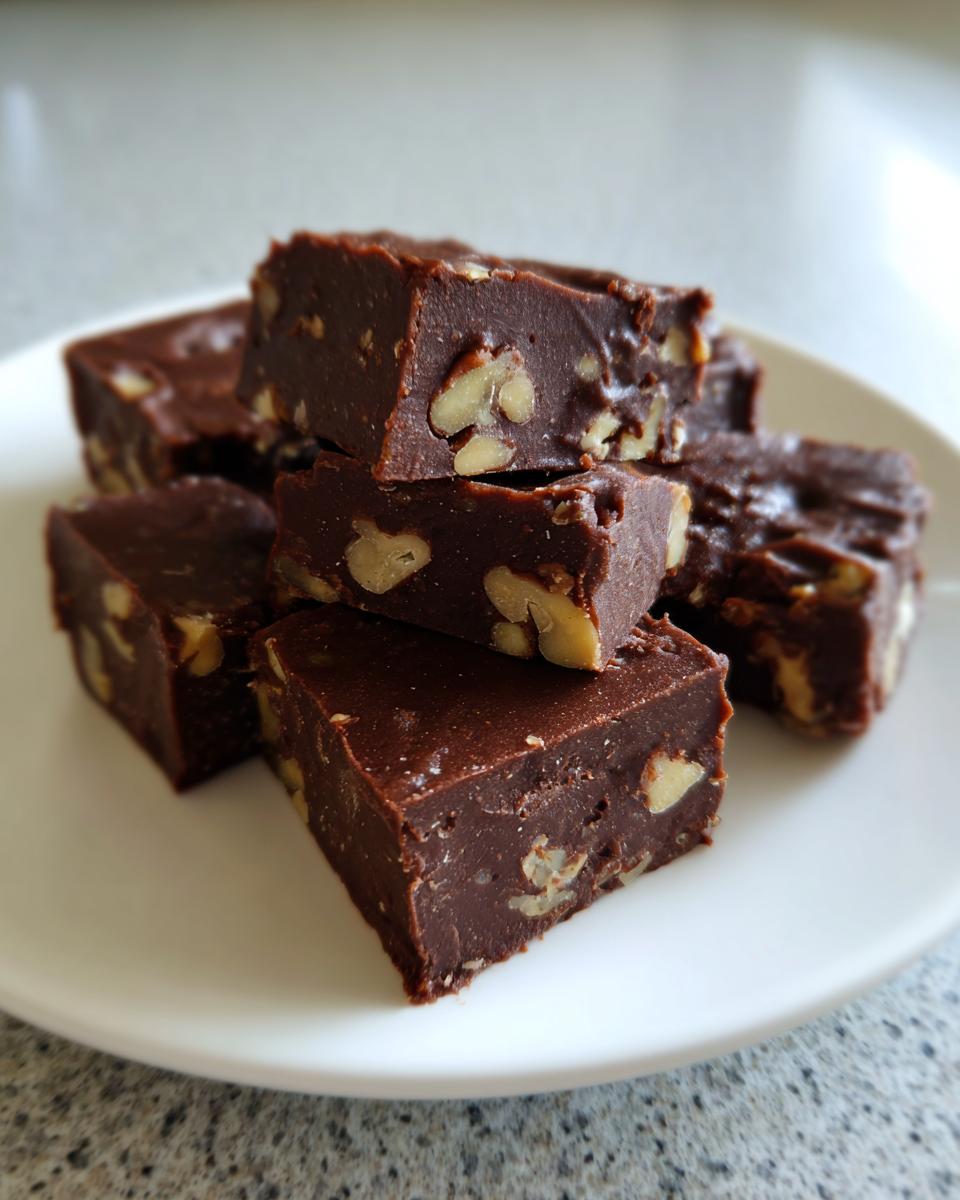
- That pure maple flavor blends beautifully with the crunch of toasted walnuts.
- It comes together quickly on the stovetop with just a few core ingredients.
- It’s an excellent dessert for holidays or when you need a rich treat that holds up well.
You can see how I use chocolate in other recipes, like this homemade chocolate sauce recipe, but the maple here really shines on its own!
Gathering Ingredients for Perfect Maple Walnut Fudge
When we make any old fashioned candy, I always tell my grandkids that the quality of the ingredients shows up in the final texture. For this rich maple walnut fudge, keeping things simple really lets that pure maple shine through. I wrote out the measurements here so you don’t have to worry about doubling checking anything later. Don’t try to skimp on the maple syrup here either; using pure maple syrup, not the imitation stuff, is absolutely essential! That real stuff is what gives us that deep, earthy sweetness that pairs so perfectly with the nuts. If you love maple as much as I do, you might enjoy my maple brown sugar cookies!
Essential Components for Your Maple Fudge
Make sure you have these checked off the list before you even turn on the stove. It makes the short cooking time much less stressful when everything is measured out and ready to go.
- 1 (14 ounce) can sweetened condensed milk
- 1 (12 ounce) package semi-sweet chocolate chips
- 1 cup granulated sugar
- 1/2 cup (1 stick) unsalted butter
- 1/2 cup pure maple syrup
- 1 teaspoon vanilla extract
- 1 cup chopped walnuts
- Pinch of salt
Step-by-Step Instructions to Make Maple Walnut Fudge
When I teach new cooks how to make fudge, I always tell them the stove part moves fast, so getting organized beforehand is half the battle! Making a truly creamy maple walnut fudge hinges entirely on how we handle the heat and the stirring. We aren’t making popcorn here; we are patiently coaxing ingredients into becoming smooth magic. If you rush this part, you end up with grainy fudge, and we just can’t have that when striving for old fashioned candy perfection.
Preparing the Pan and Combining Base Ingredients
First things first: get your 8×8 inch pan ready. I line mine with parchment paper, making sure I leave an overhang on two sides—this acts like a sling to lift the whole block out later! Don’t forget to grease that paper lightly, too. Trust me, you want that easy release later.
Next, grab a medium saucepan. We are putting almost everything in together over medium heat: the sweetened condensed milk, the chocolate chips, your sugar, the butter, the pure maple syrup, and that tiny pinch of salt. You need to stir this constantly so nothing scorches on the bottom. Keep stirring until all that butter melts and the chocolate is completely dissolved and smooth. We absolutely want to avoid a rapid, rolling boil!
Cooking to Soft-Ball Stage for Creamy Maple Walnut Fudge
This is where patience comes in, Carla style! You have to keep that mixture moving but gently until your candy thermometer hits exactly 234 degrees Fahrenheit. That temperature tells us we’ve reached the soft-ball stage, which is critical for that smooth texture we love in maple fudge recipe work. This usually takes about 10 minutes after it starts bubbling lightly. If you don’t have a thermometer yet, check out my notes section for the cold water test, but I really do recommend a thermometer if you plan on making candy often!
Finishing and Setting Your Homemade Candy
As soon as that thermometer hits 234°F, pull that pan off the heat right away! You don’t want it cooking another second longer. Quickly stir in your vanilla extract and those beautiful chopped walnuts—that’s when the scent gets heavenly! Immediately pour that rich mixture into your prepared pan. Use a spatula to gently spread it into an even layer. Now, the hard part: waiting! Let it cool completely at room temperature for a solid 4 hours if you can manage it. That slow set gives you the best, smoothest final result. If you’re impatient like my son, you can pop it in the fridge for about an hour.
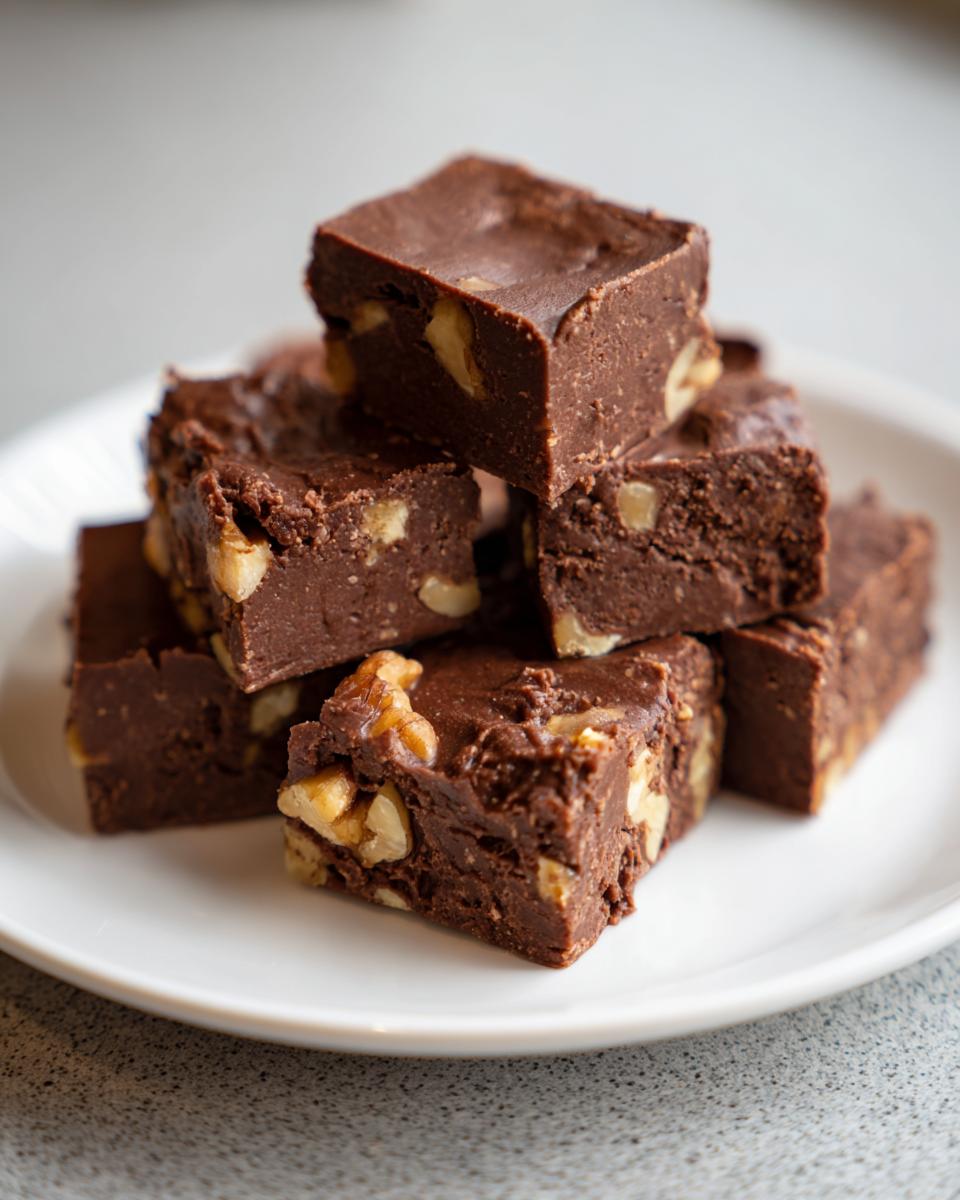
Once it’s nice and firm, use those parchment paper handles to lift the whole thing out and slice it into about 36 small squares. If you want to see how I wrap up treats like this to make them beautiful homemade gifts, you can check out some ideas I have on my easy peanut butter fudge recipe post!
Expert Tips for the Best Maple Walnut Fudge Texture
Listen, getting that creamy, not-at-all-grainy texture is what separates a good batch of maple walnut fudge from a great one. My first major tip, as noted above, is to invest in high-quality pure maple syrup; it makes a world of difference in flavor depth! Also, if you don’t have that handy candy thermometer, don’t panic. Remember the cold water test I mentioned? Drop a tiny bit in a glass of cold water, and if it forms a soft ball that flattens a tad when you press it, it’s perfect.
Here’s a little trick I picked up years ago: toast your walnuts! Just put them in a dry skillet over medium-low heat for about five minutes until they smell nutty and are just slightly browned. This small step adds a depth of flavor that really complements the maple. Stir them in at the very end with the vanilla, and you’ll feel like you have professional skills! If you’re looking for another recipe where proper temperature control makes all the difference, you should check out my guide on best sugar cookies soft chewy cut out.
Making Maple Walnut Fudge for Homemade Gifts
There is something so wonderfully personal about giving someone a batch of homemade candy, isn’t there? This maple walnut fudge makes for incredible homemade gifts because it feels both nostalgic and a little bit luxurious. It screams, “I took the time to make this just for you!” Since fudge is rich, cutting these into smaller squares works best—you can get about 36 little treasures out of one 8×8 pan, which is perfect for gifting many people.
Now, presentation is key when you’re giving something like this. Since we let it set up without refrigeration (for the best texture, remember?), we need to protect those squares, especially if they are traveling. My absolute rule is to wrap every single piece tightly in plastic wrap first. That seals out air and moisture better than anything else.
Once wrapped, you can arrange them beautifully! I love placing them in small clear cellophane bags tied with some rustic twine or maybe a pretty ribbon that matches the season. If you are delivering them somewhere, a sturdy cookie tin works wonders to keep them from getting smushed in transit. They hold up remarkably well, meaning you can bake them a day or two ahead of time. For more ideas on making treats that travel well, take a look at my tips for making a sugar cookie recipe that holds its shape! A sweet, thoughtful gift that tastes just like Mom used to make.
Storage and Keeping Your Maple Fudge Fresh
Now that you’ve made this perfect batch of maple fudge recipe candy, the question is how to keep it tasting just as creamy tomorrow as it does today! Fudge is temperamental, my friends, and moisture is the enemy of a smooth texture. If you leave it sitting out uncovered, it can start to sweat or sometimes get a little crumbly around the edges. That’s why I stress the wrapping part.
The absolute best way to store your fudge, especially if you want it to last more than a day, is to wrap the individual pieces tightly in plastic wrap first. I mean really snug! Then, place all those wrapped squares into a good airtight container. This double barrier keeps the air out and prevents any weird fridge smells from creeping in.
If you keep it stored this way at a cool room temperature, it should stay wonderfully fresh for about an easy week. If your kitchen tends to run warm, or if you’ve made a giant batch you know you won’t finish right away, you can certainly chill it in the refrigerator. However, if you refrigerate it, make sure it’s very well sealed because sometimes the cold air can make fudge a little harder than those soft-ball stage results we worked so hard for. When you pull it out of the fridge, let it come back up to room temperature for about 30 minutes before serving—it restores that divine melt-in-your-mouth quality!
Variations on Classic Maple Fudge Recipe
While this maple walnut fudge recipe is truly time-tested, sometimes you just need to switch things up a little bit! Since we are working with such classic, strong flavors, the best variations are just minor tweaks. If you run out of walnuts, pecans make a fantastic, almost buttery substitute. They hold up just as well in this old fashioned candy base.
If you really want to lean into those cozy fall flavors, even if it’s the middle of spring, stir in just a tiny 1/4 teaspoon of cinnamon along with the vanilla in Step 5. It pairs shockingly well with the maple. You can also swap out your chocolate chip choice—using dark chocolate chips instead of semi-sweet will give you a much deeper candy base, contrasting wonderfully with the sweet maple syrup. If you enjoy cinnamon in desserts, you positively must try my recipe for cinnamon roll cake recipe!
Frequently Asked Questions About Maple Walnut Fudge
I get so many notes from folks trying out this maple fudge recipe for the first time, and that’s wonderful! Most of the questions center around that sugar-cooking stage, which is totally normal when you’re making old fashioned candy. Don’t worry if you have questions; we’ll tackle a few common ones right here so you can feel confident when you start stirring!
Can I substitute the chocolate chips in this maple fudge recipe?
Oh, absolutely you can! If you wanted a much sweeter, almost caramel-colored version of this maple walnut fudge, you could certainly use white chocolate chips instead. If you enjoy a richer, less sweet experience, try swapping in dark chocolate chips. Just remember that changing the chocolate *will* change the final taste and color, so it won’t be quite the same classic flavor as my original, but it will still be delicious!
How do I store this old fashioned candy to keep it soft?
This is where wrapping comes into play, which I talked about when sharing gift ideas. The absolute key to keeping that perfect soft texture is minimizing air exposure. You need to wrap each square tightly in plastic wrap first, almost like little candies, and then place them all together in a very good airtight container. Keep that container at cool room temperature, away from direct sunlight. High humidity is our enemy, so if your kitchen is steamy, a short trip to the fridge, tightly sealed, is a better bet.
What causes grainy fudge, and how do I avoid it?
Graininess happens when the sugar crystals in the candy separate during the cooling process instead of staying suspended smoothly. The main culprit is usually overcooking or stirring *after* it comes off the heat but *before* letting it set. We rely on that exact 234°F temperature. If you go much higher, you cook the sugar too much. If you stir it too fast or too long when adding the walnuts, you encourage crystal formation. Steady hands and moving quickly once it’s off the heat solves most graininess problems!
Can I make this maple fudge recipe without a candy thermometer?
Yes, you can! While I highly recommend a thermometer for making any old fashioned candy because it’s the most reliable tool, you can use the traditional cold water test. You are looking for the soft-ball stage. Take a small spoonful of the hot mixture and drop it into a glass of very cold water. If what you dropped in forms a soft, pliable ball that squashes down just a little when you press it with your fingers, take the pan off the heat immediately! If it dissolves or stays soupy, it needs more time.
If you are looking for other easy recipes that won’t keep you standing over the stove too long, I have some really simple options over here: quick healthy lunch ideas.
A Note on Yield and Nutritional Estimates
Now, I’ve given you all the loving instructions to make this wonderful maple walnut fudge, and you’re going to have quite a good amount yield—about 36 little squares, based on how I slice mine. Just remember that when you’re making candy, these numbers can shift around a bit depending on how thick you pour your fudge or how big you decide your final cuts need to be!
Because we use real butter and pure maple syrup, the exact nutritional breakdown can look a little different depending on the specific brand of sweetened condensed milk or chocolate chips you pick up at the store. Every kitchen works a little differently, right? So, please take the nutritional information I’ve shared as a helpful estimate only. It’s certainly not a strict guide for anyone counting calories, but it gives you a good idea of what’s in these rich treats! If you’re looking for my best tips on getting dinner on the table faster during the week, you can pop over and see my guide on simple weeknight dinners while your fudge cools!
PrintOld Fashioned Maple Walnut Fudge
Make creamy, rich maple walnut fudge using this straightforward recipe. This old fashioned candy tastes like home and is perfect for homemade gifts.
- Prep Time: 15 min
- Cook Time: 10 min
- Total Time: 4 hours 25 min
- Yield: About 36 small squares 1x
- Category: Dessert
- Method: Stovetop Cooking
- Cuisine: American
- Diet: Vegetarian
Ingredients
- 1 (14 ounce) can sweetened condensed milk
- 1 (12 ounce) package semi-sweet chocolate chips
- 1 cup granulated sugar
- 1/2 cup (1 stick) unsalted butter
- 1/2 cup pure maple syrup
- 1 teaspoon vanilla extract
- 1 cup chopped walnuts
- Pinch of salt
Instructions
- Line an 8×8 inch pan with parchment paper, leaving an overhang on two sides for easy removal. Lightly grease the paper.
- In a medium saucepan over medium heat, combine the sweetened condensed milk, chocolate chips, granulated sugar, butter, maple syrup, and salt.
- Stir the mixture constantly until the butter melts and the chocolate is completely smooth. Do not let the mixture boil rapidly.
- Continue stirring and cook until the mixture reaches 234 degrees Fahrenheit on a candy thermometer (soft-ball stage). This usually takes about 8 to 10 minutes after the mixture starts bubbling.
- Remove the saucepan from the heat immediately. Stir in the vanilla extract and the chopped walnuts.
- Quickly pour the fudge mixture into the prepared pan. Spread it evenly with a spatula.
- Let the fudge cool completely and set at room temperature for at least 4 hours, or chill in the refrigerator for 1 hour for faster setting.
- Once firm, use the parchment paper overhang to lift the fudge from the pan. Cut into small squares.
Notes
- For a smoother texture, use high-quality maple syrup.
- If you do not have a candy thermometer, the fudge is ready when a small drop placed in cold water forms a soft ball that flattens slightly when pressed.
- Wrap individual pieces tightly in plastic wrap before storing them in an airtight container.
Nutrition
- Serving Size: 1 square
- Calories: 180
- Sugar: 22
- Sodium: 35
- Fat: 9
- Saturated Fat: 4
- Unsaturated Fat: 5
- Trans Fat: 0
- Carbohydrates: 24
- Fiber: 1
- Protein: 3
- Cholesterol: 15