

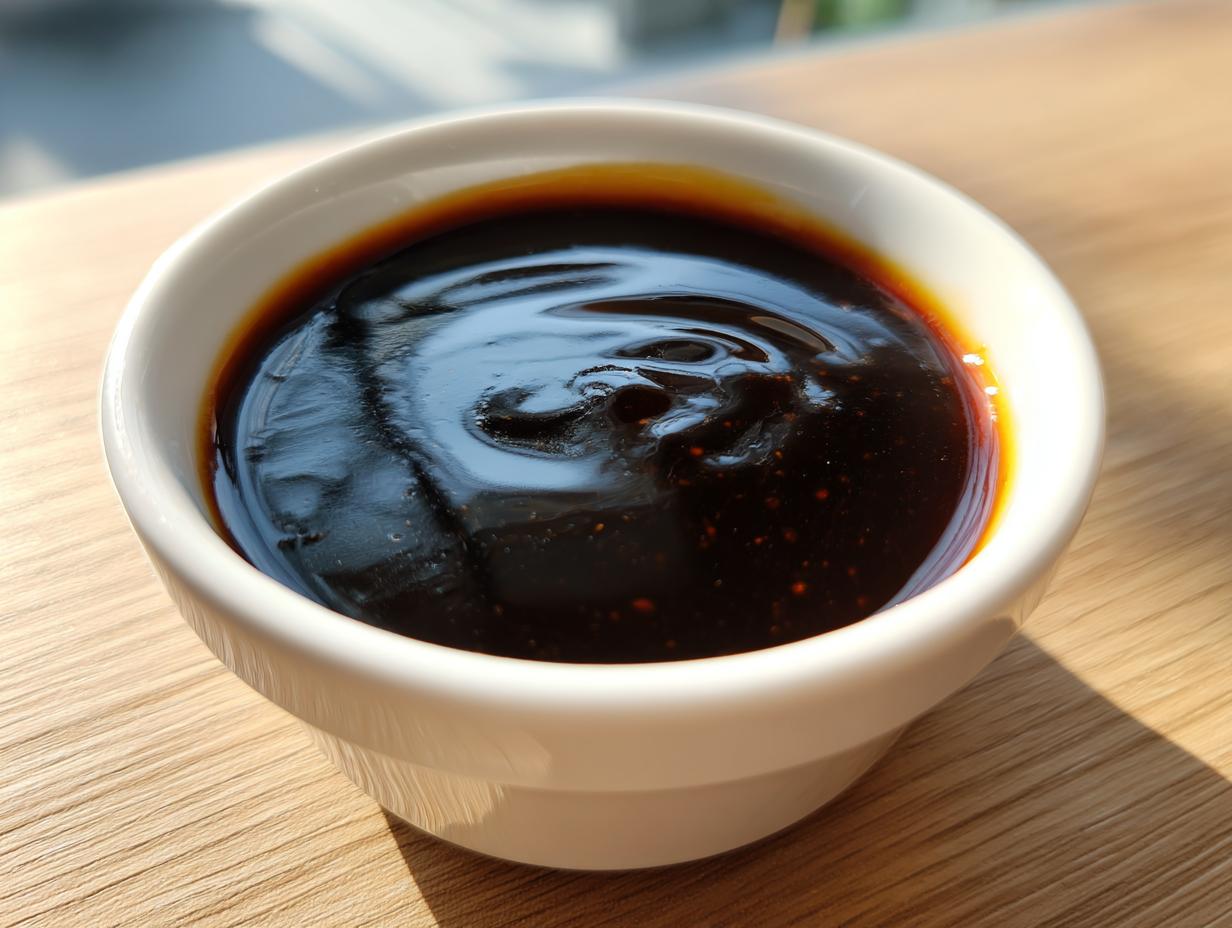
Oh, honey, let’s talk about that sticky bottle lurking in the back of your fridge. If you’re anything like me, you’ve probably poured that overly sweet, slightly artificial-tasting stuff over everything from chicken to rice bowls. But you deserve better! I’m Carla, and my goal is to make your kitchen life easier and your food taste incredible. That’s why I created this homemade teriyaki sauce recipe. Because I spent thirty years teaching kids to read and write, I know how to break down complicated steps into something crystal clear. Trust me when I say this superior sauce comes together on the stovetop in just 15 minutes flat, beating any jarred version you’ve ever bought. You won’t believe how easy it is to make something this good right at home.
If you’re making something for your family on a busy night, you need dependable recipes. This one is perfect for those nights! For more reliable weeknight cooking inspiration, I always point folks toward my collection of simple weeknight dinners.
- Why This Homemade Teriyaki Sauce Beats Store-Bought
- Gathering Simple Teriyaki Ingredients for Your Homemade Teriyaki Sauce
- Step-by-Step Instructions for Your 15 Minute Teriyaki Sauce
- Making Your Homemade Teriyaki Sauce a Quick Teriyaki Marinade
- Tips for Success When Making Homemade Teriyaki Sauce
- Storage and Reheating Instructions for Your Homemade Teriyaki Sauce
- Frequently Asked Questions About This DIY Asian Sauce
- Serving Suggestions: How to Use Your Amazing Homemade Teriyaki Sauce
- Nutritional Snapshot of This Homemade Condiment
Why This Homemade Teriyaki Sauce Beats Store-Bought
The main difference between this recipe and that stuff on the shelf is freshness, pure and simple. Bottled sauces have to last ages, so they often pack in preservatives that mute the real flavor. When you make this Better Than Store Bought Sauce, you skip all that fuss. We are using actual garlic and ginger, not powders that taste dusty!
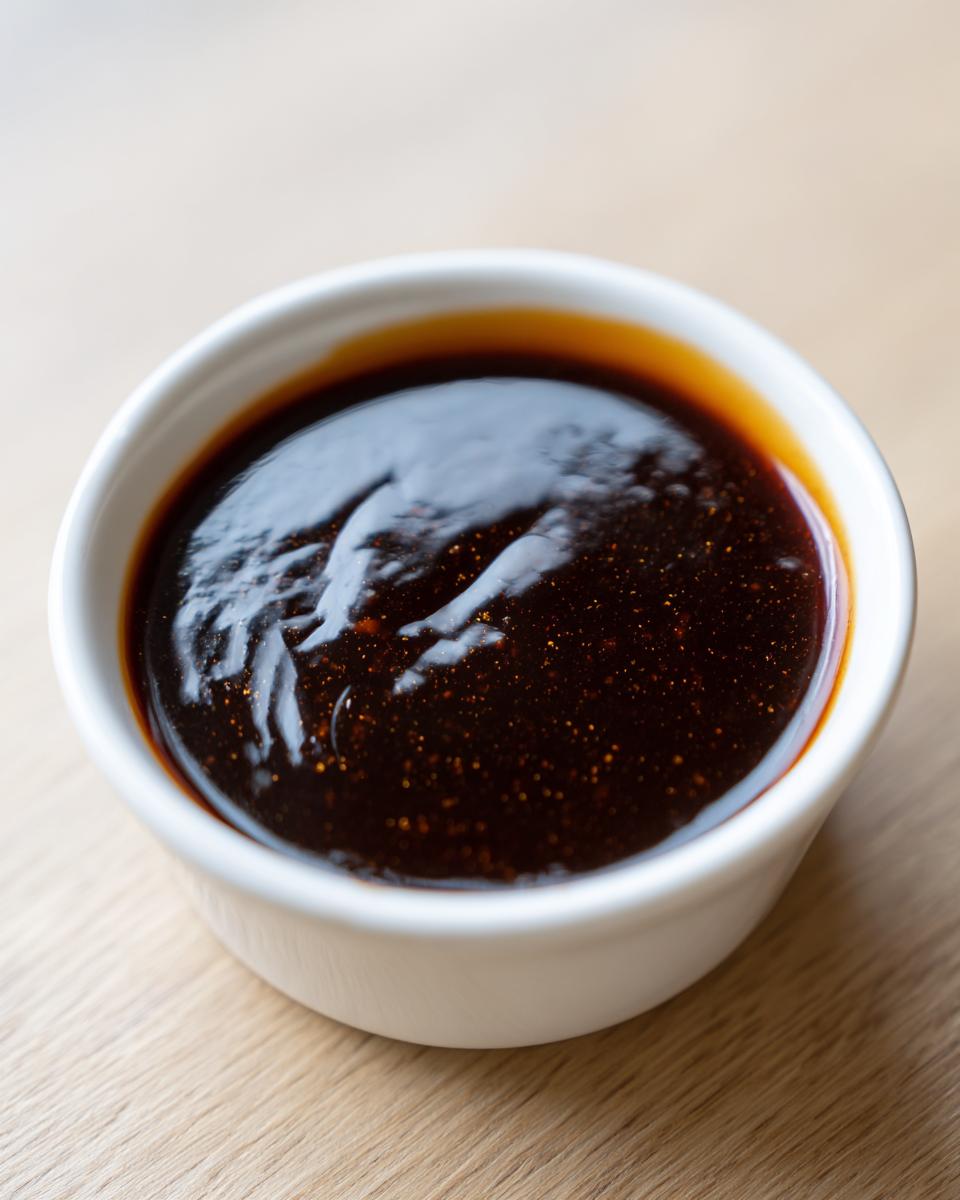
I know you’re busy, but honestly, this takes less time than driving to the store! Within 15 minutes, you have a glossy, vibrant Sticky Sweet Glaze Recipe that coats everything beautifully. That thickness? It comes from a simple cornstarch trick, not weird stabilizers. You’ll see and taste the quality difference immediately, and your family will notice the richer flavor right away.
If you’re ever looking for something quick to serve alongside this sauce for a party, check out my easy appetizers and snacks collection!
Gathering Simple Teriyaki Ingredients for Your Homemade Teriyaki Sauce
When I taught third grade, I always told my students that half the battle is having your pencils sharpened and your papers ready before the lesson starts. Baking and saucemaking are the same! We only need a few Simple Teriyaki Ingredients, and gathering them is what makes this an Easy Homemade Sauce Recipe.
The core of our flavor starts with equal parts soy sauce and brown sugar. I always reach for low-sodium soy sauce; it lets us control how salty the final seasoning is, which is important because bottled versions just dump it all in there, hoping for the best!
- 1/2 cup low sodium soy sauce (shoyu)
- 1/2 cup packed brown sugar
- 1/4 cup water
- 2 tablespoons rice vinegar
- 1 teaspoon toasted sesame oil
- 1 clove garlic, minced very finely
- 1/2 teaspoon ground ginger
- 1 tablespoon cornstarch
- 2 tablespoons cold water (for the slurry)
For your next quick lunch, grab some ideas over here on my quick and healthy lunch ideas page!
Ingredient Notes and Substitutions for Homemade Teriyaki Sauce
We want this sauce to work for everyone at your table. If you or a guest need a Gluten Free Teriyaki Option, please substitute the soy sauce with tamari—it works beautifully and tastes just as rich. You might see recipes call for mirin, which is traditional, but to keep this recipe fast and accessible, we are sticking with plain rice vinegar. It brings that slight tang missing from the store-bought stuff!
Step-by-Step Instructions for Your 15 Minute Teriyaki Sauce
Alright, class, time to pay attention! This is where my old teaching habits really shine because I want to make sure this works perfectly for you the first time. Getting that beautiful, restaurant-quality, Sticky Sweet Glaze Recipe texture relies on two main actions: controlled simmering and constant whisking. This whole process should take you barely 15 minutes, making it a true 15 Minute Teriyaki miracle!
First up, grab your small saucepan—we don’t need anything fancy here. Whisk together all your liquid ingredients: soy sauce, brown sugar, the quarter cup of water, rice vinegar, sesame oil, minced garlic, and that tiny bit of ginger. Get it all in there and place it over medium heat. We need to let this come up to a gentle simmer, stirring until that brown sugar is completely gone. You don’t want any grainy bits left at the bottom!
Once it’s simmering happily, we move to the magic that creates that gorgeously thick sauce. This next part is crucial, so follow closely!
Creating the Perfect Slurry for a Thick Teriyaki Sauce
Do not skip this little side step! If you just dump the cornstarch right into the hot sauce, I promise you’ll end up with weird, gummy clumps. Nobody wants a lumpy sauce! Instead, we make a slurry. In a separate tiny bowl—a ramekin is perfect—whisk that tablespoon of cornstarch with exactly 2 tablespoons of COLD water. Whisk it until it looks like thin, cloudy milk. This cold temperature shocks the starch and lets it dissolve properly.
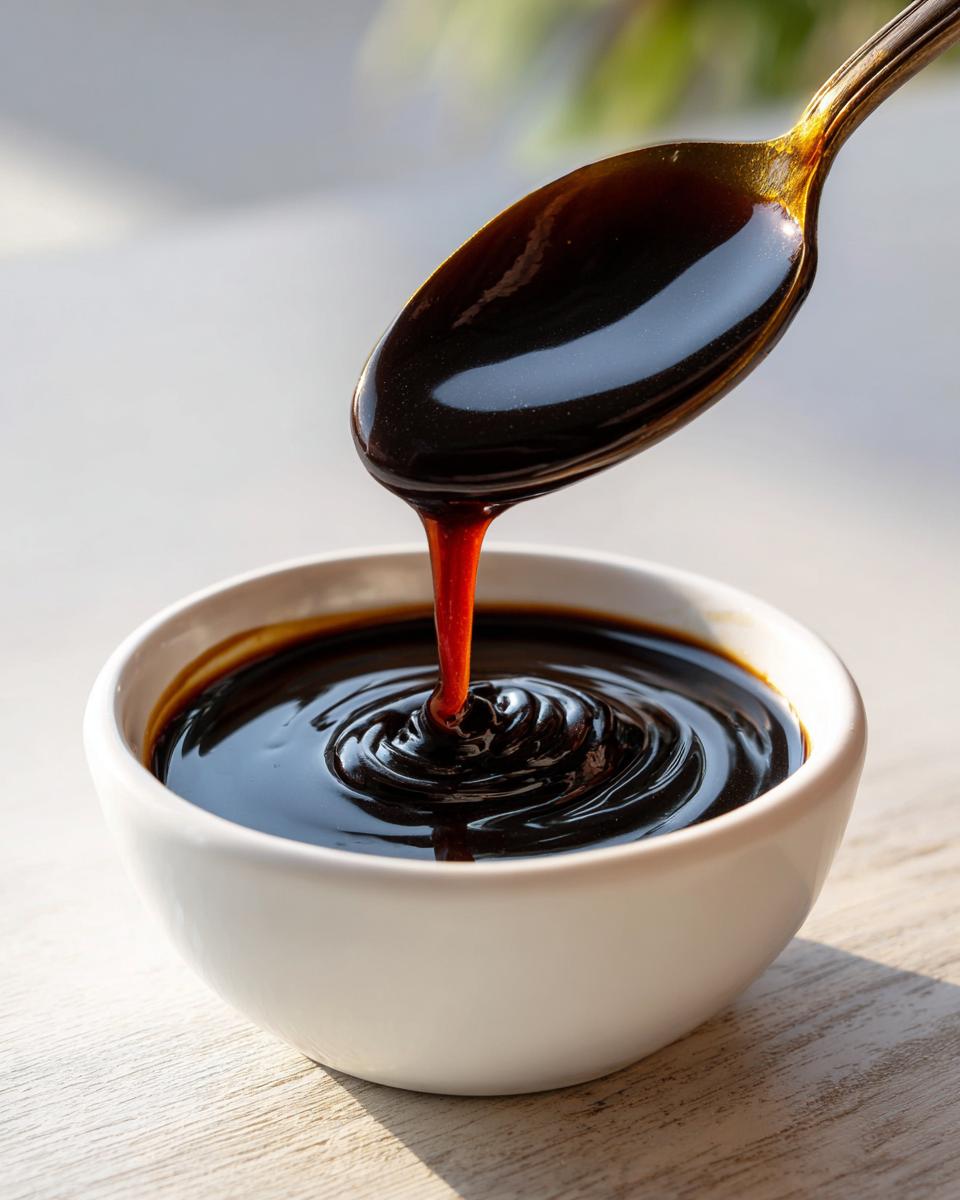
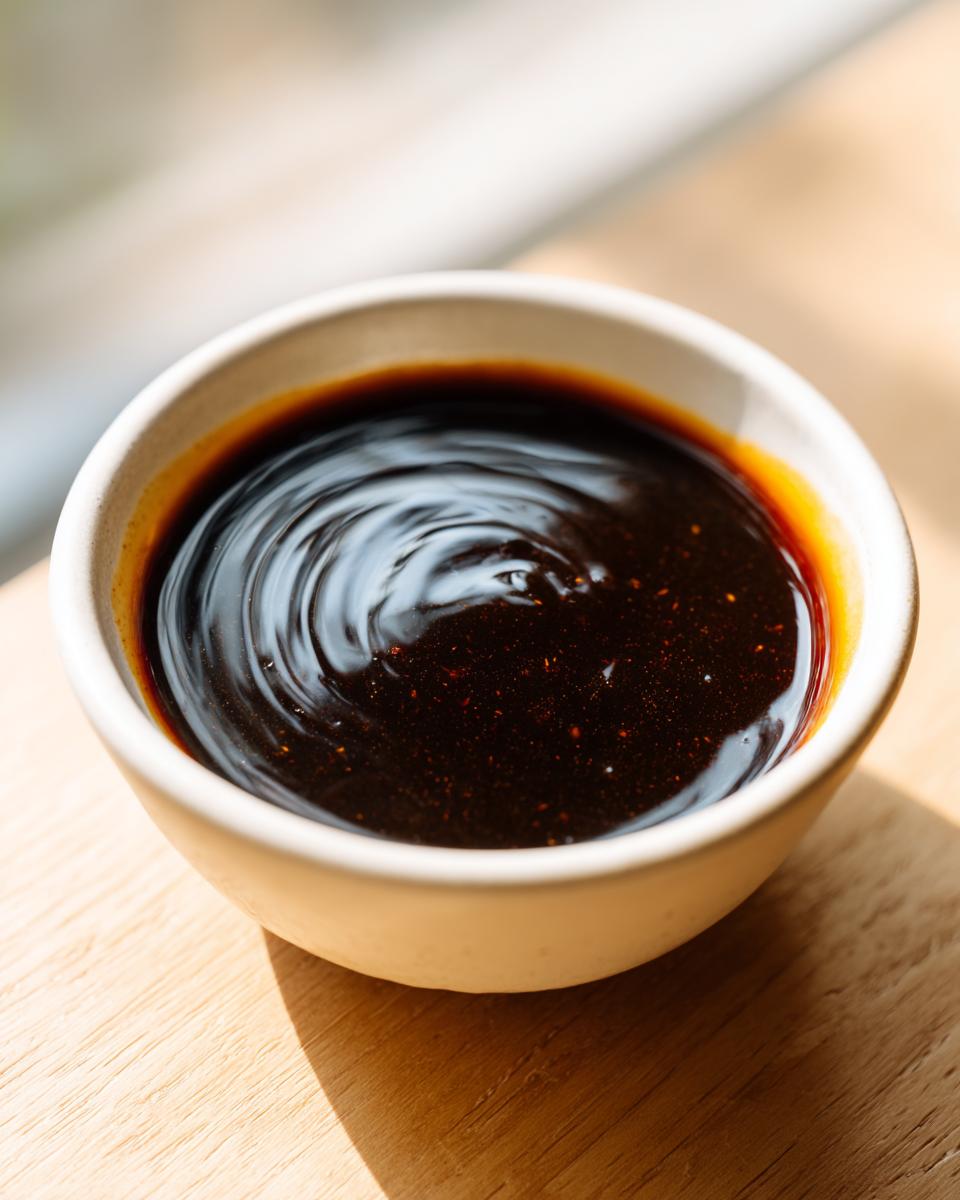
Now, keep your whisk moving in the simmering sauce on the stove—whisk constantly!—and pour that cold slurry in a thin stream. As soon as it hits the heat, you’ll see the sauce start to change texture almost immediately. Keep whisking for about 1 to 2 minutes until it coats the back of a spoon beautifully. It should look glossy and syrupy. That’s the sign of a perfect Thick Teriyaki Sauce Tutorial result!
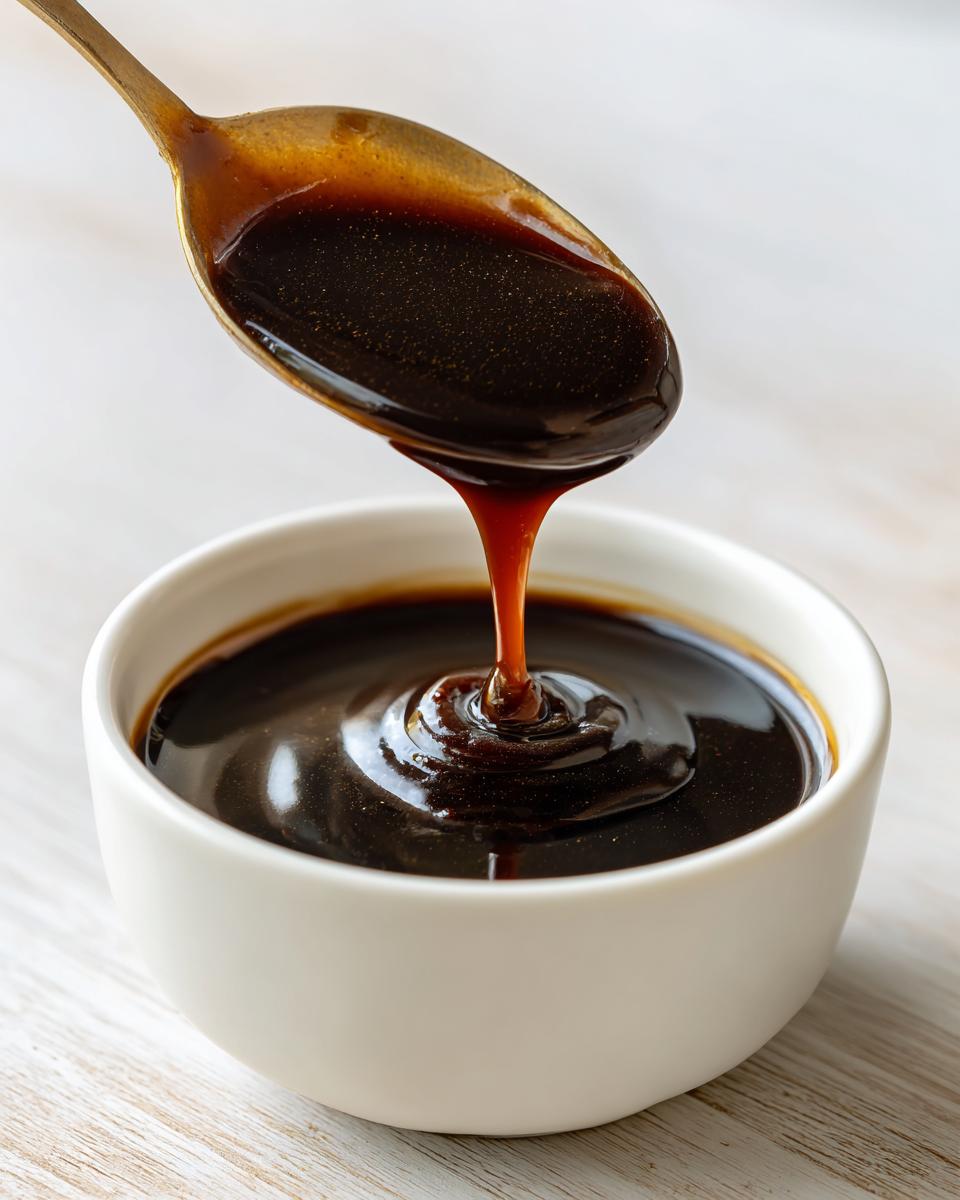
Take it off the heat right away. Seriously, pull the pan off the burner because it will keep thickening as it cools down. If you’re looking for other easy cooking methods, you might enjoy my tips on easy breakfast recipes!
Making Your Homemade Teriyaki Sauce a Quick Teriyaki Marinade
The absolute best part about making your own sauce is how incredibly versatile it is! You see, this isn’t just a dipping bottle; it’s a powerful Quick Teriyaki Marinade. If you’re prepping something like chicken breasts, pork chops, or even tofu, you want that flavor to really soak in, right?
For marinades, you want to use the sauce before it gets too thick, ideally when it’s still warm or at room temperature. For things like steak tips or firm tofu, let them soak for at least 30 minutes, but if you have time, an hour is even better. This sauce works like a charm for both meat and veggies, making it fantastic Teriyaki for Chicken and Tofu.
If you’re skipping the marinating and just want to glaze something right before it finishes cooking—say, salmon under the broiler—just save a little bit of the sauce before you add the cornstarch slurry, or use it as a finishing drizzle. If you need ideas for what to marinate, check out my grilled chicken marinade guide!
Tips for Success When Making Homemade Teriyaki Sauce
Now that you’ve successfully made your sauce, here are a few little secrets I picked up over the years to make sure every batch is a home run. The most common issue? It gets thick! If you refrigerate your sauce and find it’s too stiff the next day—don’t panic and don’t dump it! Just whisk in a teaspoon of warm water at a time until it loosens up to that perfect consistency again. It’s just hungry for a little moisture after chilling out.
To hit that true Authentic Teriyaki Flavor, you absolutely must use toasted sesame oil. Not the regular kind, but the *toasted* kind! It smells richer, nuttier, and it’s the secret handshake in so many of my favorite Asian-inspired recipes. That little bit of complexity makes all the difference. For more background on getting these pantry staples right, take a look at my guide on Asian cooking basics.
Storage and Reheating Instructions for Your Homemade Teriyaki Sauce
Here’s the wonderful thing about having this recipe in your back pocket: it makes your fridge a stocked pantry! Once cooled, transfer your fresh homemade teriyaki sauce to an airtight container. It keeps beautifully for up to two weeks refrigerated. See? It’s one of those fantastic Pantry Staple Sauces you can rely on.
Now, remember how I mentioned it gets thicker once it cools down? That’s normal! If you pull it out the next day and it seems too stiff to drizzle, don’t worry one bit. Just scoop out what you need and whisk in a tiny splash of warm water or even low-sodium soy sauce until it loosens up to that perfect, glossy flow again. It’s ready to go! If you want to see how this works with other thick sauces, check out my tips for an easy chicken gravy recipe without drippings.
Frequently Asked Questions About This DIY Asian Sauce
I know you might have a few lingering questions when you move From Scratch Teriyaki into your kitchen for the first time. That’s okay! When I was teaching, questions meant the students were engaged, and I welcome yours too! Here are the things I get asked most often about making this DIY Asian Sauce.
Can I make this homemade teriyaki sauce recipe vegan?
Yes, absolutely! The good news is that the base recipe I provided is already vegetarian because it uses brown sugar instead of honey. If you substitute the low-sodium soy sauce with Tamari (which also handles the gluten-free needs!), you have a perfectly delicious, robust vegan sauce. It’s built on pantry staples, so it’s easy to keep on hand for any type of meal.
How do I make the sauce extra sticky?
If you want that ultra-thick, almost caramel-like glaze that clings to grilled skewers, the secret is in the cornstarch slurry and the cooling process. Make sure you let the sauce simmer for that full minute or two *after* adding the slurry—that activates the cornstarch fully. Also, don’t try to use it too hot! The stickiest, glossiest look comes right after it has cooled for about 15 minutes on the counter. It firms up beautifully!
What is the best way to add a little spice to this sauce?
I love when folks customize their flavors! If you want to kick this sauce up—which I highly recommend for anyone who likes a little zip—you have a couple of great options. You can whisk in a teaspoon of Sriracha right in with the soy sauce at the beginning. Or, if you prefer heat from fresh peppers, finely mince a small Thai chili and simmer it right along with the garlic and ginger. Just remember to strain it out before you store it, unless you like little pepper chunks floating around!
If you’re interested in preserving other fresh things you make, check out my guide on homemade salsa water bath canning recipe for tips on keeping things safe on the shelf!
Serving Suggestions: How to Use Your Amazing Homemade Teriyaki Sauce
Now that you’ve conquered the stove and made a beautiful batch of homemade teriyaki sauce, the fun part begins: eating it! This sauce truly shines because it transforms simple weeknight cooking into something special. Think of it as your new favorite Flavorful Food Drizzle for everything.
My absolute favorite way to use it is as a glaze. Brush it onto salmon fillets during the last five minutes of baking—the sugars caramelize just right! It’s also the perfect finishing touch for my grandkids’ favorite rice bowls. If you’re ever looking for how to combine great ingredients alongside this sauce, check out my shrimp fried rice recipe!
Don’t forget it works as a phenomenal marinade for chicken or tofu or even just as a dipping sauce when you want that rich, Japanese Inspired Sauce flavor without a lot of fuss. A little goes a long way!
Nutritional Snapshot of This Homemade Condiment
Now, I know most of us aren’t measuring calories when we’re whipping up a batch of comfort food, but it’s good to have a ballpark idea when you’re making something from scratch. Since this sauce is made entirely from simple, recognizable ingredients, you know exactly what you’re putting into your family’s meals, which is a huge bonus over mystery bottled stuff!
Since I’m a teacher, not a nutritionist, these numbers are estimates based on the standard ingredient measurements for this recipe. Think of this as a helpful guide for your healthy homemade condiments collection, not a laboratory-tested fact sheet. Serving size is for two tablespoons, which is usually plenty for a good glaze!
- Serving Size: 2 tablespoons
- Calories: Approx. 75
- Sugar: Approx. 13g (mostly from the brown sugar, of course!)
- Sodium: Approx. 450mg (This is why I insisted on low-sodium soy sauce!)
- Fat: Approx. 0.5g
- Carbohydrates: Approx. 17g
- Protein: Approx. 1g
Enjoy it freely, knowing you used real ingredients to create this delicious, versatile sauce. Remember, the beauty of making your own sauce is that you control the quality!
PrintQuick & Easy 15-Minute Homemade Teriyaki Sauce: Better Than Store-Bought Glaze & Marinade
Make this sticky-sweet teriyaki sauce from scratch in just 15 minutes using simple pantry staples. It works perfectly as a marinade, a thick glaze for chicken or tofu, or a drizzle for weeknight meals.
- Prep Time: 5 min
- Cook Time: 10 min
- Total Time: 15 min
- Yield: About 1 cup 1x
- Category: Condiment
- Method: Stovetop Simmering
- Cuisine: Japanese Inspired
- Diet: Vegetarian
Ingredients
- 1/2 cup low sodium soy sauce (shoyu)
- 1/2 cup packed brown sugar
- 1/4 cup water
- 2 tablespoons rice vinegar
- 1 teaspoon toasted sesame oil
- 1 clove garlic, minced
- 1/2 teaspoon ground ginger
- 1 tablespoon cornstarch
- 2 tablespoons cold water (for slurry)
Instructions
- Combine the soy sauce, brown sugar, 1/4 cup water, rice vinegar, sesame oil, minced garlic, and ground ginger in a small saucepan.
- Bring the mixture to a simmer over medium heat, stirring until the brown sugar dissolves completely.
- In a separate small bowl, whisk together the cornstarch and 2 tablespoons of cold water to create a slurry.
- Pour the cornstarch slurry into the simmering sauce while whisking constantly.
- Continue to cook, stirring, for 1 to 2 minutes until the sauce thickens to a glossy, syrupy consistency.
- Remove the sauce from the heat. It will thicken more as it cools.
- Use immediately as a glaze or marinade, or store it in an airtight container in the refrigerator.
Notes
- For a gluten-free teriyaki option, substitute tamari for the soy sauce.
- This sauce is excellent for glazing chicken, salmon, or tofu.
- Store your homemade teriyaki sauce in the refrigerator for up to two weeks.
- If the sauce becomes too thick upon cooling, whisk in a teaspoon of warm water to reach your desired consistency.
Nutrition
- Serving Size: 2 tablespoons
- Calories: 75
- Sugar: 13
- Sodium: 450
- Fat: 0.5
- Saturated Fat: 0.1
- Unsaturated Fat: 0.4
- Trans Fat: 0
- Carbohydrates: 17
- Fiber: 0.1
- Protein: 1
- Cholesterol: 0