
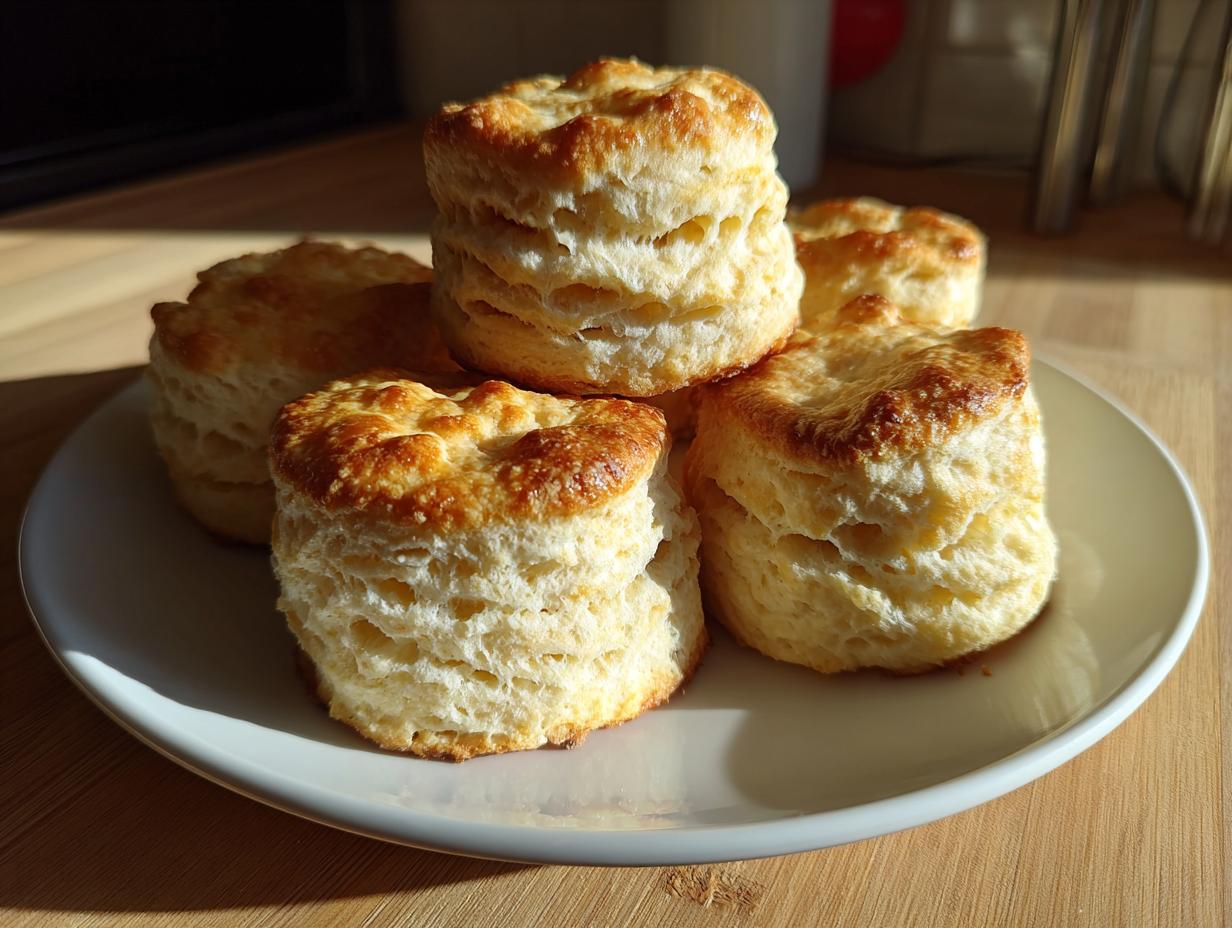
Oh, biscuits. They look so simple sitting there on the counter—just flour, fat, and a splash of buttermilk—but getting those tall, flaky layers can feel like trying to solve a culinary mystery! I remember teaching my own grandkids, and the look of sheer defeat when their first batch came out dense and flat. It’s frustrating when you try to capture that taste of home, isn’t it? Well, I promise you, this recipe for Homemade buttermilk biscuits strips away all the intimidation. Thanks to thirty years of patient teaching, I’ve worked out exactly how much handling is too much, and exactly how cold things need to be. We’re going to nail those soft, fluffy, layered results together, I guarantee it.
- Why You Will Master These Homemade Buttermilk Biscuits
- Essential Ingredients for Perfect Homemade Buttermilk Biscuits
- Ingredient Notes and Tips for Flaky Buttermilk Biscuits
- Step-by-Step Instructions for Layered Biscuit Technique in Homemade Buttermilk Biscuits
- Baking Your Homemade Buttermilk Biscuits to Golden Perfection
- Tips for Success Achieving Flaky Buttermilk Biscuits Every Time
- Serving Suggestions for These Southern Biscuit Recipe Favorites
- Storage and Reheating Homemade Buttermilk Biscuits
- Frequently Asked Questions About Biscuits From Scratch
Why You Will Master These Homemade Buttermilk Biscuits
My teaching focused on making sure everyone felt confident, and that philosophy translates right here in the kitchen. You won’t need a fancy mixer or a culinary degree for these, I promise. If you can follow five simple steps, you’ll have success.
- Perfectly Layered Every Time: We use a simple fold technique that guarantees you see those beautiful ribbons of flakiness when you pull them apart. This is the secret to authentic Homemade buttermilk biscuits.
- Minimal Handling Stress: We work quickly and gently. The dough tells you when it’s ready, and I’ll show you how to listen to it so you don’t overwork everything.
- Reliable Rise: We rely on tried-and-true baking powder and the magic reaction with cold buttermilk. Forget flat, sad biscuits!
- Speedy Satisfaction: Unless you count mixing time, these are ready quicker than heading to the drive-thru. Total time is about thirty minutes, start to finish. You can find more of my quick breakfast favorites over here:fluffy southern recipe.
Essential Ingredients for Perfect Homemade Buttermilk Biscuits
When you’re making biscuits from scratch, the quality and temperature of your ingredients matter more than anything else. Don’t even think about grabbing room-temperature butter here! We are aiming for maximum steam, which means everything needs to be icy cold. For those crucial flaky layers, prep your ingredients exactly like this:
- 2 cups all-purpose flour
- 1 tablespoon baking powder
- 1 teaspoon salt
- 1 teaspoon sugar
- 6 tablespoons cold unsalted butter, cut into small cubes
- 3/4 cup cold buttermilk
If you’re also looking for that perfect shortbread texture in other recipes, check out my tips for flaky butter dough for pie crusts; the temperature rules are the same!
Ingredient Notes and Tips for Flaky Buttermilk Biscuits
Now, let’s talk science, but the easy kind! The success of these flaky buttermilk biscuits hinges almost entirely on temperature. You want that fat to be icy cold—I mean freezer-cold butter and buttermilk straight from the fridge. That cold fat is what creates the height we’re after. We also need the acid from the buttermilk to react with the baking powder; it gives just a tiny bit of tang that makes these taste distinctly Southern.
The Importance of Keeping Fat Cold
When those cold cubes of butter hit the hot oven, they don’t melt right away; they turn to steam! That steam pushes up on the layers of dough, forcing it apart, and that, my friends, is the puff! If your butter melts too early, you just get a rich but ultimately flat biscuit. Keep everything cold for that fantastic lift in your biscuits from scratch.
Buttermilk Substitutions
If your fridge is suddenly out of buttermilk, don’t panic! I’ve taught many students who ran into this snag. Simply measure out your 3/4 cup of regular whole milk, and stir in one teaspoon of white vinegar or lemon juice. Let it sit for maybe five minutes until it looks slightly curdled. That’s your homemade substitute, and it works just as well!
Step-by-Step Instructions for Layered Biscuit Technique in Homemade Buttermilk Biscuits
This is where a lot of folks get nervous, but I want you to breathe deep. Remember, I taught third graders how to negotiate group projects; you can certainly handle a shaggy dough! We are treating this dough gently, like it might run away if you squeeze too hard. The goal isn’t a smooth ball; it’s a dough that looks slightly messy because those messy patches are where the steam pockets will form later.
Preparing the Dough and Cutting in Butter
After you’ve whisked your dry items, it’s time for the cold butter. Use a pastry blender or your fingertips—whichever feels best—to “cut” that butter into the flour. Stop when everything looks like coarse crumbs, and make sure you leave some butter chunks the size of small peas! Those forgotten pea-sized pieces are insurance for a high rise. Pour in the buttermilk and mix only until it barely comes together. If you mix too much now, you’ve sealed your fate!
Executing the Flaky Layer Fold (The Secret to Great Homemade Buttermilk Biscuits)
Dump that shaggy mess onto your lightly floured counter. Pat it gently into a rough rectangle about an inch thick. Now, this is crucial for the layered biscuit technique: fold it over on itself into thirds, just like you’re folding a business letter. Turn that folded dough a quarter turn, and pat it back out to about an inch. We do this three times total. This creates the layers! When you use your 2-inch cutter, you must press it straight down firmly. Don’t twist! Twisting seals the edges shut, and your biscuits won’t climb as high. If you need more tips on handling dough softly, check out my guide on soft, fluffy rolls; the technique feels similar.

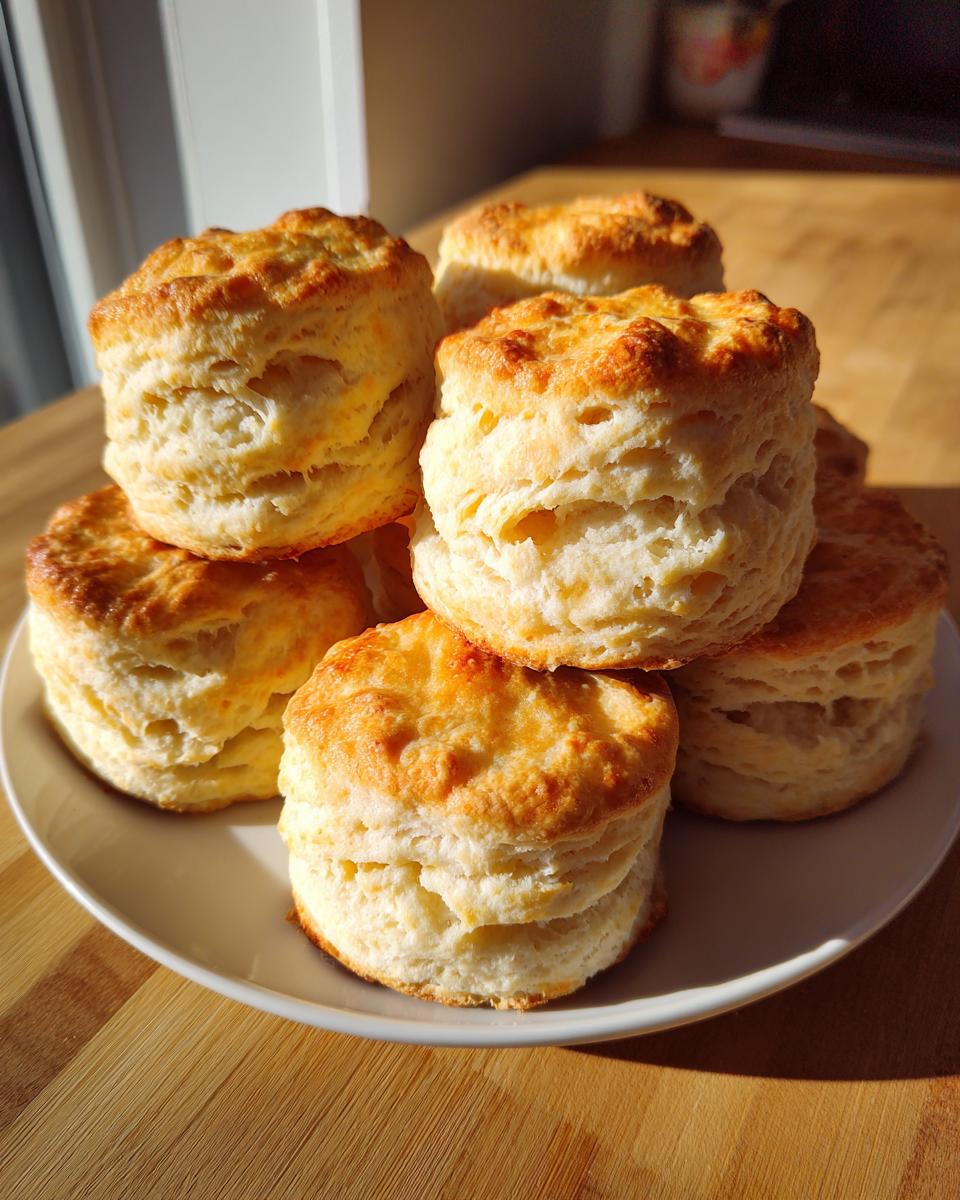
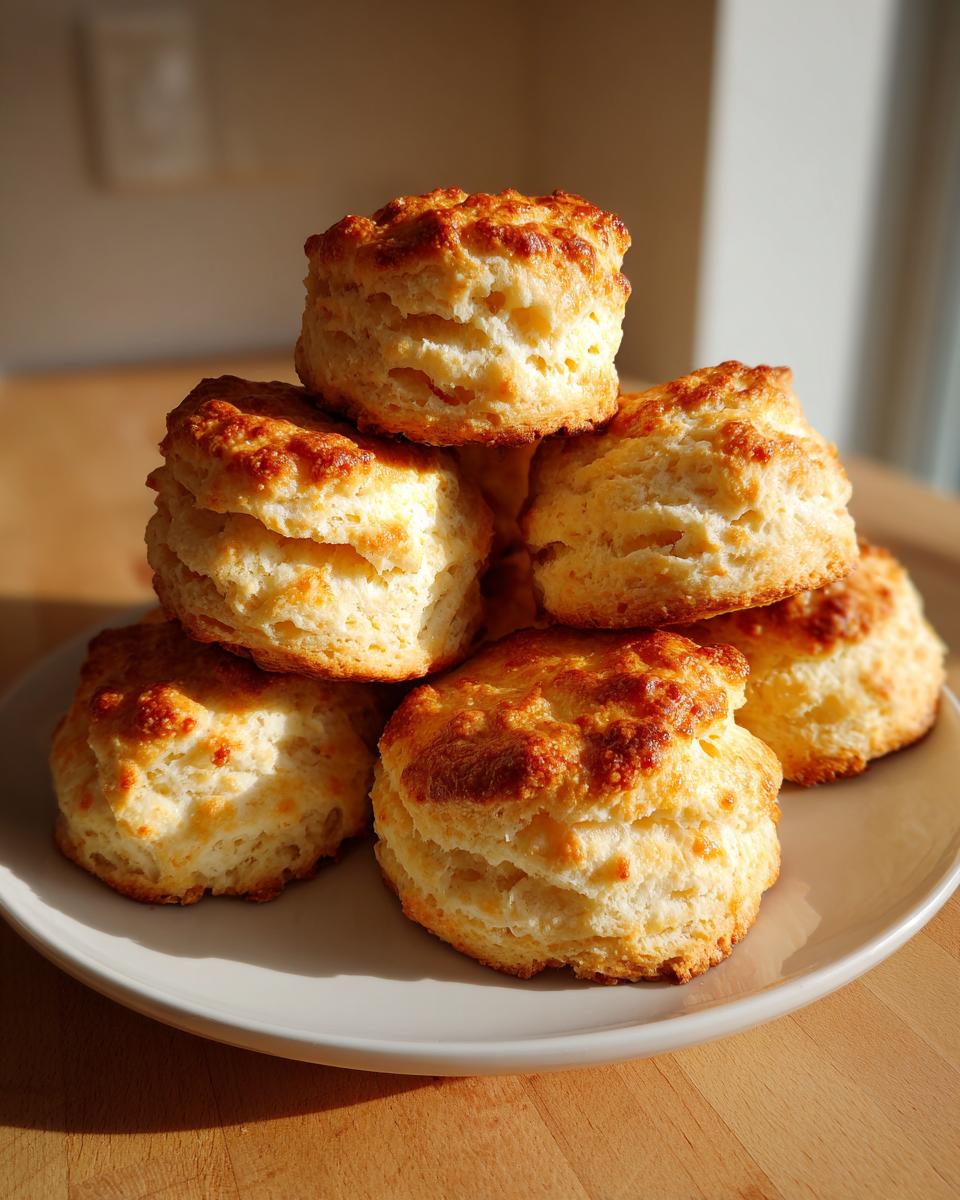
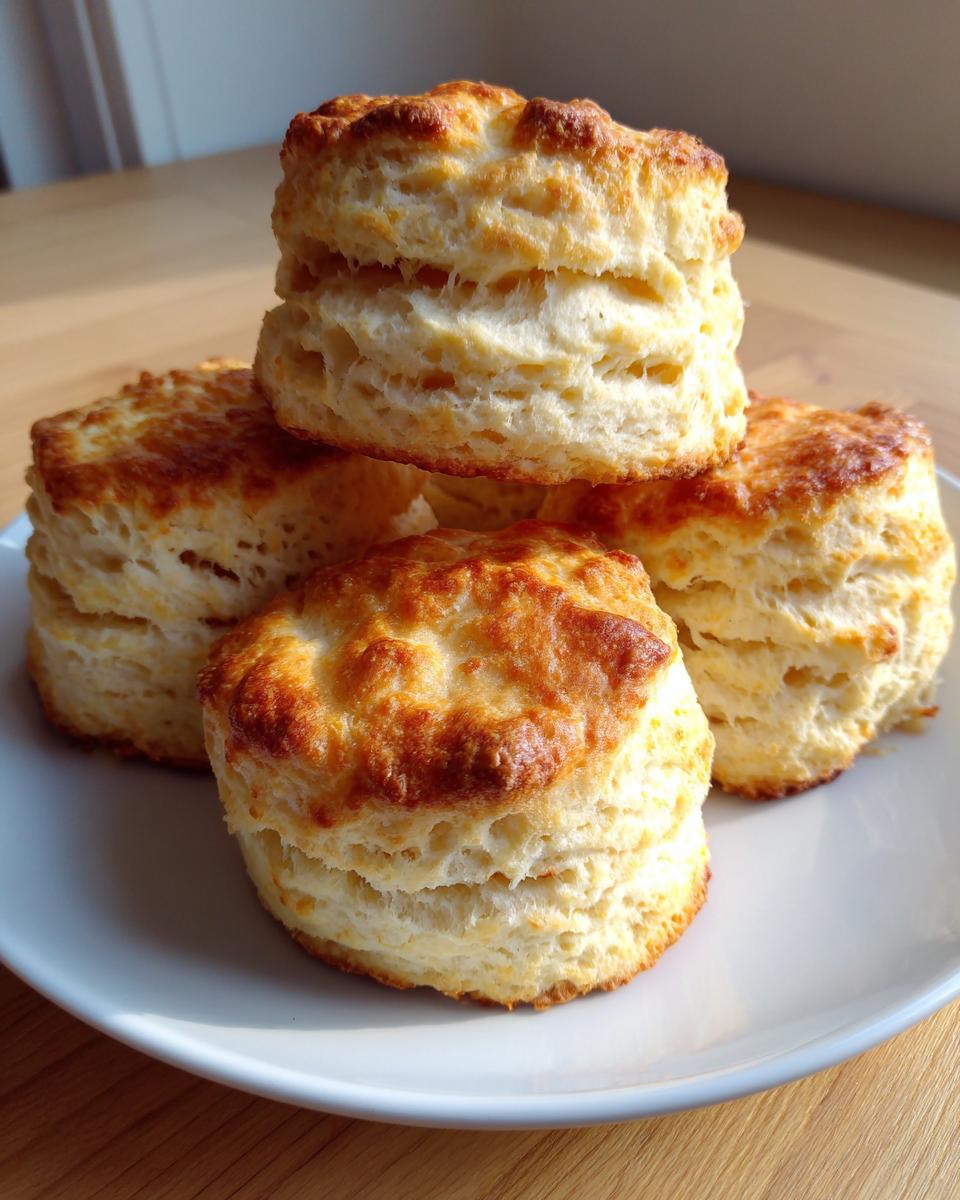
Baking Your Homemade Buttermilk Biscuits to Golden Perfection
Okay, the dough is cut! Get your oven cranked up to 425 degrees pronto—these southern darlings need high heat right away. You can gently place your cut biscuits so they are just touching on the baking sheet if you like soft sides, or space them a little apart if you prefer crispy edges. Either way, they go in for just 12 to 15 minutes. Watch for that beautiful golden brown color on top. Trust me on this: as soon as they come out, brush melted butter all over the tops for the best shine and flavor. Want to use them for dipping? You should check out my tips for homemade bread bowls!
Tips for Success Achieving Flaky Buttermilk Biscuits Every Time
If you take away only three things from this whole process, let them be these: keep it cold, handle it lightly, and don’t twist your cutter! Remember that cold butter is our rising agent; if it gets warm, you’ve lost the steam that makes those gorgeous layers.
I once rushed a batch because my mom was coming over, and I didn’t chill my butter long enough. The biscuits spread out like pancakes! It taught me that kitchen patience is real, especially with homemade buttermilk biscuits. If you start to feel the dough warming up, stick the whole thing back in the fridge for ten minutes before you fold again or cut. Trust your instincts, and those soft, airy Southern beauties will be yours!
Serving Suggestions for These Southern Biscuit Recipe Favorites
Honestly, splitting one of these warm wonders open is heavenly enough with just a slather of good jam or honey. But if you want the truly classic experience of a proper southern biscuit recipe, you have to go all in!
These biscuits are begging to be smothered in creamy sausage gravy—I have my favorite holiday recipe for that right over here, you know, for when extra comfort is required! You can find my tips for biscuits and gravy preparation. They’re also fantastic alongside fried chicken or even sliced open to make little breakfast sandwiches. Either way, get them served warm!
Storage and Reheating Homemade Buttermilk Biscuits
These taste best fresh, of course, but they travel well! Store any leftovers in an airtight container at room temperature for up to two days. If you need them to last longer, wrap them up tightly and freeze them. Never reheat these beauties in the microwave; it steals all the flaky texture!
To bring back that fresh-from-the-oven softness, just pop them on a baking sheet in a 350-degree oven for about five to seven minutes. They’ll steam right back up and be ready for butter!
Frequently Asked Questions About Biscuits From Scratch
I get so many questions about biscuits! It’s because everyone wants their batch of biscuits from scratch to tower over the plate. Don’t fret if your first batch isn’t perfect, that’s part of learning the feel of the dough. Here are a few things folks ask me all the time.
Can I use baking soda instead of baking powder in these homemade buttermilk biscuits?
That’s a great question that gets right into the chemistry! Baking soda needs acid to react and give you that lift. Since our recipe already uses tangy buttermilk (the acid), you *could* substitute baking soda, but you’d need to adjust the ratio—usually about 1/4 teaspoon of soda for every teaspoon of powder you omit. However, I really suggest sticking to the baking powder here. It’s double-acting, meaning it gives you a second lift in the oven, ensuring those extra tall rises you see in my photos.
What is the best way to cut biscuits without losing the layers?
I cannot stress this enough: zero twisting! When you use your cutter, you need to line it up over the dough and press straight down with firm, even pressure. Think of it like punching the dough out. When you twist, you’re basically crimping the edges shut, and that prevents the steam from pushing those layers apart. A clean, sharp cutter works so much better than a dull knife trying to hack them out. This is the secret to those fantastic flaky buttermilk biscuits!
Can I make these flaky buttermilk biscuits ahead of time?
You absolutely can do some work ahead of time, which is perfect if you plan on having company! After you finish the folding steps and cut out your shapes, place the uncut biscuits on your baking sheet, cover them loosely with plastic wrap, and pop them in the refrigerator for up to an hour. The cold helps keep the butter firm, which is exactly what we want before they hit the oven. Baking them straight from the fridge is the best way to manage your mornings! If you’ve ever tried to make those gorgeous homemade bread bowls, you know chilling dough makes everything easier!
PrintFlaky Buttermilk Biscuits From Scratch

Learn the simple technique for making traditional, layered southern biscuits that are light and fluffy every time.
- Prep Time: 15 min
- Cook Time: 15 min
- Total Time: 30 min
- Yield: 8 biscuits 1x
- Category: Breakfast
- Method: Baking
- Cuisine: American
- Diet: Vegetarian
Ingredients
- 2 cups all-purpose flour
- 1 tablespoon baking powder
- 1 teaspoon salt
- 1 teaspoon sugar
- 6 tablespoons cold unsalted butter, cut into small cubes
- 3/4 cup cold buttermilk
Instructions
- Preheat your oven to 425 degrees Fahrenheit. Lightly grease a baking sheet or line it with parchment paper.
- In a large bowl, whisk together the flour, baking powder, salt, and sugar.
- Add the cold butter cubes to the dry ingredients. Use a pastry blender or your fingertips to cut the butter into the flour until the mixture resembles coarse crumbs with some pea-sized pieces of butter remaining.
- Make a well in the center of the flour mixture and pour in the cold buttermilk all at once.
- Use a fork to mix the ingredients until just combined. Do not overmix; the dough will look shaggy.
- Turn the dough out onto a lightly floured surface. Gently pat the dough into a rectangle about 1 inch thick.
- Fold the dough into thirds, like a business letter. Turn the dough a quarter turn and gently pat it back into a 1-inch thick rectangle. This folding creates your flaky layers. Repeat this fold-and-pat process two more times.
- Pat or roll the dough to a final thickness of about 3/4 inch.
- Use a 2-inch biscuit cutter to cut out the biscuits. Press the cutter straight down without twisting to keep the layers separated. Rework the scraps once, cutting carefully.
- Place the biscuits on the prepared baking sheet, touching slightly for softer sides or spaced apart for crispier sides.
- Bake for 12 to 15 minutes, or until the tops are golden brown. Serve warm.
Notes
- Keep your butter and buttermilk as cold as possible. Cold fat creates steam in the oven, which results in flaky layers.
- Do not twist the biscuit cutter when cutting the dough; this seals the edges and prevents the biscuits from rising high.
- For extra richness, brush the tops of the baked biscuits with melted butter.
Nutrition
- Serving Size: 1 biscuit
- Calories: 250
- Sugar: 2
- Sodium: 350
- Fat: 13
- Saturated Fat: 8
- Unsaturated Fat: 5
- Trans Fat: 0
- Carbohydrates: 29
- Fiber: 1
- Protein: 5
- Cholesterol: 30