

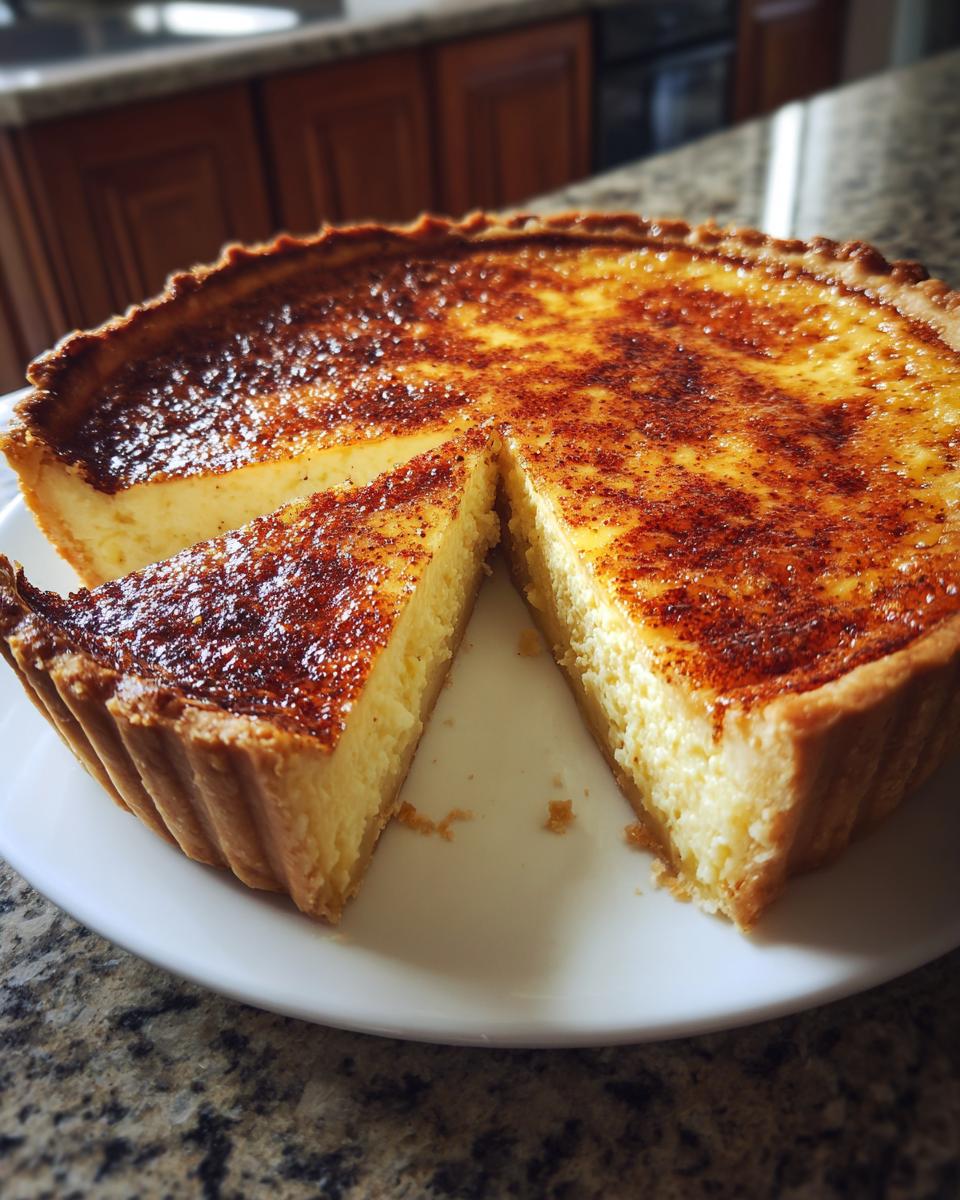
There’s just something about those old-fashioned desserts, isn’t there? They smell like home, holidays, and pure comfort. If you’ve ever been nervous about making a baked egg custard because you were afraid it would crack or turn rubbery—stop worrying right now! I’m sharing my absolute favorite, The Fail-Proof Old Fashioned Egg Custard Pie recipe. It’s straightforward, uses simple ingredients, and bakes up to that perfectly creamy texture we all crave. Because I taught elementary school for thirty years, I put extra care into making these steps crystal clear for everyone. Trust me, this one just works!
- Why This Old Fashioned Egg Custard Recipe Works Every Time
- Gathering Ingredients for Your Simple Custard Recipe
- Step-by-Step Instructions for Classic Baked Custard
- Expert Tips for a Smooth Custard Technique
- Serving and Storing Your Homemade Egg Custard Pie
- Variations on the Traditional Custard Dessert
- Frequently Asked Questions About Egg Custard
- Estimated Nutritional Values for This Egg Custard Pie
- Share Your Classic Baked Custard Experience
Why This Old Fashioned Egg Custard Recipe Works Every Time
I know you’ve probably scrolled past a hundred recipes promising the perfect custard, only to end up with something that eats like scrambled eggs. Not this one! This is exactly the kind of true old fashioned dessert that stands the test of time because the technique is so sound. It’s designed to be genuinely dependable.
- Guarantees a smooth, velvety top layer—no ugly cracks here!
- Uses minimal sugar for that classic, comforting flavor, not sweetness overload.
- It’s fast! Prep time is only about 15 minutes.
Achieving That Perfect Creamy Egg Custard Filling
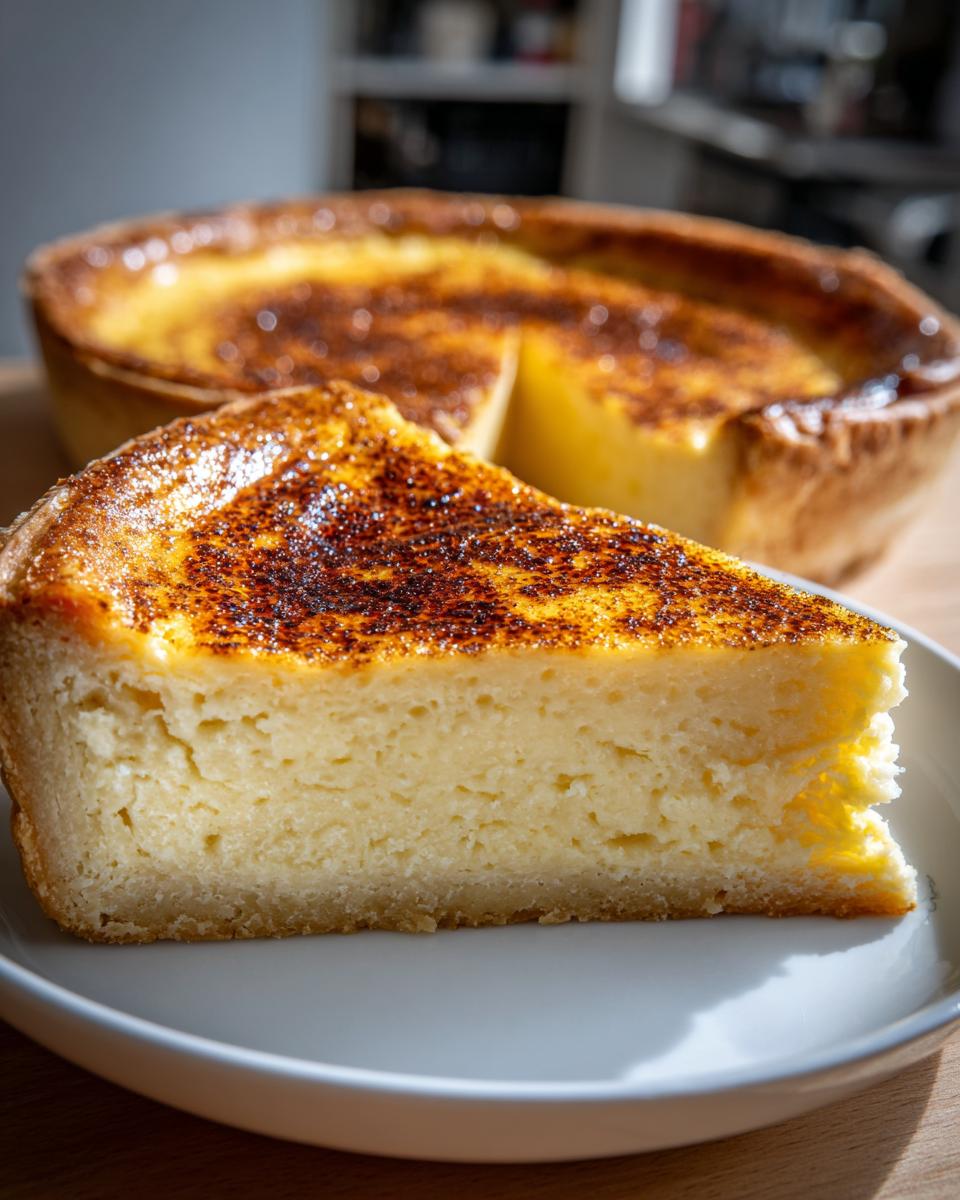
The magic really comes down to two things: using whole milk and being gentle when we mix everything. We aren’t making a meringue here! Over-beating incorporates too much air, and when that air heats up, it creates bubbles that lead to cracking and a spongy texture in your creamy egg custard filling. We want silky, not spongy. We use whole milk because the fat content gives the custard body and that rich mouthfeel that lesser recipes just can’t match. Keep your whisk movements slow and steady, please!
Gathering Ingredients for Your Simple Custard Recipe
Seriously, look at this list! You likely have most of this sitting in your pantry right now. That’s what I love about this dessert; it’s such a wonderful, simple custard recipe when you need something comforting fast. We are aiming for that perfect homemade egg custard texture, and every ingredient plays its own little part in getting us there. Having the right measurements is half the battle won, just like in my old classroom!
Ingredient Specifications and Substitutions
Here is exactly what you need for an unbaked 9-inch pie shell:
- 1 unbaked 9-inch pie crust (store-bought is totally fine!)
- 3 large eggs
- 1/2 cup granulated sugar
- 1/4 teaspoon salt
- 1 teaspoon pure vanilla extract
- 2 2/3 cups whole milk
- A dash of ground nutmeg (this is for the top sprinkling right before baking)
About that milk: I strongly suggest using whole milk for the absolute best, richest result. The fat content gives your creamy egg custard filling that luxurious body that you just won’t get with lower-fat options. You want that perfect, smooth finish!
Step-by-Step Instructions for Classic Baked Custard
Alright, let’s get everything baked! First things first, make sure your oven is warmed up to 350 degrees F. Get that crust nestled neatly into your 9-inch pie plate—it needs to be unbaked, remember. We are making this whole process streamlined so you can enjoy this easy egg custard dessert sooner rather than later.
Mixing the Egg Custard Base Without Creating Foam
In a medium bowl, grab your whisk. Gently combine those 3 eggs, your sugar, and salt. I mean gently! We aren’t trying to incorporate air; we are just trying to make them friends. Do not over-beat this mixture, or you’ll end up with a foamy mess that ruins that lovely smooth custard technique we need. After that, stir in the vanilla extract. Then, here’s a serious tip for that smooth custard technique: slowly whisk in the whole milk. Slow and steady prevents those tiny bubbles that cause cracking later on.
Baking and Testing Doneness for Perfect Egg Custard
Pour that beautiful liquid right into your unbaked crust. Then, give the top a light shower of nutmeg—it smells amazing while baking! Pop it into the oven for about 45 to 55 minutes.
How do you know it’s done? Never trust just the timer! The edges of your egg custard should look set, but the center needs to have a tiny, nervous jiggle to it, like Jell-O. If you slide a thin knife near the edge, it should come out clean. Oh, and one more thing: if you notice your crust edges looking too dark halfway through baking, just wrap them loosely in foil. That’s a little trick I picked up over the years to keep the presentation perfect!
Expert Tips for a Smooth Custard Technique
Even if you follow the mixing instructions perfectly, there’s one more thing I insist you do if you want that truly professional, melt-in-your-mouth texture. This step is what separates a good homemade egg custard from one that tastes like your grandma made it—the absolute finest in the neighborhood! It’s a tiny bit of extra effort, but trust me, it’s the ultimate fail proof baking tip. This helps us guarantee that silky texture we’re aiming for.
The Secret to Strain Your Egg Custard
Before you pour that liquid base into the pie shell, you absolutely must strain it. Grab a fine-mesh sieve—the kind your grandmother probably used for sifting flour—and pour the entire egg custard mixture through it. What are we capturing? We are catching any tiny bits of unevenly mixed egg white or those pesky little air bubbles that you couldn’t see but definitely would have popped up during baking.
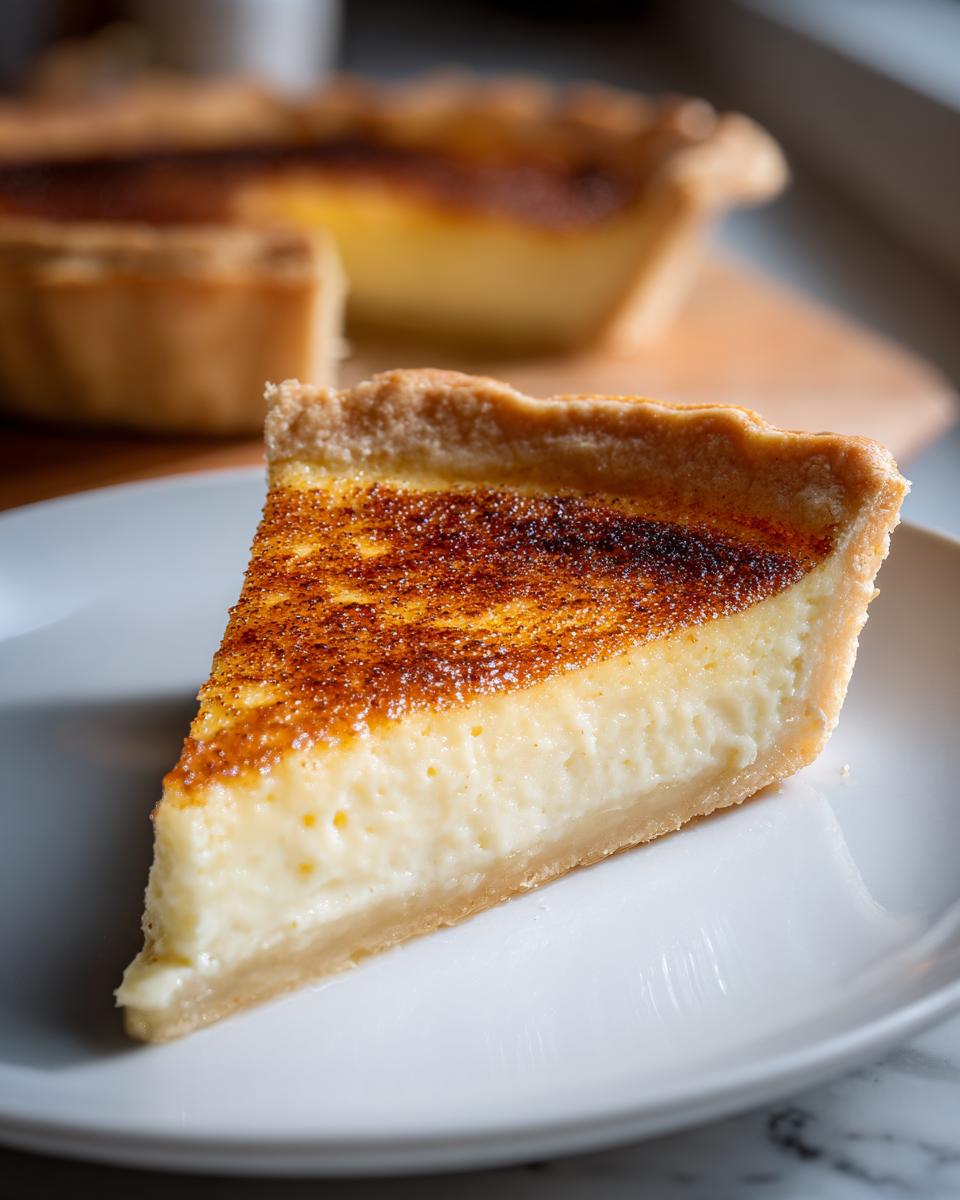
Straining is the secret weapon for preventing graininess or curdling. It’s why this recipe—even though it’s so easy egg custard recipe—consistently comes out looking like polished silk when it cools. You can even revisit that fail-proof egg custard link if you need a visual reminder of how smooth it should look when pouring!
Serving and Storing Your Homemade Egg Custard Pie
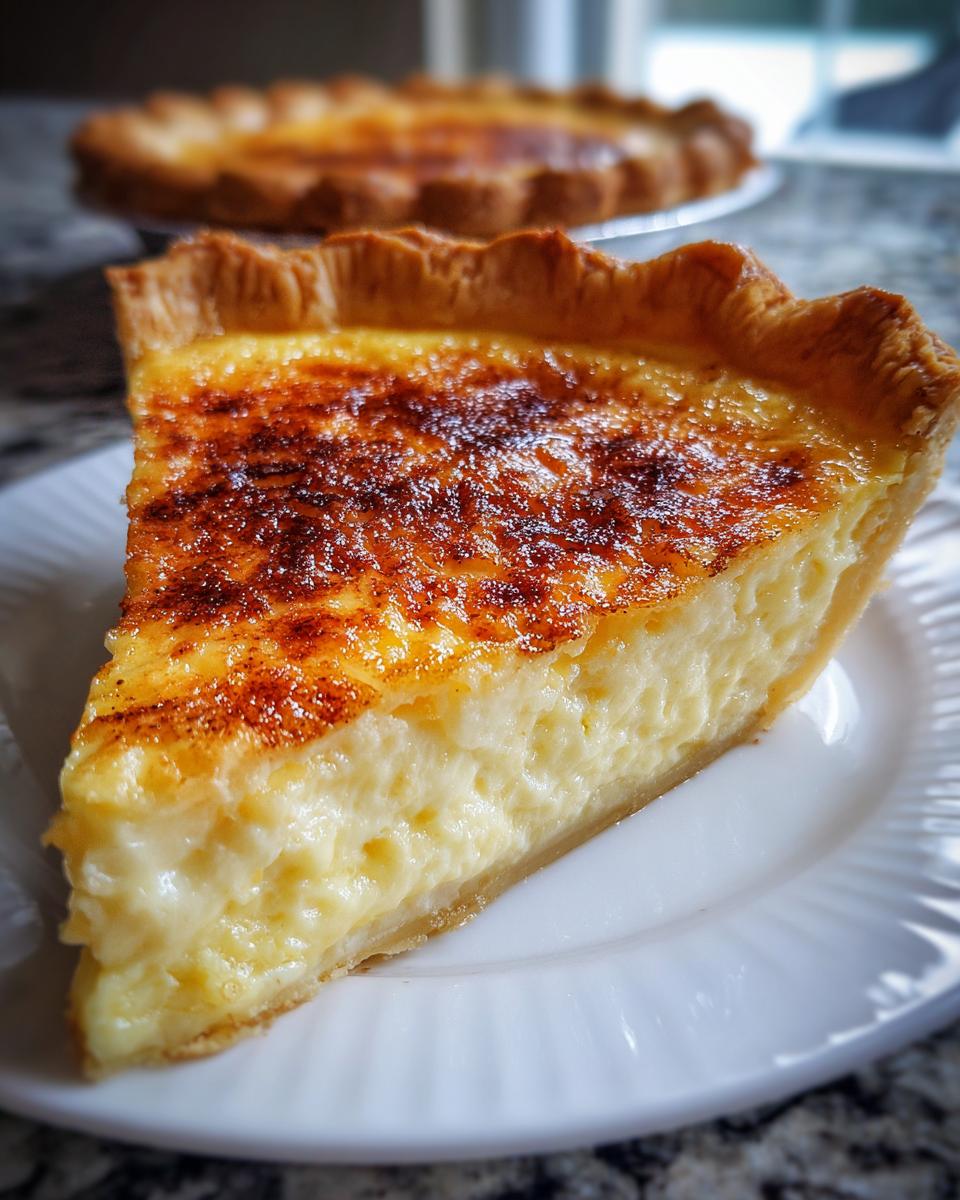
The hardest part is over, but don’t rush this step! You need to let the pie cool slowly on a wire rack first. This gentle cooling helps stop any last-minute cracking because rapid temperature changes are the enemy of a smooth egg custard. Once it’s cooled down to room temperature, cover it gently and stick it in the fridge. Seriously, you need to chill this homemade egg custard for at least four hours.
Why so long? Chilling allows those proteins in the egg to fully firm up so you get those clean, perfect slices you’re looking up. If you try slicing it warm, it’ll just spread out everywhere. It tastes best when served cold, maybe with an extra tiny dusting of nutmeg on top if you like!
Variations on the Traditional Custard Dessert
While this specific combination of vanilla and nutmeg is what makes our classic baked custard recipe just so cozy, sometimes a cook just needs to shake things up a little bit, right? This base is so reliable—it’s the perfect canvas for adding your own little touches. It’s still the same straightforward comfort you love, just with a little personality boost. If you’re looking for more ideas on making desserts your own way, you should definitely check out my index of best dessert recipes!
Adding Flavor Accents to Your Egg Custard
Our recipe calls for a light dusting of nutmeg, and honestly, it’s perfect as written! But if you want to switch up that finishing touch, go for it! Don’t feel like you have to stick to just one spice. For instance, a tiny pinch of ground cinnamon mixed with the nutmeg is lovely, especially as the year gets colder.
If you want to lean into the vanilla flavor even more, you can definitely add a bit more of that extract into the liquid base, though I’d be careful not to go overboard. Another really simple flavor accent that brightens everything up is citrus zest. A little bit of finely grated lemon zest stirred into the milk right before mixing will give your vanilla custard recipe a wonderful, sunny lift. It really wakes up the richness of the egg custard without changing the structure at all. See? It’s still an easy egg custard recipe, just jazzier!
Frequently Asked Questions About Egg Custard
I always get so many great questions when folks try this recipe for the first time, and that’s wonderful! It shows you’re thinking carefully about getting that perfect texture. I’ve pulled together a few of the ones I hear most often about making this classic baked custard.
Can I make this a crustless egg custard?
You absolutely can! If you skip the pie crust, you’ve basically made a wonderful baked pudding or a simpler flan, which is still a fantastic and simple baked dessert. The big thing you need to watch out for is the baking time. Since the custard is exposed directly to the heat from the bottom of the pan, it will usually cook faster. You’ll want to start checking for doneness around the 35-minute mark. It will firm up nicely, but the texture won’t have that slightly denser base that the pastry crust provides.
What causes the egg custard to crack?
Oh, cracking! That’s the biggest fear, isn’t it? In my experience, the two main culprits are over-baking or too much drama (meaning, rapid temperature change). If you bake it until that center is completely solid and stops jiggling, you’ve gone too far, and the proteins tighten up too much—hello, crack! Also, pulling a piping hot pie straight from a 350-degree oven and sticking it right onto a cold countertop can cause shock, leading to sinking or cracking.
Remember what I said during the instructions: you want that slight, nervous jiggle in the very center when you pull it out. And then, let it cool down slowly on the rack! Slow cooling is crucial for a flawless, smooth surface on your traditional custard dessert.
Estimated Nutritional Values for This Egg Custard Pie
Now, I always bake this pie more for comfort than counting calories, but I know some of you like to see the numbers! Based on the ingredients we used—especially the whole milk and standard pie crust—here’s a general look at what’s in one slice of this homemade egg custard. Keep in mind these figures are always just estimates, okay? Every oven bakes a little differently, and crusts vary wildly in fat content!
- Calories: 250
- Sugar: 22g
- Fat: 11g
- Protein: 9g
This really is a perfectly proportioned slice of comfort food dessert!
Share Your Classic Baked Custard Experience
That’s it, folks! You are now armed with the knowledge to make the most beautifully creamy, utterly fail-proof egg custard pie around. I truly hope this recipe brings as much warmth and sweet nostalgia to your table as it brings to mine. Once you pull that pie out, cooled, and ready for the fork, please don’t be shy!
I absolutely love hearing about your baking adventures. If you made this easy egg custard recipe, won’t you hop down to the comments below and tell me how it went? Did the nutmeg hit the spot perfectly? Did you manage that smooth, crack-free top? Rating the recipe only takes a second, and it helps other home cooks feel confident trying this traditional custard dessert.
If you snapped a picture of your finished pie—especially one with those perfect, clean slices—I’d love to see it! Feel free to tag me on social media. And if you’re looking for another easy, heartwarming bake for your next gathering, check out my collection of easy holiday pies. Happy baking, and enjoy every bite!
PrintFail-Proof Old Fashioned Egg Custard Pie

Make a classic, creamy egg custard pie using this straightforward, fail-proof recipe. This traditional dessert bakes to a smooth, velvety texture every time.
- Prep Time: 15 min
- Cook Time: 55 min
- Total Time: 70 min
- Yield: 8 servings 1x
- Category: Dessert
- Method: Baking
- Cuisine: American
- Diet: Vegetarian
Ingredients
- 1 unbaked 9-inch pie crust
- 3 large eggs
- 1/2 cup granulated sugar
- 1/4 teaspoon salt
- 1 teaspoon pure vanilla extract
- Dash of ground nutmeg (for topping)
- 2 2/3 cups whole milk
Instructions
- Preheat your oven to 350 degrees F. Place the unbaked pie crust in a 9-inch pie plate.
- In a medium bowl, whisk together the eggs, sugar, and salt until they are well combined. Do not over-beat the mixture.
- Stir in the vanilla extract.
- Slowly whisk in the milk until the mixture is smooth. This slow addition helps prevent foam, which can cause cracks.
- Pour the custard mixture into the unbaked pie shell.
- Sprinkle the top lightly with ground nutmeg.
- Bake for 45 to 55 minutes. The custard is done when a knife inserted near the center comes out clean, and the edges are set but the center still has a slight jiggle.
- Remove the pie from the oven and cool completely on a wire rack before slicing. Cooling slowly helps prevent cracking.
- Chill the pie for at least 4 hours before serving for the best texture.
Notes
- For a smoother custard, strain the liquid mixture through a fine-mesh sieve before pouring it into the crust.
- To prevent the crust edges from burning, cover them loosely with aluminum foil halfway through the baking time.
- This recipe uses whole milk for the creamiest result, which is a key component of classic baked custard.
Nutrition
- Serving Size: 1 slice
- Calories: 250
- Sugar: 22
- Sodium: 180
- Fat: 11
- Saturated Fat: 6
- Unsaturated Fat: 5
- Trans Fat: 0.1
- Carbohydrates: 28
- Fiber: 1
- Protein: 9
- Cholesterol: 110