
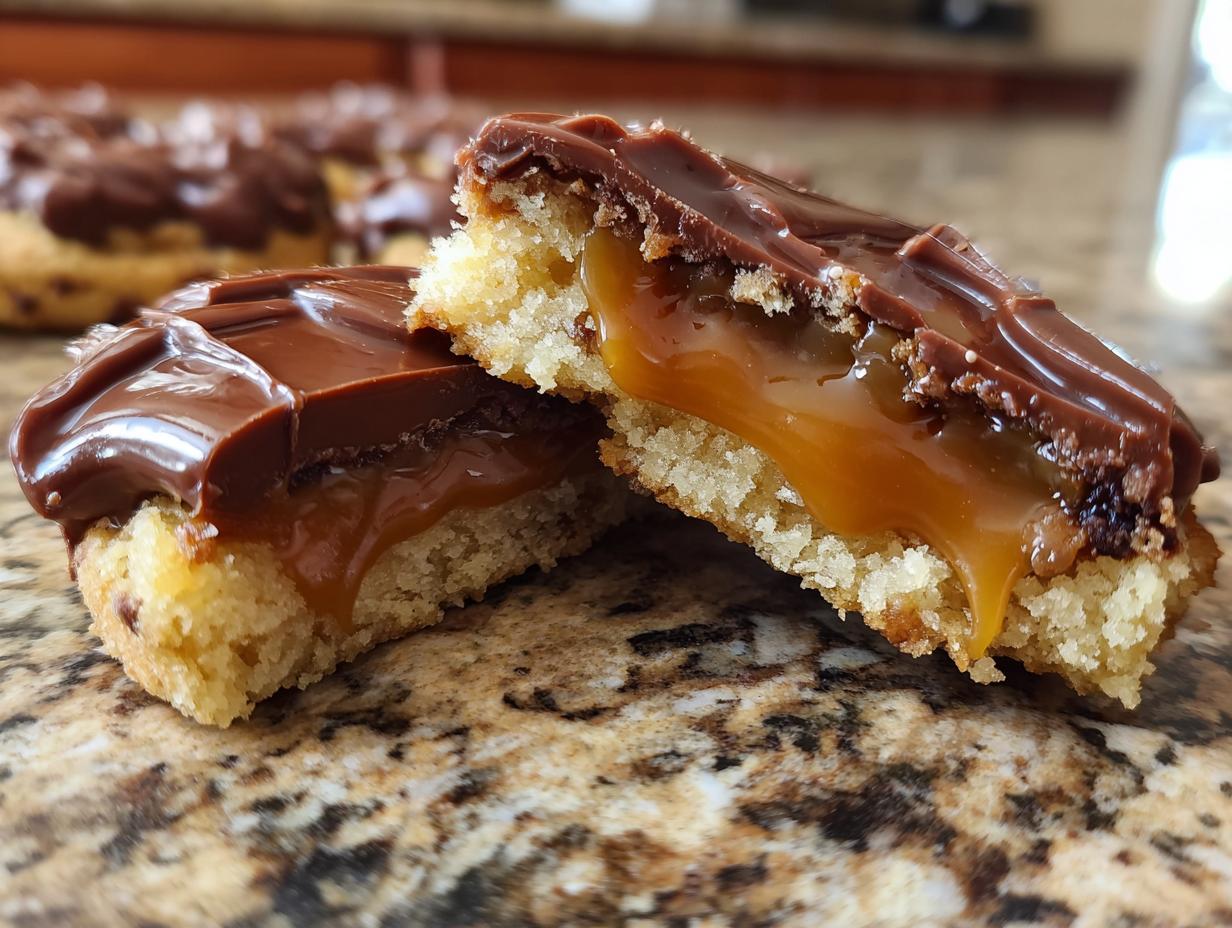
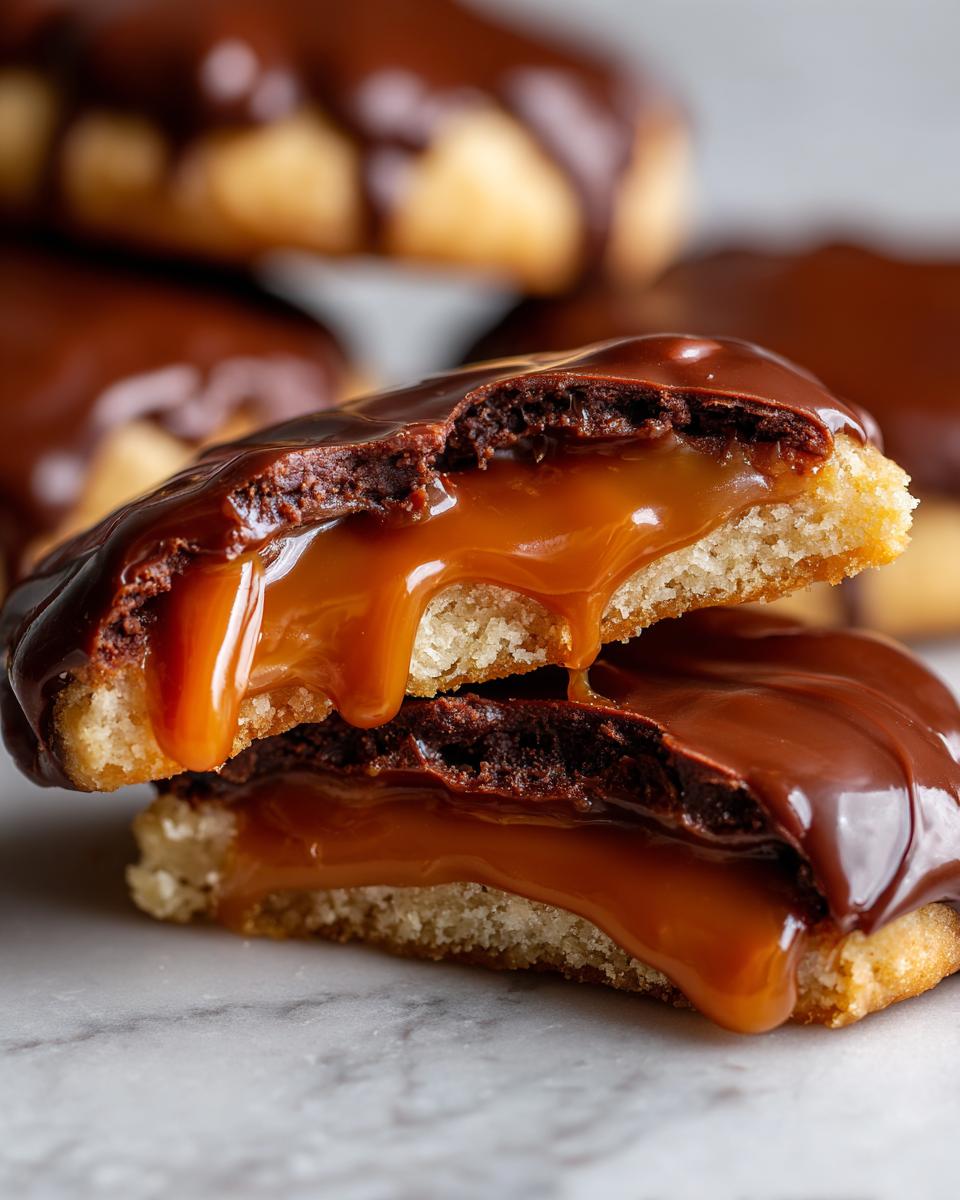
There is just something magical about taking a famous candy bar flavor and turning it into a homemade treat, isn’t there? Well, forget the wrappers! Today, we are making the absolute **best twix cookies** you’ve ever tasted. These aren’t fussy dessert bars; these are quick, easy cookies that capture that perfect crunch, gooey caramel, and sweet chocolate—all in one bite. As a former teacher and now a grandma, I know that instructions need to be crystal clear, so I’ve broken down every step of this triple-layer cookie. Trust me, this recipe is reliable, well-tested, and designed for the busy home cook just like you!
- Why You Will Love These Homemade Twix Cookies
- Gathering Ingredients for Your Twix Cookies
- Step-by-Step Guide to Making the Best Homemade Twix Style Cookies
- Tips for Perfect Twix Cookies Every Time
- Variations on Twix Inspired Baking
- Storing Your Chewy Chocolate Caramel Treats
- Frequently Asked Questions About Twix Cookies
- Serving Suggestions for Caramel Chocolate Cookie Bars
- Nutritional Estimates for These Sweet Treat Recipes
- Share Your Twix Cookies Creations
Why You Will Love These Homemade Twix Cookies
When I first set out to make a cookie that tastes like a Twix, my goal wasn’t just flavor—it was speed! I know you don’t always have all afternoon for detailed assembly, so these are genuinely straightforward. They bake up fast, and the caramel layer is simpler than you think. It’s all about getting maximum flavor with minimal fuss. You’ll want to save this recipe for sure!
- These are truly some of the best homemade Twix style cookies out there, capturing that essential shortbread-caramel-chocolate balance perfectly.
- They are fast! We’re talking about a total time well under one hour, making them excellent for impromptu dessert cravings or a last-minute contribution to a potluck.
- You get that luxurious feel of Quick Caramel Layer Desserts without having to pull out a stand mixer for hours of complicated steps.
- They hold up beautifully, meaning they are fantastic for Easy Holiday Cookie Baking and gifting—they travel well in an airtight container!
- If you love our sugar cookie cheesecake recipe, you’ll appreciate the similar buttery, tender foundation here.
Gathering Ingredients for Your Twix Cookies
Before we even think about turning on the oven, let’s make sure the counter is stocked with exactly what we need. Remember, ingredient quality really matters when you’re dealing with only a few layers, so don’t skimp on the butter! For the base, you’ll need one cup of unsalted butter that’s nice and softened, along with both granulated and packed brown sugar for that depth of flavor. Don’t forget the egg, vanilla, flour, and salt! Then, for the star layers, grab a cup of those soft caramel candies, heavy cream if you’re melting them down yourself, and a generous cup of milk chocolate chips. If you want that super smooth finish in the chocolate, I always toss in a tiny bit of coconut oil, too!
Step-by-Step Guide to Making the Best Homemade Twix Style Cookies
Alright, let’s roll up our sleeves! Making these twix cookies is a three-part adventure: the base, the caramel, and the chocolate finish. Because we are aiming for those perfect layers, taking a moment to prepare each component pays off huge when you bite into the final product. It’s easier than you think—just follow these straightforward steps I’ve laid out for you, just like I would for my grandchildren!
Creating the Buttery Cookie Base Recipes
First things first, get that oven warmed up to 350°F (175°C) and line those baking sheets—parchment paper is your best friend here! In your big bowl, cream that softened butter with both sugars until it gets nice and fluffy. This is the foundation for our buttery cookie base recipes, so take your time creaming it! Beat in the egg and vanilla. Now, the dry stuff (flour and salt) goes in gradually. Mix it just until you see the flour disappear. Do not overmix here, or you lose that beautiful tender texture! If you want a base that holds its shape perfectly, just like my best sugar cookie recipe, this gentle mixing is key.
Carla Tip for Shaping the Base: Drop rounded tablespoons onto the sheets. You want a nice, thick disc, so gently press down a tiny bit with your fingers or the bottom of a glass. Bake these beauties for about 10 to 12 minutes until the edges are just kissing gold. They need five minutes to firm up on the sheet before moving to a rack to cool completely. A fully cool base prevents the caramel from running everywhere! For general crust knowledge, you can see how I approach building a solid base in my butter pie crust recipe, too; patience is everything!
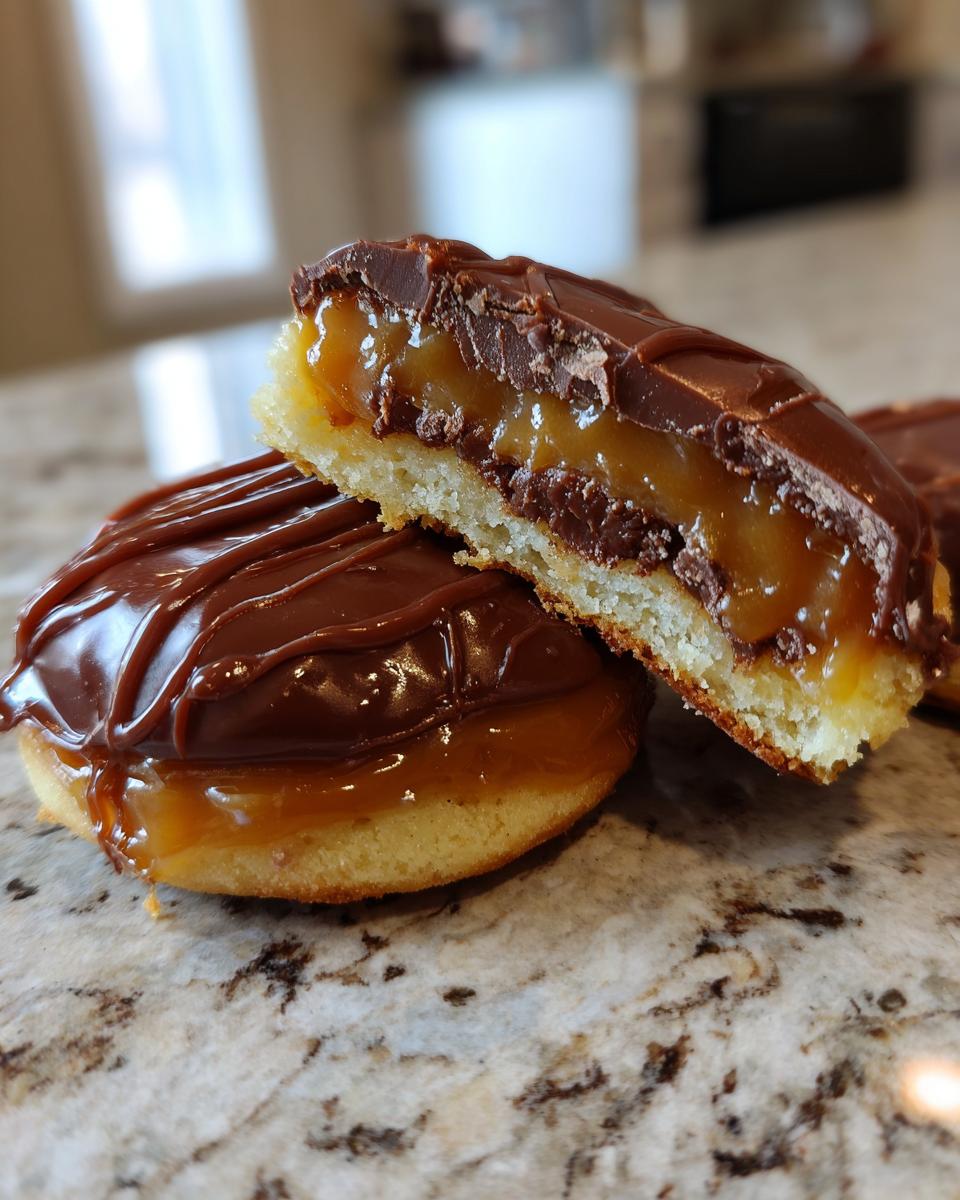
Assembling the Gooey Caramel Cookie Recipe Layer
This is where the magic really happens for our gooey caramel cookie recipe layer. If you’re using those soft caramel candies, you’ll need to melt them *low and slow* with just a splash of heavy cream. Stir it constantly until it’s smooth as silk—no lumps allowed! If you’re using pre-made caramel sauce, just warm it up slightly so it spreads easily. Once those cookie bases are completely cool, take about a teaspoon of that warm caramel and spoon it right onto the center. Gently spread it out to cover the top, but make sure you leave a little border so it doesn’t ooze over the sides when you add the chocolate.
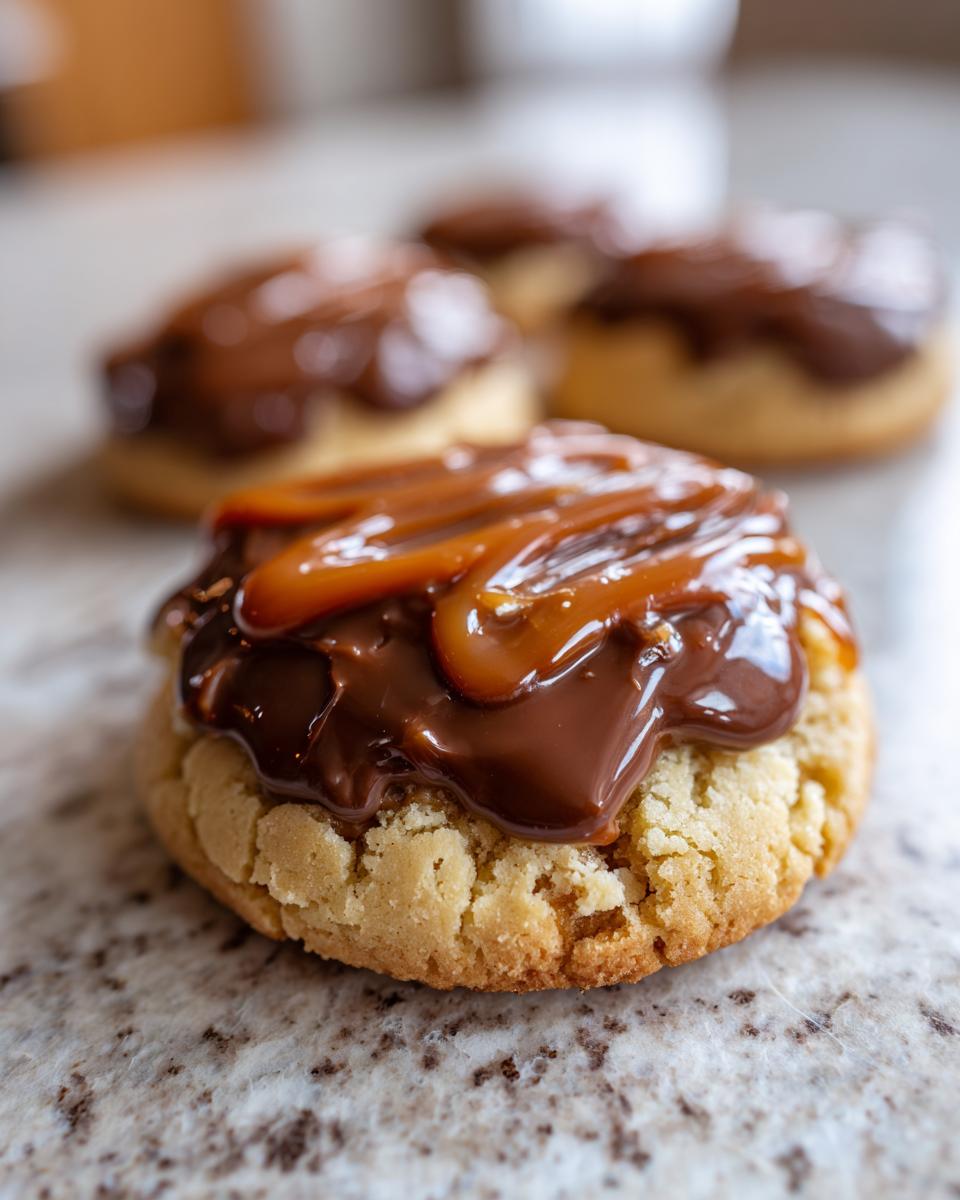
Finishing Your Twix Cookies with Chocolate Drizzle Cookies Topping
Time for the chocolate coating! Melt your milk chocolate chips together with that optional tablespoon of coconut oil. Trust me on the oil; it gives the chocolate a gorgeous sheen, making them look professional. You can either quickly dip the entire caramel top into the melted chocolate or, if you want to keep things quick, just drizzle it artfully across the top. If you choose to dip, lay them back on parchment paper to set. The final, crucial step? Patience! Let these set completely—you can pop them in the fridge for about 15 minutes if you’re impatient, just like I am sometimes!
Tips for Perfect Twix Cookies Every Time
Even though this recipe is wonderfully straightforward, I want to share a few things I’ve learned over the years to make sure your twix cookies are absolutely flawless. Baking is chemistry, sure, but it’s also about knowing your oven and your dough! These little adjustments are what separates a good cookie from a cookie that tastes exactly like the candy bar!
First, let’s talk texture control. If you love a slightly softer, chewier base—that almost melts in your mouth cookie—then pull them out right when the edges turn golden, maybe even slightly under the 12-minute mark. If you’re dreaming of a crispier shortbread cookie base that mimics the crunchier part of the candy bar, just leave them in an extra minute or two until you see more color. I sometimes bake mine a little longer just because I love that snap! If you prefer the tender, melt-away texture like in my lemon cookies recipe, under-baking by a minute is the way to go.
Another popular thing folks ask me about is changing the shape. You don’t always have to make flat cookies! We can easily turn these into simple cookie cups if you want one of those cute, contained desserts. Just lightly press the dough into mini muffin tins before baking. The baking time might be slightly longer since the dough is deeper, so check them around 14-15 minutes, but the concept is the same. I saw a fun idea where someone made thumbprint cookies with this dough, which would be adorable for holiday plates!
Finally, remember that the caramel layer is key. If your cookies are too warm when you apply the caramel, that gooey goodness will just spread right out into a thin mess. Allow them to cool completely—I mean, stone cold!—before you start layering. That’s the secret to keeping those distinct layers intact.
Variations on Twix Inspired Baking
One of the best parts about creating twix cookies at home is that you aren’t limited by the factory packaging! You can tweak these layers to make them even better than the original candy bar, or just fit your mood that day. These are just a few simple adjustments I love to make when I decide to bake a double batch.
If milk chocolate isn’t your absolute favorite, don’t be afraid to swap it out! Dark chocolate works wonderfully here. The slight bitterness of a good quality dark chocolate chip, especially when melted down, cuts through the sweetness of the caramel layer so beautifully. I know some folks who even use white chocolate, though I personally find that a bit too sweet for my taste after all that caramel.
Another trick for those who love a salty-sweet combination—and I know many of us do—is adding a sprinkle of flaky sea salt right onto the warm caramel layer before the chocolate goes on. It’s instant gratification! It enhances the buttery notes of the cookie base and just makes the whole experience pop. It feels so fancy, but it’s literally one second of extra sprinkling. It’s perfection for any indulgent chocolate caramel layers.
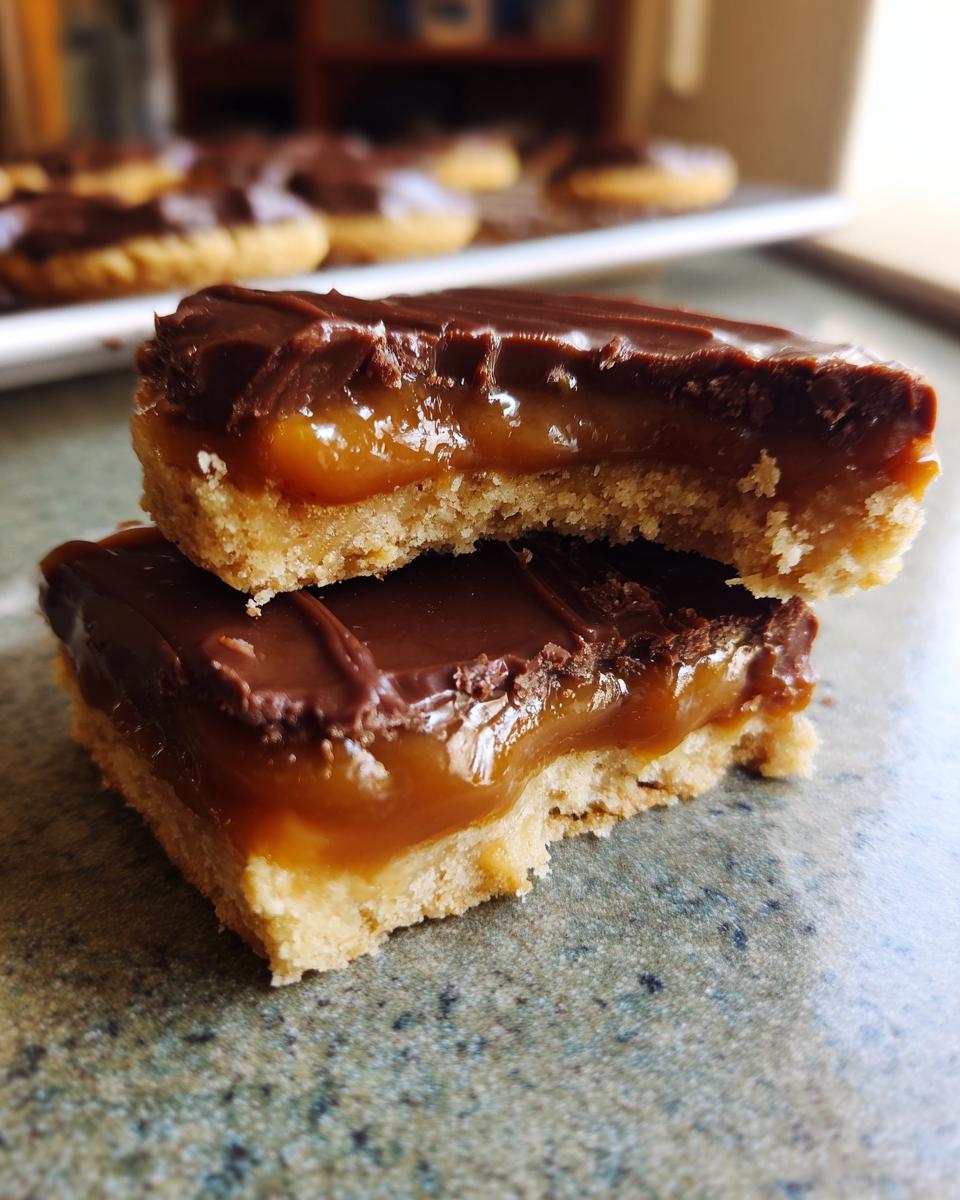
What if you want something easier to share or pack for a party? Skip dropping individual cookies. Instead, press the entire dough batch into a 9×13 pan. Bake it just a bit longer—maybe 20 to 25 minutes—to ensure that thick shortbread layer is perfectly done. Once it’s cooled, you pour over your caramel and chocolate layers, let it all set up, and then slice it into neat squares. Instant Caramel Chocolate Cookie Bars! You can sometimes find excellent inspiration for these twists over at Ben’s Recipes if you are looking for more bar-style ideas.
If you’re using a lot of chocolate and want to keep things simple but still decadent, consider making a quick batch of homemade chocolate pudding instead of melting chips for the topping. It gives you a softer, ganache-like finish instead of a hard shell, making these better for immediate eating. Either way, these copycat Twix dessert recipes are always a massive hit!
Storing Your Chewy Chocolate Caramel Treats
Now that you’ve made these incredible chewy chocolate caramel treats, the big question is always: how do I keep them tasting fresh? Because these cookies have that gooey caramel layer, they actually stay wonderfully moist for several days! You don’t need to worry about complicated refrigeration, which is a big win when you’re busy.
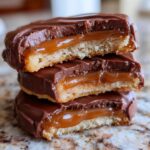
The absolute best way to store them is in a single layer inside a truly airtight container. If you stack them, the chocolate topping from the top cookie can smudge onto the layer below, and nobody wants sticky caramel fingerprints all over their perfectly drizzled tops! If you really have to stack them—say, you baked 4 dozen—put a small square of parchment paper between each layer. That keeps them separate, safe, and pretty.
I find that these cookies are perfectly happy sitting on the counter at room temperature for a good three to four days. The butter in the base stays tender, and the caramel doesn’t get too hard. If your kitchen is unusually warm, you *can* put them in the fridge, but always let them sit out on the counter for about 20 minutes before serving. Cold caramel gets quite firm, and we want that gooey experience, remember?
Can you freeze these sweet treat recipes? Yes, you absolutely can! If you anticipate having leftovers (unlikely, but one can hope!), wrap the cooled, un-stacked cookies individually in plastic wrap first, then place them all in a freezer-safe bag or container. They should last beautifully for about two months. When you’re ready to enjoy one, just let it thaw on the counter for an hour or so. Don’t bother trying to reheat them; they really are best enjoyed at room temperature or slightly cool!
Frequently Asked Questions About Twix Cookies
I always get questions after a recipe goes viral, and these twix cookies are no exception! People want to know if they can take shortcuts or how to make them fit different baking goals. Since my goal is always clarity and ensuring you end up with delicious results, I gathered the most common inquiries right here. You deserve delicious easy shortbread caramel desserts without the guesswork!
Can I skip the heavy cream when making the caramel?
That’s a great question for keeping things quick! If you are using those soft caramel candies, the cream helps them melt smoothly and keeps the final caramel layer soft and gooey rather than hard and chewy. If you absolutely have to skip it, you can use a tiny bit of milk or even water, but you need to use less and watch it *very* closely on the stove. If you use a pre-made caramel sauce, then no cream is needed at all because it’s already perfectly smooth!
Do I have to make the shortbread base from scratch?
Oh, I know how tempting it is to grab a package of store-bought shortbread cookies, especially when you’re in a rush! While technically you *could* use store-bought cookies as a base, I highly discourage it for this recipe. The magic of these homemade candy bar cookies comes from that fresh, buttery flavor we bake right into the cookie disc first. Store-bought bases tend to be too crisp and crumbly, and the caramel layer won’t stick as well. Trust me, since the base only bakes for 10 minutes, making it from scratch is worth the minimal extra effort. If you love that buttery flavor, you’ll want to try my recipe for making holiday cookies because the technique is similar!
How exactly do I turn these into cookie cups?
It’s a super fun way to serve these! If you want to make more structured simple cookie cup recipes instead of flat cookies, you just press the dough into mini muffin tins instead of dropping it onto a sheet. You’ll want to grease those tins really well, even if they are non-stick. Remember, the dough is thicker when pressed into the tin, so you might need an extra minute or two in the oven to ensure the cookie base is fully cooked through before adding caramel. You can find a very detailed guide on how I handle this exact process over at Easy Savory!
Can I use dark chocolate instead of milk chocolate?
Absolutely! I mentioned this in the variations section, but I’ll say it again: Go for it! If you find milk chocolate too sweet once combined with the thick caramel, dark chocolate is the perfect counterpart. The slight bitterness creates such a rich flavor profile. It really elevates these into something special that feels less like a **sweet treat recipe** and more like gourmet baking. Try sprinkling a tiny pinch of sea salt right before the dark chocolate sets; you won’t regret it!
Serving Suggestions for Caramel Chocolate Cookie Bars
Now that you have these perfectly layered Caramel Chocolate Cookie Bars—or maybe you made them as individual cookies—the fun part is deciding how to serve them up! Because these homemade treats are so rich with butter, caramel, and chocolate, they pair beautifully with something simple to cut through that sweetness. I always think about what I’d serve at a casual weekend gathering.
Honestly, the absolute classic pairing is just a tall, icy cold glass of milk. It’s simple, nostalgic, and it cleanses the palate perfectly between those sweet, chewy bites. I’m partial to whole milk for the best richness, but whatever you love works!
If you are enjoying these as an afternoon treat instead of a full dessert, a strong cup of black coffee or an espresso makes a wonderful partner. That slight bitterness just sings right next to the dark caramel and the sweet chocolate drizzle. It really makes these feel more grown-up!
For a real showstopper dessert, especially if you made them as bars, warm them up just slightly—maybe 10 seconds in the microwave—and serve them with a small scoop of high-quality vanilla ice cream. The contrast between the warm, gooey cookie and the cold, creamy ice cream is just divine. If you happen to have my homemade marshmallows around, sometimes I’ll toast a couple on top of the warm bar for an extra layer of caramelized goodness!
Nutritional Estimates for These Sweet Treat Recipes
Now, I have to give you a little disclaimer right up front: I am a home baker, not a certified nutritionist! These numbers are just general estimates based on the ingredients I used, so please take them as a guideline rather than scientific fact. When you’re whipping up batch after batch of these sweet treat recipes, it’s nice to have a ballpark idea, right?
Remember, these estimates are based on the recipe yielding exactly 24 cookies. If you make bigger cookies, the numbers change! But based on my measurements for that buttery cookie base, the caramel, and the chocolate, here is what we are generally looking at per cookie:
- Calories: Around 210 per cookie.
- Fat: About 12 grams total, which includes that necessary butter for flavor!
- Carbohydrates: Roughly 25 grams in each treat.
- Protein: Just about 3 grams.
You’ll notice the sugar content is a bit higher—well, we are working with caramel and chocolate, after all! But I promise you, for a homemade indulgence that tastes exactly like your favorite candy bar, these twix cookies are worth every single delicious gram. Enjoy them with gratitude, not guilt!
Share Your Twix Cookies Creations
Whew! You’ve made it through the baking, the layering, and the waiting for the chocolate to set! Now for the truly fun part: sharing them! Remember, cooking is meant to be shared, whether it’s with your family gathered around the kitchen table or with me and the wonderful community here at Cooking by Carla.
When you finish up your batch of these twix cookies, I would absolutely love to see how they turned out! Did you go for the drizzle or the full dip on the chocolate? Did you add sea salt like I suggested? Snap a picture and tag me on social media! It genuinely brightens my day to see your successes in the kitchen.
After you’ve had a chance to taste them—maybe with a nice big glass of milk—please come back here and leave a star rating and a quick comment. Knowing what works for other home cooks helps build confidence for everyone else looking to try these quick & easy cookie recipes. If you enjoyed the simplicity and flavor payoff of these layered cookies, you might want to explore some of my other favorite recipes, like the ones listed in my general best dessert recipes roundup!
Happy baking, dear friends. Keep making memories one delicious homemade treat at a time!
PrintEasy Homemade Twix Cookies with Caramel and Chocolate
Make homemade Twix-style cookies that capture the classic candy bar flavor. These easy cookies feature a soft, buttery cookie base, a gooey caramel layer, and a rich chocolate topping.
- Prep Time: 20 min
- Cook Time: 12 min
- Total Time: 32 min
- Yield: 24 cookies 1x
- Category: Dessert
- Method: Baking
- Cuisine: American
- Diet: Vegetarian
Ingredients
- 1 cup unsalted butter, softened
- 1/2 cup granulated sugar
- 1/4 cup packed brown sugar
- 1 teaspoon vanilla extract
- 1 large egg
- 2 1/2 cups all-purpose flour
- 1/2 teaspoon salt
- 1 cup soft caramel candies (or pre-made caramel sauce)
- 1/2 cup heavy cream (if using caramel candies)
- 1 cup milk chocolate chips
- 1 tablespoon coconut oil (optional, for smoother chocolate)
Instructions
- Preheat your oven to 350°F (175°C). Line baking sheets with parchment paper.
- In a large bowl, cream together the softened butter, granulated sugar, and brown sugar until light and fluffy. Beat in the vanilla extract and egg until combined.
- In a separate bowl, whisk together the flour and salt. Gradually add the dry ingredients to the wet ingredients, mixing until just combined to form a soft cookie dough.
- Drop rounded tablespoons of dough onto the prepared baking sheets, leaving space between them. Gently press down slightly to form a thick disc shape for your buttery cookie base.
- Bake for 10 to 12 minutes, or until the edges are lightly golden. Let the cookies cool on the baking sheet for 5 minutes before transferring them to a wire rack to cool completely.
- Prepare the caramel layer: If using caramel candies, place them in a saucepan with the heavy cream. Heat over low heat, stirring constantly until the candies are fully melted and smooth. If using pre-made caramel sauce, warm it slightly.
- Once the cookies are cool, spoon about 1 teaspoon of warm caramel onto the center of each cookie base. Spread the caramel evenly, leaving a small border.
- Melt the milk chocolate chips with the coconut oil (if using) in a microwave-safe bowl in 30-second intervals, stirring until smooth.
- Drizzle the melted chocolate over the caramel layer on each cookie. You can also dip the tops of the cookies into the chocolate for a full coating.
- Allow the chocolate to set completely before serving. This is a great quick caramel layer dessert.
Notes
- For a chewier base, slightly reduce the baking time.
- If you prefer a crispier shortbread cookie base, bake for an additional 1 to 2 minutes.
- You can make these as cookie cups by pressing the dough into mini muffin tins before baking.
- These homemade candy bar cookies are excellent for holiday baking and gifting.
Nutrition
- Serving Size: 1 cookie
- Calories: 210
- Sugar: 18g
- Sodium: 95mg
- Fat: 12g
- Saturated Fat: 7g
- Unsaturated Fat: 5g
- Trans Fat: 0.2g
- Carbohydrates: 25g
- Fiber: 1g
- Protein: 3g
- Cholesterol: 35mg