
Oh, friends, there is just nothing better than biting into a pickle that snaps! I mean really snaps. After years of watching my own mother fuss with big pressure canners for the long-term storage, I discovered the sheer joy of quick pickles. And when you take that crunch and pair it with that sharp hit of dill and garlic? You get magic! I’m sharing what I truly believe is the Best Dilly Bean Recipe available: these Easy Crunchy Refrigerator Dilly Beans. You don’t need any complicated equipment; we are keeping this simple and letting the refrigerator do the hard work. Learning to make homemade dilly beans this way changed everything for me—now I can have tangy, crisp green beans ready whenever the craving hits!
- Why You Will Love This Easy Dilly Beans Recipe
- Essential Ingredients for Perfect Dilly Beans
- How to Make Refrigerator Dilly Beans: Step-by-Step Instructions
- Adapting This Recipe: Canning Dilly Beans Tutorial
- Tips for the Best Crunchy Pickled Vegetables
- Variations: Making Spicy Dilly Beans or Garlic Dilly Beans Recipe
- Serving Suggestions for Your Snackable Pickles
- Storage and Shelf Life for Homemade Pickles Green Beans
- Frequently Asked Questions About Dilly Beans
Why You Will Love This Easy Dilly Beans Recipe
When I teach my grandkids to preserve things, I always start with the easiest wins, and these fit the bill perfectly. Forget spending a whole afternoon managing water baths! These fit right into a busy afternoon. They are just so satisfying.
- No-Fuss Refrigerator Pickling: You simply make the hot brine, pour it over, and pop the jars in the fridge. That’s it! No complicated canning equipment needed to get started with your Pickled Green Beans.
- Incredible, Snappy Crunch: Because we aren’t processing these in a canner, the green beans retain their natural crispness. They are the definition of Crunchy Pickled Vegetables.
- Ready in a Flash: While they taste even better after a few days, you can sample your very first batch of Quick Pickled Green Beans after just 24 hours in the cold.
- Packed with Classic Flavor: We load these jars up with smashed garlic and plenty of dill. They strike that perfect, zesty balance that makes them so addictive.
- They’re Versatile: These are not just for snacking! They are wonderful additions to a charcuterie board or even a Bloody Mary garnish.
- Easy to Scale: Making two pints is simple, but if you start harvesting tons of beans from the garden, you can easily double or triple this batch in minutes.
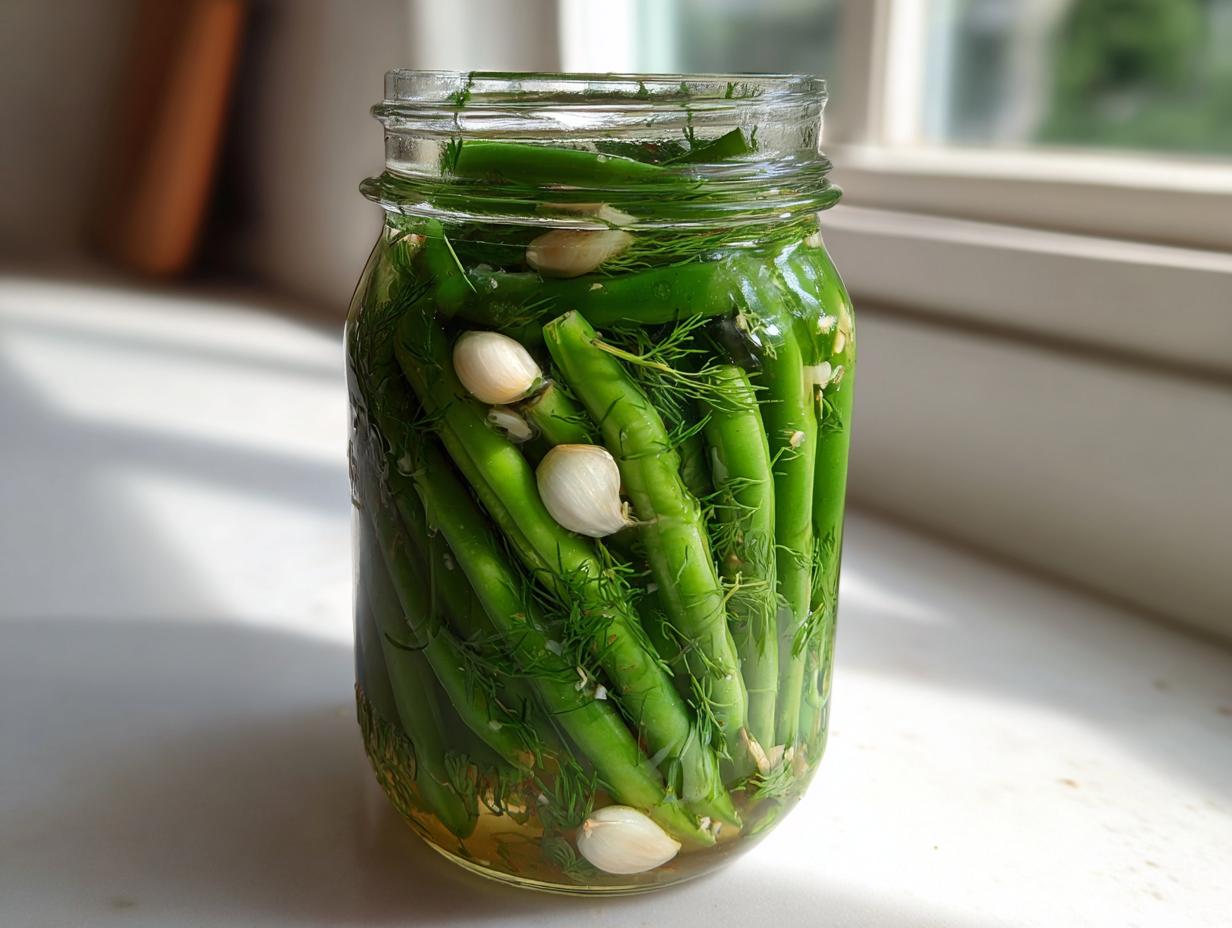
Essential Ingredients for Perfect Dilly Beans
When we talk about making Dilly Beans Recipe truly shine, it comes down to the quality of what you start with. Since these are refrigerator pickles, unlike some recipes that rely on a long canning process to meld flavors, freshness really matters here. I always insist on getting the firmest, brightest green beans I can find. If they are limp, they will be limp pickles, and nobody wants that! This recipe is wonderfully straightforward, but sticking to the brine measurements ensures that perfect tangy snap we are looking for.
You’ll need the following for two pint jars:
- 2 pounds fresh green beans, trimmed—make sure they feel sturdy!
- 4 cloves garlic, peeled and smashed. Don’t skimp on the garlic; it’s vital for that deep flavor.
- 1/2 cup white vinegar (and please, make sure it’s 5% acidity, it really matters for the brine!).
- 1/2 cup water
- 1 tablespoon pickling salt (I always use this! For other recipes where clarity matters, like my easy homemade mayonnaise recipe, I’m usually fine with other salts, but not here for the best Crunchy Pickled Vegetables.)
- 1 teaspoon mustard seeds
- 1 teaspoon whole black peppercorns
- 1 teaspoon dried dill seed or 2 fresh dill heads—fresh is always my preference if I can get it.
- 1/4 teaspoon red pepper flakes (Optional, but highly encouraged if you like a little kick for your Tangy Green Bean Recipe.)
If you want to serve these alongside something creamy, you are all set here. Everything goes into the jar or the pot!
How to Make Refrigerator Dilly Beans: Step-by-Step Instructions
Making these Quick Pickled Green Beans is really just about two simple jobs: packing the jars and making the brine. Once the hot brine hits the cold beans, the magic starts happening instantly! It’s so fast, you’ll wonder why you ever waited for a canning season to enjoy flavorful vegetables. I always use pint jars because they are easy to handle and fit perfectly in the fridge door. Remember, the goal here is keeping them crunchy, so moving quickly is important. For more on spicy refrigerator pickles, you can check out this great resource on spicy pickled green beans!
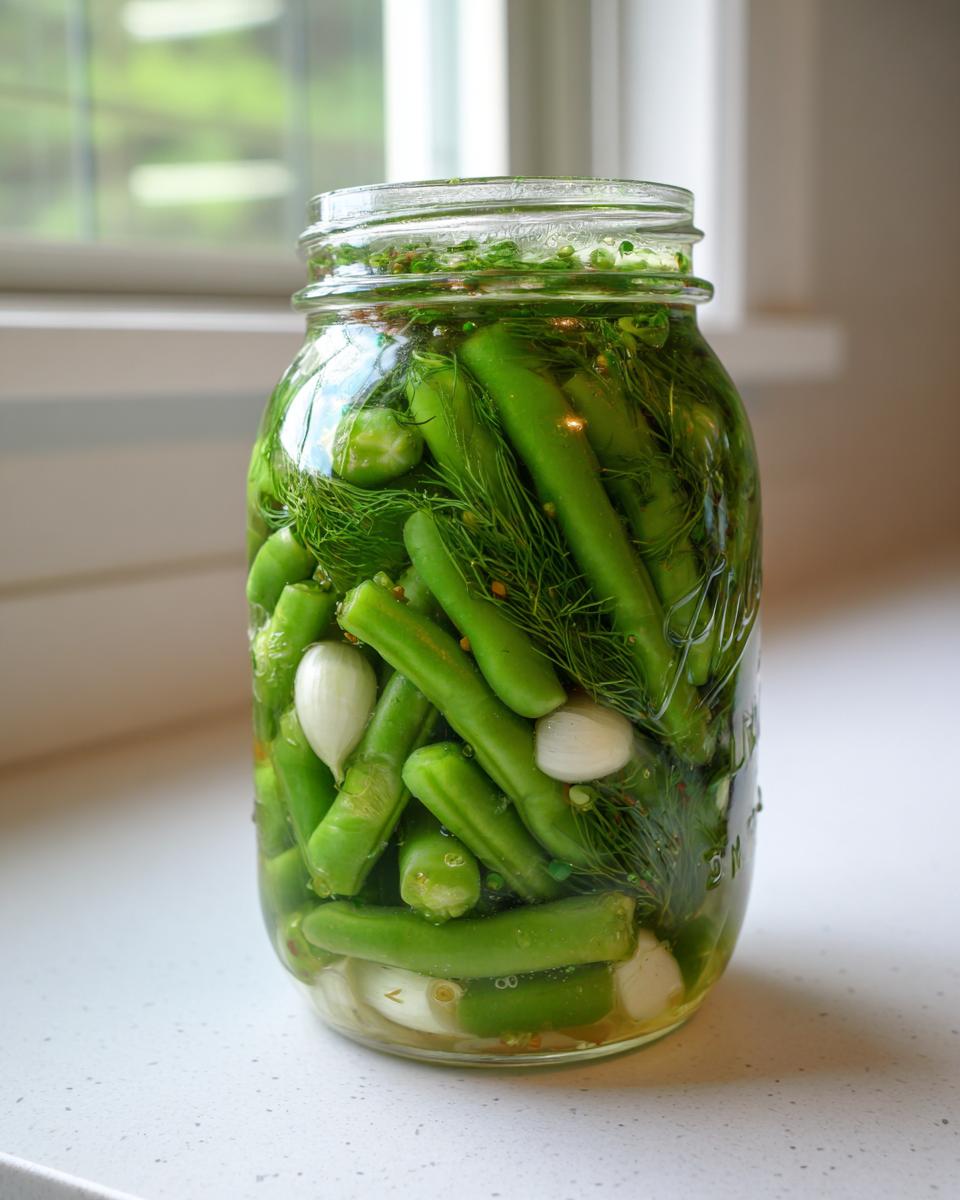
Preparing the Green Beans and Jars for Your Dilly Beans Recipe
First things first, wash those beans like you mean it! You must trim the very ends off—just a little snip on both sides lets the brine sneak in better. Then, pack those clean beans in tightly into your clean pint jars. Don’t be shy about squishing them in! Tuck those smashed garlic cloves right down among the green beans for maximum flavor release for your Homemade Pickles Green Beans.
Creating the Tangy Vinegar Pickled Beans Brine
Now for the flavor base! Grab a small saucepan. We’re mixing the water, vinegar, salt, mustard seeds, peppercorns, and your choice of dill. Get this over medium-high heat and stir it well. You need to bring this mixture just to a rolling boil until you can physically see that pickling salt dissolve completely. Once it’s clear, pull it off the stove right away for your perfect Tangy Green Bean Recipe.
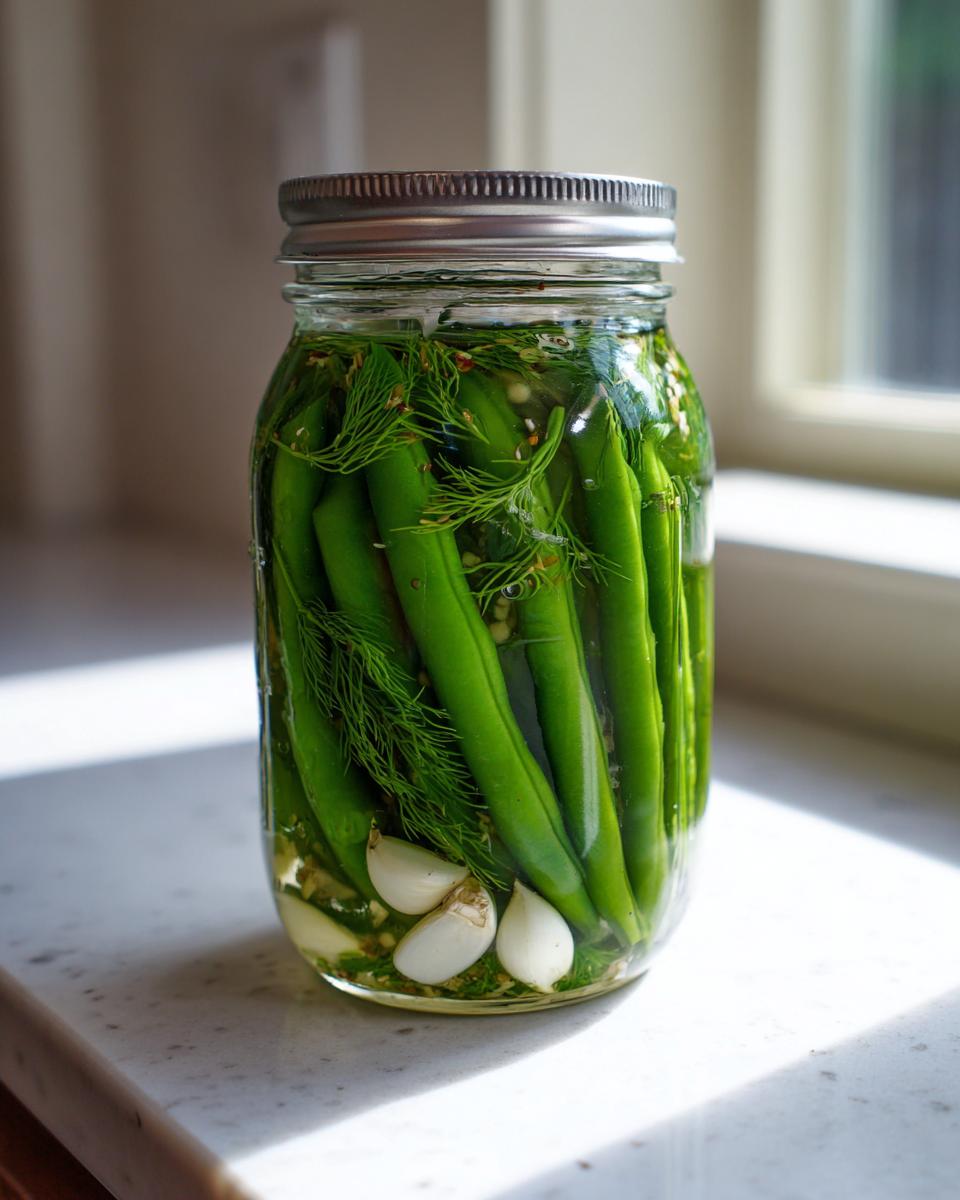
Filling Jars and Sealing Your Easy Dilly Beans
Carefully pour that hot brine straight over the packed beans in the jar. Make sure the liquid is covering every single bean and leave about 1/4 inch of space at the very top—that’s called headspace, and it’s important. Tap the jar gently on the counter to pop any stubborn air bubbles. Wipe the rim clean, put the lid on snugly, and that’s it! You don’t need to process them for the refrigerator method. Remember, they need at least 24 hours chilling time before you dive in for the best result. My guide to simple snacks has tips for what to serve alongside them!
Adapting This Recipe: Canning Dilly Beans Tutorial
Now, I know many of you look for long-term storage solutions, and I taught my own mother how to can vegetables years ago! While I absolutely adore the crispness of these refrigerator Dilly Beans, you can definitely adapt this recipe for safe food preservation. The process is quite different, though. If you prefer to put these up on the shelf, you must seal the jars properly and then process them in a boiling water bath canner. According to my notes, you’ll be processing those sealed pint jars for about 10 minutes, but make sure you adjust that time if you live at a high altitude! For a deep dive into that specific process, check out this helpful guide on canning 101, or this great resource on making dilly beans. Otherwise, keep them cold for that fresh crunch!
Tips for the Best Crunchy Pickled Vegetables
This is probably the most important thing to get right when making Dilly Beans: you want a snap, not a floppy bean! I learned early on that you simply cannot rush crispness, even with quick pickles. My number one piece of advice when picking beans at the market is to gently bend one; if it snaps cleanly, it’s good. If it just bends, leave it there! You need fresh, vibrant green beans to get those Crunchy Pickled Vegetables we are aiming for.
For these refrigerator pickles, the chilling time is just as crucial as the initial prep. Don’t give in to temptation and grab them after just an hour! They need a full 24 hours to truly absorb that brine, but honestly? They go from good to amazing between day three and day five. If you ever choose to can them (which I only do if I have a bumper crop!), be very careful not to over-process them. Over-processing in the canner is the quickest way to turn your crisp pickles mushy. Serve them cold, perhaps alongside some of my easy appetizers, and you’ll see what I mean!
Variations: Making Spicy Dilly Beans or Garlic Dilly Beans Recipe
The foundation of this Dilly Beans Recipe is wonderfully balanced, but you know I always encourage you to make a recipe your own! If you are one of those folks who thinks garlic makes everything better—and I count myself among you!—then you can easily bump up the garlic. For a true Garlic Dilly Beans Recipe glory, use six or even eight smashed cloves per pint jar; they bloom beautifully in that brine.
If you want to make a batch of Spicy Dilly Beans, that red pepper flake measurement is totally up to you. I started with just a tiny pinch, but I’ve found that increasing it to a full half teaspoon per pint really gives you that nice warmth without overpowering the dill. Don’t be afraid to experiment with these simple adjustments! For another take on heat, check out how others handle their spicy pickled green beans. When you bring these flavorful pickles out, perhaps alongside some easy appetizers, watch how fast they disappear!
Serving Suggestions for Your Snackable Pickles
Now that you’ve got these little jewels chilling in the fridge, the fun part begins—eating them! Seriously, these Dilly Beans are addictive, and I keep a jar hidden just for myself sometimes. They make the absolute best Snackable Pickles right out of the jar; grab them while you’re waiting for dinner to finish, I won’t tell anyone!
But don’t stop there! Use that vinegary snap to cut through richness. They are fantastic chopped up and mixed into tuna or chicken salad. For cocktails, they are mandatory—skip the boring olive and use one of these as the garnish for a Bloody Mary or a dirty martini. And honestly? A small bowl of these alongside a cheese board elevates your whole spread. For more ideas on using these beauties, check out my guide to easy appetizers, or see how others use their quick pickled green beans!
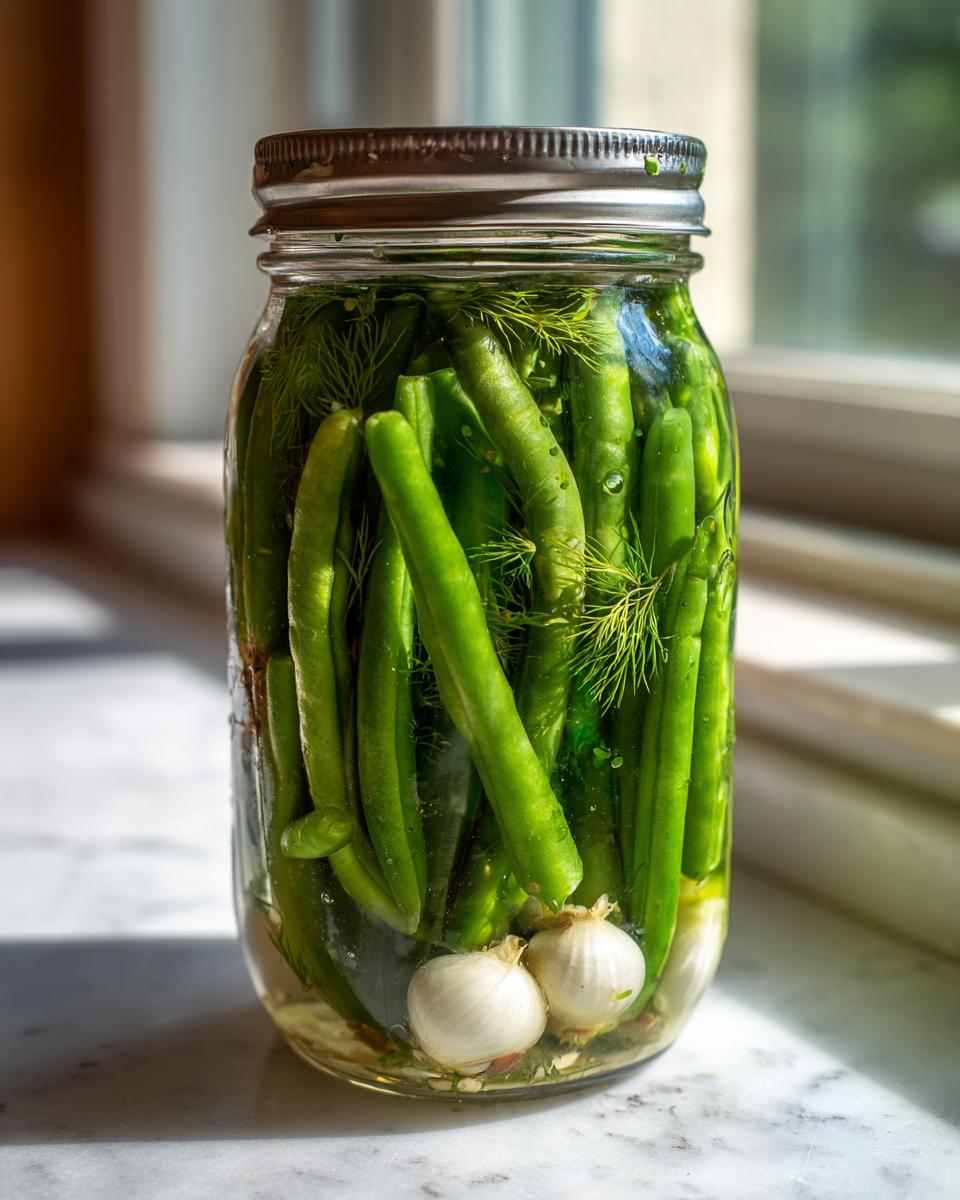
Storage and Shelf Life for Homemade Pickles Green Beans
This is where the refrigerator method is wonderfully convenient, but you do have to respect the timeline. Since we aren’t processing these jars in a canner for long-term shelf stability, these delicious Homemade Pickles Green Beans need to stay happily chilling in the fridge the entire time. Aim to keep them below 40 degrees Fahrenheit, just like your regular groceries.
The truth is, they taste best when they’ve had time to marinate and get seriously tangy—I always recommend waiting about five days for peak flavor. Life being life, you should plan to enjoy all your Dilly Beans within four to six weeks. If they get mushy or start smelling off, toss them out. But trust me, they usually disappear way before that!
Frequently Asked Questions About Dilly Beans
I know you might have a few questions bubbling up once you try your hand at making these! Preserving vegetables can seem tricky, but I promise, once you get the basics down, it’s just like muscle memory. These refrigerator Dilly Beans Recipe variations are so forgiving, and I’m happy to share a few things I’ve learned from readers over the years. If you want to know more about my background and teaching philosophy, you can read all about me over on my About Page!
Can I use regular table salt instead of pickling salt for these dilly beans?
Oh, please don’t! I know it’s tempting just to grab what’s handy, but regular table salt has anti-caking agents in it, and those little additives turn your beautiful, clear brine cloudy brown. For the cleanest-looking Dilly Beans Recipe, you must use pickling salt or canning salt. It dissolves cleanly and gives you that perfectly clear liquid we want surrounding our good green beans.
How long do I need to wait before eating the Refrigerator Dilly Beans?
The waiting is the hardest part, isn’t it? You absolutely can eat them after 24 hours, but be warned: they are still quite mild at that point. If you want that wonderful, deep, tangy flavor that makes these Refrigerator Dilly Beans so famous, you really need to let them chill for at least three to five days. That chilling time is when the vinegar and dill really penetrate those green beans!
What is the difference between these and traditional canned pickled green beans?
The biggest difference is shelf life and texture! These instructions lead to Quick Pickled Green Beans, meaning they must stay cold in the fridge and are best eaten within a month or so. However, they stay extremely crisp. Traditional Canned Dilly Beans Tutorial recipes require that extra processing step in a hot water bath, which makes them shelf-stable for years, but that heat tends to soften the texture a little bit.
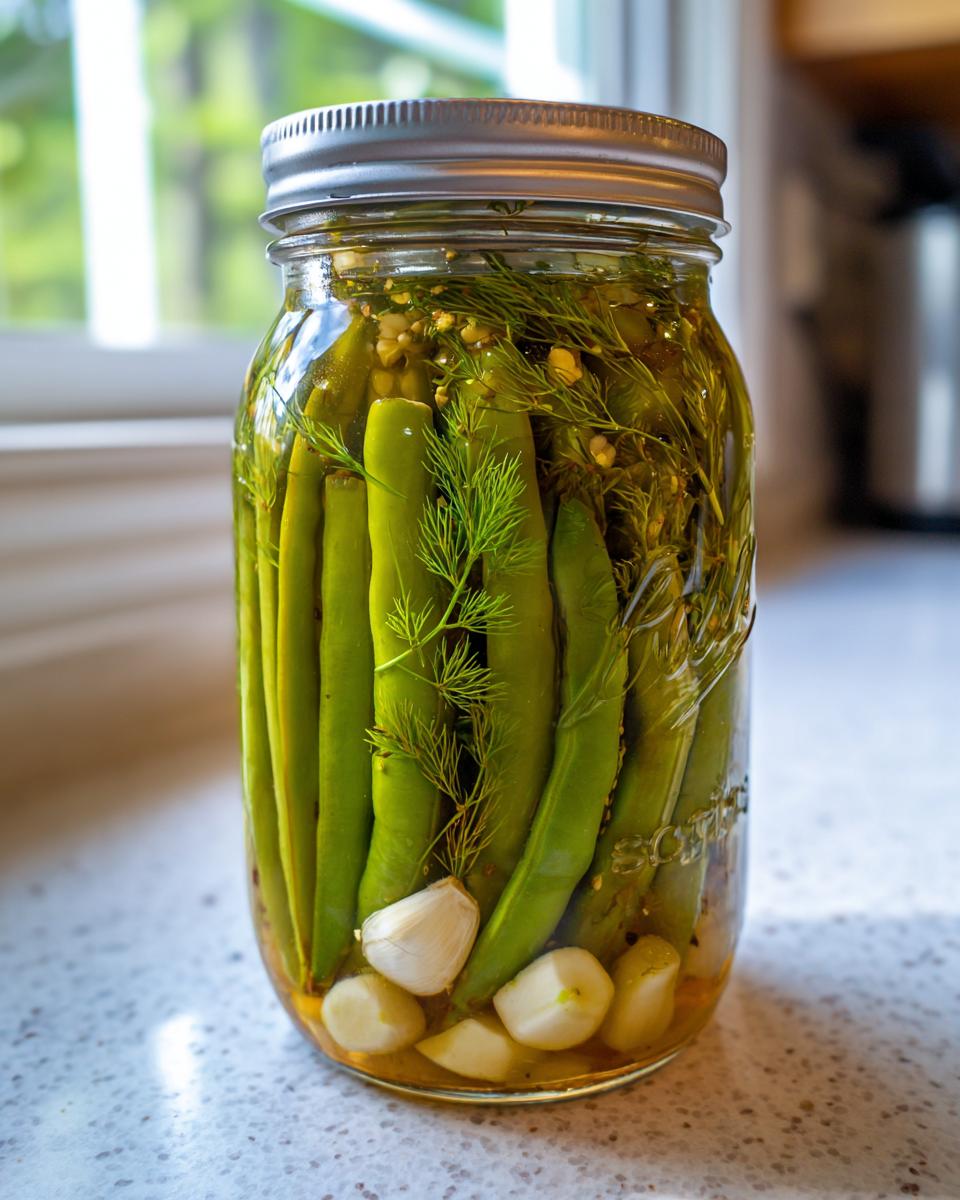
PrintEasy Crunchy Refrigerator Dilly Beans
Make these quick pickled green beans, known as Dilly Beans, right in your refrigerator. This simple recipe requires no canning and yields crisp, tangy, garlicky pickles perfect for snacking.
- Prep Time: 20 min
- Cook Time: 5 min
- Total Time: 25 min
- Yield: 2 pints 1x
- Category: Side Dish
- Method: Refrigerator Pickling
- Cuisine: American
- Diet: Vegetarian
Ingredients
- 2 pounds fresh green beans, trimmed
- 4 cloves garlic, peeled and smashed
- 1/2 cup white vinegar (5% acidity)
- 1/2 cup water
- 1 tablespoon pickling salt
- 1 teaspoon mustard seeds
- 1 teaspoon whole black peppercorns
- 1 teaspoon dried dill seed or 2 fresh dill heads
- 1/4 teaspoon red pepper flakes (optional, for spicy dilly beans)
Instructions
- Wash the green beans thoroughly. Trim the ends off the beans.
- Pack the green beans tightly into two clean pint-sized mason jars, leaving about 1/2 inch of headspace. Place smashed garlic cloves and any optional red pepper flakes into the jars among the beans.
- In a small saucepan, combine the water, vinegar, pickling salt, mustard seeds, peppercorns, and dill seed.
- Bring the brine mixture to a boil over medium-high heat, stirring until the salt dissolves completely. Remove from heat.
- Carefully pour the hot brine over the green beans in the jars, ensuring the beans are fully submerged. Leave 1/4 inch of headspace at the top of the jar.
- Tap the jars gently on the counter to release any trapped air bubbles. Add more brine if necessary to maintain the headspace.
- Wipe the rims clean with a damp cloth. Seal the jars with lids and rings.
- Let the jars cool to room temperature on the counter. Once cool, place the jars in the refrigerator.
- Wait at least 24 hours before eating. For the best flavor and crunch, chill for 3 to 5 days before serving. These refrigerator dilly beans are ready to eat!
Notes
- For traditional canned dilly beans, process the sealed jars in a boiling water bath canner for 10 minutes after sealing, adjusting time for altitude.
- If you prefer a stronger dill flavor, use fresh dill heads instead of dried dill seed.
- These quick pickled green beans stay crispest when stored in the refrigerator and should be eaten within 4 to 6 weeks.
Nutrition
- Serving Size: 1/2 cup
- Calories: 25
- Sugar: 2
- Sodium: 350
- Fat: 0
- Saturated Fat: 0
- Unsaturated Fat: 0
- Trans Fat: 0
- Carbohydrates: 5
- Fiber: 2
- Protein: 1
- Cholesterol: 0