
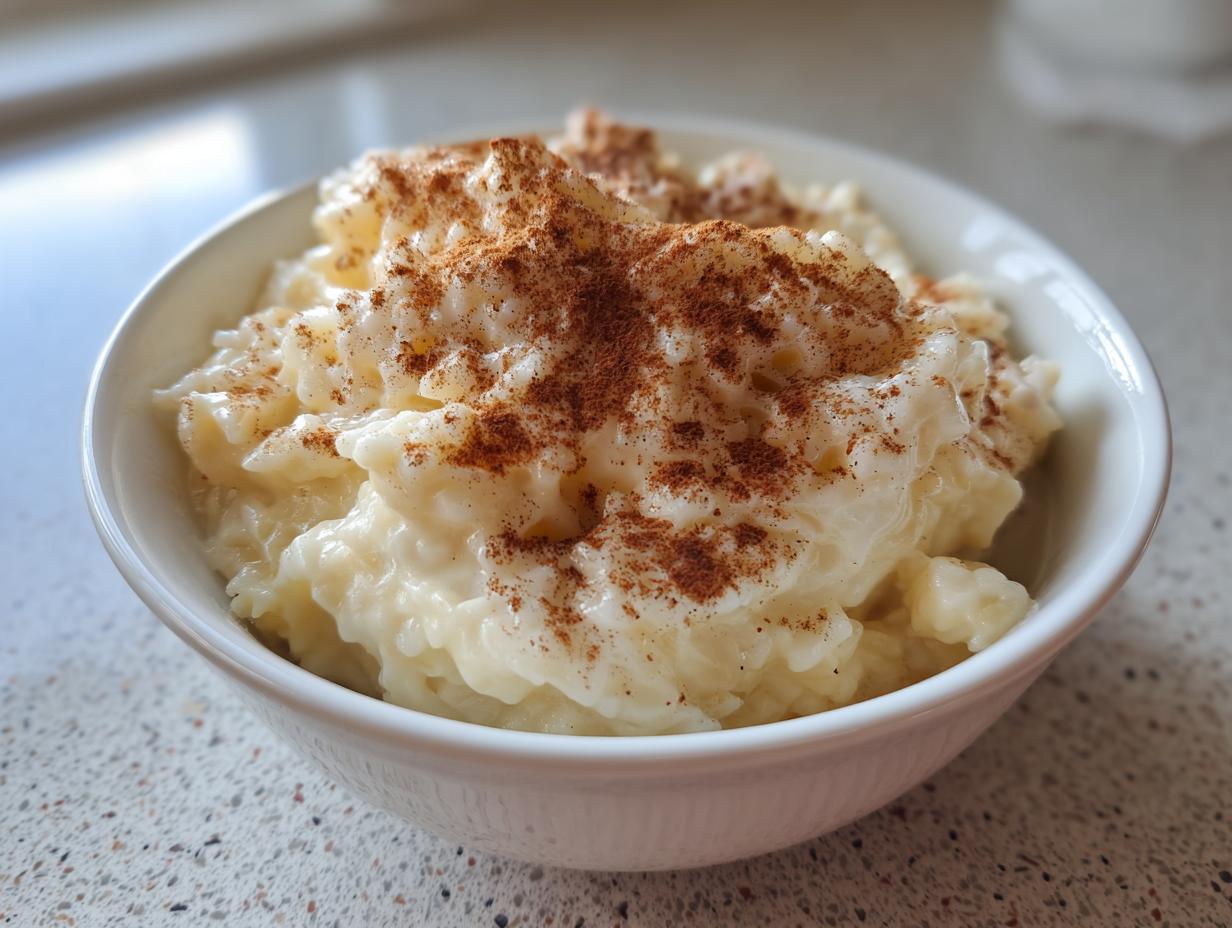
There is just something about a bowl of warm, sweet, creamy goodness that takes you right back to being safe and cozy. If you ask me, nothing hits that spot quite like a perfect homemade rice pudding. It’s truly the ultimate classic comfort dessert, reminding folks of their grandmothers or that sweet treat they looked forward to after dinner. Growing up in the Midwest, my mom always stressed patience in the kitchen—a lesson I carried right along with me when I taught elementary school for thirty years! That patience is the secret ingredient here. I’m sharing my old fashioned rice pudding recipe made right on the stovetop, and I promise, this method guarantees that rich, ultra-creamy texture every single time you make it.
- Why This Ultra Creamy Old Fashioned Rice Pudding is Your New Favorite
- Gathering Ingredients for Your Homemade Rice Pudding
- Easy Stovetop Pudding Instructions for Perfect Rice Pudding
- Tips for Success with Old Fashioned Rice Pudding
- Serving Suggestions for Your Classic Comfort Dessert
- Storage and Make Ahead Desserts: Keeping Your Rice Pudding Fresh
- Variations: Beyond the Classic Vanilla Rice Pudding
- Frequently Asked Questions About Making Rice Pudding
- Share Your Nostalgic Sweet Treats Experience
Why This Ultra Creamy Old Fashioned Rice Pudding is Your New Favorite
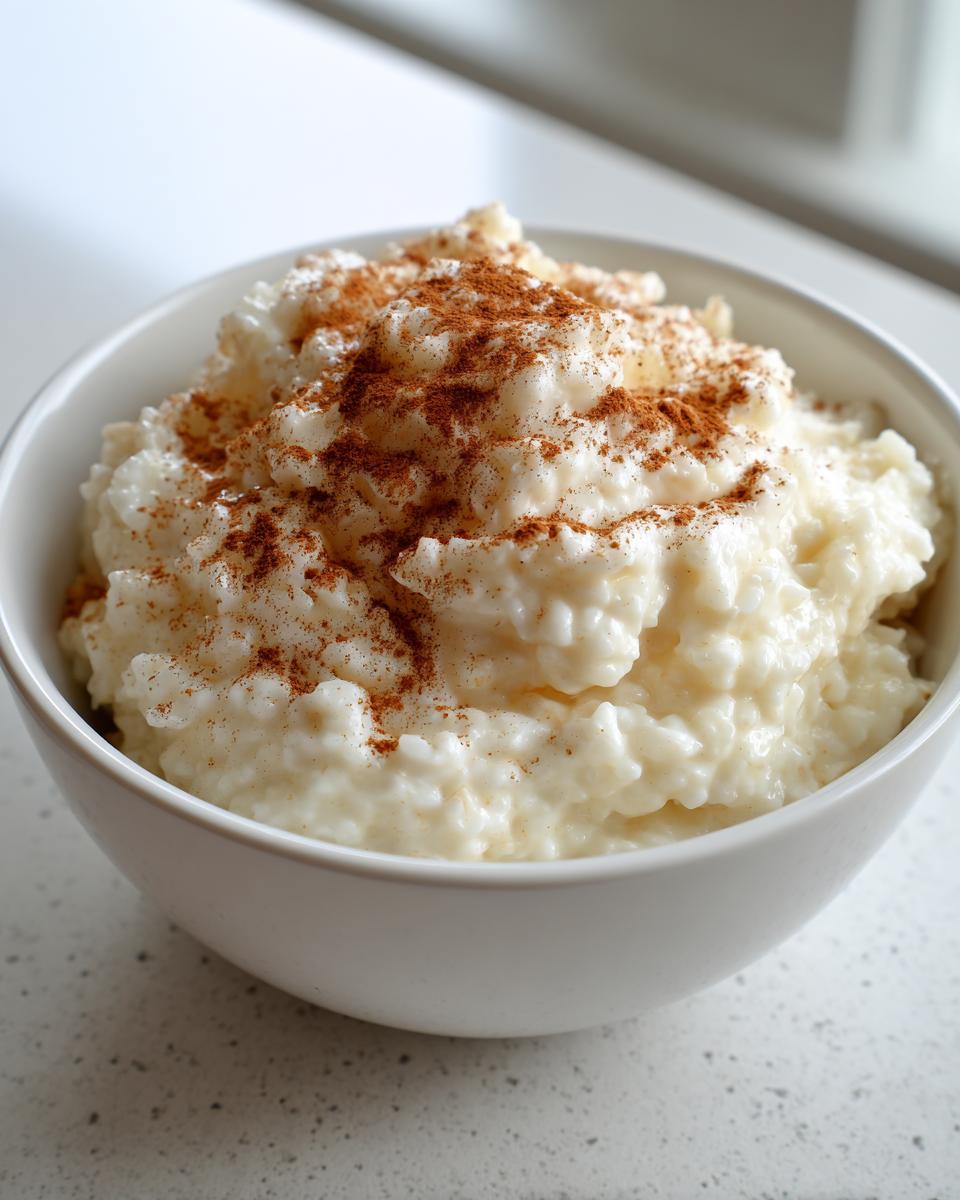
I know there are a million recipes out there, but I want you to trust me on this one. If you want that authentic, velvety texture that tastes exactly like a cozy memory, this stovetop method is it. You won’t believe the comfort in a single bowl!
- It delivers that deep, satisfying nostalgia every time—you get true old fashioned rice pudding flavor.
- It’s genuinely an easy stovetop pudding—no fancy pans or complicated baking required!
- This specific rice pudding is designed for superior creaminess.
Achieving the Ultimate Creamy Rice Pudding Texture
The secret isn’t just the milk; it’s how we treat the milk! We use a heavy-bottomed pot to spread that heat out evenly—scorching is the enemy of true creaminess. Plus, if you use the eggs (and I really hope you do!), that quick tempering step cooks them just enough to add body without curdling a bit. It’s all about gentle, consistent cooking.
Simple Ingredients for Classic Comfort Dessert
You don’t need a specialty store for this! This rice pudding relies on basic things you probably have right now: milk, rice, sugar, salt. It proves that the best classic comfort dessert doesn’t need a dozen crazy additions to be unforgettable.
Gathering Ingredients for Your Homemade Rice Pudding
Alright, let’s get our cast of characters lined up on the counter! Since we are aiming for that deeply satisfying, classic texture, we need to pay attention to a few details here. Having everything prepped before the heat comes on makes the process so much smoother. This list gives you everything required for this wonderful sweet breakfast pudding.
Rice and Dairy Base for Perfect Rice Pudding
For true creaminess, you absolutely want to use short-grain white rice, like Arborio, or at least a medium-grain. Those little guys release the most starch, turning your milk into that velvety sauce we crave! And please, stick with whole milk here—it makes all the difference in richness. Don’t skimp!
Flavorings and Optional Additions for Your Rice Pudding
We keep the flavor simple and true to the classic style. You’ll need pure vanilla extract and ground cinnamon—that spice is essential for that nostalgic scent. If you want to make a richer, silkier version of this quick dessert, lightly beat two large eggs. And of course, plump raisins are always welcome in my book!
Easy Stovetop Pudding Instructions for Perfect Rice Pudding
Now for the real show! Making this rice pudding on the stovetop requires exactly what I preach: a little bit of patience. We aren’t rushing this comfort food along, dear cook! Slow and steady wins the race when we’re trying to get that perfect, rich consistency that makes this the best rice pudding recipe.
Preparing the Rice and Starting the Simmer
Before anything, you must rinse that rice. I mean it! Rinse the 1 cup of short-grain rice until the water running off is clear—this washes away excess starch that can make things sticky instead of creamy. Then, toss that rinsed rice into your heavy pot with the whole milk, sugar, and salt. Set the heat to medium and stir this mixture often until it just starts to bubble gently. That’s our cue to slow down.
The Slow Cook: Achieving the Creamy Rice Pudding
Lower that heat way down to low! Now, we cook this uncovered for the next 45 to 60 minutes. This is where Carla’s teaching shines through: you have to stir frequently—every 5 to 10 minutes—to make sure that rice isn’t sticking hard to the bottom of that heavy pot. If you’re adding raisins, toss them in during the last 15 minutes of cooking so they get nice and plump.
Tempering Eggs for the Ultimate Creamy Dessert
If you decided to go for that optional egg richness, listen closely, because we can’t scramble those eggs! Take a small bowl and whisk your eggs lightly. Now, take about one whole cup of that hot pudding mixture—and I mean ladle by ladle—and slowly whisk it into those eggs. This is called tempering! Once those eggs are warmed up gently, pour that whole sunny bowl of egg back into the main pot while stirring constantly. Cook just 2 or 3 more minutes until it thickens slightly more. That’s it for the heat!
Tips for Success with Old Fashioned Rice Pudding
I know that long cooking time for this homemade rice pudding can feel intimidating, but honestly, this is where your teacher patience comes out! The biggest thing I see people struggle with is sticking. Seriously, use a heavy-bottomed pot. If you don’t have one, use the thickest pot you own, even if it’s for a small batch. That distributes the heat so gently, and you won’t get that awful scorched layer stuck to the bottom when you stir the old fashioned rice pudding.
Another thing to remember is the thickness. If you take it off the heat and think, “Oh dear, this looks too runny!” don’t panic. It is supposed to look slightly loose when hot. The magic thickening happens as it cools down. It sets up beautifully while resting on the counter or chilling after you remove it from the heat.
Serving Suggestions for Your Classic Comfort Dessert
This is the fun part, dessert decoration! While this recipe tastes spectacular all by itself—and really, what needs fixing?—a little something extra can make it special for company or just for yourself. I’ve seen people enjoy this rich pudding totally differently depending on when they eat it.
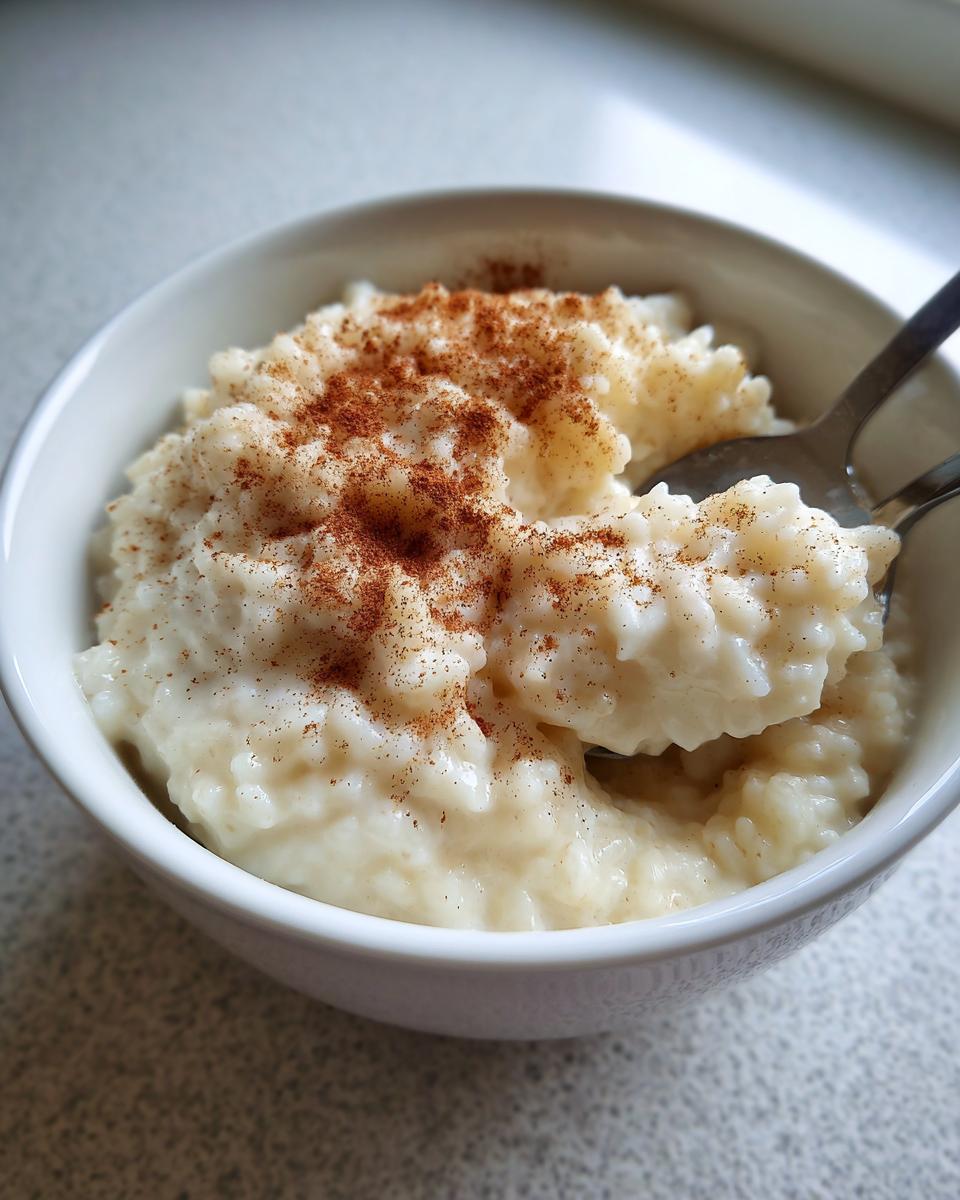
If you’re serving it immediately, piping hot off the stove, it’s thin and velvety, kind of like a sauce over warm rice. It melts wonderfully right in your mouth that way. A small sprinkle of ground cinnamon right on top is all you need for that beautiful aroma to hit you first. Sometimes, if I’m feeling extra fancy for a weekend dessert, I’ll dust it with a tiny bit of nutmeg to give it a warmer, earthier scent.
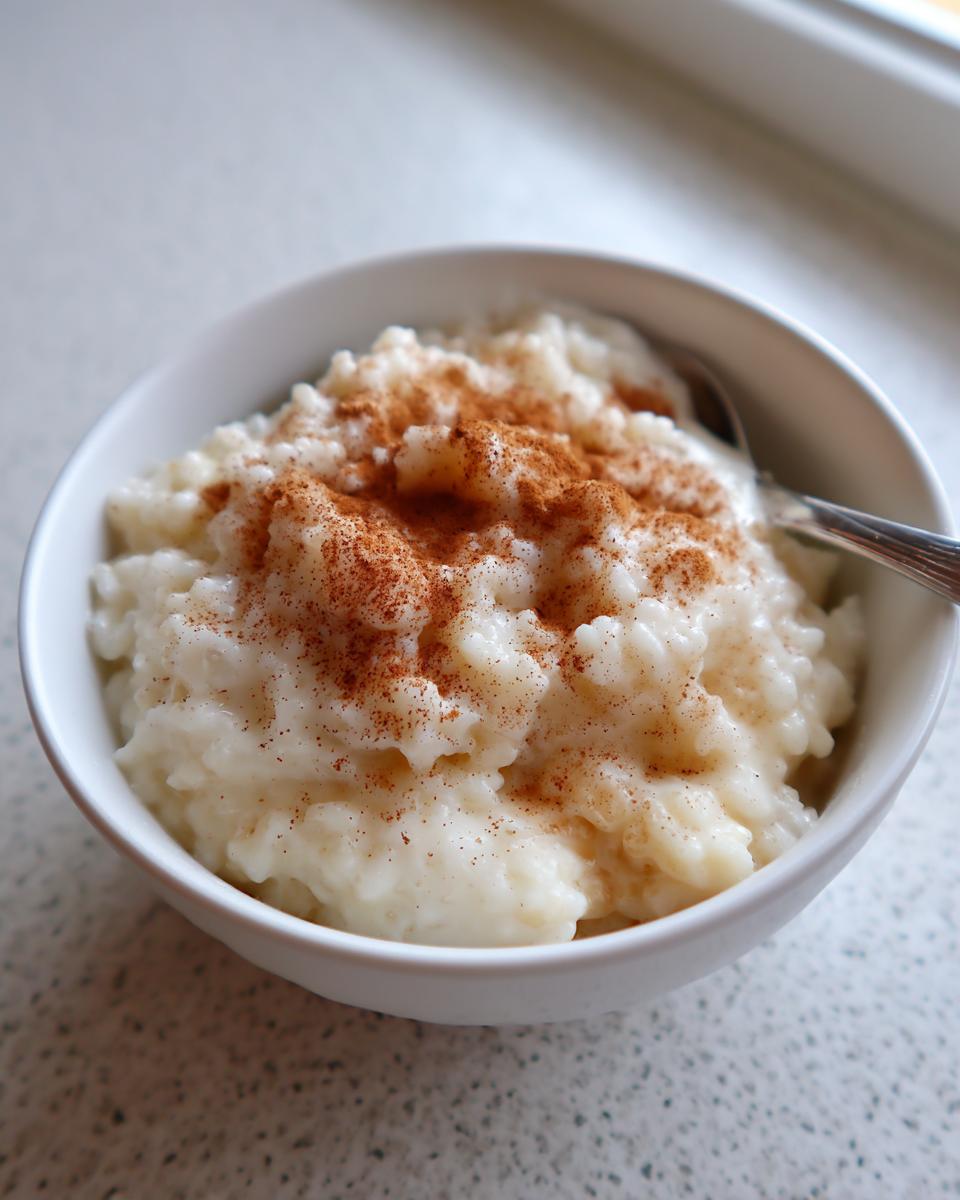
But if you let it chill overnight? Wowza! It turns into that scoopable, thick dessert everyone loves. When it’s cold, I sometimes drizzle just a tiny bit of pure maple syrup over my serving instead of straight sugar. It gives it this gorgeous, deep caramel note that plays so nicely with the vanilla flavor we built into the pudding itself. It’s heavenly, really.
Storage and Make Ahead Desserts: Keeping Your Rice Pudding Fresh
One of the things I love most about this rice pudding is that it’s basically designed to be a make ahead dessert! It just gets better overnight, in my humble opinion. You certainly don’t have to serve it straight off the stove; it holds up beautifully.
Once it’s completely cooled down, transfer your leftover rice pudding into an airtight container. You can get about four good days out of it in the refrigerator. If you keep it stored properly, the flavor of the cinnamon and vanilla just deepens, which I think is wonderful.
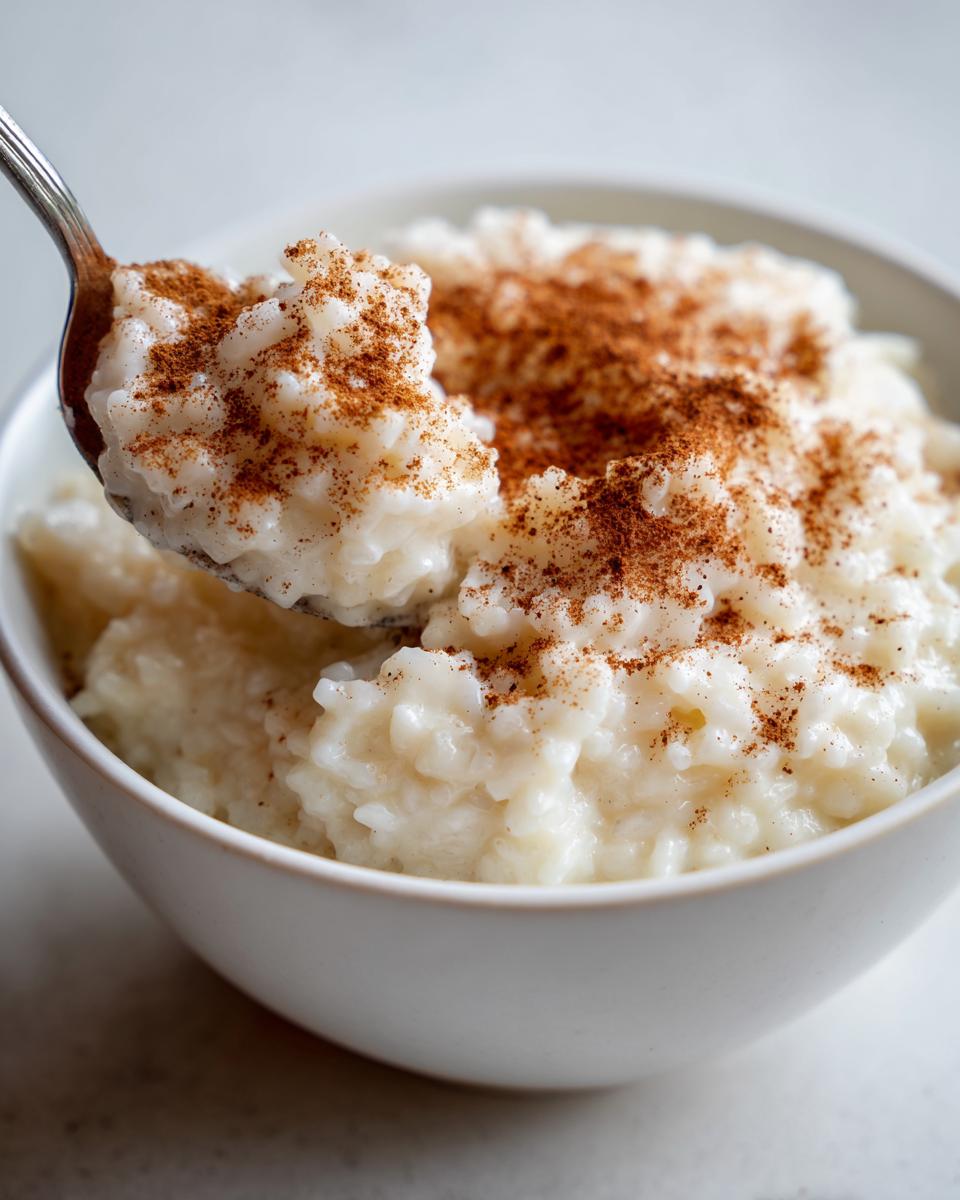
Now, here’s the thing you need to remember about storing any creamy stovetop pudding: it thickens up a lot as it chills! When you pull it out to serve it cold, don’t be surprised if it looks more like solid custard than creamy sauce. That’s totally normal! If I want to serve it cold, I just enjoy the thicker scoop right out of the container.
But if you’re planning to reheat it—maybe for a cozy breakfast tomorrow or a quick dessert after supper—you’ll definitely need to thin it out a bit. Just stir in a splash of milk while you warm it up gently on the stove or in the microwave. A little milk at a time brings that luscious, creamy texture right back, just like magic! It truly is one of the simplest simple pudding ideas that tastes gourmet the next day.
Variations: Beyond the Classic Vanilla Rice Pudding
While I fully believe this creamy rice pudding recipe is perfect just as written—that sweet, warm vanilla mingling with the cinnamon—I know we home cooks love to mix things up a little! Sometimes you want a brighter flavor, or maybe you’ve seen those perfect cups of store-bought pudding and wondered how to get that specific vibe at home. Don’t you worry, this recipe is a wonderful base to branch out from!
For spice lovers, swap out some of that cinnamon for something a bit more complex. Just a tiny pinch of ground cardamom mixed in at the very end adds this wonderful, almost floral note that pairs beautifully with the milk and rice. Or, if you’re looking for something brighter, once the pudding is cool, stir in the zest of one whole lemon. It wakes up the whole dessert!
If you’re curious about baking, this stovetop version is the quick route, but you can absolutely use the same base ingredients and bake it! You’d just pour the mixture (without adding the eggs in step 4 if you want a looser texture, or add them in and temper them slightly) into a casserole dish, maybe top with a little nutmeg, and bake it low and slow until it sets up. I’ll put the full baked rice pudding instructions up in another post because it’s a slightly different rhythm, but know that this rice pudding loves the oven, too!
Creating a Kozy Shack Copycat Recipe Experience
Oh, I get it! Sometimes you just crave that specific, thick, super-sweet texture you get from the little cups. If replicating that famous store experience is your goal, it’s surprisingly easy. For a richer, more commercial feel, bump that sugar up just a touch—maybe another tablespoon—and consider using a really high-quality, pure vanilla extract. That potent flavor is often what separates the classic recipes from the copycat versions.
Also, remember how I said the texture thickens as it cools? The commercial guys have done the chilling! So, if you want that dense, sliceable texture that looks exactly like what you’d pull out of the fridge at the store, make sure you let it chill completely—ideally overnight. You’ll find this homemade rice pudding gets incredibly satisfying when served cold!
Frequently Asked Questions About Making Rice Pudding
It’s so wonderful to see how many of you are diving into making this sweet breakfast pudding! When I teach a recipe, I always expect questions, and that’s a good thing—it means you’re thinking like a baker! I’ve gathered a few things folks ask me most often about achieving that perfect, comforting dessert.
What is the best type of rice for creamy rice pudding recipe?
If you want that signature super-creamy texture, you really need rice that releases its starch easily into the milk. So, skip the long-grain white rice you usually use for dinner! I recommend short-grain rice, and Arborio is my top pick because it’s meant for puddings and risottos. Medium-grain rice is a close second. These hold just enough shape while still giving you that rich, velvety sauce coating everything.
Can I use less milk or a substitute for this easy stovetop pudding?
You certainly *can* try substitutes, but remember my philosophy: we are aiming for the ultimate creamy dessert here! If you cut back on the four cups of whole milk, or swap it for skim milk, you will absolutely cook down faster, yes, but you will lose the richness. Whole milk has the fat content needed to create that luxurious mouthfeel. Using less liquid means the final dish will be much closer to stiff, sticky rice rather than a smooth, comforting pudding.
Another frequent question I get is about serving this as a sweet breakfast pudding—and yes! But remember, serving it for breakfast means you might want it slightly thinner than if you were serving it as a chilled dessert later in the week.
Share Your Nostalgic Sweet Treats Experience
Well, that’s it! You’ve made the best, creamiest, most comforting dessert on the block. Now that you’ve got your bowl of homemade goodness, I want to hear all about it!
Being a teacher for all those years taught me one thing: sharing experiences is just as important as following the instructions. Did you make this for a special gathering? Maybe it brought back memories of your own childhood kitchen?
Please come back and tell me how it turned out! Drop a star rating down below so other home cooks know they can trust this recipe for authentic flavor. And if you’re looking for something simple to serve alongside this rich treat next time, take a peek at some of my favorite easy appetizers and snacks for a full menu!
I truly hope this bowl of warmth fills your home with the same comfort and sweet memories it brings to mine. Happy cooking, friends!
PrintUltra Creamy Old Fashioned Stovetop Rice Pudding

Make the best creamy rice pudding on the stovetop. This old fashioned recipe delivers rich, comforting flavor every time you make it.
- Prep Time: 10 min
- Cook Time: 60 min
- Total Time: 70 min
- Yield: 6 servings 1x
- Category: Dessert
- Method: Stovetop
- Cuisine: American
- Diet: Vegetarian
Ingredients
- 1 cup short-grain white rice (Arborio or medium-grain works well)
- 4 cups whole milk
- 1/2 cup granulated sugar
- 1/4 teaspoon salt
- 1 teaspoon pure vanilla extract
- 1/2 teaspoon ground cinnamon (plus extra for topping)
- 2 large eggs, lightly beaten (optional, for extra richness)
- 1/2 cup raisins (optional)
Instructions
- Rinse the rice under cold water in a fine-mesh sieve until the water runs clear. Drain well.
- In a large, heavy-bottomed saucepan, combine the rinsed rice, whole milk, sugar, and salt.
- Place the saucepan over medium heat. Bring the mixture to a gentle simmer, stirring frequently to prevent the rice from sticking to the bottom.
- Once simmering, reduce the heat to low. Cook uncovered for 45 to 60 minutes, stirring every 5 to 10 minutes. The pudding thickens as the liquid reduces and the rice softens.
- If using raisins, add them during the last 15 minutes of cooking.
- If you are using eggs for an ultra creamy texture, temper them first: In a small bowl, whisk the beaten eggs. Slowly whisk about 1 cup of the hot pudding mixture into the eggs. Then, pour the egg mixture back into the saucepan, stirring constantly.
- Continue to cook for 2 to 3 minutes until the pudding thickens slightly more. Do not let it boil after adding the eggs.
- Remove the saucepan from the heat. Stir in the vanilla extract and cinnamon.
- Serve the rice pudding warm, or chill it completely for a thicker, scoopable texture. Sprinkle with extra cinnamon before serving.
Notes
- For the best stovetop results, use a heavy-bottomed pot to distribute heat evenly and prevent scorching.
- If the pudding becomes too thick upon chilling, stir in a splash of milk when reheating or serving cold.
- This recipe makes a wonderful make ahead dessert; it keeps well in the refrigerator for up to four days.
Nutrition
- Serving Size: 1 cup
- Calories: 320
- Sugar: 22g
- Sodium: 150mg
- Fat: 7g
- Saturated Fat: 4g
- Unsaturated Fat: 3g
- Trans Fat: 0g
- Carbohydrates: 55g
- Fiber: 1g
- Protein: 10g
- Cholesterol: 65mg