
Oh, the chocolate chip cookie! Honestly, is there a more perfect, universally loved dessert on this entire planet? I don’t think so. But here’s the thing: we all have our perfect version. While some folks go for thin and crispy, I know what most of you are truly craving: that big, thick cookie that smells divine, has edges just starting to turn golden, and melts gooey in the middle. Getting that exact texture takes a little know-how, which I picked up not just from my mother, but from thirty years of teaching impatient kids how to follow directions! This recipe for chewy chocolate chip cookies cuts out the waiting time and gives you that wonderful bakery-style perfection right from your own oven. It’s my definitive guide to soft centers and that fantastic chew. If you love this style, you’ll want to check out all my best dessert recipes, too!
- Why These Are The Ultimate Thick & Chewy Chocolate Chip Cookies
- Gathering Ingredients for Your Chewy Chocolate Chip Cookies
- Step-by-Step Instructions for Bakery Style Cookies at Home
- Expert Tips for Achieving Flawless Chewy Chocolate Chip Cookies
- Variations on Your Classic Chewy Chocolate Chip Cookies
- Storage and Reheating Instructions for Chewy Chocolate Chip Cookies
- Frequently Asked Questions About Making Chewy Chocolate Chip Cookies
- Estimated Nutrition for These Chewy Chocolate Chip Cookies
- Share Your Perfect Chewy Chocolate Chip Cookies
Why These Are The Ultimate Thick & Chewy Chocolate Chip Cookies
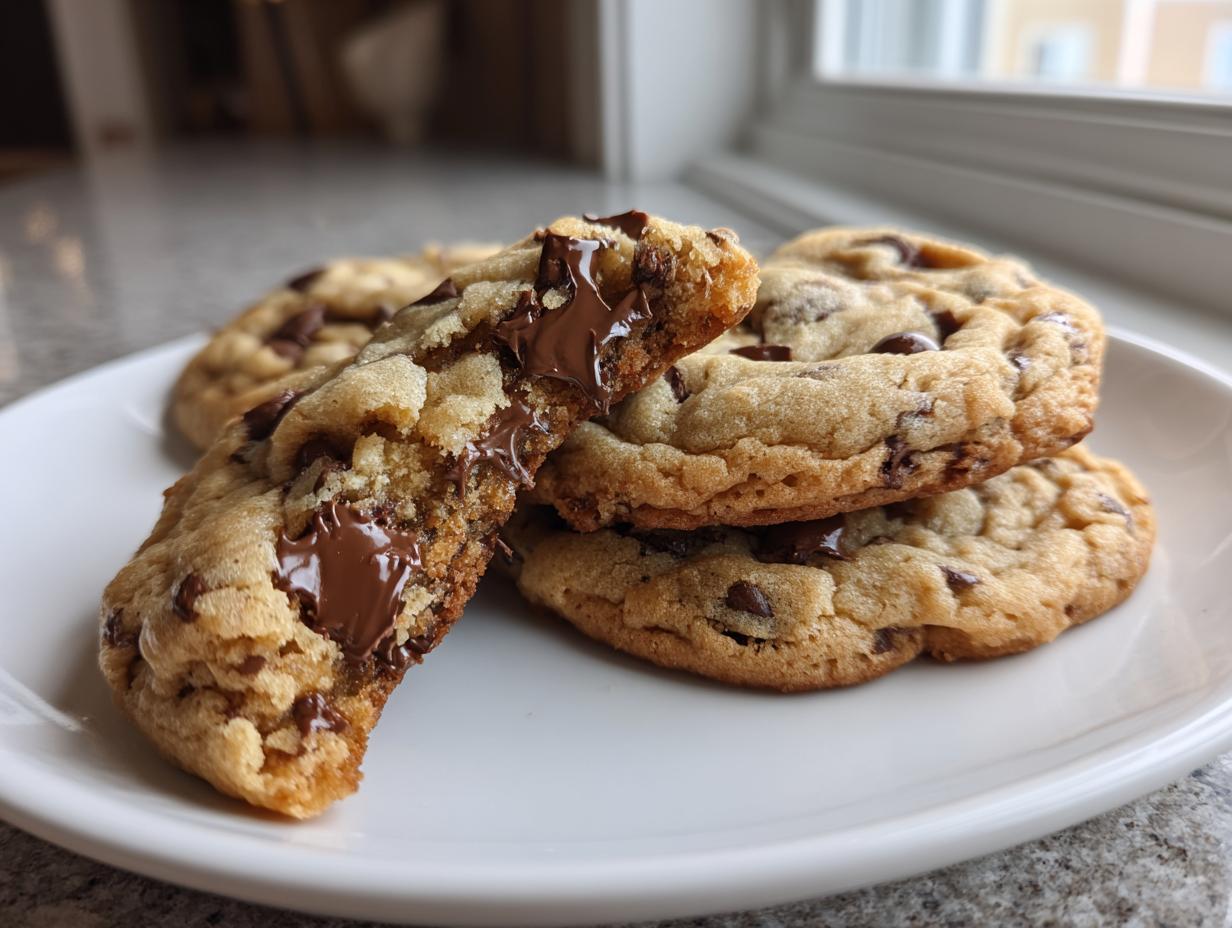
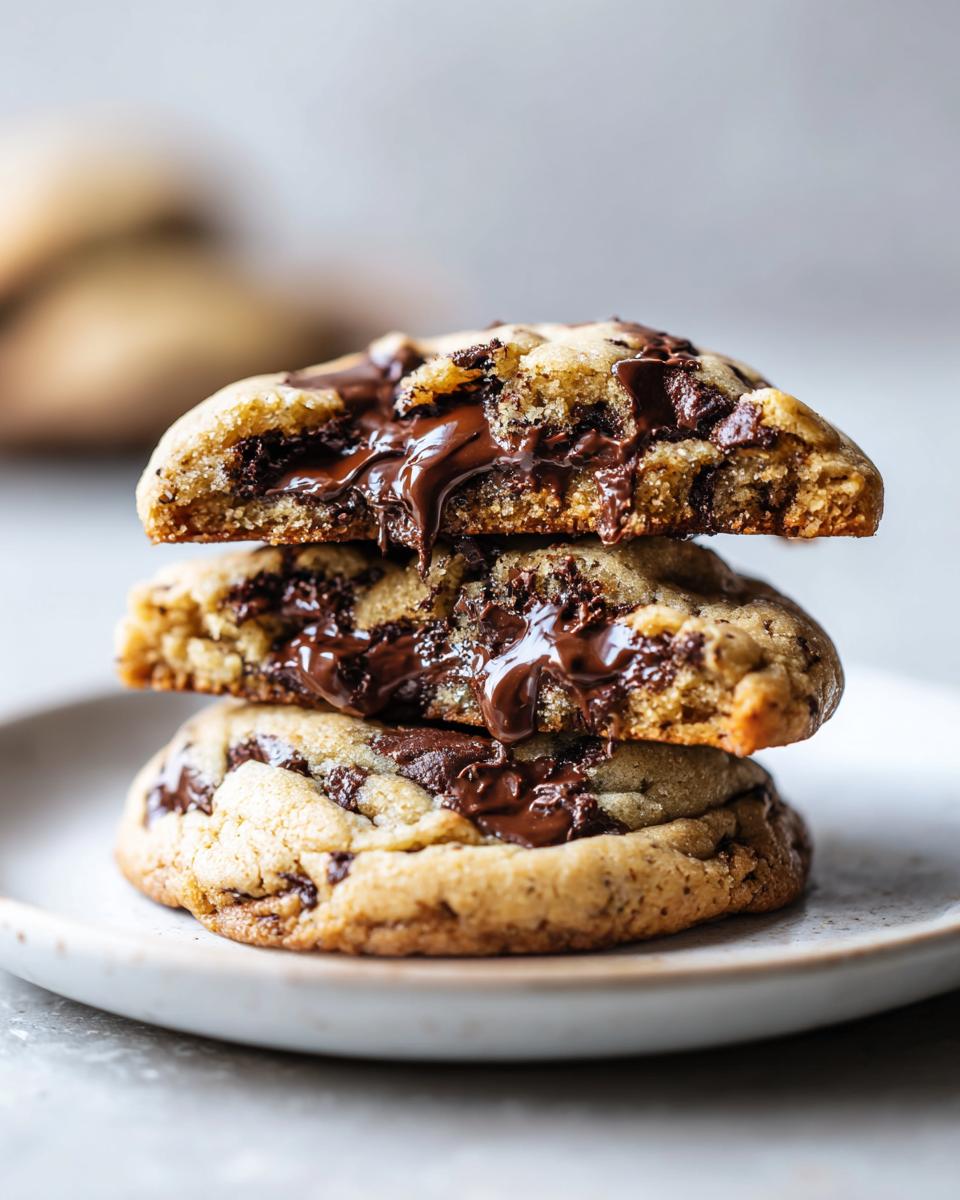
If you’ve been chasing that elusive bakery-style cookie, I can tell you right now, you’ve found it! These aren’t your grandmother’s flat, crunchy wafers—unless your grandmother was secretly a pro baker aiming for maximum chew! What makes this the ultimate cookie recipe is the texture we capture right away.
- You get those satisfyingly crispy edges that give way to an irresistibly gooey interior.
- They are wonderfully thick, avoiding the dreaded spread that happens with softer butter.
- The biggest bonus? We don’t need to chill the dough! You can go from craving cookies to eating cookies in under 30 minutes.
The Secret to Perfect Chewy Chocolate Chip Cookies: Ingredient Ratios
Texture comes down to chemistry, honey. The reason these become such amazing chewy chocolate chip cookies is twofold. First, we use a higher ratio of brown sugar compared to white sugar.
Brown sugar has molasses, which keeps moisture locked in beautifully, which is the foundation of chewiness. Second, we skip the softened butter step entirely and go straight for melted butter. This small swap directly impacts how the cookie spreads and sets, creating that gorgeous thickness and that soft-batch cookie feel we all want.
Gathering Ingredients for Your Chewy Chocolate Chip Cookies
Alright, let’s talk ingredients. This recipe relies on a handful of simple pantry staples, but the preparation of these items is where we lock in that super chewy texture you’re aiming for. I always tell folks that baking is just guided chemistry, so please don’t swap things out casually here!
If you want the brown sugar cookies effect—which is the key to chew—you need to trust the measurements below. I’ve listed everything we need for about 18 large, thick cookies. Having your eggs at room temperature helps them incorporate without cooling down your butter mixture too much, so plan ahead!
- One full cup (that’s two sticks!) of unsalted butter. This must be melted, and then let it cool down just a touch—we want warm, not hot, or it will start cooking the eggs!
- We need a full cup of packed light brown sugar, and a half cup of regular granulated sugar. See that ratio? That’s the chew speaking.
- Two large eggs. Make sure these have been sitting out to warm up a bit first.
- One generous tablespoon of vanilla extract. Don’t skimp on the good stuff here!
- Two and a quarter cups of all-purpose flour. We’ll whisk this with our leaveners in a separate bowl.
- One teaspoon of baking soda and a half teaspoon of salt. Don’t confuse baking soda with baking powder; they act very differently in cookies!
- A heaping cup and a half of semi-sweet chocolate chips or, my personal preference, chunks for those wonderful pockets of melted chocolate.
- And since we are going for that professional bakery look, grab some flaked sea salt for a little sprinkle right when they come out of the oven. It makes such a difference!
Step-by-Step Instructions for Bakery Style Cookies at Home
Now that we have our beautiful ingredients ready, let’s make some magic! Baking shouldn’t feel stressful, not even when you’re aiming for the absolute best chocolate chip cookie recipe. We’re going to move quickly through the mixing steps since we aren’t waiting for the dough to chill. Remember, patience in explanation, but not in mixing!
First things first: get your oven warmed up to 350°F (175°C). And line those baking sheets with parchment paper—that’s my little insurance policy against sticking or uneven browning. Trust me, parchment keeps things tidy!
Mixing the Dough for the Best Chewy Chocolate Chip Cookies
We start exciting the wet ingredients. Take that slightly cooled melted butter and whisk it vigorously with both sugars until everything looks smooth and creamy—it will be wetter than if you used softened butter, and that’s exactly what we want. Next, incorporate the room-temperature eggs one at a time, then pour in that lovely vanilla. Give that a good whisk again!
In a separate bowl, whisk your flour, soda, and salt together. This just makes sure the baking soda is completely distributed. Now, add the dry mixture to the wet all at once, but here is where you have to be gentle! Mix on the lowest speed or use a wooden spoon, only until you see the last streaks of flour disappear. If you overmix at this stage, we start developing gluten, and that leads straight back to a cakey texture, not our wonderful, chewy chocolate chip cookies.
Finally, fold in those heaps of chocolate chips. Don’t stir them aggressively, just fold them in until they are spread out evenly. I like to gently press a few extra chips onto the tops of the dough balls for that signature look!
Baking and Cooling for Gooey Chocolate Chip Cookies
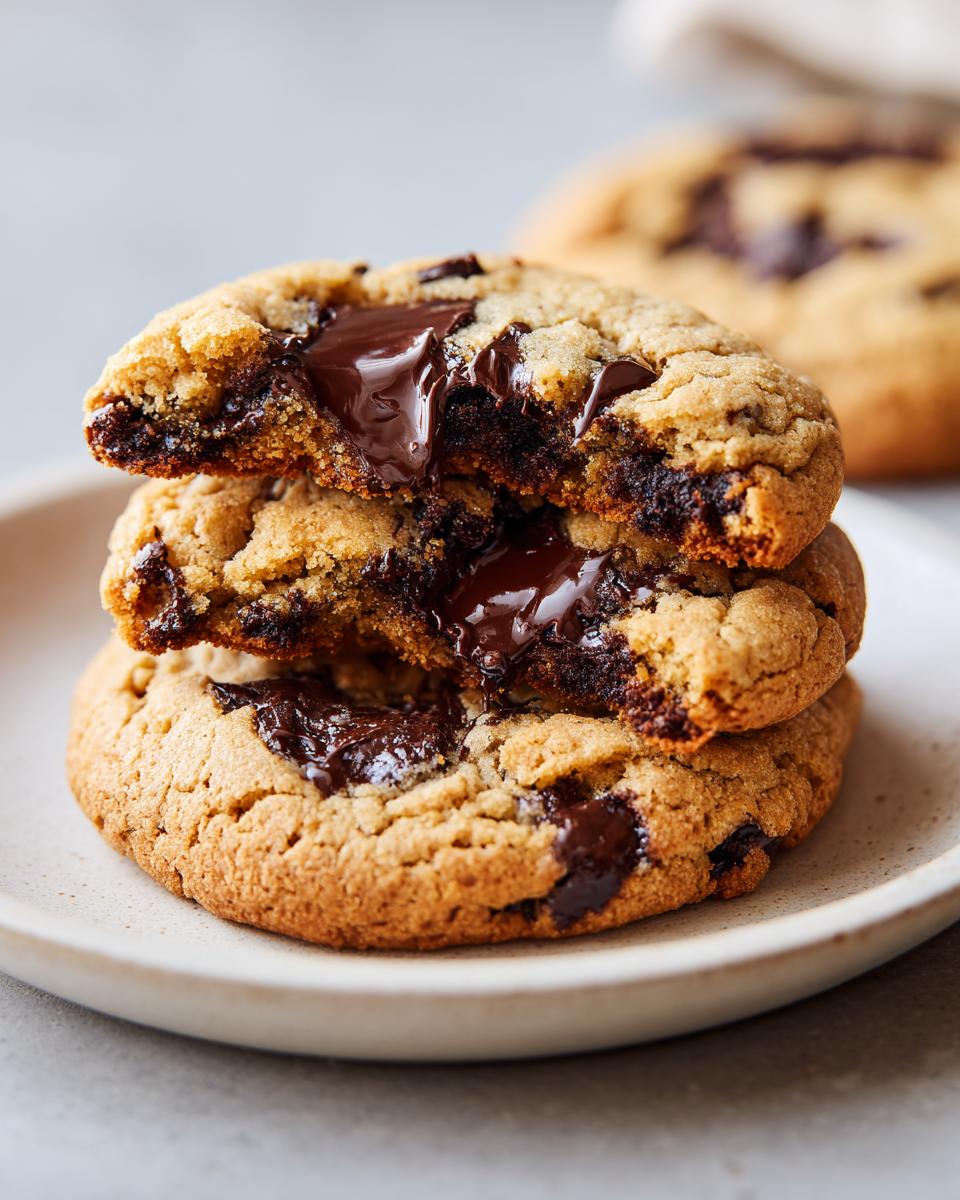
Scoop your dough onto the prepared sheets using a big three-tablespoon scoop—we want big, thick cookies! If you want them extra thick, gently pat the tops down just a tiny bit. Pop them into that 350°F oven for 10 to 12 minutes. This time is critical for getting those gooey chocolate chip cookies.
You must take them out when the edges are gorgeously golden brown, but the absolute center still looks soft, maybe even a little puffy and underbaked. I know it feels scary! But trust the process! If you wait until the center looks done, you’ve baked them too long. Once they come out, immediately sprinkle with that flaky sea salt if you’re using it. Let them sit right there on that hot pan for a full five minutes. That residual heat is doing the final ‘cook’ for the center, setting that amazing, soft chew.
After the five-minute rest, move them gently to a wire rack to cool down a bit more. Serve them warm, and watch them disappear!
Expert Tips for Achieving Flawless Chewy Chocolate Chip Cookies
If you want your cookies to start getting asked for year after year—like my great-aunt’s famous lemon bars—you have to pay attention to the little things. I’ve learned tons over the years perfecting these cookie texture secrets. For example, one Christmas, I rushed because I was so exhausted, and I baked them a full three minutes too long. They were still good, bless their hearts, but they were crisp cookies, not the soft batch cookies I intended! It was a total bake-fail for my standard. Learn from my mistake—don’t get greedy with that extra baking time!
I always tell my grandkids that the secret is trusting the look when they come out. Remember my note earlier? Never bake past 12 minutes. Also, if you are aiming for that famous look, press a few extra chocolate chips right onto the tops of the dough balls before they head into that hot oven; it makes them look professional!
Ingredient Spotlight: Why Melted Butter Matters for Chewy Chocolate Chip Cookies
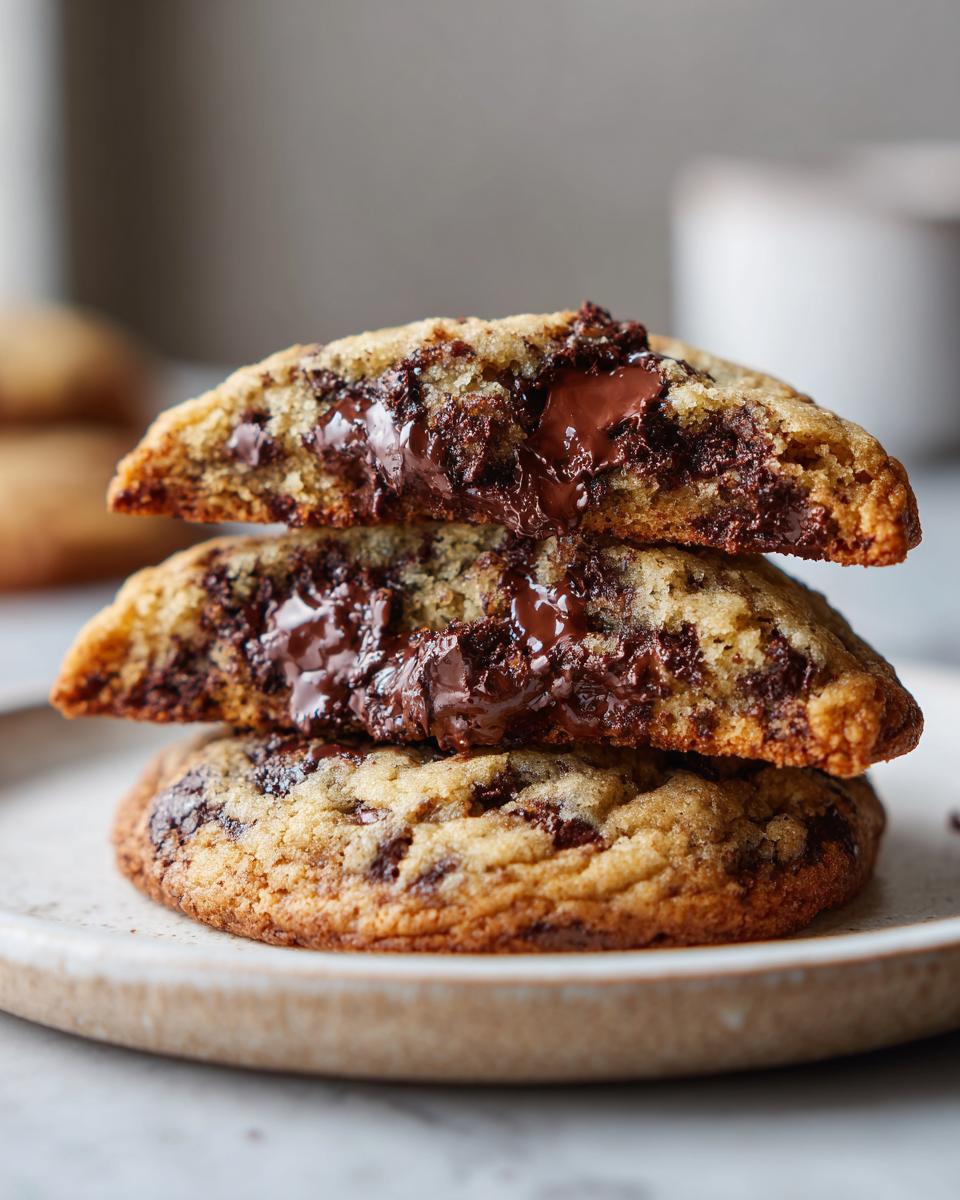
We talked about why melted butter is instrumental in getting these soft batch cookies, but let me explain the structure it gives us. Softened butter traps air when you cream it with the sugar, which is great if you want a cakey rise. But for a truly chewy texture, we want less rise and more density.
Melted butter mixes completely in without incorporating much air. When you bake it, the cookie doesn’t puff up as much. This results in that denser structure that keeps the center moist and absolutely gooey. It’s the easiest way to replicate those incredible soft and chewy chocolate chip cookies you see in fancy bakeries!
Variations on Your Classic Chewy Chocolate Chip Cookies
While I stand by this recipe as the absolute best for that classic, thick, chewy chocolate chip cookie, sometimes you just need to switch things up, right? Baking should be fun, and these small adjustments are easily done without messing up the texture we worked so hard for. They are perfect for trying something new during holiday baking cookies season or just when you want a change!
If you’re feeling adventurous, try swapping out some of those semi-sweet chips. Maybe half semi-sweet and half milk chocolate chunks? That creates little pools of pure, creamy sweetness. Or, if you love a salty-sweet bite, chop up some toasted pecans or walnuts and fold those in with the chocolate. They add a lovely crunch that complements the gooey center perfectly.
For a brighter flavor, especially nice in the spring or summer, try adding a teaspoon of finely grated orange zest to the wet ingredients. It really brightens up the caramel notes from the brown sugar. If you want to lean into the fancy flavors, you can head over and check out my recipe for white chocolate raspberry cookies, which uses a similar structure but swaps the chips entirely!
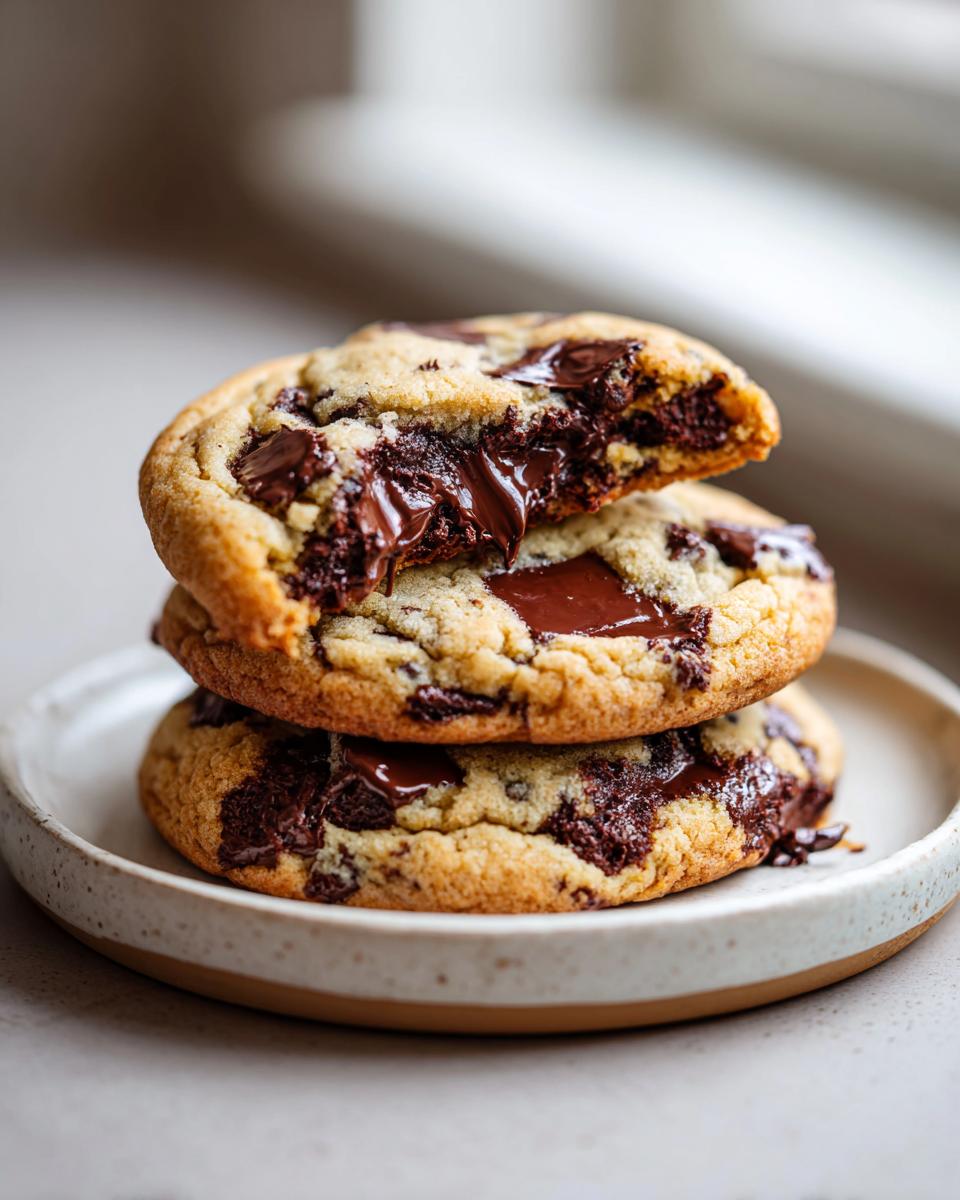
One last idea: use dark chocolate chunks instead of chips. The bitterness of the dark chocolate contrasts wonderfully with all that sugar, giving you that rich, complex flavor profile you often find in true bakery-style cookies at home.
Storage and Reheating Instructions for Chewy Chocolate Chip Cookies
You did it! You made the most perfect batch of chewy chocolate chip cookies. Now, the important part: keeping them perfect! These cookies, unlike those dry ones that crumble if you look at them wrong, hold their moisture beautifully, but they still need a little help over time. You want to keep that gooey center intact for as long as possible, right?
The very best way to store them is in an airtight container at room temperature. I usually line the bottom of the container with a paper towel or a piece of wax paper first—just to catch any extra oil and keep things tidy. If you stack them, place a sheet of parchment paper between the layers. You can generally keep them this delicious for about four or five days, though honestly, around this house, they rarely last past day two!
If you find that after a few days your cookies have firmed up just a tiny bit—and this happens even to the best recipes, not to worry—we have an easy fix! You don’t want to microwave them whole, because that can leave the center mushy and the edges tough. Instead, I pop a single cookie on a microwave-safe plate and zap it for just about 5 to 8 seconds. This gentle warmth brings back that freshly baked softness and makes those chocolate chips melt just perfectly again. It’s a wonderful trick for an afternoon snack!
If you are baking for a bigger crowd and need to store them longer, you can freeze the baked cookies. Yes, you can! Make sure they are completely cooled first. Then, lay them flat on a baking sheet and freeze them until solid. Once those easy homemade cookies are hard, transfer them to a freezer-safe zip-top bag or an airtight container. They freeze beautifully for up to three months. When you’re ready for one, take it out and let it thaw on the counter for about an hour, or give it that 8-second microwave zap for a warm treat immediately. For more simple baking tricks, feel free to look over my guide to easy cookie recipes for beginners. And if you ever need to store extras, check out these chocolate chip cookies that store well for later tips!
Frequently Asked Questions About Making Chewy Chocolate Chip Cookies
You know, baking is simple, but questions always pop up, especially when chasing that perfect texture. Over the years, whether teaching a third-grade class about fractions or teaching a friend how to make these chewy chocolate chip cookies, I’ve heard the same few things. Here are the answers to the most common worries people have when trying to achieve those soft batch cookies!
Why did my cookies turn out flat instead of thick?
This is almost always down to two things, honey, and it’s usually about temperature or ingredients. If your butter was too soft, or even worse, melted and too hot when you added the eggs, the dough won’t hold its shape when it hits the oven. That’s why I stress letting the melted butter cool slightly! Also, check your baking soda dosage. Baking soda causes spread, whereas if you used baking powder by mistake, you often get a cakier, puffier cookie that might deflate later. For these easy homemade cookies, sticking to the recipe is key for thickness.
Can I use softened butter instead of melted butter for this recipe?
You absolutely *can*, but you won’t get the same result. If you use softened, room-temperature butter, you’ll be creaming it with the sugar, which incorporates air. That air creates lift in the oven, leading to a lighter, more cake-like cookie structure. To keep these thick chocolate chip cookies decidedly chewy and dense, you need that melted butter. It minimizes the airy structure, which is exactly what keeps the center soft and gooey.
What is the trick to making sure the center stays gooey?
This is my favorite part! The trick is twofold and relates directly to baking time. First, we need that high ratio of brown sugar mentioned earlier, which attracts moisture. Second, you must underbake them just slightly! When you pull them out at 10 to 12 minutes, they should look slightly raw in the middle—they should still look a little pale there. The residual heat on the hot baking sheet continues cooking them for about five minutes after they leave the oven, setting that perfect, soft texture. Resist the urge to put them back in; that guarantees crisp edges but a dry center!
Are brown sugar cookies truly better than using mostly white sugar?
In my book, yes, especially when chasing that chewy factor! Brown sugar is acidic and contains that lovely molasses. That molasses does two great things for us: it adds depth of flavor—that slight caramel note you taste—and it keeps the cookie softer for longer. If you use 100% white sugar, you are heading straight for a crisper, more traditional cookie. For the best results in our brown sugar cookies, stick to the ratio I provided!
Estimated Nutrition for These Chewy Chocolate Chip Cookies
Now, I’m not a nutritionist, heavens no! I’m just the lady who makes sure everyone gets seconds. But I know that tracking nutrition is important for some of you wonderful bakers out there, so I’ve put together the estimated breakdown based on the recipe yield of 18 large cookies. Remember, this is a classic American treat, so we aren’t aiming for low-calorie here; we are aiming for absolute deliciousness!
These numbers are based on using semi-sweet chips and standard pantry ingredients. If you use lighter butter, or perhaps dark chocolate chunks instead of sweeter chips, your specific count might vary slightly. Keep that in mind as you look over these estimates!
- Serving Size: One cookie
- Calories: Around 250
- Fat: About 14g
- Carbohydrates: 30g
- Sugar: 18g (That molasses in the brown sugar really packs a punch!)
- Protein: 3g
- Sodium: 150mg
Don’t let the numbers scare you too much. A good, honest home-baked cookie shared with people you love is always worth it. Enjoy them with a big glass of milk!
Share Your Perfect Chewy Chocolate Chip Cookies
Well, friends, that’s it! We have officially made the absolute best chewy chocolate chip cookies. From the moment the warm butter hits that brown sugar to the moment you see those golden edges and that gooey center, this recipe is pure joy. It is the kind of reliable recipe that I want every person who visits this site to have tucked safely away in their collection—the real easy homemade cookies that never fail.
When you finish baking, I really want to hear from you! Did you manage to get that perfect, soft-batch cookie look? Please, give this one a rating down below—a full five stars if they disappear as fast as mine do! I love reading your comments, whether you just want to tell me how much your family loved them, or if you have a little question about the mixing process. Don’t be shy!
If you snap a picture of your beautiful creation—especially those wonderful, melty chips—please share it with me on social media and tag me. It truly warms my heart to see my Midwest kitchen secrets traveling into yours. You all make cooking such a rewarding experience, and I appreciate you trusting me with your baking time. Happy baking, everyone!
If you need anything else at all, please feel free to reach out through my contact page. I’m always here to help you get your baking just right!
PrintThe Ultimate Thick & Chewy Chocolate Chip Cookies: Secrets to a Gooey Center and Crispy Edges
Follow this straightforward recipe to make bakery-style chocolate chip cookies that are perfectly thick, chewy in the center, and have slightly crisp edges. This recipe uses melted butter for texture and requires no dough chilling time.
- Prep Time: 15 min
- Cook Time: 12 min
- Total Time: 27 min
- Yield: 18 large cookies 1x
- Category: Dessert
- Method: Baking
- Cuisine: American
- Diet: Vegetarian
Ingredients
- 1 cup (2 sticks) unsalted butter, melted and slightly cooled
- 1 cup packed light brown sugar
- 1/2 cup granulated sugar
- 2 large eggs, room temperature
- 1 tablespoon vanilla extract
- 2 1/4 cups all-purpose flour
- 1 teaspoon baking soda
- 1/2 teaspoon salt
- 1 1/2 cups semi-sweet chocolate chips or chunks
- Flaked sea salt, for topping (optional)
Instructions
- Preheat your oven to 350°F (175°C). Line two large baking sheets with parchment paper.
- In a large bowl, whisk together the melted butter, brown sugar, and granulated sugar until fully combined. The mixture will look wet.
- Whisk in the eggs one at a time until incorporated. Stir in the vanilla extract.
- In a separate medium bowl, whisk together the flour, baking soda, and salt.
- Gradually add the dry ingredients to the wet ingredients, mixing on low speed or by hand until just combined. Do not overmix.
- Fold in the chocolate chips or chunks.
- Scoop the dough using a large cookie scoop (about 3 tablespoons per cookie) and place them 2 inches apart on the prepared baking sheets. For thicker cookies, gently press the dough balls down slightly in the center.
- Bake for 10 to 12 minutes. The edges should look golden brown, but the centers should still look slightly underbaked and soft.
- Remove the sheets from the oven. Immediately sprinkle the tops of the cookies with a pinch of flaked sea salt, if using.
- Let the cookies cool on the baking sheet for 5 minutes before transferring them to a wire rack to cool completely. The residual heat helps set the chewy center.
Notes
- Using melted butter, rather than softened butter, helps create a denser, chewier cookie structure.
- The high ratio of brown sugar to white sugar contributes moisture and chewiness.
- Do not bake these cookies longer than 12 minutes; the soft center firms up as they cool.
- For a bakery-style look, press a few extra chocolate chips onto the tops of the dough balls before baking.
Nutrition
- Serving Size: 1 cookie
- Calories: 250
- Sugar: 18
- Sodium: 150
- Fat: 14
- Saturated Fat: 8
- Unsaturated Fat: 6
- Trans Fat: 0
- Carbohydrates: 30
- Fiber: 1
- Protein: 3
- Cholesterol: 55