
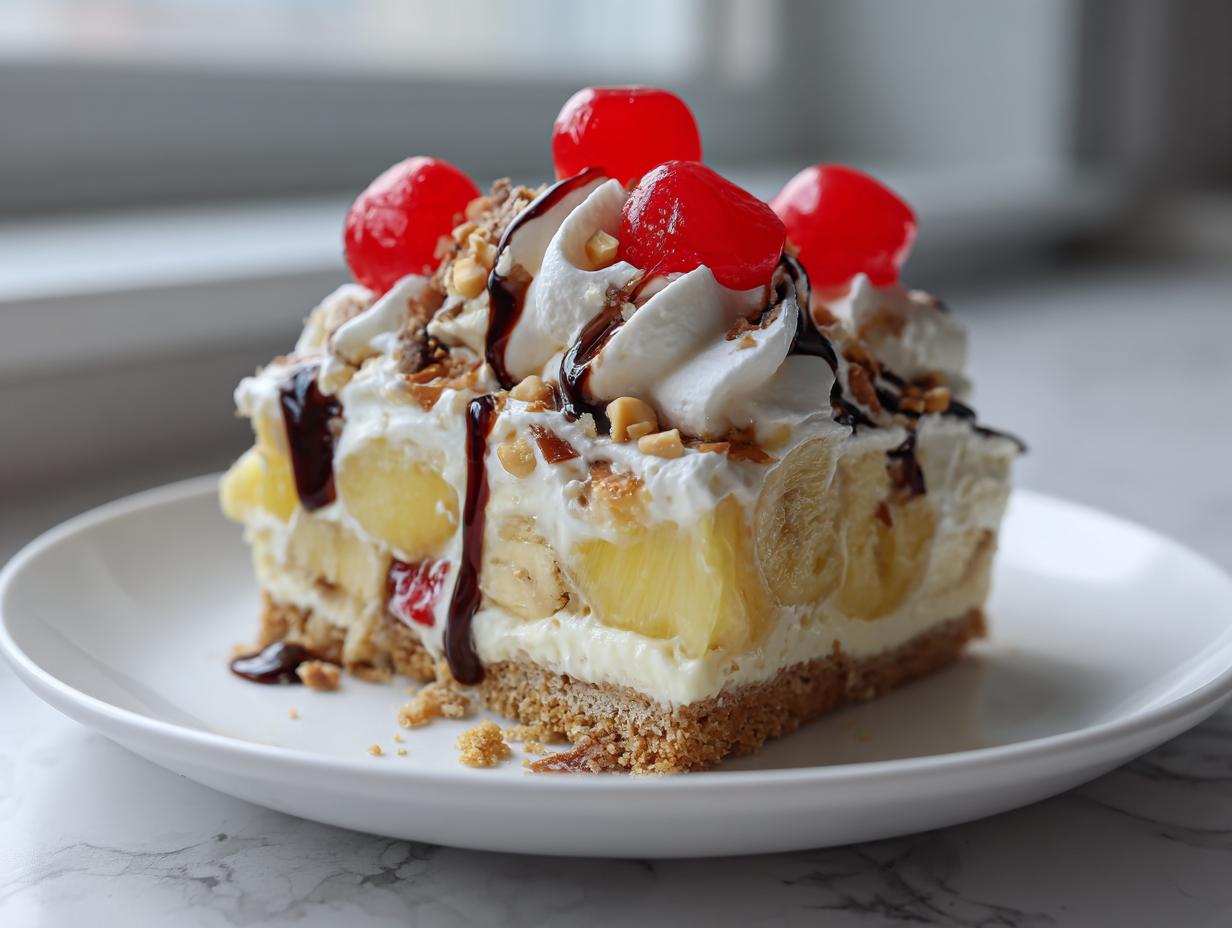
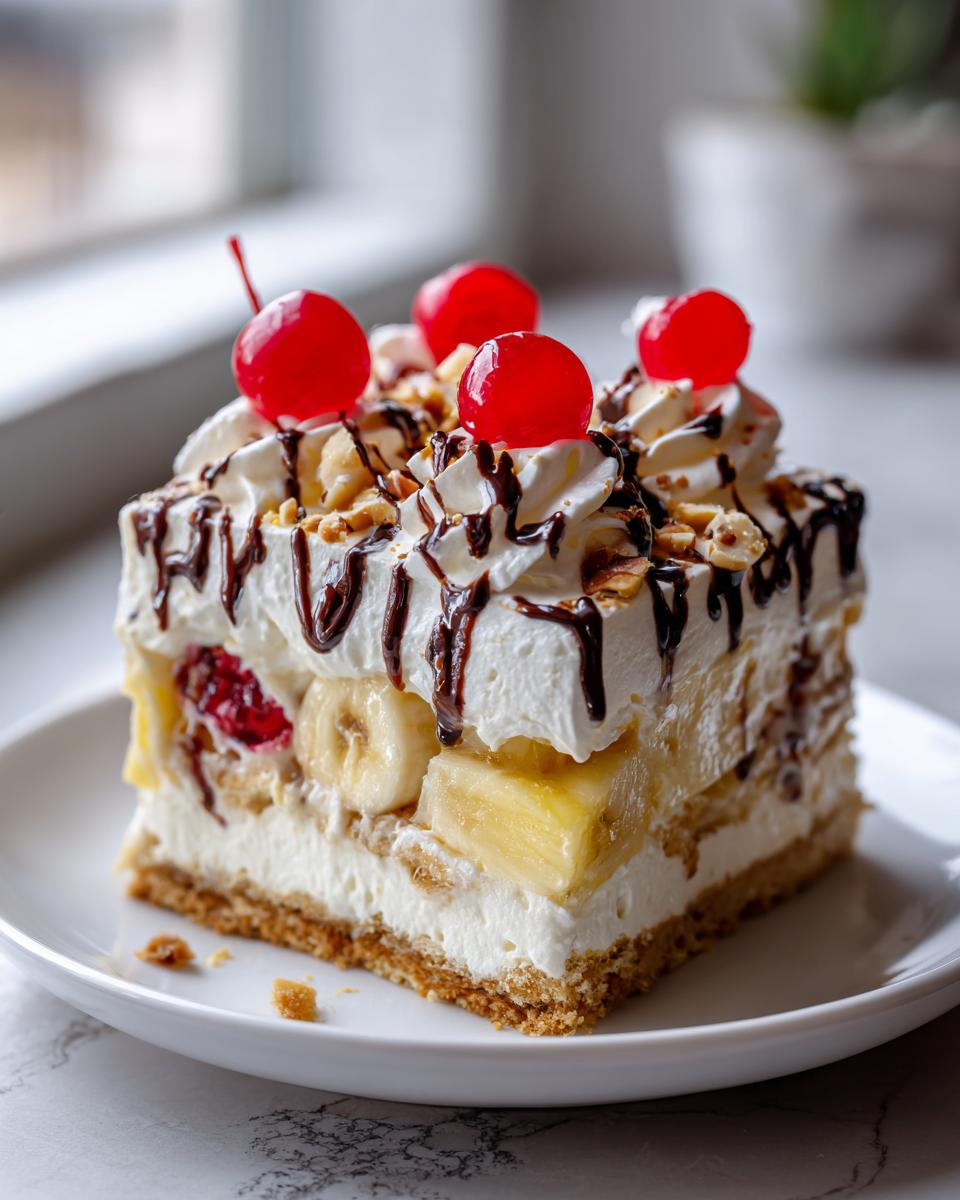
When those hot summer days hit and you want something truly spectacular but the thought of turning on the oven makes you sweat, I have the perfect solution for you. Forget fussy layers and tons of baking time because we’re making the ultimate crowd-pleaser: the banana split cake! This dessert captures all those Classic Banana Split Flavors—banana, chocolate, pineapple, cherries—in one glorious, cold, creamy stack. It’s completely no-bake, which means it fits right into my cooking philosophy here at Cooking by Carla, and you can read more about that philosophy right here. Wonderful food doesn’t need to be complicated. This is the Easy Banana Split Dessert that proves simple dishes can bring the biggest joy to the table. Trust me, this recipe is pure magic for your next potluck!
- Why This No-Bake Banana Split Cake Is Your New Go-To
- Gathering Ingredients for Your Banana Split Cake
- Assembling the Graham Cracker Crust Dessert Base
- Creating the Cream Cheese Banana Split Cake Filling
- Chilling and Garnishing Your Layered Banana Cream Cake
- Tips for a Perfect No Oven Desserts Banana Split Cake
- Storage and Serving Instructions for Your Banana Split Cake
- Common Questions About This Easy Banana Split Dessert
- Sharing Your Banana Split Cake Success
Why This No-Bake Banana Split Cake Is Your New Go-To
Honestly, once you try this, it’s going to take over your summer dessert rotation. Why? Because it nails all the flavor requirements without turning on the stove. That’s a win in my book!
- No oven required—perfect for keeping the kitchen cool.
- Assembly is so quick; you mostly just stir mixtures together.
- It delivers those glorious Classic Banana Split Flavors in every bite.
Perfect for Summer and Potlucks
This truly is a Potluck Perfect Dessert. You assemble it ahead of time, it chills beautifully, and everyone goes absolutely wild for it. Nobody ever questions having a cold, creamy dessert when the weather heats up!
Gathering Ingredients for Your Banana Split Cake
Okay, let’s talk about what we need! Since this is a no-bake dessert, the quality of what goes into each layer really matters. We’re going to break this down into three groups: the crust, the creamy filling, and all those wonderful toppings that scream ‘ice cream parlor.’
For the base, you need one cup of graham cracker crumbs and six tablespoons of melted butter. Easy peasy! The filling is where the magic happens: eight ounces of cream cheese that’s softened up—make sure it’s soft!—one cup of powdered sugar, that teaspoon of vanilla, and half of your big container of thawed whipped topping. Then, for the fruit, we have two sliced ripe bananas, half a cup of crushed pineapple, and those scrumptious nuts!
Ingredient Notes and Substitutions
Here are my big tips so your banana split cake sets up perfectly. First, make sure that cream cheese isn’t straight from the fridge; it needs to be soft so you don’t end up with lumps—nobody wants a lumpy filling! Second, and this is an Expert Tip, you absolutely must, must, *must* drain that crushed pineapple until it’s practically dry. If it’s wet, it’ll seep into your lovely cream cheese layer and make the whole thing watery. If pineapple isn’t your jam, you can definitely swap in some sliced strawberries here instead—it tastes just as amazing!
Assembling the Graham Cracker Crust Dessert Base
Now that we have our ingredients ready, it’s time to build the foundation for our easy dessert. We start with making the Graham Cracker Crust Dessert base. You’ll take your graham cracker crumbs and drizzle in that six tablespoons of melted butter.
Mix everything together really well. You’re aiming for that perfect texture—it should really look and feel like wet sand. If you pinch a tiny bit between your fingers, it should hold its shape! Once it’s mixed, press it firmly into the bottom of your 9×13 dish. I use the bottom of a flat measuring cup to really pack it down tight so it doesn’t crumble later.
Next, this step is important for structure—you need to chill that base for at least 15 minutes. Why? This is the Authoritative Tip: Chilling solidifies the butter, making your crust sturdy enough to hold up those heavy, creamy layers later on. It’s what keeps your banana split cake slices looking neat when you cut into them!
Creating the Cream Cheese Banana Split Cake Filling
Time for the layer that truly makes this famous! We’re moving from that firm crust base to our wonderfully soft filling. First, take those two ripe bananas and slice them up nicely. Lay those slices evenly across your chilled crust. Don’t skip this step; those bananas are key to the classic melt-in-your-mouth experience of this banana split cake.
Now, grab your mixing bowl—make sure it’s clean!—and let’s tackle the cream cheese layer. Beat that softened cream cheese, the powdered sugar, and the vanilla extract together until it is silky smooth. I mean *smooth*, folks. You don’t want any little cream cheese bumps hiding in there when you take a bite! This beating stage is what builds the structure for our Fluffy Creamy Dessert texture.
Once it’s perfectly smooth, it’s time to gently fold in about half of the thawed whipped topping. Don’t use the electric mixer for this part! Folding is crucial to keep the air in there. Spread this white layer evenly over your bananas. It’s already looking gorgeous, isn’t it?
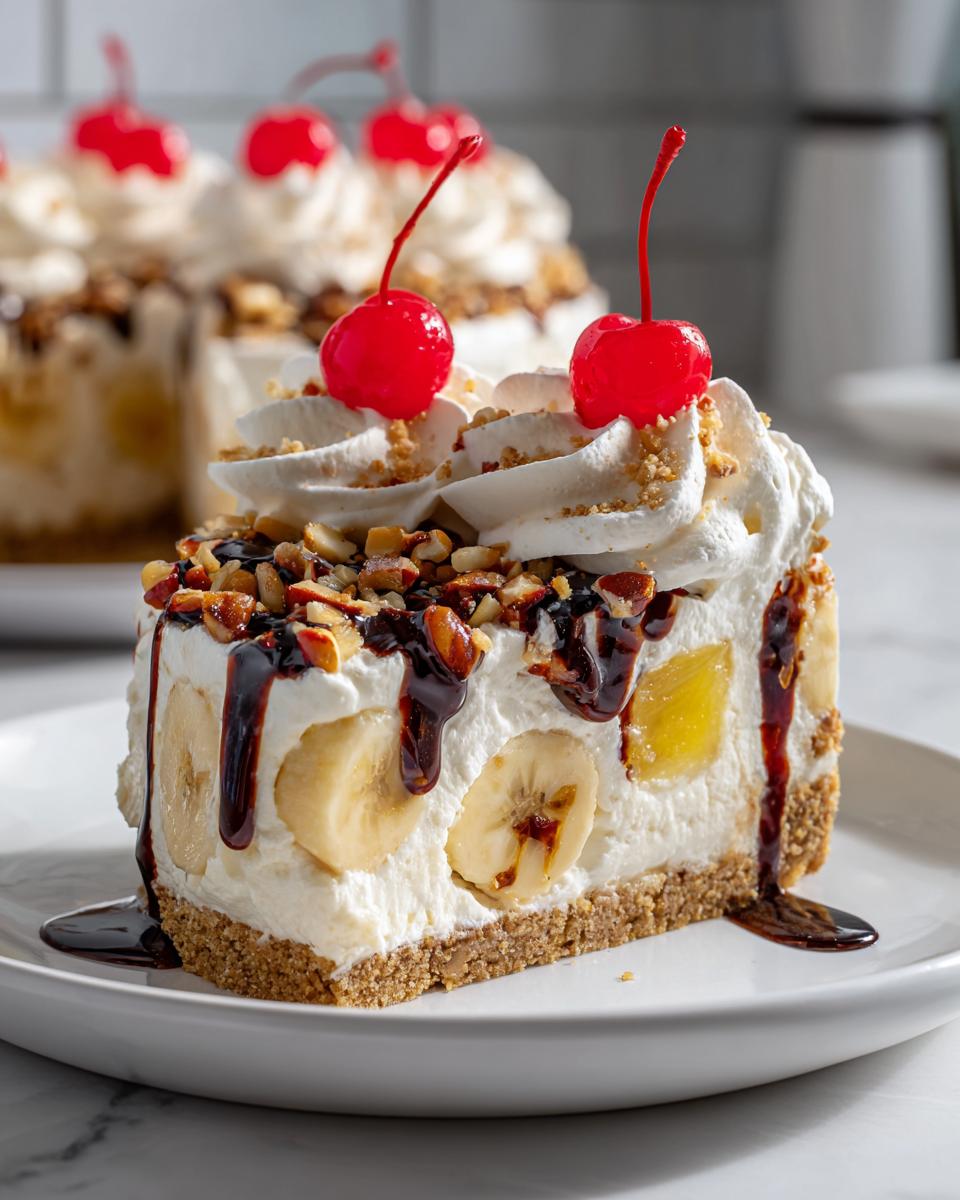
Layering the Fruit and Nuts for the Ultimate Banana Split Cake
We are so close to the chilling stage, hang in there! Remember that crushed pineapple we drained so carefully? Now is its time to shine. Sprinkle that well-drained pineapple all over the cream cheese layer. Follow that up with your chopped pecans (or walnuts, whatever you prefer!). This adds that fantastic little crunch we expect.
Next up is the final creamy layer: gently spread the rest of your whipped topping right over the fruit and nuts. Spread it carefully, like you’re tucking the cake into bed. We want to keep all that luscious volume we worked so hard to incorporate! Cover the whole dish up securely, and now comes the hardest part—waiting. You need to let this set in the fridge for a minimum of four hours. Less time than that, and your layers might slide around when you try to slice it.

Chilling and Garnishing Your Layered Banana Cream Cake
We have built layers of deliciousness—the crust, the bananas, the cream cheese dream, and the final fluff—and now we have to be patient. Patience is definitely a virtue when it comes to this Make Ahead Icebox Cake! Step seven is critical for success, so please, don’t rush it. You need to cover that beautiful creation tightly and slide it into the refrigerator for a minimum of four hours. I really mean it: four hours is the baseline. If you can let it go overnight? Even better!
The chilling time isn’t just waiting for the flavors to mingle, though that’s nice too. It’s structural integrity! That time lets the cream cheese mixture firm up completely and allows the butter in the crust to re-solidify. If you cut into it too early, you end up with a banana-y, creamy mess instead of those beautiful, neat slices you want.
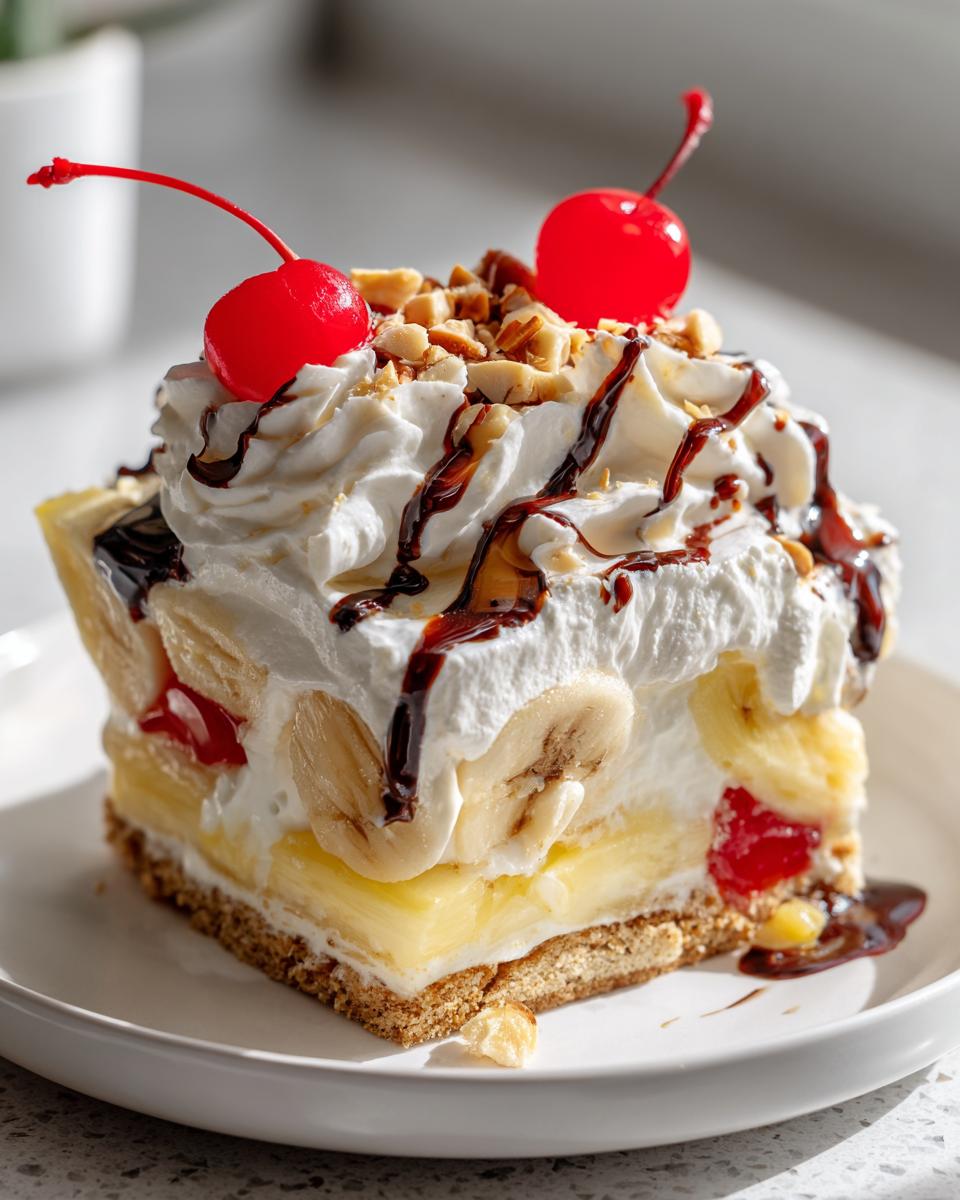
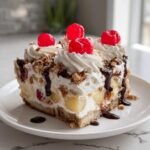
Once that waiting game is over and the cake is firm to the touch, it’s time for the grand finale: garnishing! This is where your banana split cake finally gets that iconic look. Grab that quarter cup of chocolate syrup and drizzle it artistically all over the top. Don’t be shy, but try to make attractive swirls, not just a puddle in the middle!
After the chocolate drizzle, the final touch must be those bright, happy maraschino cherries placed strategically across the top. They add that pop of color that reminds everyone exactly what they are about to eat. Slice it up cold, and get ready for the applause!
Tips for a Perfect No Oven Desserts Banana Split Cake
Even though this is a no oven dessert, there are still a few little tricks you need in your arsenal to guarantee perfection. Trust me when I say that small details make the difference between a good chilled cake and the absolute best banana split cake experience!
First, let’s talk about temperature management—this is crucial for that smooth, Fluffy Creamy Dessert texture. Your cream cheese must be fully softened. I mean leave it out on the counter for at least an hour before you start whipping it. If it’s cold, you’ll get those stubborn little chunks, and you’ll end up over-mixing trying to smooth them out, which deflates your whipped topping later. You want creamy, not chewy!
Next, we need to protect those bananas from turning brown. It happens fast, doesn’t it? The secret here is layer placement—that’s what I learned from seeing recipes that didn’t quite make it looking pretty until serving time. Since pineapple is slightly acidic, placing the pineapple and nuts directly on *top* of the cream cheese layer, before the final layer of whipped topping goes on, gives the bananas a little buffer zone underneath. That acid helps slow down the browning process on the layer right beneath it.
Finally, let’s perfect that presentation. Making the final topping look amazing turns it into a stunning Chocolate Drizzle Cake! When you go to add that chocolate syrup at the end, warm it up ever so slightly—just 10 seconds in the microwave. Warm syrup flows much easier than cold syrup straight from the fridge. When you drizzle it, use a slow, steady hand. If you want those beautiful cross-hatch lines, drizzle vertically across the cake, then wait a minute, and drizzle horizontally. For more amazing ideas on decadent desserts, you can check out some inspiration at this link!
Storage and Serving Instructions for Your Banana Split Cake
The best news about this banana split cake is that it keeps wonderfully, making it the ultimate make-ahead dessert! Because it’s an icebox cake, you do need to treat it like the cold, creamy masterpiece that it is. Never leave this out on the counter for too long, especially if the weather is warm.
When you have leftovers—and if you do, lucky you!—you need to cover the dish tightly. I usually use plastic wrap, making sure the wrap doesn’t actually touch the beautiful chocolate drizzle and cherries on top. If the topping is sticking to the plastic, it tends to pull things off when you try to check on it later. If you need to, lightly tent some waxed paper over the top before you wrap it in plastic. Then, pop the whole thing right back into the refrigerator.
How long will it last? Since this recipe is packed with fresh bananas and cream cheese, I really push for you to enjoy it within two, maybe three days, maximum. After that, the bananas might start to get a little mushy or brown, even under that whipped topping blanket. Four days is pushing it for quality, in my opinion, so try your best to share it all quickly!
When it comes time to serve, make sure it is rock solid cold. If it has been sitting out while everyone eats, take the serving dish back into the fridge for 20 minutes before cutting slices. This helps everything firm back up so you get those beautiful, clean slices that show off all those lovely layers we worked so hard to build. Enjoy that spoonful of summer!
Common Questions About This Easy Banana Split Dessert
It’s natural to have questions when you’re trying a new, amazing dessert like this! Since this is such a fantastic Easy Banana Split Dessert, folks often ask about making variations or getting ahead of the game. I’ve gathered a few common ones that come through my inbox, especially since this recipe is so popular for large gatherings!
How far ahead of time can I assemble this make ahead icebox cake?
This is the million-dollar question for party planners! Because this is a wonderfully dense make ahead icebox cake, you have some flexibility, which is fantastic, right? I always recommend assembling the entire thing, chilling it for its required four hours, and then serving it within 24 hours. If you assemble it the morning of your party, that’s usually perfect. Going much past 36 hours risks the bananas getting a little too tender, even though they are tucked in safely.
Can I just use canned whipped topping, or do I need the frozen kind?
I specify the large container of frozen whipped topping because it has more stability and volume than the shelf-stable kinds in a can when you’re folding it into the cream cheese mixture. The canned stuff tends to deflate a bit too quickly for this layered structure to hold up. If you only have the shelf-stable kind, use less of it, or better yet, consider making your own stabilized whipped cream!
I hate nuts! Can this banana split cake still taste great without them?
Absolutely! If you or a guest has a nut allergy or just doesn’t love pecans or walnuts, skip them entirely. The cake will still be magnificent. I always say that good food doesn’t need to be complicated, and if omitting nuts makes it easier for you to share, that’s what matters! You can use mini chocolate chips in their place for a little extra texture contrast.
Can I use fresh pineapple instead of canned crushed pineapple?
You certainly can, and fresh is always wonderful! However, if you use fresh, you have to be much more diligent about draining it. Fresh pineapple holds a lot more juice than canned. I recommend chopping the fresh pineapple into small pieces, spreading it onto several layers of paper towels, placing more towels on top, and pressing down hard to extract as much liquid as possible. If you don’t get the liquid out, it will definitely compromise the structure of your cream cheese banana dessert layer underneath.
Can I use a baked cake layer instead of a crust for this banana split cake?
That’s a fun idea if you’re leaning toward a Southern Style Banana Cake vibe, but remember, this design is specifically built around that sturdy, crisp graham cracker base! That crust is what keeps everything from turning soupy when it chills. If you absolutely must have a cake layer, I suggest you bake a simple, thin yellow cake layer first, let it cool completely, and then build the rest of the layers—bananas, cream cheese, toppings—on top of that. Just be aware that the chilling process might need to be a little longer to totally firm up that structure. But really, the best part of this recipe is that it’s a no oven dessert!
If you try this out and have any other burning questions, feel free to ask! You can always reach out to me through my contact page. I love hearing how you adapt these simple, comforting recipes!
Sharing Your Banana Split Cake Success
Well, you’ve done it! You’ve put together what is easily one of the most delightful, crowd-pleasing, and simplest American desserts out there. Doesn’t it feel good to know you can create something so impressive without even turning on the oven? I truly hope this banana split cake brings a little bit of joy and nostalgia to your table, just like it does mine every time I make it.
I always love hearing from you all! If you made this recipe and it saved the day for your potluck or just satisfied a serious sweet tooth, please take a moment to leave a quick 5-star rating below. Your feedback helps other home cooks find these dependable, straightforward recipes that are designed for real life.
Did you swap any of the fruits? Did you use hot fudge instead of syrup? I’d love to know the little ways you’ve made this your own family’s favorite version! Pop a comment down below and share your photos or stories with me. Making good food and sharing those memories is what Cooking by Carla is all about, and I’ve included a link to my privacy policy here if you ever need to check on how your information is handled. Happy serving!
PrintEasy No-Bake Banana Split Cake
Make this simple, layered dessert that captures all the flavors of a classic banana split without using your oven. It is perfect for potlucks or summer gatherings.
- Prep Time: 20 min
- Cook Time: 0 min
- Total Time: 4 hr 20 min
- Yield: 12 servings 1x
- Category: Dessert
- Method: No-Bake
- Cuisine: American
- Diet: Vegetarian
Ingredients
- 1 cup graham cracker crumbs
- 6 tablespoons melted butter
- 2 large ripe bananas, sliced
- 8 ounces cream cheese, softened
- 1 cup powdered sugar
- 1 teaspoon vanilla extract
- 1 large container (12 ounces) frozen whipped topping, thawed, divided
- 1/2 cup crushed pineapple, drained well
- 1/2 cup chopped pecans or walnuts
- 1/4 cup chocolate syrup
- Maraschino cherries, for topping
Instructions
- Prepare the crust: Mix the graham cracker crumbs and melted butter in a bowl until combined. Press the mixture firmly into the bottom of a 9×13 inch baking dish. Chill the crust for 15 minutes.
- Arrange the bananas: Place a single layer of sliced bananas over the chilled crust.
- Make the cream cheese layer: In a separate bowl, beat the softened cream cheese, powdered sugar, and vanilla extract until smooth. Fold in half of the thawed whipped topping.
- Spread the cream cheese mixture evenly over the banana layer.
- Add fruit and nuts: Sprinkle the drained crushed pineapple and chopped nuts over the cream cheese layer.
- Top with remaining whipped topping: Gently spread the remaining half of the whipped topping over the fruit and nut layer.
- Chill: Cover the dish and refrigerate for at least 4 hours, or until firm. This chilling time is important for setting the layers.
- Garnish and serve: Before serving, drizzle the top with chocolate syrup and place maraschino cherries on top. Slice and serve cold.
Notes
- Drain the crushed pineapple completely to prevent the cake from becoming watery. Press it between paper towels if needed.
- For a richer chocolate flavor, use hot fudge sauce instead of standard chocolate syrup.
- You can substitute strawberries for pineapple if you prefer a different fruit combination.
Nutrition
- Serving Size: 1 slice
- Calories: 350
- Sugar: 30
- Sodium: 180
- Fat: 20
- Saturated Fat: 10
- Unsaturated Fat: 10
- Trans Fat: 0
- Carbohydrates: 40
- Fiber: 1
- Protein: 4
- Cholesterol: 40