
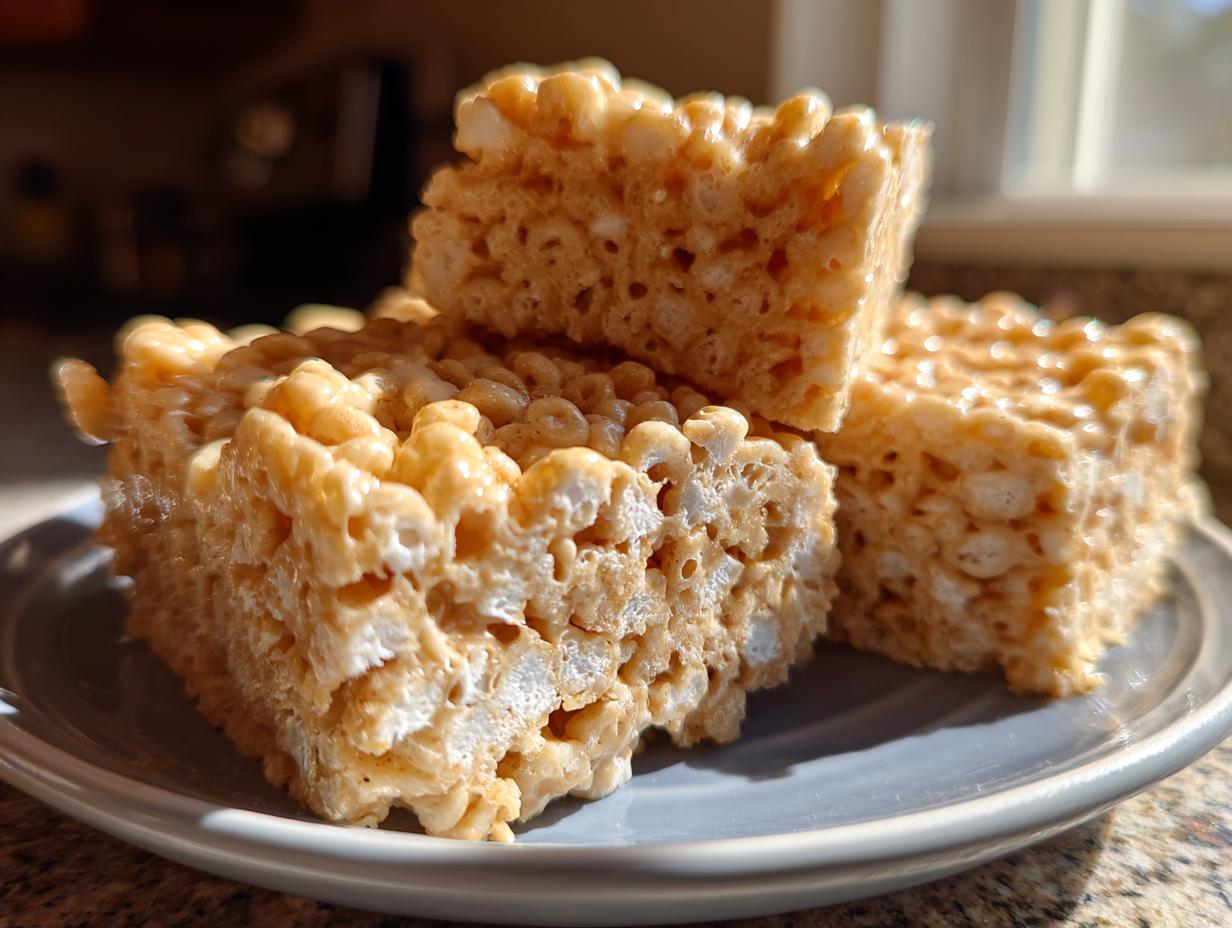
Oh, who doesn’t love that first bite of a nostalgic, homemade cereal treat? For me, those crispy, gooey squares take me right back to my childhood in the Midwest. They just taste like a happy afternoon! When I make them now for my grandkids, I insist on transforming that simple recipe into something truly special. We’re talking about the ultimate, chewy peanut butter rice krispie treats, full of rich flavor and that perfect stretch. After thirty years of teaching and years of perfecting recipes for my family, I learned that simple food shared with love is the best kind. Trust me, this version is quick, requires no oven, and delivers a satisfying chew that store-bought just can’t touch. These easy no-bake treats are going to be your new go-to!
- Why Our Chewy peanut butter rice krispie treats Are the Best
- Gathering Ingredients for peanut butter rice krispie treats
- Essential Equipment for Making Your Crispy Treats
- Step-by-Step Instructions for Ultimate peanut butter rice krispie treats
- Tips for Perfect peanut butter rice krispie treats Every Time
- Serving Suggestions for Your peanut butter rice krispie treats
- Storage and Keeping peanut butter rice krispie treats Fresh
- Frequently Asked Questions About peanut butter rice krispie treats
- Nutritional Estimates for peanut butter rice krispie treats
Why Our Chewy peanut butter rice krispie treats Are the Best
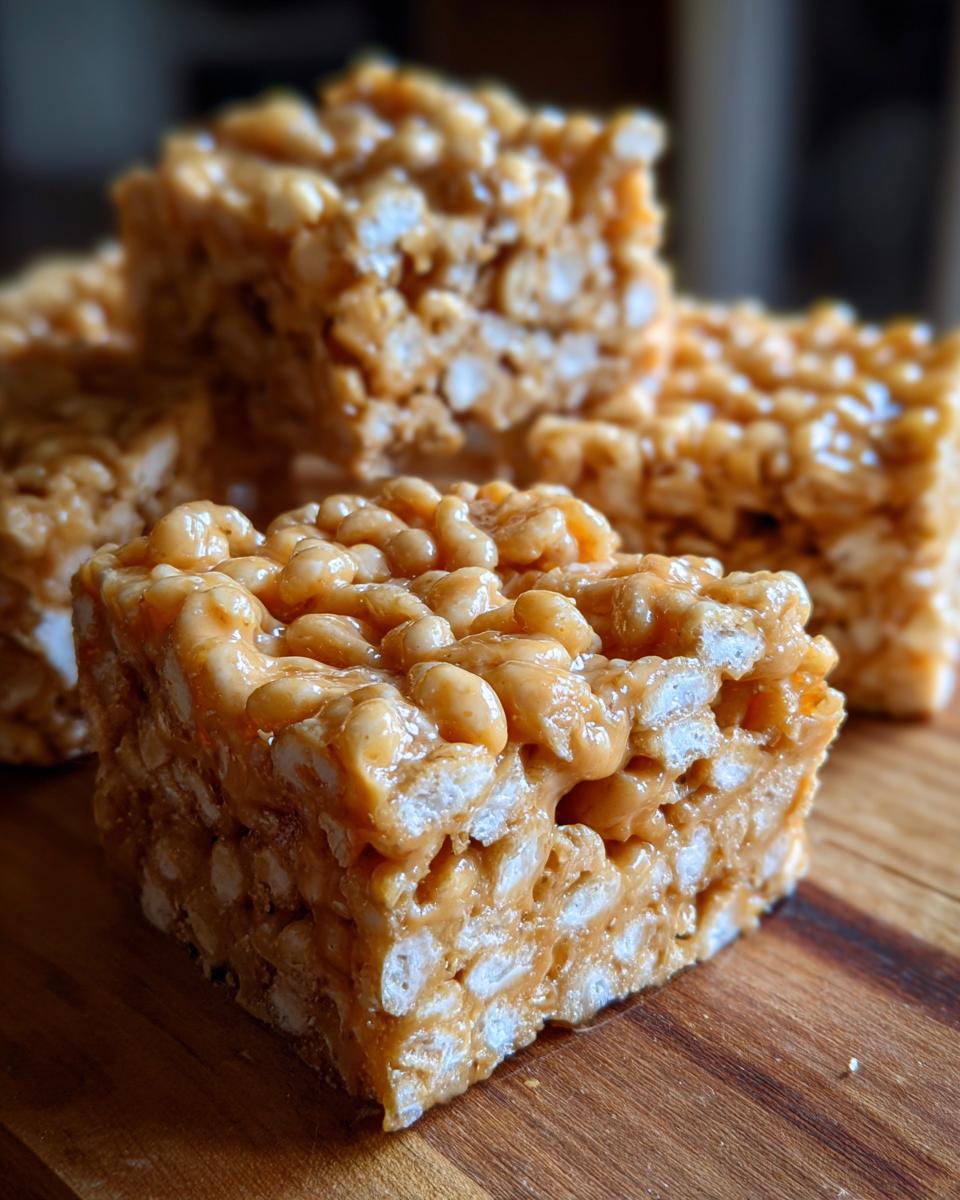
When you talk about a great classic, you have to make sure it’s the best version available. We’ve taken the simple recipe and elevated it! These aren’t just okay cereal bars; they’re the ultimate No Bake Peanut Butter Bars. If you need a Quick Peanut Butter Dessert that satisfies everyone, this is it.
- The flavor is deeply rich, thanks to that wonderful combination of butter and smooth peanut butter mixed right into the marshmallow base.
- They are incredibly easy—seriously, faster than waiting for the oven to preheat!
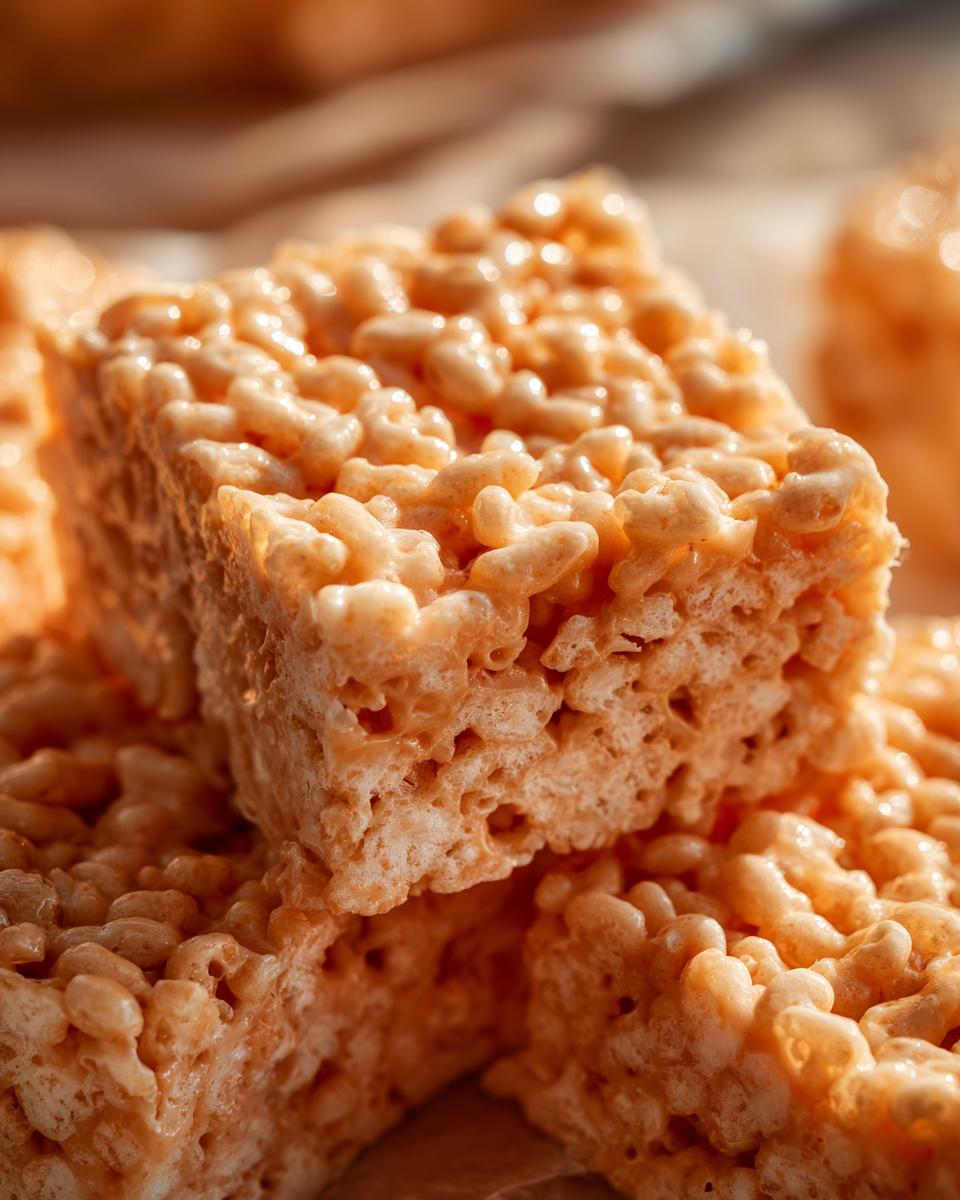
- They deliver that perfect, pull-apart chewiness every single time.
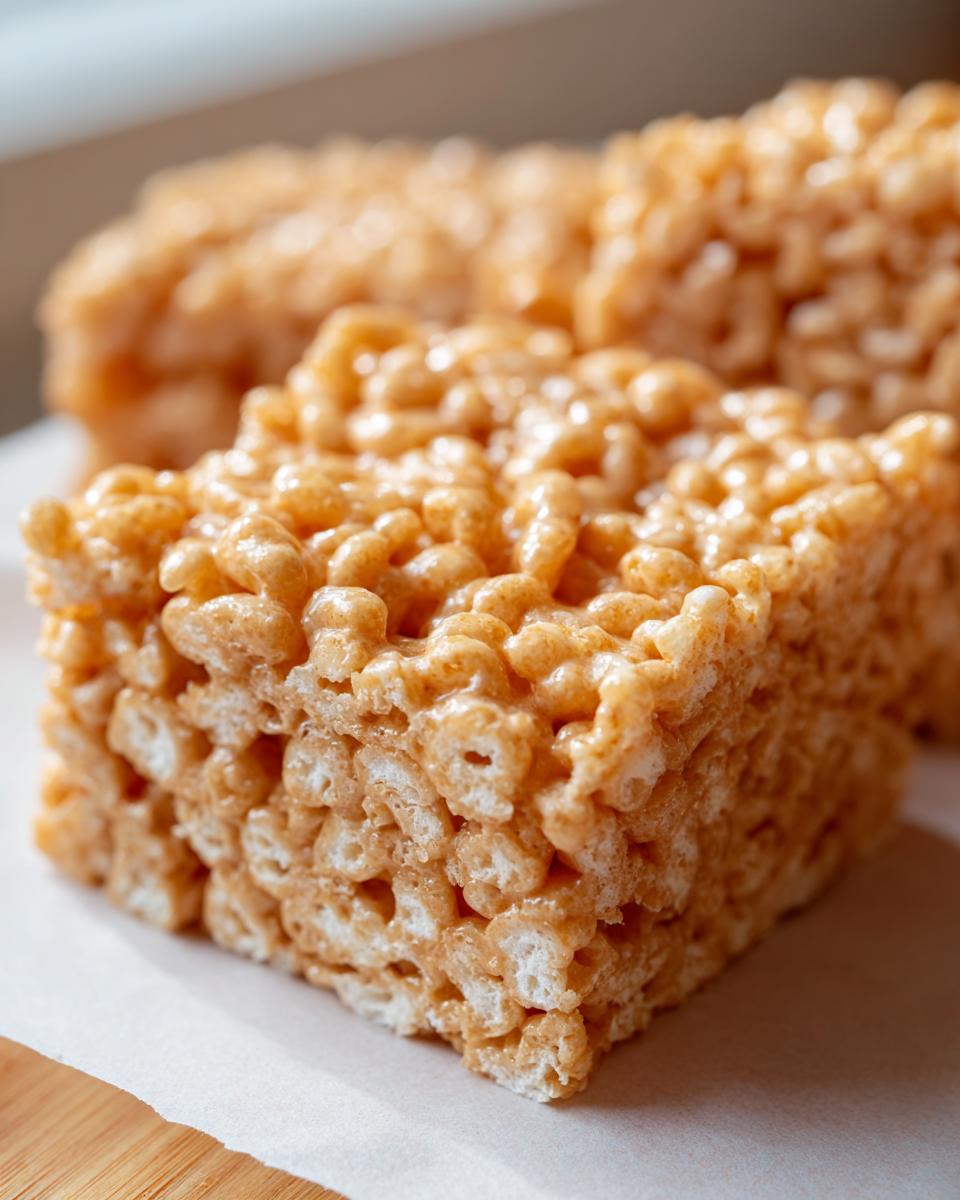
Achieving the Perfect Gooey Texture
The secret to that beautiful stretchiness isn’t some fancy ingredient; it’s all in the staging. We remove the pan from the heat right when the marshmallows are just fully melted before we stir in the cereal. If you cook the marshmallows too long, they get tough. We want that gooey consistency that pulls apart perfectly when you bite in. Low and slow heat on that initial mixture is key!
Perfect for Kid Friendly Snacks and Parties
Because these are completely no bake, they are fantastic for involving the littlest helpers in the kitchen—just keep them away from the hot stovetop, of course! They travel beautifully for potlucks or school events, and since they’re cut into squares, cleanup is a breeze. They are a guaranteed hit for any gathering you’re hosting. Check out some of my other favorite dessert recipes for more easy entertaining ideas!
Gathering Ingredients for peanut butter rice krispie treats
The beauty of peanut butter rice krispie treats is that you probably have everything you need already sitting in your pantry. No complicated shopping trip necessary for this Quick Peanut Butter Dessert! Remember, fresh ingredients make all the difference, especially with marshmallows when aiming for that chewy texture we love.
Here is what you’ll need for about 18 perfect bars:
- 6 tablespoons unsalted butter
- 1 cup creamy peanut butter (Don’t use the natural, oily kind here; we need the smooth, stabilized stuff for mixing!)
- 1 (10 ounce) package miniature marshmallows (These melt better than the big ones, trust me.)
- 6 cups crispy rice cereal
- 1 teaspoon vanilla extract
- Optional Topping: 1 cup semi-sweet chocolate chips
Essential Equipment for Making Your Crispy Treats
You don’t need a lot of fancy gear to whip up these fantastic peanut butter squares. Honestly, I used to make these back when I was a young teacher just using whatever pot I had lying around, but having the right tools makes the process much smoother—especially when you’re trying to get that perfect, even layer.
Here are the few things I always have ready before I start melting anything:
- A large, heavy-bottomed saucepan. This helps distribute the heat evenly so the butter and peanut butter don’t scorch on the bottom.
- A large rubber or silicone spatula. You need this for scraping every last bit of that glorious marshmallow mixture out of the pan!
- A sturdy 9×13 inch baking pan. This is the standard size for the perfect thickness, but you could use an 8×8 if you like your treats extra thick and chewy—just know you’ll need to adjust the bake/set time.
- A sheet of wax paper or a spatula lightly greased with butter. This is essential for pressing the mixture into the pan without everything sticking to your hands.
That’s truly it! No stand mixers needed for these simple, nostalgic dessert recipes.
Step-by-Step Instructions for Ultimate peanut butter rice krispie treats
I’m going to walk you through this just like I would my grandchildren. It’s fast, but timing those melts is what guarantees those wonderful, gooey marshmallow squares. Always use low heat for the first stage, because scorched peanut butter tastes bitter, and we don’t want that bitterness in our favorite treat!
- First things first, get your 9×13 pan ready. I recommend lining it with parchment paper that hangs over the sides—it makes lifting the whole slab out so much easier later on. Give it a quick spritz of non-stick spray, too.
- Now grab your saucepan and get that 6 tablespoons of butter melting down over low heat. We’re being patient here.
- Once the butter is liquid, stir in your cup of creamy peanut butter. Keep stirring gently until you have one wonderfully smooth, unified peanut butter sauce in the bottom of the pan.
Melting the Butter and Peanut Butter Base
This is important, so listen up! Once the butter and peanut butter are mixed and shiny, you must, I repeat, must take the pan off the burner. We are adding the marshmallows next, and those things will seize up and turn rubbery if they get too hot. We want them to melt gently using only the residual heat from the pan. Just keep stirring until those marshmallows disappear into the peanut butter mixture. Then, stir in that beautiful vanilla extract for depth.
Combining Marshmallows and Cereal for peanut butter rice krispie treats
This is the final stage before setting, and we need a light hand! Pour your 6 cups of crispy rice cereal right over the warm, gooey mixture. Now, grab your spatula and fold everything together. Don’t stir vigorously like you’re mixing cake batter! We want to gently fold everything until that cereal is just coated. Those air pockets in the cereal are what give the treats their airy structure underneath all that chewiness.
Carla’s Pro Tip: Transfer the mixture to your prepared pan. Use a piece of wax paper or a lightly buttered spatula to press it down. Here’s the big secret: don’t press too firmly! If you compact these peanut butter cereal bars too much, they will set up hard as a brick. Just gently smooth them out so they are even.
If you are adding the optional chocolate topping, melt those chips gently and drizzle them on top now. Let everything cool completely before you slice it. If you need more simple ideas for that sweet tooth, check out my recipes for easy breakfast recipes—sometimes a sweet treat is the best start to the day!
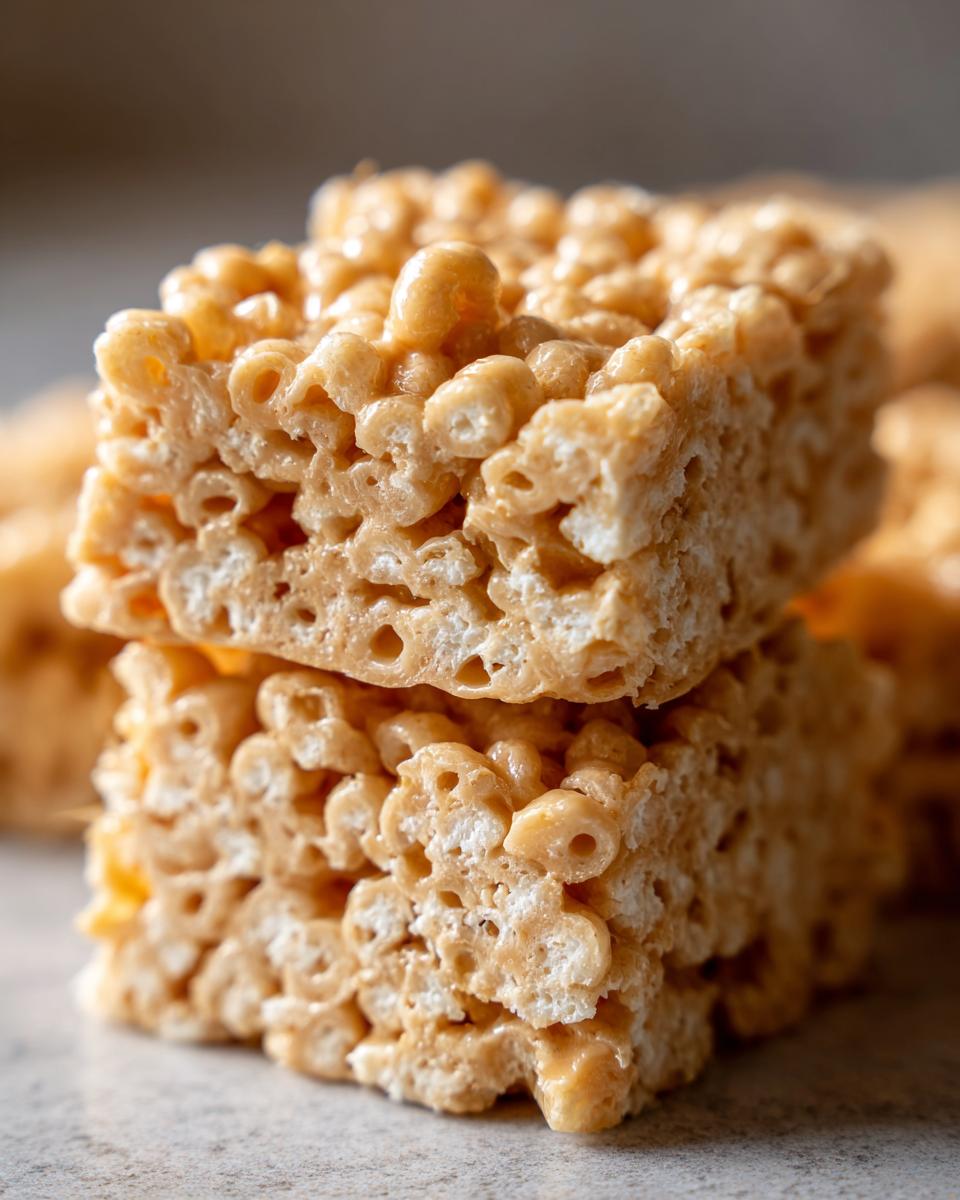
Tips for Perfect peanut butter rice krispie treats Every Time
Now that you have these gorgeous, gooey marshmallow squares, I want to make sure your next batch is just as amazing. The biggest downfall I hear about is when people use stale marshmallows. If your bag has been sitting in the pantry since last Halloween, toss it! Fresh marshmallows are non-negotiable if you want that famous, satisfying pull. This is key to keeping them tender.
If you want a little extra flair—and who doesn’t?—try swirling in some of your chocolate topping before you press the cereal mixture into the pan. You just melt about half the chips, drizzle them over the peanut butter and marshmallow goo, and then gently swirl with a knife before mixing in the cereal. It creates a gorgeous chocolate ribbon throughout the bar!
For even more dessert pleasure, I always have a few easy dessert recipes bookmarked, but these treats rarely need tinkering!
Variations: Scotcharoo Style peanut butter rice krispie treats
Oh, if you grew up anywhere near the Midwest, you surely know about Scotcharoos! If you want to bring that classic flavor into this recipe, it’s super simple. Instead of just melting semi-sweet chocolate chips for the topping, you’re going to combine half butterscotch chips and half semi-sweet chocolate chips. You melt them together until smooth—you might need a tiny bit of shortening to help them flow—and then spread that beautiful, rich topping over the bars once they’ve cooled slightly. The butterscotch adds such a unique, deep sweetness that pairs perfectly with the peanut butter.
Serving Suggestions for Your peanut butter rice krispie treats
These treats are so versatile, which is why I love making a big batch! They fit right in everywhere, from a simple after-school treat to the star of a holiday dessert table. Since they don’t need any baking time, they are truly the ultimate Party Snack Idea No Bake solution when you need something fast.
When I serve these, I find they are best showcased when they are cut neatly into squares, or if I’m feeling fancy, I use a small round cookie cutter after they set for little bite-sized circles. They look wonderful arranged on a tiered platter alongside some fresh fruit or maybe my simple chocolate fudge recipe.
They pair surprisingly well with simpler, slightly tart things because they are quite rich and sweet themselves. Think about serving them alongside a bowl of mixed berries or perhaps a mild, sharp cheddar cheese cube—yes, cheese and peanut butter are friends! If you need more ideas for easy finger foods, swing by my section on easy appetizers and snacks.
You can also make these into little individual cups. You just press the mixture into lined muffin tins instead of a big baking dish. They set up perfectly and make serving easy, keeping everyone’s hands clean!
Storage and Keeping peanut butter rice krispie treats Fresh
After you inevitably cut them all up, the big question is always: how do I keep these beauties from getting hard? Nobody likes a stale, brittle square the next day! Since these are so rich with butter and peanut butter, they actually hold their moisture pretty well, provided you treat them right.
The trick to maintaining that wonderful, chewy marshmallow treats texture is air restriction. You want them covered, but you don’t want moisture to build up either, which can sometimes make the chocolate topping sweaty.
The absolute best way to store your leftover bars—if there are any left, which is rare at my house—is in an airtight container at room temperature. You’ll want to lay them in a single layer if possible. If you have to stack them, place a square of wax paper or parchment paper between each layer. This prevents the sticky peanut butter underside from melting into the chocolate top of the bar underneath it.
Do not put them in the refrigerator! I know that seems logical for keeping things fresh, but the fridge temperature can dry out the marshmallows and make the whole bar hard and brittle when it chills. Keep them on your counter, maybe covered loosely with foil or tucked snug inside an airtight plastic container, for up to three days. They really are best eaten the first day, but I promise they hold up beautifully for snacking through the week.
Frequently Asked Questions About peanut butter rice krispie treats
When folks try this recipe for the first time, they nearly always have a few little questions, and that is perfectly normal! I remember making my first batches and wondering if I was doing everything right. Don’t worry, these reliable, easy rice krispie squares are very forgiving, but getting these details right ensures you get that wonderful chew.
Can I substitute crunchy peanut butter in these peanut butter rice krispie treats?
That is a very common query! If you only have crunchy peanut butter on hand, you certainly *can* use it. However, I strongly suggest sticking to creamy for this specific recipe. Why? Because we want smooth, homogeneous flavor binding everything together. If you use crunchy peanut butter, you change the texture balance. You’ll end up with those noticeable lumps of peanuts throughout, which can make the bar feel a bit crumbly rather than perfectly cohesive and chewy. If you must use it, go ahead, but know that the pure smoothness achieved with creamy is what makes these bars so irresistible.
How long do these Gooey Marshmallow Squares really last?
If you store them correctly at room temperature—and I mean airtight, just like I explained earlier—these treats will stay delightfully soft and gooey for about three days. After that, the freshness starts to fade a little, and they can get firmer. They never last long enough in my house to find out past day four, honestly! But for guaranteed freshness, aim to serve them within 72 hours of making them.
Can I make these in a different pan size?
Yes, you absolutely can adjust the pan size! The 9×13 pan gives you a great, standard thickness that’s easy to cut. If you use a smaller 8×8 inch pan, you are essentially doubling the depth of batter in that space. This means your bars will be super thick and incredibly gooey marshmallow squares, but you will definitely need to increase your setting time—maybe even let them chill a little longer before cutting.
Are these considered ‘3 Ingredient Peanut Butter Treats’?
That’s a good clarification! You might see recipes online calling for only three ingredients—usually peanut butter, sugar, and cereal, perhaps skipping the marshmallows altogether. While those recipes exist, they are fundamentally different; they aren’t the classic sticky, marshmallow-based treat we are making here. Our recipe is designed for maximum chewiness, so we need the butter, marshmallows, vanilla, and cereal in addition to the peanut butter for the best flavor and structure. It’s still a super simple, quick peanut butter dessert, but it needs those extra components to taste this rich!
Nutritional Estimates for peanut butter rice krispie treats
Now, I’m a home cook, not a dietician, so please take these numbers as a cozy guide rather than a strict requirement! They are estimates based on the standard ingredients listed in the recipe, assuming you make 18 bars. When we are making these comforting, nostalgic dessert recipes, we aren’t usually counting every gram, but it’s always good to have an idea!
For one standard bar from this recipe, here is what you can generally expect:
- Calories: Around 210 per bar
- Total Fat: About 10g (Keep in mind that’s a good mix of butter and peanut butter!)
- Saturated Fat: Roughly 3g
- Carbohydrates: Close to 30g
- Sugar: About 18g
- Protein: A nice little boost of about 4g
- Sodium: Around 150mg
Remember, if you add the chocolate topping or make the chocolate peanut butter swirl variation, those numbers will climb slightly. Also, if you’re using a natural peanut butter or a different brand of cereal, values can shift a bit. But for a wonderful, satisfying, kid friendly snack, I think these figures are just fine! Enjoy them with a smile, knowing they are made right here in your own kitchen.
PrintUltimate Chewy Peanut Butter Rice Krispie Treats
Make the best, chewy peanut butter rice krispie treats using simple ingredients. This no-bake dessert is quick to prepare and perfect for snacks or parties.
- Prep Time: 10 min
- Cook Time: 5 min
- Total Time: 15 min
- Yield: 18 bars 1x
- Category: Dessert
- Method: No Bake
- Cuisine: American
- Diet: Vegetarian
Ingredients
- 6 tablespoons unsalted butter
- 1 cup creamy peanut butter
- 1 (10 ounce) package miniature marshmallows
- 6 cups crispy rice cereal
- 1 teaspoon vanilla extract
- Optional: 1 cup semi-sweet chocolate chips for topping
Instructions
- Lightly grease a 9×13 inch baking pan or line it with parchment paper, leaving an overhang for easy removal.
- In a large saucepan, melt the butter over low heat.
- Add the peanut butter to the melted butter and stir until completely smooth. Remove the pan from the heat.
- Add the marshmallows to the peanut butter mixture. Stir constantly until the marshmallows are fully melted and the mixture is smooth. Do not overheat the marshmallows.
- Stir in the vanilla extract.
- Add the crispy rice cereal to the marshmallow mixture. Fold gently until the cereal is evenly coated.
- Transfer the mixture to the prepared baking pan. Lightly press the mixture into the pan using a piece of wax paper or lightly buttered spatula. Do not press too firmly, as this makes the treats hard.
- If using the chocolate topping, melt the chocolate chips in a microwave-safe bowl in 30-second intervals, stirring until smooth. Drizzle or spread the melted chocolate over the top of the treats.
- Let the treats cool completely before cutting into squares.
Notes
- For extra chewy marshmallow treats, use fresh marshmallows.
- If you want a chocolate peanut butter swirl, melt half the chocolate and swirl it into the peanut butter mixture before adding the cereal.
- For a Scotcharoo style bar, melt 1/2 cup butterscotch chips with 1/2 cup semi-sweet chocolate chips for the topping.
Nutrition
- Serving Size: 1 bar
- Calories: 210
- Sugar: 18g
- Sodium: 150mg
- Fat: 10g
- Saturated Fat: 3g
- Unsaturated Fat: 7g
- Trans Fat: 0g
- Carbohydrates: 30g
- Fiber: 1g
- Protein: 4g
- Cholesterol: 5mg