
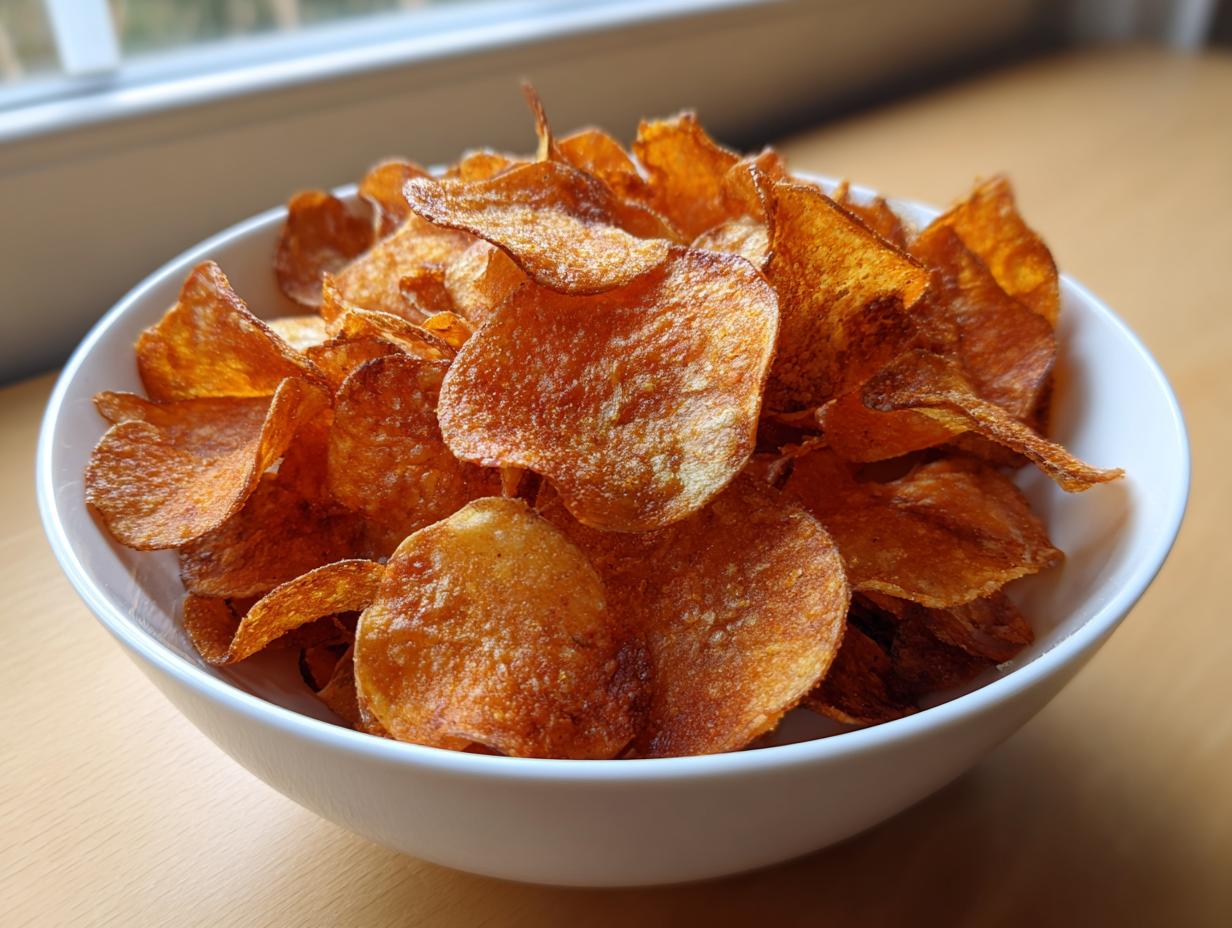
Oh, that sound! You know the one—that sharp, satisfying crackle that only the best, thinnest potato chips can deliver? Sometimes, nothing else will scratch that savory itch, and honestly, why settle for the stuff in a bag when you can make something so much better right in your own kitchen? That’s why I’m sharing my go-to guide for homemade chips. We’re talking about achieving that perfect, delicate crunch, whether you choose the indulgent deep-fry method, the lighter oven-bake, or the quick air fryer approach. This recipe is dependable, just like all the meals I share here at Cooking by Carla, designed to bring a little bit of joy and togetherness to your everyday snacking moments.
If you’re looking for the simplest way to elevate your snack game for guests or just for movie night, I’ve got you covered. You can check out some other easy appetizers and snacks, but trust me, these chips are special.
- Why You Will Make The Best Crispy Potato Chips Recipe Again and Again
- Ingredients Needed for Perfect Homemade Potato Chips
- Carla's Expert Tips for Crispy Potato Chips Success
- How to Make Potato Chips: Three Methods for Ultimate Crunch
- Seasoning Your Homemade Potato Chips Immediately After Cooking
- Serving Suggestions for Your Crunchy Snack Recipes
- Storage and Reheating Instructions for Leftover Potato Chips
- Frequently Asked Questions About Making Potato Chips
- Estimating the Nutrition for Your Homemade Potato Chips
- Estimating the Nutrition for Your Homemade Potato Chips
Why You Will Make The Best Crispy Potato Chips Recipe Again and Again
When I first started experimenting with making my own snacks, I just wanted something crunchy that didn’t feel heavy, and these homemade potato chips nailed it. They are simply the best because they offer reliability and flexibility. You aren’t locked into one method, which is perfect for whatever mood strikes you!

- True, Unbeatable Crunch: We tackle the starch problem head-on. By properly soaking those slices, you guarantee a crisp texture that holds up to seasoning, unlike many sad, floppy results you might have gotten trying this before.
- Total Method Versatility: Whether you’re feeling decadent and want to fry them, you’re short on time and need the air fryer, or you’re going for a lighter approach in the oven—this base recipe works flawlessly for all three options.
- Pantry Staple Ingredients: You only need a few simple items—a couple of potatoes, some kind of oil, and salt. No need to run out for specialized ingredients for this classic snack.
- Flavor Control is Everything: You control exactly how much salt goes on, and you can infuse them with your favorite flavors, like that deep garlic powder or smoky paprika, capturing that classic potato chip flavor perfectly.
- Incredibly Fast for a Homemade Treat: Seriously, once you get done slicing, the actual cooking time is minimal. You’ll have a fresh, warm, and crunchy snack on the table quicker than the delivery driver gets to your door!
Ingredients Needed for Perfect Homemade Potato Chips
When it comes to making delicious potato chips from scratch, the ingredient list is wonderfully short. That’s the beauty of turning something simple into something spectacular! You don’t need a whole pantry full of things to get that amazing crunch. Just make sure you have potatoes that suit the job and quality oil for your chosen method. You can find lots of great recipes using root vegetables, like my crispy parmesan potato stacks, but for the classic chip, these are what you need:
Here is what you’ll pull together for your batch:
- The Potatoes: You’ll need about 3 medium to large potatoes. I always reach for Russet potatoes because they have that high starch content that fries up light and crispy, but Yukon Golds work beautifully too, giving you a slightly richer flavor.
- The Soak: You must have a large bowl ready with about 4 cups of very cold water. This isn’t optional; it’s the first secret to getting maximum crispiness!
- The Salt: Just 1 teaspoon of plain salt to start, but you might need a little more after they are seasoned hot. Salt is everything for a good savory homemade snack.
Now, depending on how you plan to cook them—and you get to choose!—you’ll need one of the following:
For Deep Frying (The Indulgent Route):
- 4 cups of high-heat oil, like vegetable or peanut oil. Make sure you have enough to safely submerge the chips!
For Baking or Air Frying (The Lighter Options):
- Just 1 tablespoon of olive oil, or a simple cooking spray substitute. Remember, we are just lightly coating them for color and texture, not drowning them!
And finally, for that real burst of flavor, grab whatever seasonings you love! I usually stick to a mix of garlic powder and paprika for that familiar, universally loved savory flavor profile.
Carla’s Expert Tips for Crispy Potato Chips Success
When I first started making potato chips at home, I thought cutting them thinly was the only hard part. Oh, was I wrong! The secret to real, shatteringly crisp chips—the kind that make a satisfying noise when you bite them—comes down to managing moisture. If you skip these steps, even the best oil or the hottest oven won’t save you from sad, floppy results. I learned this the hard way during my very first attempt when I rushed the drying step for a big football party. Let’s just say those chips were oily and didn’t last five minutes before they turned into limp, greasy ribbons. Not fun!
These tips are what get me that perfect texture every single time, whether I am making the baked versions or going full-on indulgent fry. You can see how important technique is for these crispy cheesy old-fashioned corn fritters, too. It’s all about treating the basic ingredients right!
The Non-Negotiable Step: Removing Starch for Crunchy Snack Recipes
This is the step that separates a good homemade chip from a truly great one. You need to get rid of the surface starch. When raw potato slices sit in cold water for about 30 minutes, that cloudy white stuff you see floating? That’s the starch we need to banish. It’s what causes the chips to stick together and brown too quickly instead of crisping up evenly.
Pour off that starchy water, rinse the slices under cool water until the water is running totally clear, and then you move to the second most crucial stage—drying them out completely.
Uniform Slicing for Evenly Cooked Potato Chips
Have you ever noticed how some chips in the bag are burnt while others are barely cooked? That happens when the slices aren’t the same thickness. For the best results in any cooking method—frying, baking, or air frying—you need every slice to cook at the exact same rate.
I highly recommend using a mandoline slicer if you have one. It takes a minute to set up, but then you can fly through those potatoes! You’re aiming for razor-thin, almost translucent slices. If you’re using a sharp knife, take your time; consistency matters more than speed here. If you look at resources online, like the wonderful tips over at Homemade Vibes, they all agree: thin and even is the name of the game for perfect homemade potato chips.

How to Make Potato Chips: Three Methods for Ultimate Crunch
Okay, the potatoes are washed, sliced paper-thin, and bone-dry—phew! Now for the fun part, turning those pale slices into golden, crunchy potato chips. As I mentioned, you have options here, and I want you to pick the one that fits your energy level that day. Whether you want that super indulgent, perfectly browned chip from the fryer or a lighter version for an easy afternoon snack, we cover the bases. Remember how much I emphasized drying them? That pays off huge here, no matter which method you choose!
Method 1: Deep Frying for Classic Potato Chips Flavor
If you want that true, greasy-bag classic taste, you need to fry. Don’t be nervous about the oil; just be prepared! You have to heat up about 4 cups of vegetable or peanut oil in a heavy-bottomed pot or a deep fryer until it hits exactly 350°F (175°C). Use a candy thermometer if you have one—temperature consistency is your best friend here.
Here’s the huge tip: work in *tiny* batches. Don’t dump all your slices in at once! Adding too many potatoes cools the oil way down, and then your chips turn soggy. Carefully drop a small layer in, let them bubble happily for about 3 to 5 minutes until they look golden brown and you can hear that deep, satisfying pop quiet down. Use a slotted spoon to lift them out quickly and place them straight onto paper towels. Speed is essential for that classic potato chip flavor!
Method 2: Baked Potato Chips for a Healthier Chips Recipe
If you’re aiming for a genuinely guilt-free chips recipe that still satisfies that craving for crunch, the oven is your workhorse. Preheat your oven high—I mean 400°F (200°C). This high heat helps bake the moisture out quickly.
Toss your dry slices with just 1 tablespoon of olive oil, making sure they aren’t clumped together. Line your baking sheets with parchment paper—this is a lifesaver for cleanup and sticking! Spread them out into a single layer, and then bake them for about 15 to 20 minutes. Don’t walk away near the end! Around the 10-minute mark, you need to flip every single slice, then watch them closely until they are golden around the edges. If you want more tips on this method, check out the clever advice over at Family Home Meals.
Method 3: Air Fryer Potato Chips for Quick Results
For those days when you need an instant, crunchy snack but don’t want to deal with gallons of oil, the air fryer is amazing. Preheat your machine to 375°F (190°C). Remember, air fryers cook with circulating hot air, so you still need a tiny bit of oil or a good spritz of cooking spray.
Place your thinly sliced potatoes in a single layer inside the basket; you will definitely have to work in batches, or they will steam instead of crisp! Cook them for 10 to 15 minutes total, but set a timer to shake the basket vigorously every 5 minutes. This shaking is how you mimic stirring them in hot oil and ensures they get that even golden color and great crunch. You can find another fantastic approach to air fryer potato chips on my site!
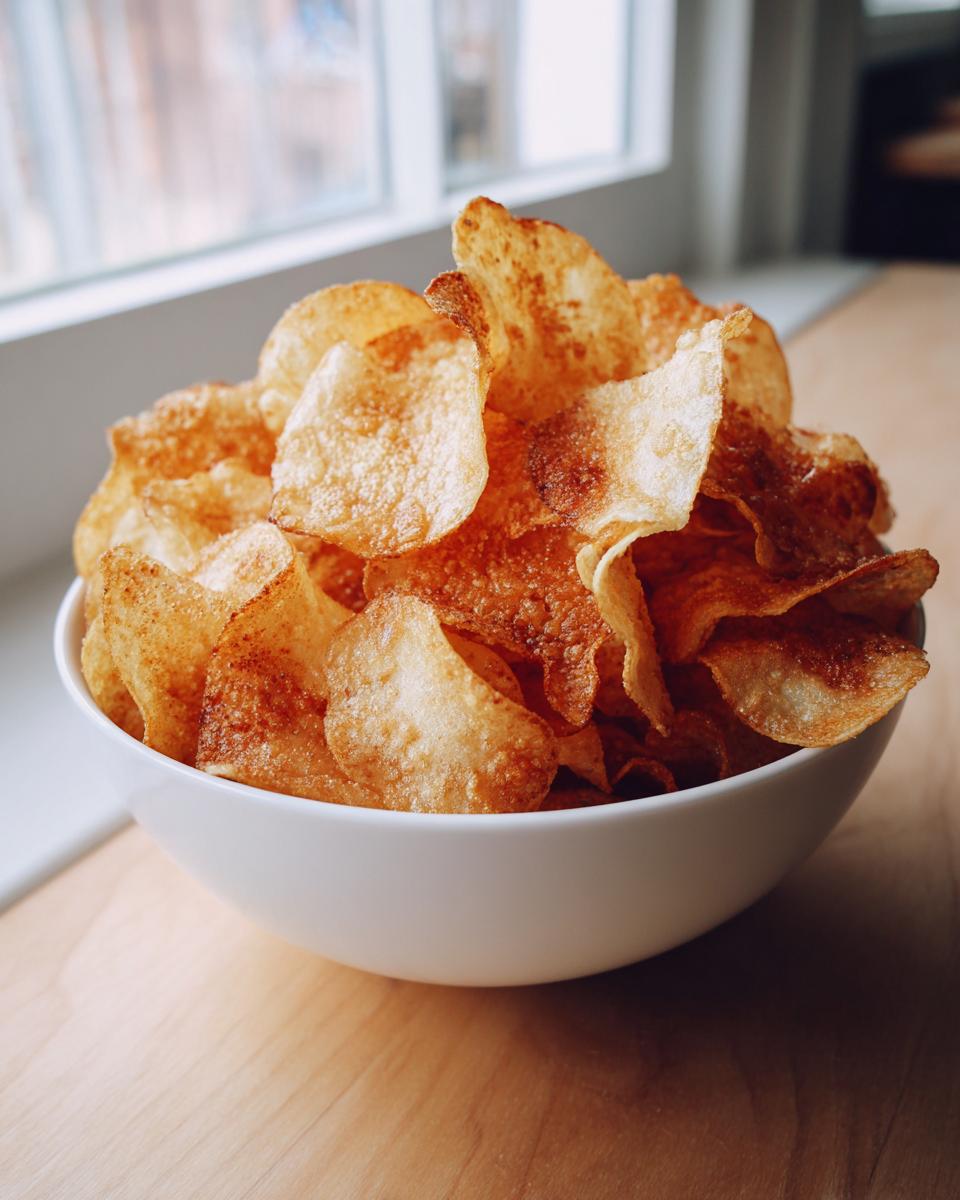
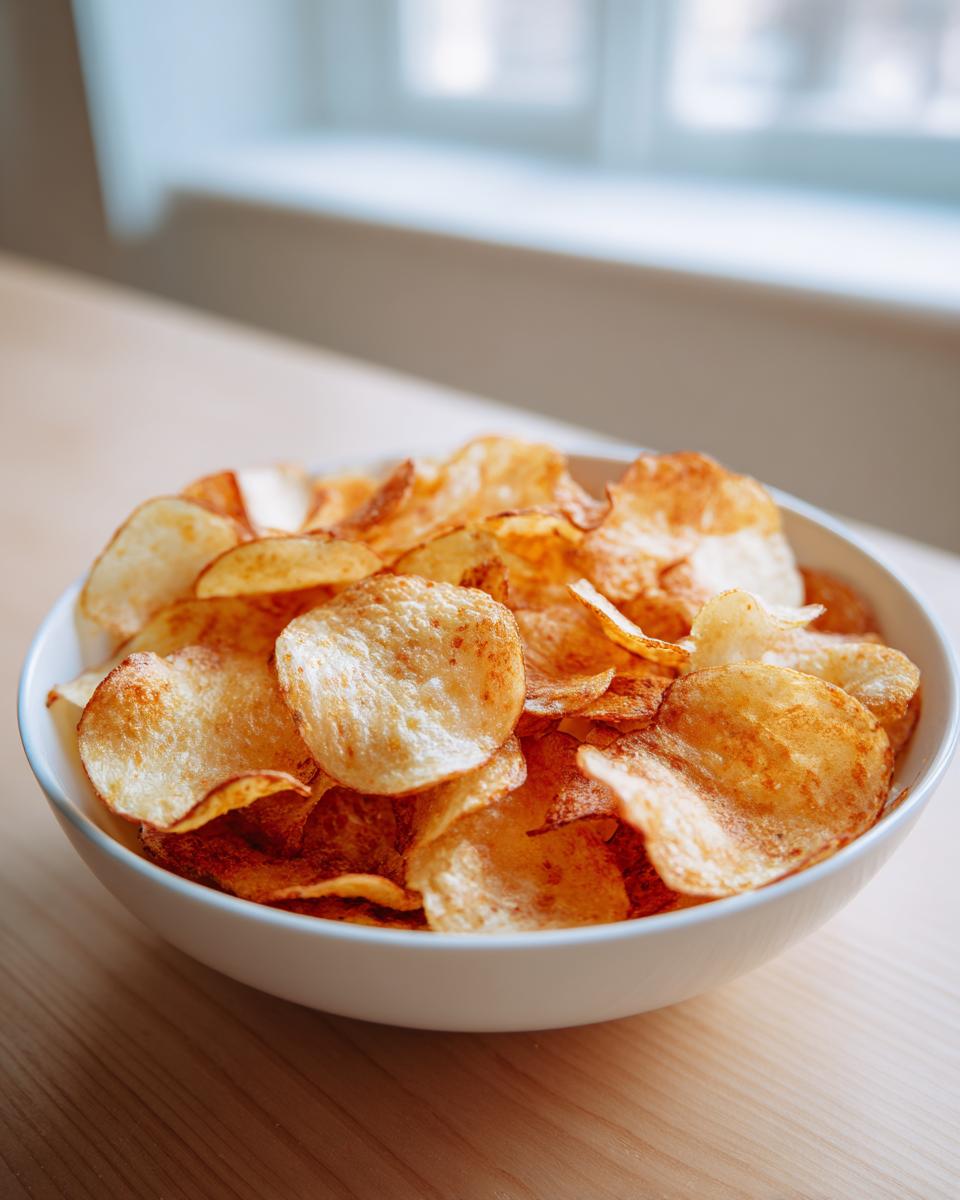
Seasoning Your Homemade Potato Chips Immediately After Cooking
This step is where the magic truly happens, and timing is absolutely everything! You cannot wait for these chips to cool down before you season them. If you let them sit for even five minutes, the trace moisture left inside will evaporate, and the seasoning—whether it’s plain salt or a full blend—will just slide right off or refuse to stick at all.
As soon as your beautiful, golden potato chips come out of the oil, the oven, or the air fryer basket, get them into a large bowl right away. I mean immediately! You want them hot enough to pull the seasoning to them, but not so hot that they are still actively cooking.
For that universal, can’t-stop-eating-them flavor that rivals the store-bought favorite, start with good quality salt. Don’t skimp here; salt makes flavor pop! Once salted, toss them gently but quickly. If you want to capture that true classic potato chip flavor that everyone loves, start adding things like garlic powder or a touch of paprika for color and smoky depth. Remember, you can try a BBQ blend too, but for the first batch, trust me: salt, plus good garlic powder, is unbeatable.
Be gentle with your tossing! These chips are incredibly fragile when hot. You’re just aiming to coat every slice lightly. If you’re making a big batch, divide the chips onto several large trays before seasoning one small section at a time so you don’t crush the first batch while you’re still dealing with the last batch coming out of the fryer.
Serving Suggestions for Your Crunchy Snack Recipes
Once you have perfectly seasoned, shatteringly crisp homemade chips, the job isn’t quite done, right? You need something fantastic to dip them into! These incredible chips are amazing all on their own—especially right out of the air fryer—but they really shine when paired with a great sauce or served alongside a simple meal. These are my favorite go-to options when I’m setting out a spread for friends or just making a special family snack.
When planning your next gathering, think about contrast. If you season your chips heavily with salt and vinegar flavor (which is my husband’s favorite way to make them!), you might want a cool, creamy dip to balance that out. Or, if you’ve gone the mild route, you can pile on the flavor with a hearty dip.
My absolute favorites for topping a plate of these homemade delights:
- The Ultimate Creamy Dip: You simply cannot go wrong with a rich, homemade dip. I always make a batch of my classic onion dip when I have company; it has layers of flavor that taste so much better than the packet mix.
- For Cheese Lovers: If you know your crowd loves bold flavor, whip up a batch of quick creamy homemade nacho cheese sauce. It’s wonderful for dipping and makes the chips feel super indulgent.
- As a Sandwich Side: Forget pickles! A pile of these crispy potato chips makes the perfect crunchy side for my husband’s favorite deli sandwiches or even alongside a simple grilled cheese. They add texture contrast that store-bought chips just can’t match.
Honestly, these crunchy snack recipes are so easy to make that I usually double the batch just to ensure there are enough left over for me to enjoy quietly the next morning while drinking my coffee!
Storage and Reheating Instructions for Leftover Potato Chips
Now, here’s the honesty portion of my advice regarding these amazing homemade potato chips. They are genuinely, completely, 100% best eaten within an hour of coming out of the heat source. That first, perfect crunch fades faster than you might think! They are fragile, my dears, and once they cool completely, they start to absorb the humidity right out of the air. That’s just science, and we can’t beat it, but we sure can delay the inevitable.
If you do manage to have any leftovers—which I rarely do, I confess—you need to put them away correctly. Grab your most robust, airtight container. I mean the kind with the latching lid or a really good silicone seal. Don’t even think about using a zip-top bag unless you plan to eat them within a few hours; those bags let far too much air seep in.
Once sealed tightly, keep them in a cool, dry pantry. You might get away with them being relatively crunchy for about 24 hours, especially if you fried them. The baked or air-fried versions lose their snap slightly quicker, in my experience.
Room Temperature or Refrigerator?
Always, always, always store your chips at room temperature. Never put them in the refrigerator! The cold air and extra moisture in the fridge will turn those lovely, crispy slices soft almost instantly. We want to keep them as dry as possible, and the fridge is just a humid little environment we need to avoid.
Bringing Back the Crunch (If You Must)
If you find your chips have gone a little limp the next day, don’t toss them! They still taste wonderful; they just lack that satisfying acoustic quality. Fortunately, reviving them is nearly as easy as making them!
You only need a few minutes to shock them back to life. If you used the air fryer method, pop them back into the air fryer basket at about 370°F (185°C) for just 2 to 3 minutes. If you went the oven route, spread them back on a parchment-lined baking sheet and pop them into a 350°F (175°C) oven for about 4 minutes. The goal isn’t to cook them again, only to evaporate the accumulated surface moisture.
If you fried them originally, the oven is gentler for reheating than the air fryer often is. Just aim for that quick blast of dry heat, pull them out the second you hear them starting to crisp back up again, and eat them right away! They won’t last long once they cool down the second time, so this is definitely a ‘right now’ solution!
Frequently Asked Questions About Making Potato Chips
Oh, I get so many wonderful questions about these chips! It’s exciting to see so many of you trying out these homemade potato chips recipes. When you’re trying to achieve that perfect crunch, a few common sticking points always pop up, especially when trying crunchy snack recipes for the first time. I want to make sure you feel confident trying the frying, baking, and air fryer methods! Don’t worry if your first batch isn’t magazine-perfect; cooking is all about practice and learning the quirks of your own oven or fryer.
Sometimes I’ll even look up other folks’ advice when I’m trying something new—like reading over the tips on Air Fryer Healthy to double-check my air fryer temperature settings for my chips.
Which potato variety yields the best crispy potato chips recipe?
This is such an important question for getting that shatteringly crisp result! If you are chasing the crunch, you want a potato that is high in starch and low in moisture. My top recommendation, hands down, is the Russet potato. They are starchy, which means when the starch dissolves in the soaking water, you’re removing the enemy of crispiness! Yukon Gold potatoes are my excellent runner-up; they give you a slightly richer potato flavor but still crisp up reliably well, especially when you bake or air fry them.
You’ll find that waxy potatoes, like red potatoes, tend to hold onto their water a bit too much, resulting in chips that are chewier rather than delicate and crisp.
Can I make these potato chips ahead of time?
Bless your heart for thinking ahead! I truly wish you could! When it comes to these delicate, thinly sliced potato chips, they really peak about 15 minutes after they come off the heat. They are at their most fragile and most golden then.
If you absolutely must make them ahead, I’d suggest aiming for no more than 4 hours before you plan to serve them, and you *must* store them in an airtight container at room temperature (never the fridge!). And when you serve them, plan on giving them a quick 2-to-4-minute blast in a hot air fryer or oven to wake up that crunch again. If you’re planning for a big party or need something ready for quick, healthy lunch ideas for the next day, it’s better to slice and soak the potatoes the night before, drying them just before cooking in the morning.
Estimating the Nutrition for Your Homemade Potato Chips
Because you have the wonderful flexibility to choose your cooking method—be it frying those decadent chips or going the healthier route with baking or air frying—the nutritional data changes significantly! I always like to be transparent about what’s in the food we make. The numbers below are estimates based on using Russet potatoes and the Deep Frying Method, which absorbs the most oil. If you use the baked or air-fried methods described above, your fat and calorie numbers will be significantly lower, making them a much more guilt-free snack option!
Think of this as a general guide for the indulgent version:
- Serving Size: About 1 cup
- Calories: Roughly 250 calories
- Total Fat: Around 15 grams (this is where the frying method bumps things up)
- Sodium: About 180 mg, depending on how heavy-handed you are with the salt shaker!
- Carbohydrates: About 28 grams
- Protein: 3 grams
For the much lighter, baked version of these potato chips, you can typically cut the fat content down well below 5 grams per serving, making them fantastic for regular snacking. Remember, if you are looking for balanced meals throughout the week, checking out my easy breakfast recipes helps balance out the indulgence of a Friday night snack!
Estimating the Nutrition for Your Homemade Potato Chips
Because you have the wonderful flexibility to choose your cooking method—be it frying those decadent chips or going the lighter route with baking or air frying—the nutritional data changes significantly! I always like to be transparent about what’s in the food we make. The numbers below are estimates based on using Russet potatoes and the Deep Frying Method, which absorbs the most oil. If you use the baked or air-fried methods described above, your fat and calorie numbers will be significantly lower, making them a much more guilt-free snack option!
Think of this as a general guide for the indulgent version:
- Serving Size: About 1 cup
- Calories: Roughly 250 calories
- Total Fat: Around 15 grams (this is where the frying method bumps things up)
- Sodium: About 180 mg, depending on how heavy-handed you are with the salt shaker!
- Carbohydrates: About 28 grams
- Protein: 3 grams
For the much lighter, baked potato chips version of these potato chips, you can typically cut the fat content down well below 5 grams per serving, making them fantastic for regular snacking. Remember, if you are looking for balanced meals throughout the week, checking out my easy breakfast recipes helps balance out the indulgence of a Friday night snack!
Print
The Best Homemade Crispy Potato Chips Recipe

Make thin, crispy potato chips from scratch using your preferred method: deep-fried, oven-baked, or air-fried. This recipe delivers the satisfying crunch of classic snack food with simple ingredients.
- Prep Time: 20 min
- Cook Time: 20 min
- Total Time: 40 min
- Yield: 6 servings 1x
- Category: Snack
- Method: Frying, Baking, or Air Frying
- Cuisine: American
- Diet: Vegetarian
Ingredients
- 3 large Russet or Yukon Gold potatoes
- 4 cups cold water (for soaking)
- 1 teaspoon salt (or to taste)
- For Frying: 4 cups vegetable oil or peanut oil
- For Baking/Air Frying: 1 tablespoon olive oil or cooking spray
- Seasoning options: Garlic powder, paprika, BBQ seasoning
Instructions
- Prepare the Potatoes: Wash and dry the potatoes well. You do not need to peel them unless you prefer to. Use a mandoline slicer or a very sharp knife to slice the potatoes as thinly as possible, aiming for uniform thickness for even cooking.
- Soak the Slices: Place the thin potato slices into a large bowl and cover them completely with cold water. Let them soak for at least 30 minutes, or up to 2 hours. This step removes excess starch, which is key to achieving maximum crispiness.
- Dry Thoroughly: Drain the potatoes and rinse them under cold running water until the water runs clear. Spread the slices in a single layer on clean kitchen towels or paper towels. Pat them completely dry. Moisture is the enemy of crunch, so take time to dry them well.
- Choose Your Cooking Method:
- Deep Frying: Heat the oil in a heavy-bottomed pot or deep fryer to 350°F (175°C). Working in small batches, carefully add the potato slices to the hot oil. Fry for 3 to 5 minutes, stirring occasionally, until they are golden brown and crisp. Remove with a slotted spoon and drain on a paper towel-lined plate.
- Oven Baking: Preheat your oven to 400°F (200°C). Toss the dry potato slices with 1 tablespoon of olive oil. Spread them in a single layer on baking sheets lined with parchment paper. Bake for 15 to 20 minutes, flipping halfway through, until they are golden and crisp. Watch closely near the end to prevent burning.
- Air Frying: Preheat your air fryer to 375°F (190°C). Lightly toss the slices with a small amount of oil or cooking spray. Cook in a single layer (work in batches) for 10 to 15 minutes, shaking the basket every 5 minutes until they are golden brown and crunchy.
- Season Immediately: While the chips are still hot, transfer them to a large bowl. Sprinkle immediately with salt and any other desired seasonings, like garlic powder or paprika. Toss gently to coat evenly.
- Serve: Let the chips cool slightly before serving. They are best enjoyed the day they are made for the ultimate crunch.
Notes
- For the crispiest results when frying, ensure your oil temperature stays consistent. If the oil cools too much, the chips will absorb oil and become soggy.
- If you are baking or air frying, slicing the potatoes very thinly and soaking them properly are the most important steps for achieving a satisfying crunch without deep frying.
- Try tossing the chips with a light dusting of nutritional yeast after frying for a cheesy flavor boost.
Nutrition
- Serving Size: 1 cup
- Calories: 250
- Sugar: 1
- Sodium: 180
- Fat: 15
- Saturated Fat: 2
- Unsaturated Fat: 13
- Trans Fat: 0
- Carbohydrates: 28
- Fiber: 3
- Protein: 3
- Cholesterol: 0