
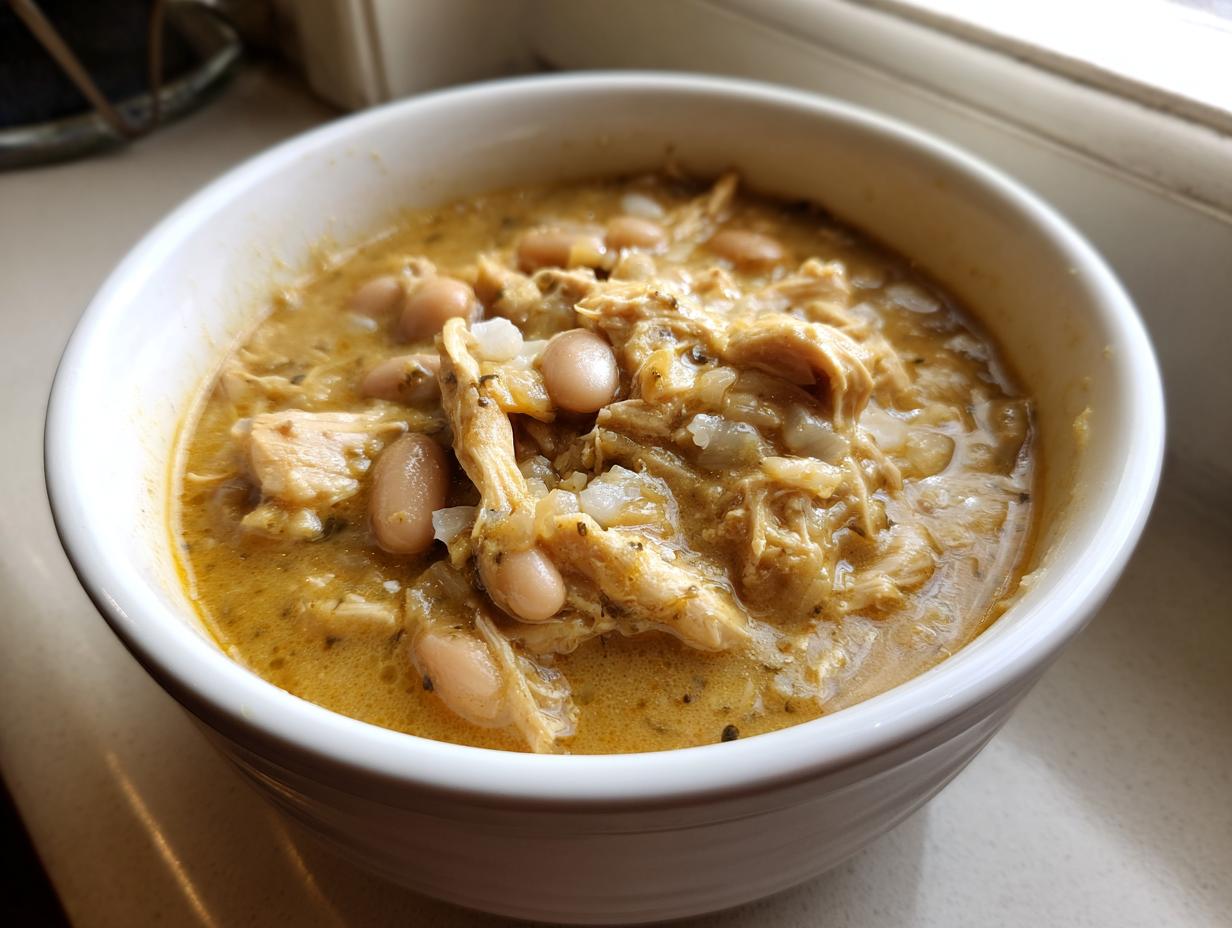
Oh, my friends, have I got a treat for you today! Sometimes you just need that deep, savory hug of a classic comfort food, but who has hours on a Tuesday night, right? That’s why I am so excited to share what I truly believe is the absolute best, quickest, and creamiest instant pot white chicken chili you will ever make. When I developed this, I focused on getting that richness you usually find in recipes that simmer all afternoon, but shrinking the time down. As a former teacher, clarity in instructions is just second nature to me, and my Midwestern home cooking roots mean I always aim for flavor you can build a memory around. If you are looking for great recipes that save time, check out my collection of simple weeknight dinners! Trust me, this one-pot wonder is about to become your new family favorite!
- Why This Creamy Instant Pot White Chicken Chili Is Your New Weeknight Staple
- Gathering Ingredients for Your Instant Pot White Chicken Chili
- Step-by-Step Instructions for the Best Instant Pot White Chicken Chili
- Expert Tips for Flavorful Chili Seasoning in Your Pressure Cooker White Chicken Chili
- Serving Suggestions and Toppings for Comfort Food Pressure Cooker Meals
- Storage and Reheating Instructions
- Frequently Asked Questions About White Bean Chili
- Nutritional Estimates for This Hearty Meal
- Share Your Kitchen Creations
Why This Creamy Instant Pot White Chicken Chili Is Your New Weeknight Staple
When I look at my community of home cooks, I know the biggest challenge is finding time to make something truly wonderful. This recipe solves that problem beautifully! It delivers that rich, hearty feeling of traditional chili but gets onto your table astonishingly fast. It truly is the ultimate for easy weeknight dinners.
- It’s a genuine one-pot meal, meaning cleanup is a breeze!
- The Instant Pot handles all the heavy lifting, leaving you free to set the table or help with homework.
- The flavor profile is complex—warm, savory, and bright—but it tastes like it cooked for hours.
Speed and Convenience of the Pressure Cooker White Chicken Chili
You really can’t beat the timing here. With only about 15 minutes of chopping and stirring before you seal the lid, the whole thing is ready, from start to shred, in about 40 minutes total. That’s faster than most take-out options, and far healthier too! The pressure cooker does all the hard work necessary for tenderizing the chicken perfectly.
Achieving the Perfect Creamy Chicken Soup Instant Pot Texture
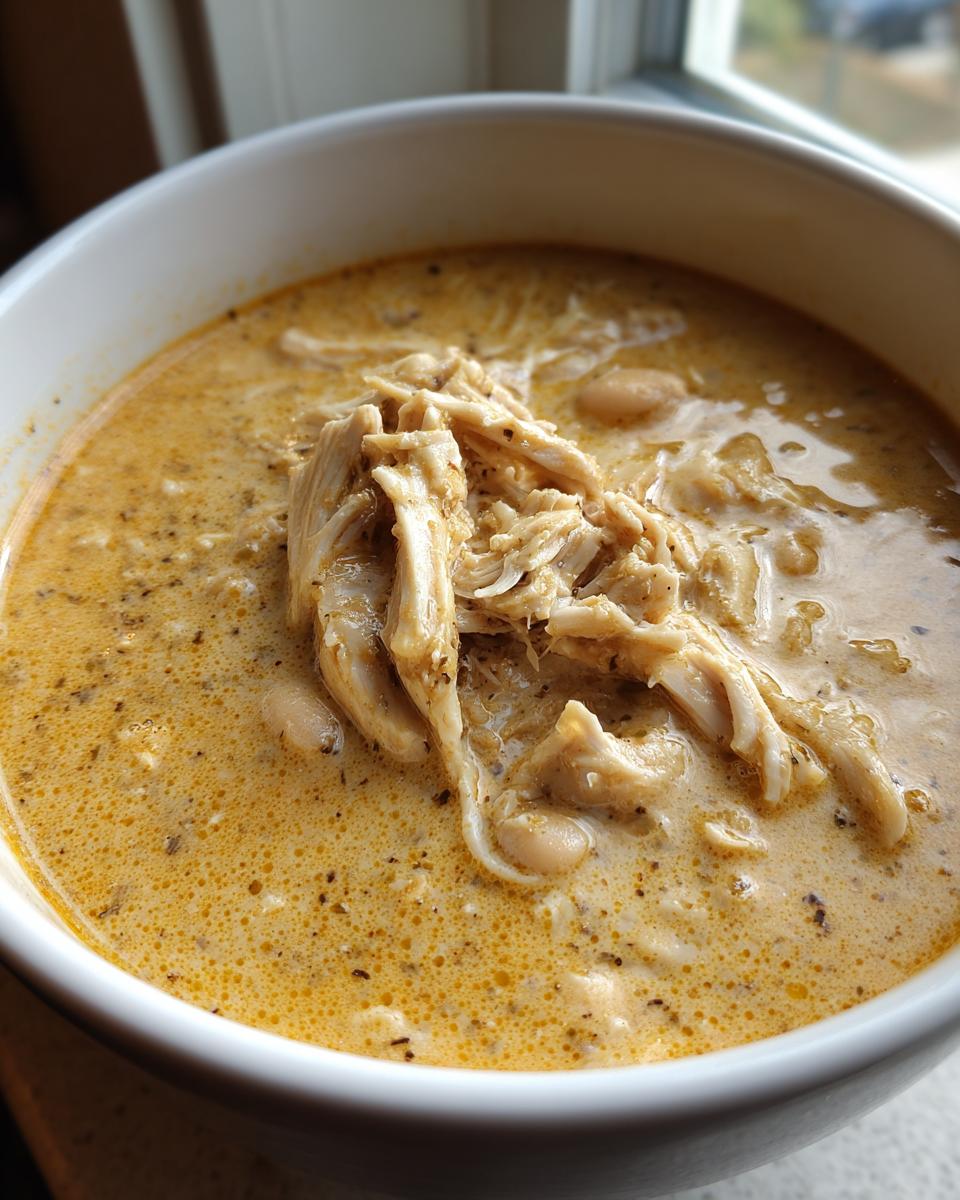
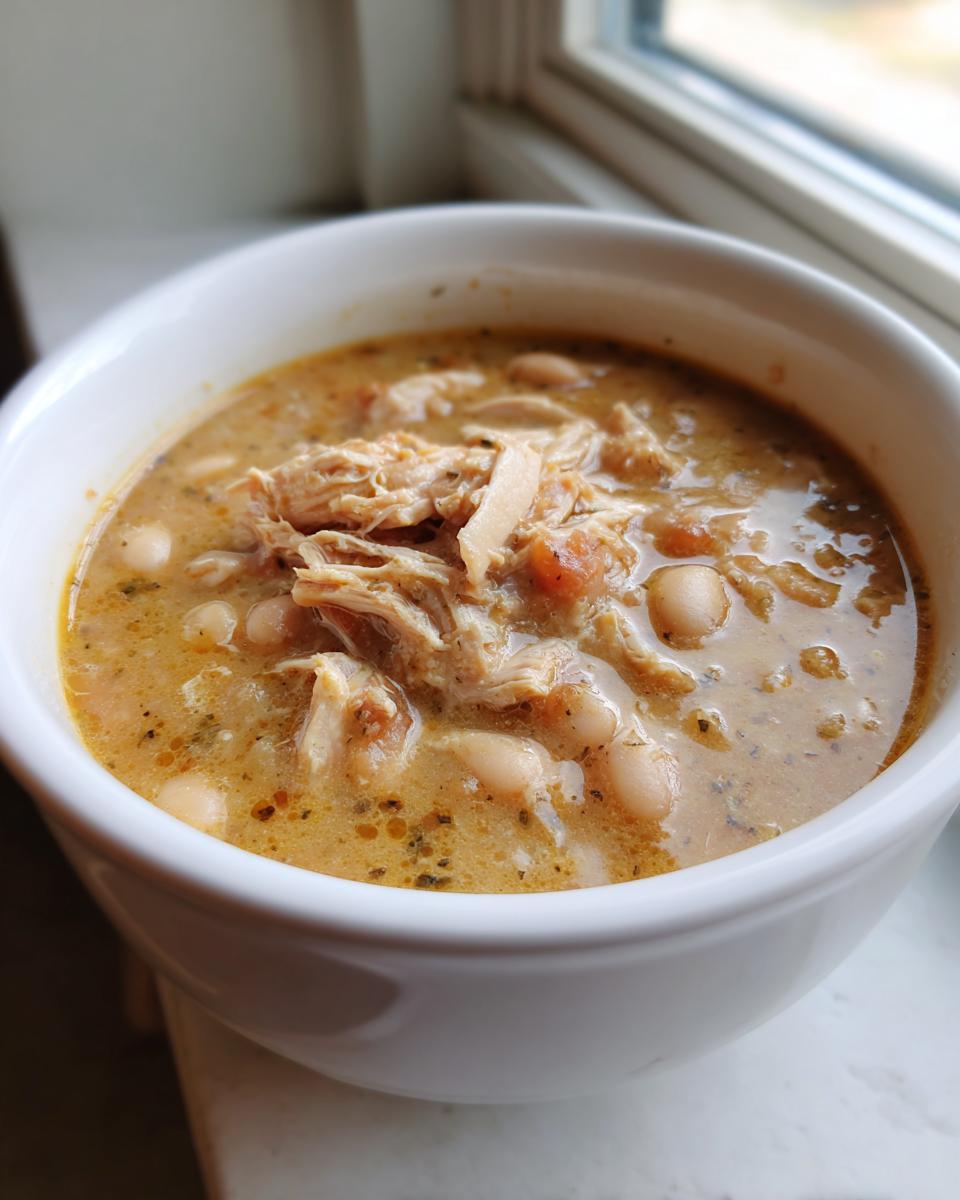
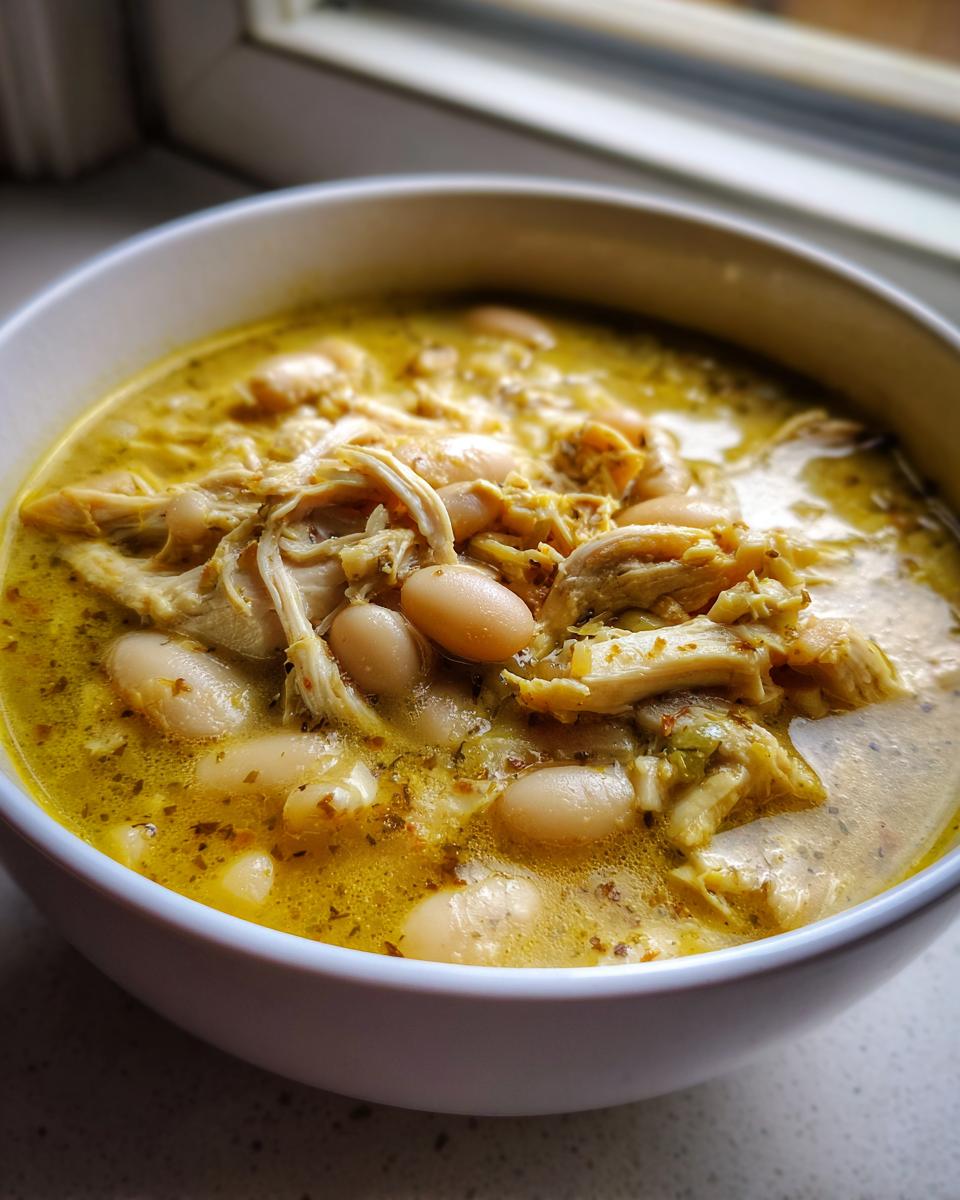
This is where the magic happens! We aren’t using a ton of heavy cream, but we get that beautiful, thick texture because we’re using white beans. After the pressure cycle, we mash just a little bit of those soft beans right in the pot. Then, a final stir with the cream or Greek yogurt brings it all together into the best creamy chicken soup instant pot consistency you can imagine. It clings wonderfully to everything!
Gathering Ingredients for Your Instant Pot White Chicken Chili
Alright, let’s talk about what goes into this glorious pot! Getting your ingredients prepped—what we call ‘mise en place’—is half the battle. I always tell my grandkids that if the ingredients are ready, the rest is just stirring and waiting for that wonderful pressure cooker whistle! This recipe is straightforward, relying on pantry staples you probably have on hand, which makes it a true hero for my collection of Instant Pot chili recipes.
- 2 pounds of boneless, skinless chicken breasts (Don’t fuss with cutting them up now, the pot does that for you!)
- 1 large onion, chopped roughly—no need for fancy dicing here.
- 4 cloves garlic, minced fine. That pungent smell equals flavor, folks!
- 2 (15-ounce) cans cannellini beans, rinsed and drained. Make sure you rinse off that canning liquid!
- 1 (4-ounce) can diced green chiles, and here’s a tip: keep the liquid; we add it for moisture and tang.
- 4 cups low-sodium chicken broth. I always use low-sodium just so I can control the final saltiness.
- 1 teaspoon ground cumin
- 1 teaspoon dried oregano
- 1/2 teaspoon chili powder
- 1/4 teaspoon cayenne pepper (Only if you like a little kick, like I do!)
- Salt and black pepper to taste
And don’t forget the final two crucial elements that turn this from soup into creamy chili:
- 1/2 cup heavy cream or plain Greek yogurt (for that signature silkiness!)
- 1 tablespoon cornstarch mixed with 2 tablespoons cold water (this is our thickening slurry)
Ingredient Notes and High Protein Instant Pot Meals Swaps
Now for the finishing touches that bring this whole thing home. We need two things: the creamy element and the thickener. For the creaminess, I included heavy cream because, well, richness is lovely. But if you are aiming for one of those fantastic High Protein Instant Pot Meals, swap that heavy cream out for plain, unsweetened Greek yogurt. Stir it in after the pressure cooking phase to keep it from curdling! You’ll still get that amazing texture.
Next, we prepare the beautiful slurry to thicken everything up right at the end. This is a simple but vital step for that thick chili texture. You need 1 tablespoon of cornstarch mixed thoroughly with 2 tablespoons of cold water. Make sure it is completely smooth before you even think about opening the pot after cooking! That slurry is what gives us that lovely consistency you see in the best bowls of chili.
Step-by-Step Instructions for the Best Instant Pot White Chicken Chili
Now that you have all your wonderful ingredients assembled, here is where the real speed comes in! Using your Instant Pot for this Instant Pot Chili Recipes dish is a game-changer because you aren’t dirtying a huge pot on the stove, and everything cooks together perfectly. I’ve refined these steps over many batches to ensure you get that tender chicken and flavorful base every single time. Remember, even though we are using a pressure cooker, the goal is a deeply comforting meal, not a rushed experiment! If you love this creamy style, you might also enjoy checking out my notes on making crockpot white chicken chili for a slow-cook option too.
- First things first, you’re going to load everything into the inner pot. I mean everything except the cream/yogurt and that cornstarch slurry we made earlier! Chicken breasts (whole, just like that!), chopped onion, minced garlic, your rinsed white beans, the entire can of green chiles, and all 4 cups of broth go right in. Don’t forget your spices: cumin, oregano, chili powder, and cayenne if you’re using it. Give it a good stir and season lightly with salt and pepper to start.
- Once everything is piled in and you’ve closed that lid, make sure you set the release valve to the sealing position. This seals in all that flavor! You’ll want to cook this on High Pressure for exactly 10 minutes. Yes, only ten minutes—it’s amazing!
- When the pressure cooker finishes its cycle, don’t jump up to vent it right away! Patience is key here for the texture. Let it sit for a full 5 minutes for a Natural Pressure Release (NPR). This slow release helps the chicken stay juicy. After those 5 minutes, then carefully switch the valve to venting to release any wisps of steam left over.
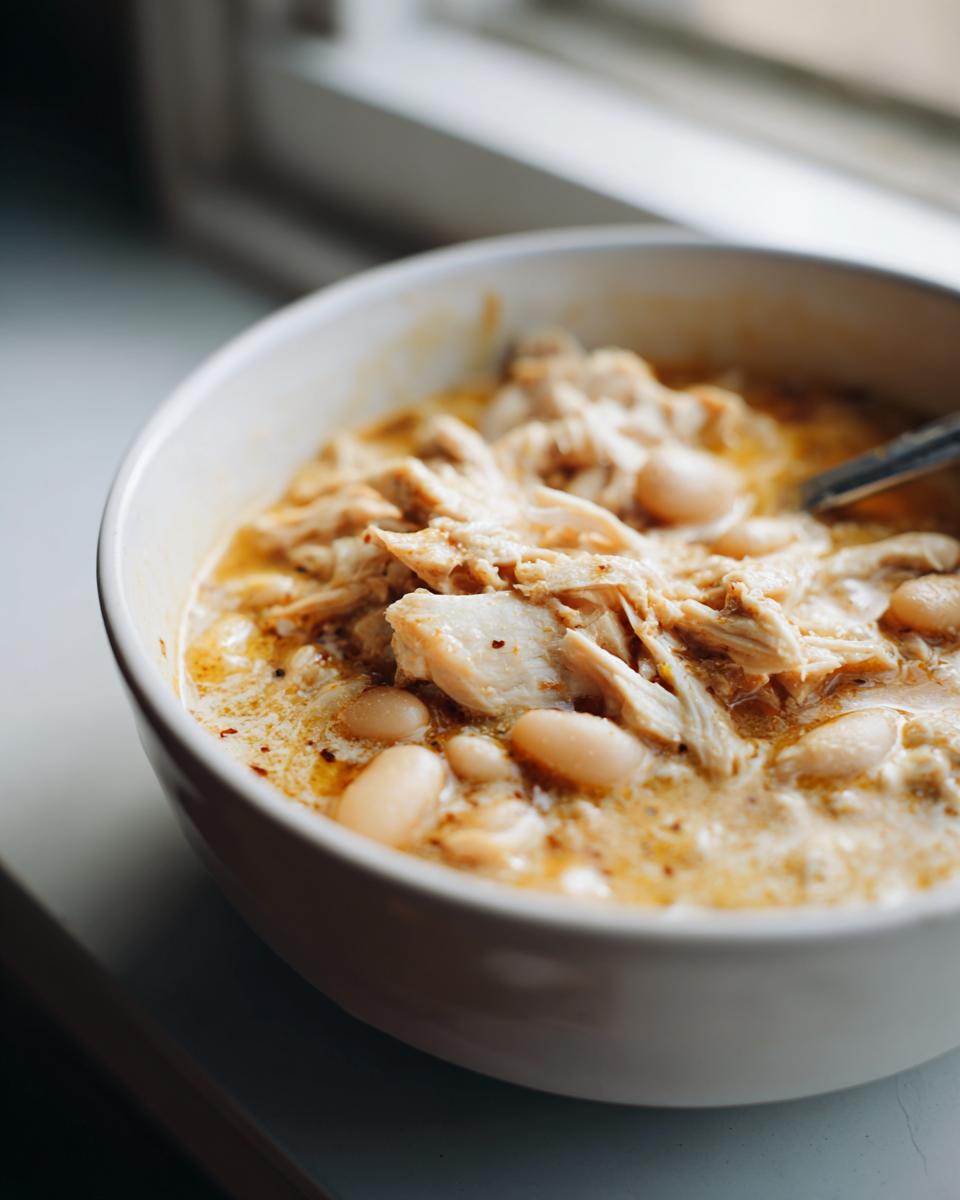
- Once it’s safe to open, take out those beautiful chicken breasts. They should be perfectly cooked through. Place them on a cutting board and shred them using two forks—just pull them apart until you have nice pieces of Shredded Chicken Chili IP goodness. Return all that pulled chicken right back into the pot with the beans and broth.
- Next, stir in your cream or Greek yogurt until everything is blended. It’ll look a little soupy, but trust the process!
- Finally, set your Instant Pot to the Sauté mode. While it heats up, give your cornstarch slurry one last good whisk (since cornstarch likes to settle), and slowly pour it into the chili while stirring constantly. Watch it closely! It should only take 2 to 3 minutes on Sauté for the chili to thicken up nicely to your desired consistency.
Pressure Cooking Cycle and Pressure Release for Tender Shredded Chicken Chili IP
I can’t stress this enough: that 5-minute Natural Pressure Release (NPR) is crucial when you are making any kind of Shredded Chicken Chili IP recipe. If you immediately flip the valve to vent, the fast change in pressure can sometimes cause the chicken to seize up a little bit and not be quite as tender when you go to shred it. Those five minutes allow everything to settle back down gently. It’s the secret to getting that incredibly moist, break-apart chicken texture that makes this recipe shine!
Thickening the Chili on Sauté Mode
Once the chicken is shredded and mixed back in with your liquid and beans, the chili is practically done, but it needs its signature body! Turn the Instant Pot to the Sauté setting. This is when you introduce that cornstarch slurry. Stir it in briskly. You’ll notice right away that the liquid starts to turn glossy and thicken up. Keep stirring gently for just a couple of minutes until it coats the back of a spoon. Stop stirring and remove the pot from the heat as soon as it hits the thickness you like, because it will keep setting up slightly as it cools!
Expert Tips for Flavorful Chili Seasoning in Your Pressure Cooker White Chicken Chili
Now, I know the recipe listed above is fantastic just as it is—it’s designed to be a reliable weeknight winner. But since you’re here with me, let’s talk about how we can take this **flavorful chili seasoning** up just a notch or two when you have an extra five minutes! Cooking should be fun and flexible, and these little additions really make a difference in depth of flavor. For more ideas on building flavor into your chili base, you can always check out my dedicated guide on flavorful chili seasoning.
My first trick, inherited from my mother, is to briefly toast those dry spices—the cumin, oregano, and chili powder. Before you add the chicken broth and seal the lid, just hit the Sauté button for one minute (with a little oil in the pot, of course!) and dump in just the spices. Stir them around until you can really smell them—it wakes up their essential oils! Then, immediately pour in the broth to deglaze the bottom before adding the rest of your ingredients. This step alone deepens the flavor profile so much!
Another thing I adore doing, especially if I’m serving this chili on a chilly evening and want that bright contrast, is adding acid right at the very end. Once the chili is thickened and you’ve tasted it for salt, stir in the juice of half a fresh lime! It just brightens up the richness of the white beans and the creaminess. It’s like putting a little pop of sunshine into your bowl. You won’t believe how much that little squeeze wakes everything up! Trust me, these simple additions elevate your standard **Pressure Cooker White Chicken Chili** into something unforgettable.
Serving Suggestions and Toppings for Comfort Food Pressure Cooker Meals
Oh, the toppings! This is where your bowl of **Comfort Food Pressure Cooker** chili really starts to look like a celebration. For me, having a few bowls set out so everyone can customize theirs is the best way to serve it. I always make sure we have shredded Monterey Jack cheese—it melts beautifully into the hot chili.
My family insists on scoops of fresh avocado—the cool creaminess against the warm spice is just magic. We also always use plenty of fresh cilantro. And you absolutely must serve this with a side of warm, slightly sweet cornbread or maybe some crispy tortilla strips for crunch! Honestly, spooning this over a scoop of rice is divine too, but that’s just me! If you manage to make dessert on a busy night, you might want to try my recipe for easy homemade chocolate pudding recipe!
Storage and Reheating Instructions
One of the best parts about making a big batch of this Instant Pot White Chicken Chili is having leftovers for lunch the next day! This recipe holds up wonderfully, whether you used heavy cream or Greek yogurt in the finish. When I make a big pot, I try to make sure there are enough portions for a couple of quick meals later in the week. It really is one of those **fast chicken dinner ideas** that keeps giving!
To store it, let the chili cool down completely first. Then, divide it into airtight containers. It should keep beautifully in the refrigerator for 4 to 5 days. I love putting mine in single-serving containers so I can just grab and go for lunch. You can also freeze portions quite well, too—just make sure you leave a little headspace in the container since liquids expand when they freeze.
When it comes to reheating, you just need to be mindful of that lovely creamy texture we worked so hard to achieve. If you’re reheating from the fridge, I find the texture can sometimes get just a tiny bit tight or thicker than you remember. Don’t worry! That’s normal when starches absorb liquid during cooling. The absolute best way to revive it is by adding a small splash—maybe a tablespoon or two—of low-sodium chicken broth or a touch more cream to the pot while you reheat it on the stovetop or in the microwave. Gentle heating is best.
For reviving frozen chili, thaw it overnight in the fridge first, and then reheat it slowly on the stove, stirring often and adding that extra bit of liquid if needed. It’ll taste just as comforting as the first time you made it! If you enjoy batch cooking like this, you might also want to check out my recipe for easy chicken pozole recipe, which also freezes and reheats like a dream!
Frequently Asked Questions About White Bean Chili
Oh, I always love seeing what questions pop up after folks make a new recipe for the first time! It means you’re diving in and trusting the process, and that makes my heart warm. I’ve gathered some of the most common things folks ask about this **White Bean Chili Recipes** below. If I missed yours, please just leave a comment, and I’ll jump in and help you out! We want everyone to feel successful making this delicious meal. For other easy family hits, you might want to bookmark my easy ravioli lasagna casserole recipe for another time!
Can I use dried beans instead of canned beans in this recipe?
That is a wonderful question, especially if you’re trying to make a big, hearty batch or stick to a **Healthy White Bean Recipes** plan without the salt found in cans. Yes, you absolutely can use dried cannellini beans, but you *must* adjust your timing significantly! I really prefer soaking them overnight first—it helps them cook evenly. If you soak them, you’ll need to cook them at high pressure for about 35 to 40 minutes total, followed by that crucial 5-minute NPR, before you add your chicken and finish the cycle as written. If you choose *not* to soak them, you’re looking at a cook time closer to 45 or 50 minutes on high pressure, and you might need to add an extra half cup of broth just to make sure everything stays moist!
Is this recipe naturally Gluten Free Instant Pot Meals friendly?
Yes, honey, this recipe is naturally fit for our **Gluten Free Instant Pot Meals** category! Canned beans, chicken, spices, broth, dairy—none of these typically contain gluten. However, because I preach checking every label just in case, you need to double-check your chicken broth. Some commercial broths use stabilizers or hydrolyzed proteins that might contain trace amounts, so just grab one that clearly states it’s gluten-free. Other than that small check, you are good to go! It stays wonderfully low in gluten, which is great for those with sensitivities.
How do I make this white chicken chili spicier?
If you need a little more heat to make this really sing, I have a few tricks up my sleeve! The 1/4 teaspoon of cayenne in the recipe gives it a nice little background warmth, but if you want more of a punch, the easiest way is to add a splash of hot sauce right at the end when you’re tasting for seasoning. A few dashes of chipotle Tabasco really pairs beautifully with the smokiness of the cumin. Or, you can always substitute half of the diced green chiles with hotter varieties—diced jalapeños or even a couple of spoonfuls of canned green *hot* chilies will do the trick without changing the overall white chili base.
What if I can’t use dairy or cornstarch?
I know some families have allergies or dietary restrictions, so let’s work around that creaminess we love! If you can’t use heavy cream or yogurt, you have two excellent options for thickening and richness. First, you can use a dairy-free creamer, like oat or cashew, stirred in at the end—just watch for added sugars. Second, and this is my favorite alternative for a super thick texture, use the bean-mashing trick to make it smooth, and skip the liquid thickener entirely! If you mash about one full can of those soft cannellini beans against the side of the pot before you remove the chicken, you get an incredibly rich, velvety texture using only the natural starches from the beans. That makes for an even better **High Protein Instant Pot Meals** base!
Nutritional Estimates for This Hearty Meal
Now, when we talk about making comforting food at home—which is what this chili certainly is—we also talk about balance. As a former teacher, I believe in providing all the facts, even the estimated ones! These numbers below are calculated based on using the chicken breasts, low-sodium broth, and heavy cream as written in the main recipe. If you swap in Greek yogurt, your fat and calorie counts will naturally drop, making this even more aligned with my protein banana bread philosophy of making treats and meals count!
Please remember, these are just helpful guides, not strict medical advice. The tools we use and the specific brands of broth or chicken you buy can change these figures slightly. Think of this as a good snapshot of what you’re eating!
- Serving Size: 1.5 cups
- Calories: Approximately 380
- Protein: A whopping 38 grams! That’s why this fuels you up for hours.
- Total Fat: About 10 grams (including 4g saturated fat)
- Carbohydrates: Roughly 35 grams (Great fiber content at 9g!)
- Sugar: Low, around 5 grams, mostly natural sugars from the beans and chiles.
- Sodium: About 550mg (This is why I always insist on low-sodium broth because you control the rest!)
It’s a wonderfully balanced meal, rich in protein, perfect for those busy days when you need something filling that still fits into a healthier eating plan. I strive to make sure every recipe here is something you can feel good about serving your family!
Share Your Kitchen Creations
Oh, my dear cooks, now that you’ve had a taste of this wonderfully creamy, **Quick White Chicken Chili**, I truly can’t wait to hear all about it! Food tastes even better when it’s shared, and this community aspect is what I love most about Cooking by Carla.
The whole purpose of sharing recipes like this is so we can connect over the dinner table, even if we’re miles apart. When you make this chili—whether it’s for a busy family night or you’re just enjoying a cozy bowl by yourself—please come back and let me know how it went!
Did you use Greek yogurt instead of cream? Did you add an extra dash of cayenne? Tell me all the details! You can leave a rating right here on the site using the star system below, and I always read every single comment you leave. Your feedback helps me know which of my recipes you want to see more of!
If you snap a picture of your beautiful bowl, loaded up with avocado and cheese, please share it on social media and tag me! It absolutely makes my day to see my recipes working their magic in your real-life kitchens. If you’re looking for another favorite recipe from a friend in the community, you can check out the wonderful people over at Salt & Lavender for their take on this staple.
If you ever have questions that just won’t fit in the comments section, or if you want to send me a picture directly, don’t hesitate! You can always reach out through my contact page. Happy cooking, friends, and thank you for letting my recipes be part of your home!
PrintThe Best Creamy & Quick Instant Pot White Chicken Chili

Make this creamy Instant Pot white chicken chili for a rich, flavorful meal. Tender chicken and warm spices come together quickly in the pressure cooker, making this an easy, satisfying dinner for busy weeknights.
- Prep Time: 15 min
- Cook Time: 25 min
- Total Time: 40 min
- Yield: 6 servings 1x
- Category: Dinner
- Method: Pressure Cooking
- Cuisine: American
- Diet: Gluten Free
Ingredients
- 2 lbs boneless, skinless chicken breasts
- 1 large onion, chopped
- 4 cloves garlic, minced
- 2 (15-ounce) cans cannellini beans, rinsed and drained
- 1 (4-ounce) can diced green chiles, undrained
- 4 cups low-sodium chicken broth
- 1 teaspoon ground cumin
- 1 teaspoon dried oregano
- 1/2 teaspoon chili powder
- 1/4 teaspoon cayenne pepper (optional)
- Salt and black pepper to taste
- 1/2 cup heavy cream or plain Greek yogurt (for creaminess)
- 1 tablespoon cornstarch mixed with 2 tablespoons cold water (slurry)
Instructions
- Place the chicken breasts, chopped onion, minced garlic, rinsed beans, green chiles, chicken broth, cumin, oregano, chili powder, and cayenne pepper into the inner pot of your Instant Pot. Season with salt and pepper.
- Secure the lid and set the vent to sealing. Cook on High Pressure for 10 minutes.
- When the cooking time is complete, allow for a Natural Pressure Release (NPR) for 5 minutes, then carefully switch the valve to venting to release any remaining pressure.
- Remove the chicken breasts and shred them using two forks. Return the shredded chicken to the pot.
- Stir in the heavy cream or Greek yogurt until fully combined.
- Set the Instant Pot to Sauté mode. Stir in the cornstarch slurry. Let the chili simmer for 2 to 3 minutes, stirring constantly, until the chili thickens to your desired consistency.
- Taste and adjust seasonings as needed before serving.
Notes
- For a healthier, high-protein option, use plain Greek yogurt instead of heavy cream. Stir it in after the pressure cooking cycle is complete.
- If you prefer a smoother texture, you can mash about one can of the white beans against the side of the pot before adding the cream.
- Serve this comfort food pressure cooker dish with toppings like shredded Monterey Jack cheese, fresh cilantro, or avocado slices.
Nutrition
- Serving Size: 1.5 cups
- Calories: 380
- Sugar: 5
- Sodium: 550
- Fat: 10
- Saturated Fat: 4
- Unsaturated Fat: 6
- Trans Fat: 0
- Carbohydrates: 35
- Fiber: 9
- Protein: 38
- Cholesterol: 105