
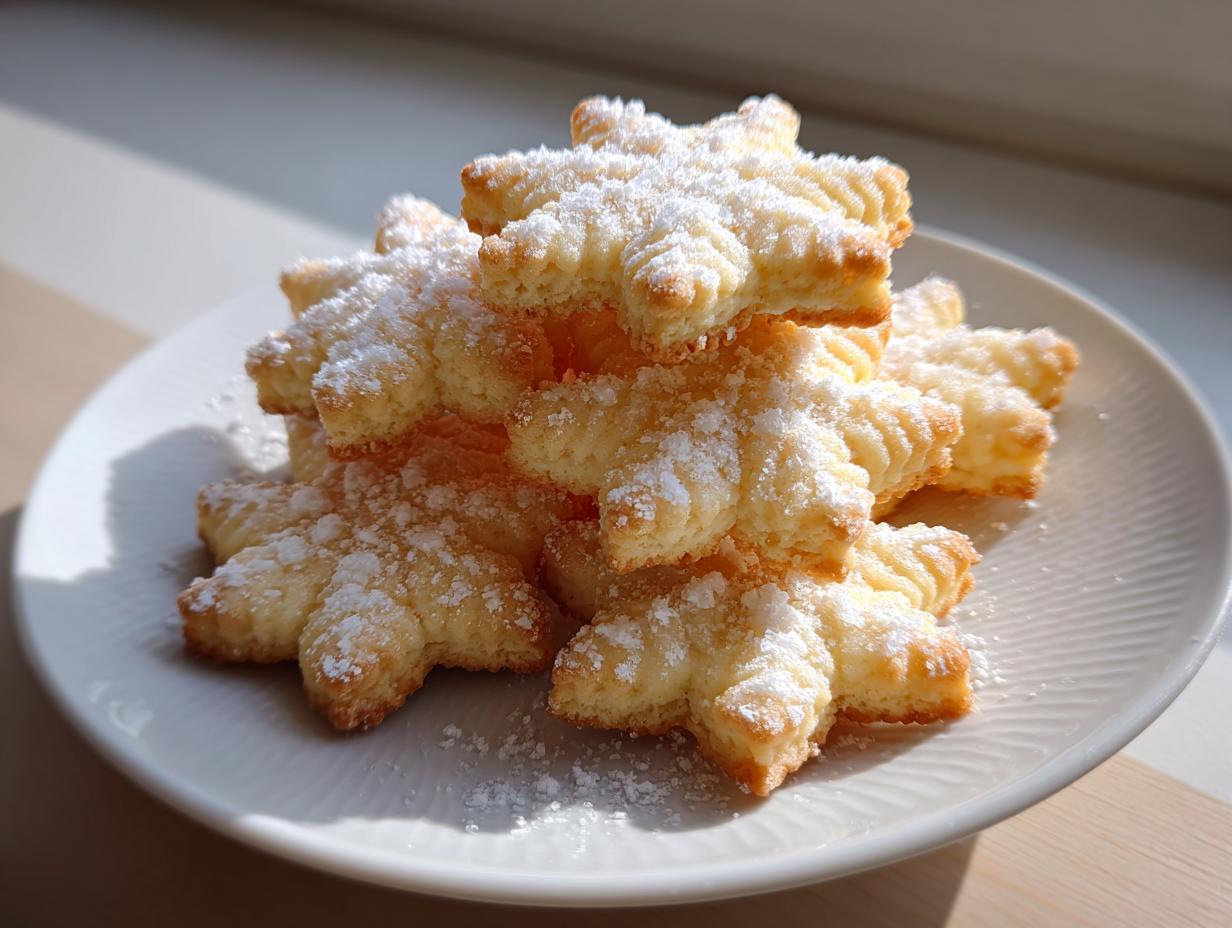
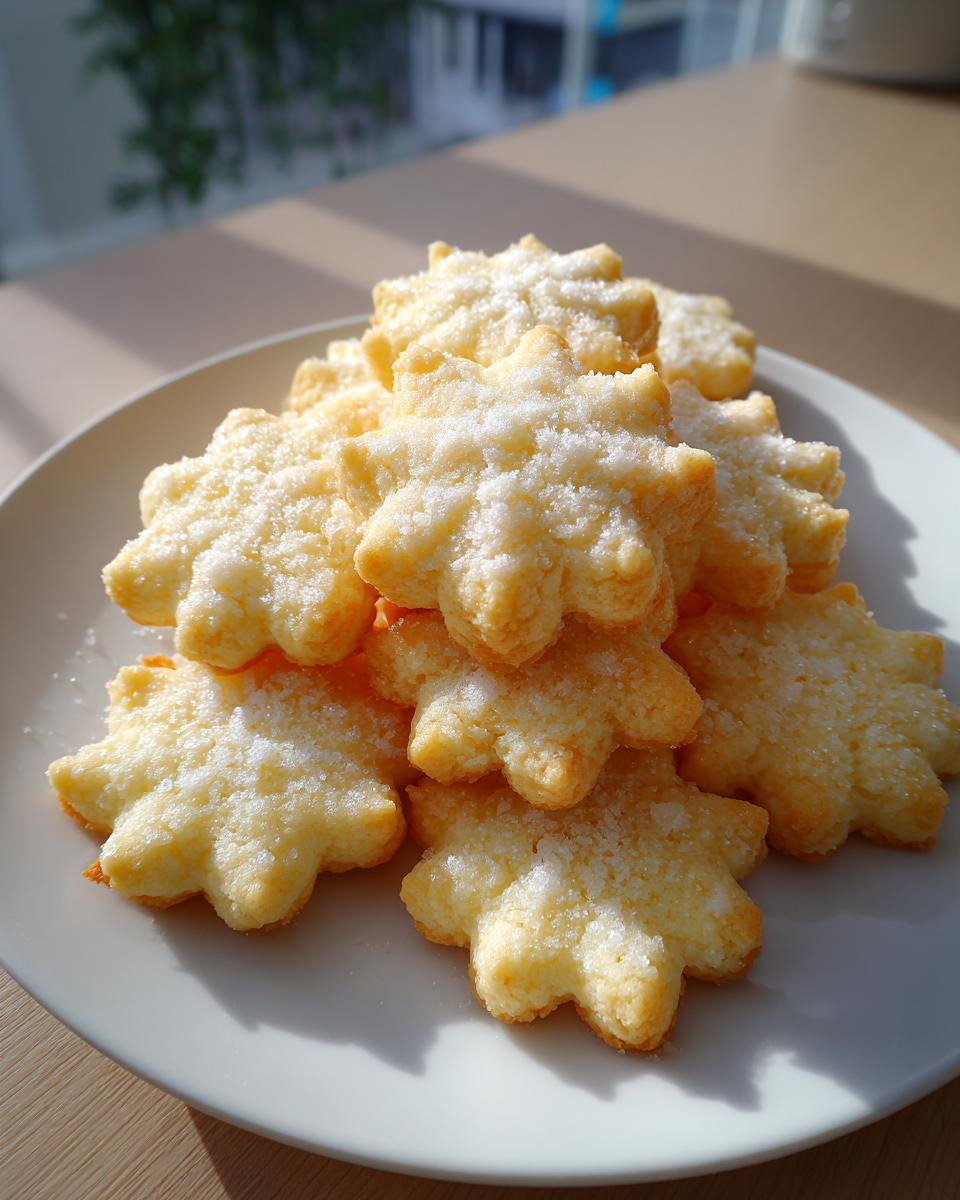
There is just something about a perfect cookie, right? I mean, forget all those complicated layered desserts for a minute. When you need pure, honest comfort, you reach for a true classic. And trust me, friends, my grandmother Carla’s butter cookie recipe is the one you’ve been searching for. These aren’t just good; they are the melt-in-your-mouth cookies that vanish the second you set them down. Since Carla spent thirty years teaching elementary school, she learned how to break down recipes into steps that make perfect sense, even for new bakers. That’s why these simple, rich, buttery cookies come out perfectly every single time. If you are looking for dependability in your baking, you’ve found your new go-to dessert.
- Why This Is the Best Classic butter cookie Recipe You Will Ever Make
- Ingredients for Perfect Melt-in-Your-Mouth butter cookie
- Step-by-Step Instructions for Your butter cookie Recipe
- Tips for Success with Homemade butter cookie
- Simple Variations for Your butter cookie Recipe
- Making butter cookie for Gifting and Holiday Cookie Baking
- Storage and Keeping Your butter cookie Fresh
- Frequently Asked Questions About This Easy butter cookie Recipe
- Estimated Nutritional Data for This butter cookie
Why This Is the Best Classic butter cookie Recipe You Will Ever Make
When you’re reading recipes online, you sometimes wonder, “Does this baker actually *make* this mess?” With this recipe, the answer is a resounding yes! We kept this formula basic because that’s where the magic happens. We aren’t hiding anything behind fancy processes.
The texture is what really sets this apart. It produces those legendary Melt In Your Mouth Cookies that taste rich and decadent, but use just a few basic pantry items. My grandmother insisted on the right ratios for that unbelievable Rich Buttery Taste Cookies finish.
- They are incredibly simple—seriously, you probably have everything right now.
- The texture is that perfect balance: crisp edges but tender inside.
- They are quick! You can even skip the long chill time if you’re in a rush.
- This simple recipe is the dependable base for so many other cookie variations.
If you need a reliable winner, especially if you are trying to whip up something fast for breakfast tomorrow—yes, cookies for breakfast counts—go ahead and gather your simple ingredients. You can find more quick eats over here if you need a break from sweets.
Ingredients for Perfect Melt-in-Your-Mouth butter cookie
When we talk about perfection in baking, it all starts right here on the ingredient list. If you treat these basic components right, you are halfway to the best butter cookie batch ever. I always lay everything out before I even think about turning on the mixer—it cuts down on panic later! Pay close attention to the temperature notes; that’s crucial to avoid cookies that spread everywhere.
Here’s what you’ll need for this fantastic, from scratch cookie recipe:
- 1 cup unsalted butter, softened strictly to room temperature (soft enough to press a finger into easily, but not oily!)
- 1/2 cup granulated sugar, measured precisely.
- 1/4 teaspoon salt. Don’t skip it; it highlights all that beautiful butter.
- 1 teaspoon vanilla extract. Use the good stuff if you have it; it really shines here.
- 2 cups all-purpose flour, spooned into the measuring cup and leveled off. Don’t pack it in!
- 1/4 cup cornstarch. This is our secret weapon for that delicate, tender crumb.
- 1 large egg yolk (this is optional, but I highly recommend it for a richer, silkier texture).
If your butter is too cold, the whole creaming process fails, and we end up with hard cookies instead of those heavenly soft centered butter cookies. Trust me on the softening part.
Step-by-Step Instructions for Your butter cookie Recipe
Okay, now that we have our perfect ingredients ready, let’s put this thing together! My background as a teacher means I like things orderly, so follow these steps closely, especially when creaming, and you’ll have the best results possible. The whole baking process is surprisingly fast; we are aiming for quick payoff here!
Preparing the Dough for Your butter cookie
First things first: always preheat that oven to 350°F (175°C) and get those baking sheets lined with parchment paper. Don’t skip the paper; it makes cleanup so much easier! In your big bowl, beat that softened butter and sugar together. You’re looking for that ‘light and fluffy’ stage. Carla always said, “When it looks like pale yellow whipped cream, then you can add the rest.” After that, mix in the salt, vanilla, and optional yolk.
Next, mix your flour and cornstarch in a separate bowl. Now, add that dry mix to the butter mixture gradually, mixing only on low speed until you just see the flour disappear. Stop right there! This is important—do not overmix this dough, or those tender butter cookie results will turn into tough little rocks. You have two ways to shape it:
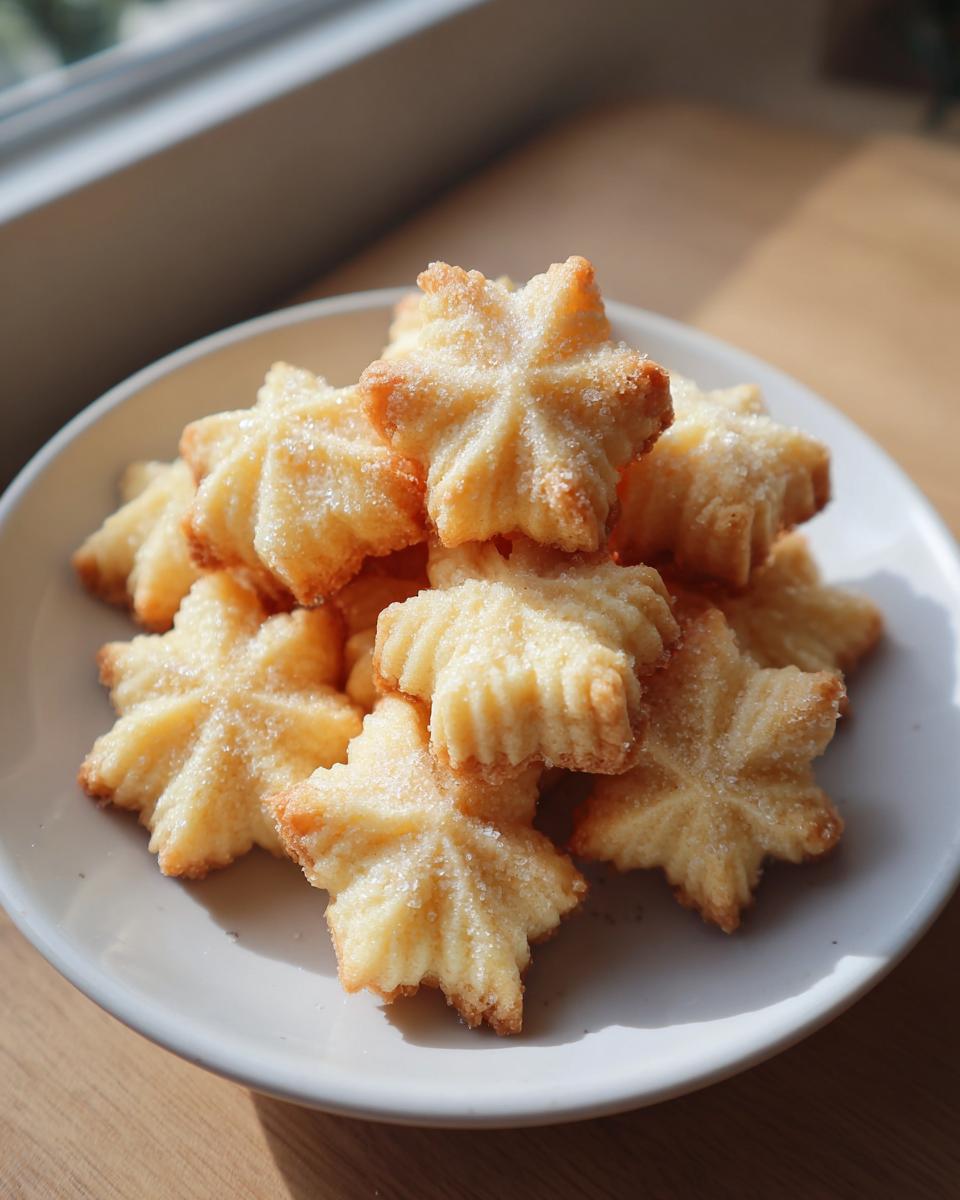
- For slice-and-bake, form the dough into a compact log, wrap it tight, and chill it for about 30 minutes to firm up.
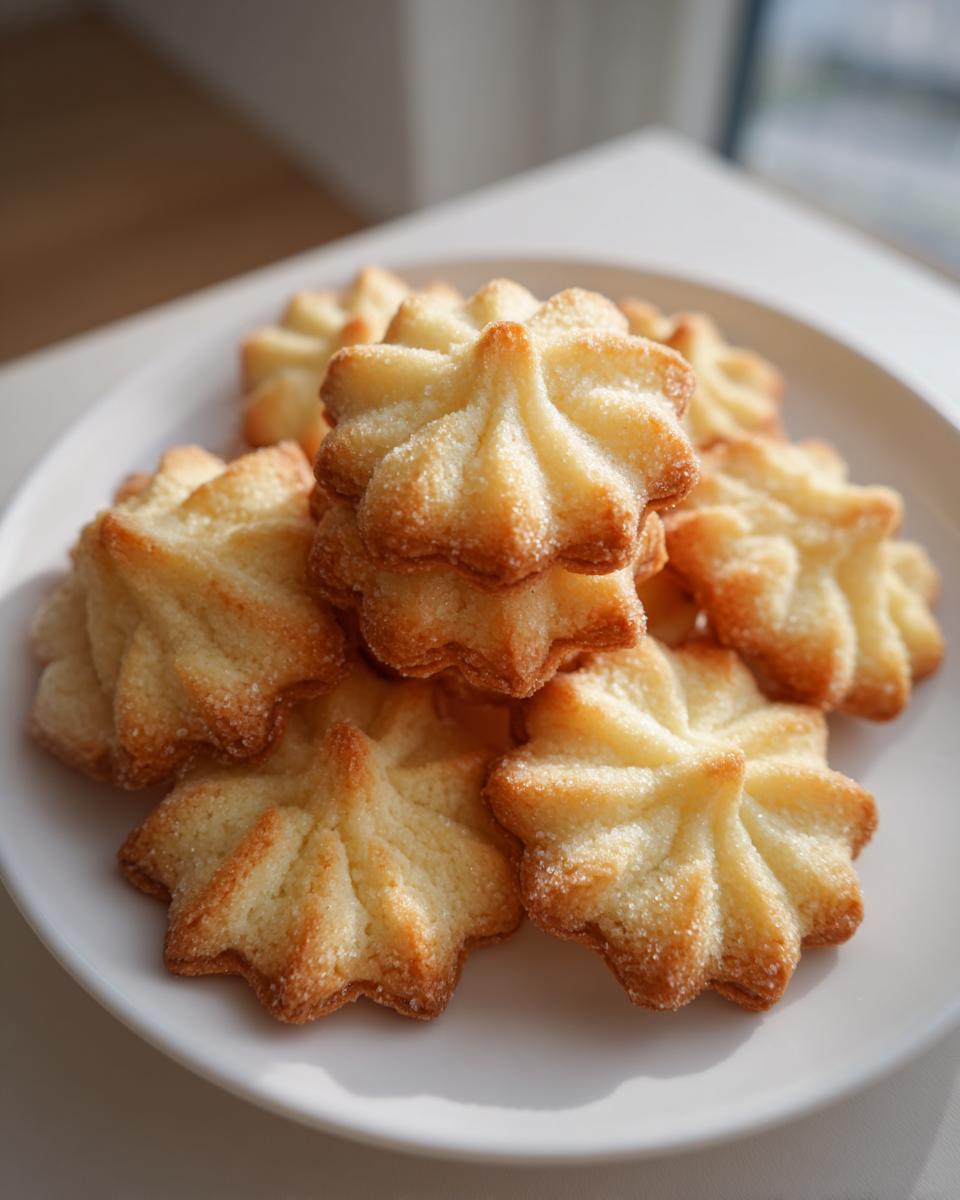
- If you’re feeling fancy and want those beautiful swirls, load that dough right into a piping bag fitted with a star tip.
Baking and Cooling the Rich Buttery Cookies
Whether you’ve sliced your rounds or piped your cute little rosettes, pop them into the preheated oven. They don’t take long at all—usually just 10 to 14 minutes. Watch the edges; you want them just barely kissing golden brown. That’s how you know they are done without drying out. Immediately after pulling them out, leave those rich buttery cookies right on the hot baking sheet for about 5 minutes. This short rest period lets them firm up enough so they don’t break when you try to move them. After 5 minutes, gently transfer them over to a wire rack to finish cooling completely. They are always better when they’ve cooled down a bit before you dunk them in coffee or, let’s be honest, eat three in a row!
If those are looking a little plain, I keep tons of ideas for making simple snacks look festive, and a little chocolate dip goes a long way!
Tips for Success with Homemade butter cookie
I’ve made this butter cookie recipe hundreds of times over the decades, and I can tell you exactly where people tend to stumble—and how to fix it! Remember, this is a shortbread-style cookie, meaning it relies heavily on fat, not complex gluten structures, for success. That means temperature and texture control are your best friends.
First, let’s talk about that butter temperature again. I know it seems tedious, but if your butter is too warm—like oily or greasy—the dough will relax too fast in the oven and spread into thin, flat wafers instead of those perfectly thick, buttery rounds. Aim for that perfect room temperature, where if you press it, the butter yields without melting under your finger. If you ever feel rushed, slice the butter into cubes; it warms up faster that way!
Now, I want to talk about cornstarch. This probably sounds like an odd ingredient in a cookie, but trust me on this one! It’s the key to that wonderful, fluffy, melt-in-your-mouth feeling we are chasing. Cornstarch has less protein than flour, so it blocks some gluten formation and keeps the cookie incredibly delicate.
If you really want to take this recipe up a notch—and I suggest you do once you nail the basic version—try substituting a quarter cup of your butter with brown butter. Browning the butter first—just until it smells nutty and looks amber—adds an incredible depth of flavor. It gives you a slightly deeper color and a way more complex rich buttery taste without adding any extra flavorings. It’s a simple kitchen trick, and while it adds a few minutes to your prep time, the payoff is huge. If you try that, you might also enjoy some of my ideas for quick healthy lunch ideas to balance out the dessert!
Simple Variations for Your butter cookie Recipe
Once you’ve mastered the foundational butter cookie recipe, the fun really starts! This dough is such a wonderful blank canvas. Since we are aiming for that classic, creamy texture, most of our changes are just adding different flavors rather than changing the structure dramatically. It’s all about making these cookies *yours*!
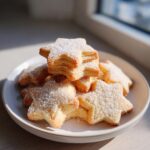
If you are looking for that iconic, beautiful look you see in those blue tins, guess what? You don’t need a whole new recipe; you just need a different approach to shaping. To get a true Danish Butter Cookie Recipe look, you simply need to use that star piping tip we talked about earlier, and pipe small rosettes directly onto your parchment paper. Make sure your dough is perfectly chilled so those peaks hold their shape while baking. It gives them such an elegant, homemade presentation, perfect for when you want to show off just a tiny bit!

For flavor swaps, keeping it in the vanilla family works beautifully. If you’re bored of the standard Vanilla Butter Cookies flavor, try swapping out that teaspoon of vanilla for an equal measure of almond extract—it gives such a lovely, rich background note. Or, if you want to brighten things up, add the zest of one small lemon or orange right in with the butter and sugar. That citrus peel infuses the whole cookie with such a gorgeous aroma!
And remember that little trick about browning the butter I mentioned? That’s the richest variation of all. If you’re feeling adventurous, try dipping half of your finished, cooled cookies in some good quality melted chocolate—milk or dark works equally well. You can see some great examples of beautifully decorated cookies over at Sarah’s site if you need visual inspiration. But honestly, even plain, these simple variations are just delightful. If you want to bake something rich and dense but completely different next time, you should check out my recipe for moist date nut bread; it’s another classic winner!
Making butter cookie for Gifting and Holiday Cookie Baking
When the air gets crisp and it’s time for Holiday Cookie Baking, these are the first cookies I always make. Why? Because everyone loves them, and they stack up beautifully! The simple, clean flavor of these Buttery Cookies for Gifting travels really well, both literally and figuratively. They are the definition of a crowd-pleaser.
While they are perfect plain, I love dressing them up a bit for the season. You can dip half of each cooled cookie into melted dark chocolate—it looks so fancy! Or maybe a sprinkle of colorful nonpareils stuck to the chocolate while it’s still wet. They look absolutely stunning on a platter and are the star of any Christmas Cookie Tray Ideas!
I always bake a huge batch when I start my gift baking. For packing them up, just make sure they are completely cooled down—no residual warmth!—and put them in sturdy tins layered with wax paper. They hold up so well. If you need a chewier cookie for the tray later, check out my chewy ginger molasses cookies too!
If you are looking for another great gifting recipe idea, my friend over at Cake Me Home Tonight has a wonderful guide to making classic butter cookies that you might enjoy looking at for inspiration!
Storage and Keeping Your butter cookie Fresh
The best part about making a big batch of these classic butter cookie treats is that you don’t have to eat them all in one sitting! Since they are dry and buttery, they hold up really well. This is great news if you are baking for a cookie exchange or planning ahead for the holidays.
Carla always stored hers in big, decorative tins. The rule here is simple: air is the enemy! You absolutely must use an airtight container. Don’t just put them in a Ziploc bag if you can avoid it; those often let small amounts of air sneak in.
When stored properly in a cool, dry pantry, these melt-in-your-mouth cookies stay wonderfully fresh for up to a full week. I’ve packed them away for a whole week and they tasted just as good as the day they came out of the oven! Just make sure they are completely cooled before you seal the tin, otherwise, you’ll get condensation, and that makes cookies soggy—and we definitely don’t want soggy cookies.
If you are tired of all the baking and need a break before you pull out the next batch, sometimes relying on a simple dinner is the best plan. I always have a rotation ready for those nights; you can see some of my favorites here!
Frequently Asked Questions About This Easy butter cookie Recipe
I always get so many great questions when people try this recipe for the first time! Since I want everyone to succeed and enjoy these wonderful easy butter cookie recipes, let’s clear up a few things that pop up often. Don’t hesitate to ask in the comments if you have another question!
Can I skip the egg yolk? What happens if I do?
That egg yolk is definitely optional, but I highly encourage you to include it if you can! The yolk adds richness and fat, which is what gives you those truly melt-in-your-mouth cookies. If you skip the yolk, the cookie will still be delicious—it will just be a bit firmer, leaning closer to a traditional, crisp homemade shortbread cookie rather than a tender, soft-centered one. It’s still great for dipping in coffee, though!
Can I use salted butter instead of unsalted butter?
You absolutely *can*, but you need to adjust the salt in the recipe. My recipe calls for 1/4 teaspoon of added salt because unsalted butter is generally consistent in its salt content (or lack thereof). If you use salted butter, just cut out the extra 1/4 teaspoon of salt completely. If your salted butter has a lot of salt, you might even want to cut back a tiny bit more. I suggest you always use unsalted so you, the baker, are in total control of the seasoning!
I don’t have a pastry bag. How can I shape these without one?
Oh, that’s a super common issue, especially when we talk about making those pretty little swirled Danish butter cookie recipe shapes! If you don’t have a pastry bag and tip, don’t sweat it. The easiest solution is the slice-and-bake method we mentioned: form the dough into a log, chill it well, and slice it into rounds. If you really want a rustic look that doesn’t require a bag, take a fork and gently press the dough balls flat with the tines, creating nice crosshatch marks—that gives you a lovely, traditional texture on your rich buttery taste cookies.
Why is my dough spreading out while it bakes?
This is almost always down to one of two things, and it relates back to those important temperature tips! Either your butter was too warm when you creamed it with the sugar, or your oven wasn’t hot enough when you put the cookies in. If the oven isn’t hot enough, the butter melts before the structure sets, causing spreading. Make sure your oven is fully preheated! We want that initial blast of heat to lock in the shape. If you need some reliable, simple meals to make while you’re waiting for your oven thermometer to confirm the right temp, I have a few good ideas for easy dinners!
Estimated Nutritional Data for This butter cookie
Now, I know many of you, like me, are interested in knowing what we’re packing into those delicious little bites. While these are made with simple, real ingredients, it’s always good to have an idea of the basics!
Please remember that this information is based on the standard recipe provided above and assuming a yield of 3 dozen cookies. Your actual counts might vary slightly depending on the exact brands of butter or sugar you use, but this gives you a fantastic guideline for these homemade shortbread cookies.
- Serving Size: 1 cookie
- Calories: 110
- Fat: 7g
- Saturated Fat: 4g
- Carbohydrates: 11g
- Sugar: 6g
- Protein: 1g
- Cholesterol: 25mg
- Sodium: 45mg
See? Not too bad for such a fantastically rich treat! They are definitely a lighter option if you’re comparing them to something overly loaded with chocolate chips or heavy frosting. These butter cookies let the simple, pure flavor of creamed butter shine through.
PrintClassic Melt-in-Your-Mouth Butter Cookies
Make rich, buttery cookies that melt in your mouth using simple pantry ingredients. This recipe is easy to follow and perfect for holiday baking or gifting.
- Prep Time: 20 min
- Cook Time: 14 min
- Total Time: 34 min
- Yield: 3 dozen 1x
- Category: Dessert
- Method: Baking
- Cuisine: American
- Diet: Vegetarian
Ingredients
- 1 cup unsalted butter, softened
- 1/2 cup granulated sugar
- 1/4 teaspoon salt
- 1 teaspoon vanilla extract
- 2 cups all-purpose flour
- 1/4 cup cornstarch
- 1 large egg yolk (optional, for richer texture)
Instructions
- Preheat your oven to 350°F (175°C). Line baking sheets with parchment paper.
- In a large bowl, beat the softened butter and granulated sugar together until the mixture is light and fluffy.
- Beat in the salt and vanilla extract. If using, mix in the egg yolk.
- In a separate bowl, whisk together the flour and cornstarch.
- Gradually add the dry ingredients to the wet ingredients, mixing on low speed until just combined. Do not overmix.
- Shape the dough: For slice-and-bake, form the dough into a log, wrap it, and chill for 30 minutes. For piped cookies (Danish style), place the dough into a pastry bag fitted with a star tip.
- If slicing, cut the chilled log into 1/4-inch thick rounds. If piping, pipe small rosettes onto the prepared baking sheets.
- Bake for 10 to 14 minutes, or until the edges are lightly golden brown.
- Let the cookies cool on the baking sheet for 5 minutes before transferring them to a wire rack to cool completely.
Notes
- For a Danish butter cookie look, use a star piping tip and pipe small swirls onto the sheet.
- You can dip half of the cooled cookies in melted chocolate for decoration.
- For a richer flavor, substitute 1/4 cup of the butter with browned butter.
- These cookies keep well in an airtight container for up to one week.
Nutrition
- Serving Size: 1 cookie
- Calories: 110
- Sugar: 6g
- Sodium: 45mg
- Fat: 7g
- Saturated Fat: 4g
- Unsaturated Fat: 3g
- Trans Fat: 0g
- Carbohydrates: 11g
- Fiber: 0g
- Protein: 1g
- Cholesterol: 25mg