
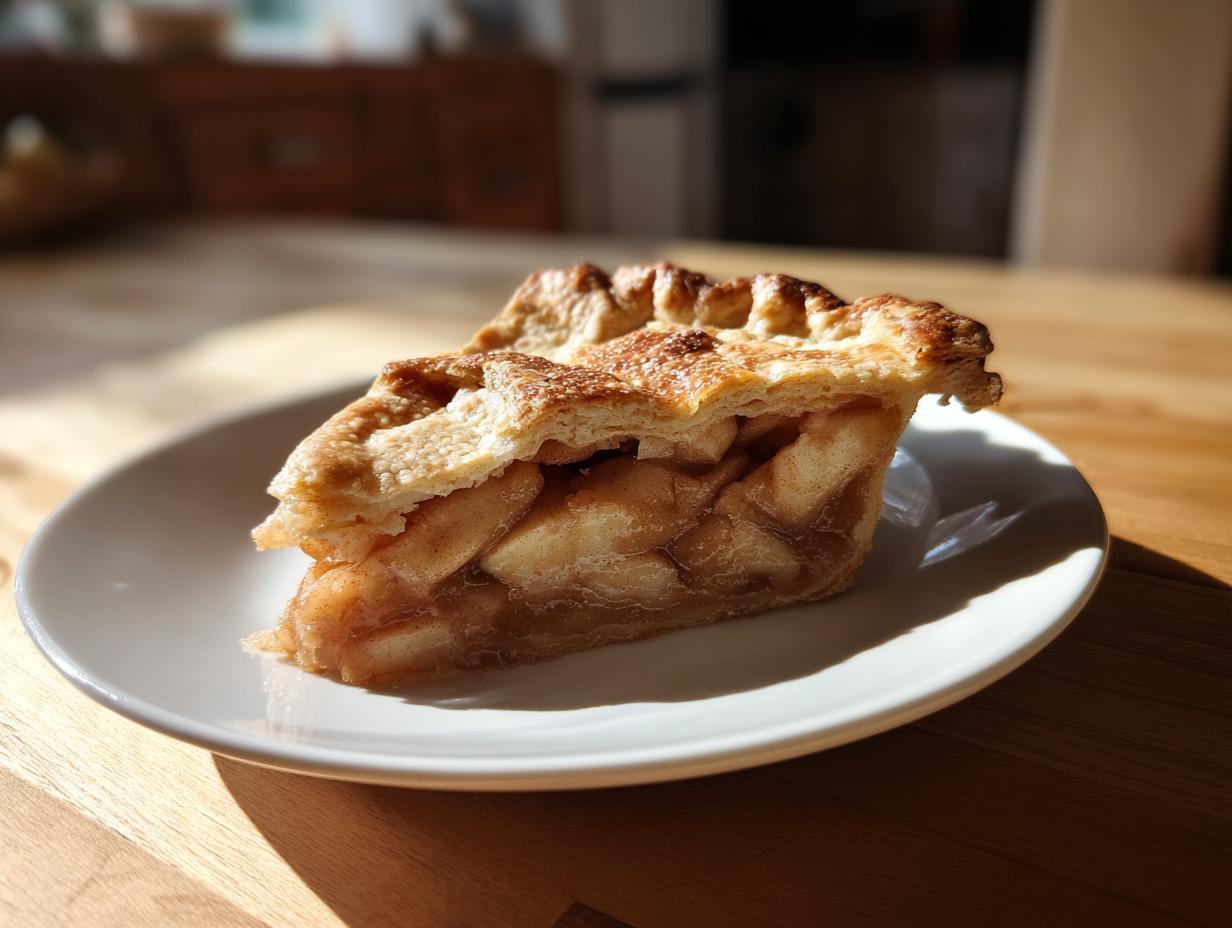
Oh, there’s just nothing in the world that says ‘home’ quite like the smell of apples and cinnamon drifting out of the oven. Right? For me, that scent goes right back to my childhood in the Midwest, watching my mother—and later, teaching my own students—that baking isn’t about rushing things; it’s about patience. Finding that perfect slice of Classic apple pie, the one with a genuinely flaky crust that shatters just right, and a filling that tastes like autumn without turning into soup? That’s the goal! This recipe isn’t just measurements; it’s the distillation of decades of gentle teaching, ensuring you get that definitive, non-soggy center every single time. Trust me, if I can explain it clearly, you can bake it beautifully. If you want to practice that flaky dough technique first, be sure to check out my guide on the best pie crust.
- Why This Classic Apple Pie Recipe is Your New Go-To
- Ingredients for the Best Pie Crust and Spiced Apple Filling for Your Classic Apple Pie
- Mastering the Best Pie Crust for Your Classic Apple Pie
- Assembling the Spiced Apple Filling in Your Classic Apple Pie
- Step-by-Step Instructions to Bake the Perfect Classic Apple Pie
- Expert Baking Tips for a Flawless Classic Apple Pie
- Serving Suggestions for Your Homemade Apple Pie
- Storage and Reheating Instructions for Classic Apple Pie
- Frequently Asked Questions About Making Classic Apple Pie
Why This Classic Apple Pie Recipe is Your New Go-To
You don’t need to be a professional baker to achieve magazine-perfect results. This recipe strips away the worry and delivers pure, comforting flavor. It’s designed for success!
- Guaranteed best pie crust that stays flaky, never tough.
- No more runny pie—the spiced apple filling sets perfectly every time.
- It uses simple, time-tested techniques that turn basic ingredients into traditional american desserts magic.
If you’re looking for the definitive guide to getting that absolutely perfect result, you can start here. You’ll want to bookmark this homemade apple pie recipe!
Ingredients for the Best Pie Crust and Spiced Apple Filling for Your Classic Apple Pie
When we gather ingredients, we talk about quality, not complexity. Don’t cheat on the butter, and please don’t skip mixing apples! This is where the magic starts, so measure everything out before you begin. I always keep my butter and water near the ice machine until the very last moment. Clarity in the ingredients is the first big step toward making a beautiful pie.
If you’re ready to see how simple a great filling can be, check out my side recipe for just the filling when you don’t want to make the whole pie: spiced apple filling.
For the Flaky Best Pie Crust
- 2 1/2 cups all-purpose flour
- 1 teaspoon salt
- 1 cup (2 sticks) cold unsalted butter, cut into cubes
- 1/2 cup ice water, plus more if needed
For the Perfectly Spiced Apple Filling
- 6 medium apples (a mix of sweet and tart varieties like Granny Smith and Honeycrisp—this balance is key!)
- 3/4 cup granulated sugar
- 1/4 cup packed light brown sugar
- 1 teaspoon ground cinnamon
- 1/4 teaspoon ground nutmeg
- 1/8 teaspoon ground allspice
- 2 tablespoons all-purpose flour (this is our secret for thickening!)
- 1 tablespoon lemon juice
- 1 large egg, beaten with 1 teaspoon water (for that lovely golden egg wash)
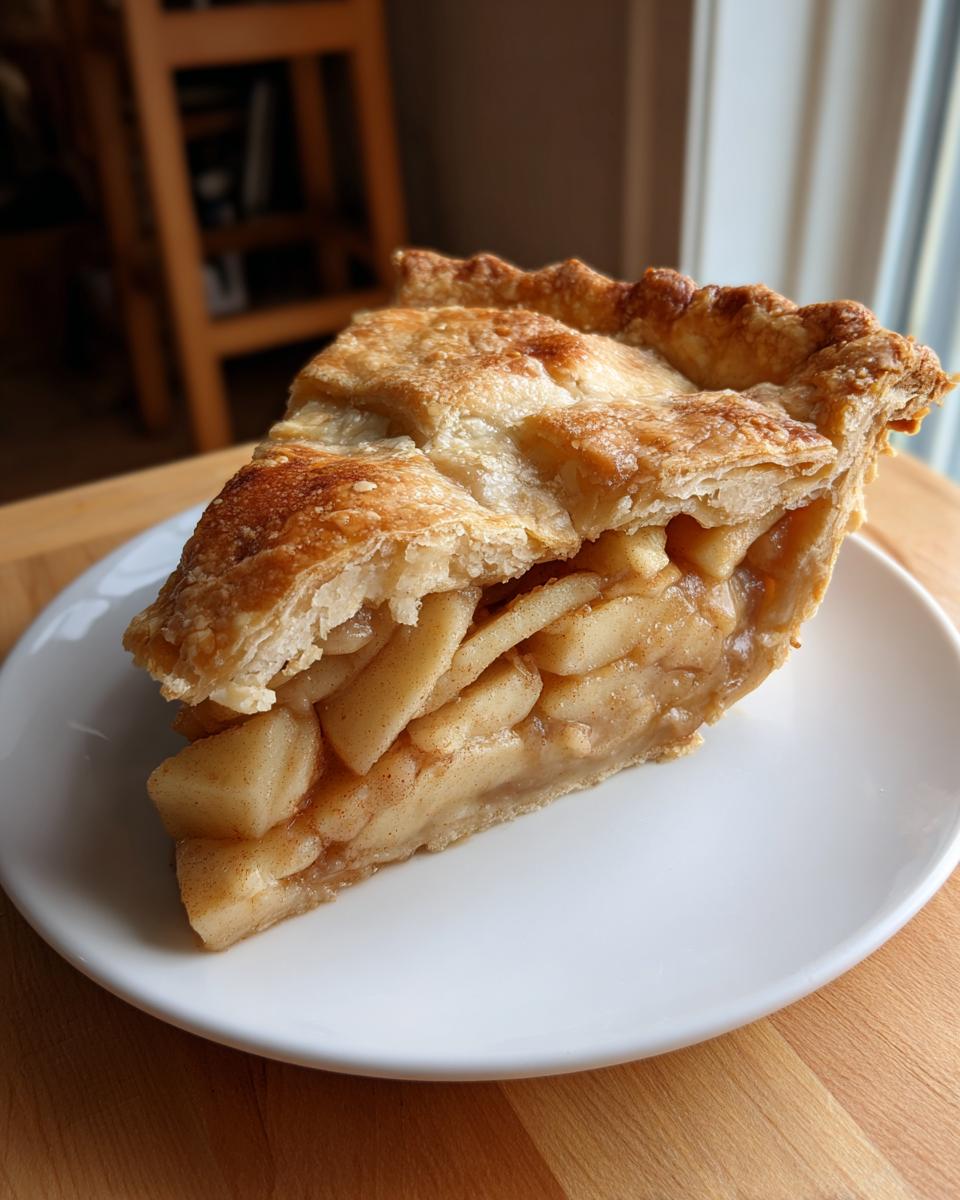
Mastering the Best Pie Crust for Your Classic Apple Pie
Alright, let’s talk about the crust, because this is where everything changes. You want those layers, right? You want crunch, not chewiness! When working with the flour and salt, you need to get that cold butter incorporated just so. I always say, use your fingers, but work fast—your warmth is the enemy of flake! You’re not trying to blend it into sand; you stop when the mixture looks like coarse crumbs, but you still see those lovely little pea-sized chunks of butter throughout. If you want to see my favorite hands-on technique for getting that dough perfect, check out my detailed guide on the best pie crust.
Those butter chunks are doing the heavy lifting, creating steam pockets when they hit the heat. Then, gently, gently, add the ice water, tablespoon by tablespoon. Stop mixing the *absolute second* the dough seems like it will hold together when squeezed. Seriously, stop! Overmixing develops gluten, and gluten makes a tough crust, not the best pie crust we’re aiming for.
Once it’s together, divide it, flatten it into those neat little disks, and wrap them up tight. They need a nice, long nap in the fridge—at least an hour, maybe two if you’re making this on a warm day. This chilling time lets the flour relax and keeps that butter solid, guaranteeing you get that perfect, shattering texture when it bakes. Don’t skip the chill!
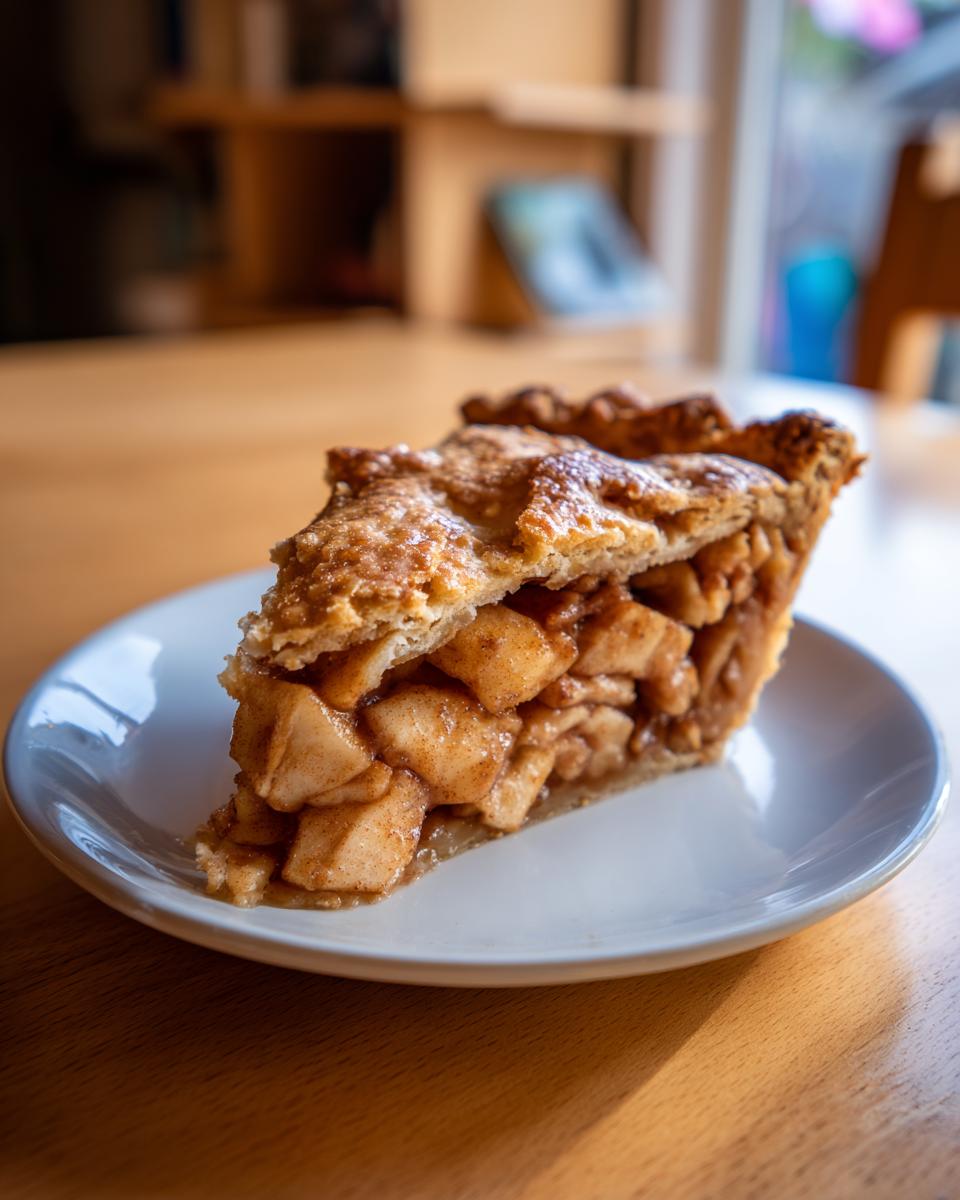
Assembling the Spiced Apple Filling in Your Classic Apple Pie
Next up is the star of the show: the fruit! Peel, core, and slice those apples about a quarter-inch thick. Remember our secret? You need a mix! Granny Smiths give you that essential tart punch to cut through the sweetness, and something like a Honeycrisp or Fuji holds its shape nicely. Slice them uniformly so they cook evenly—no mushy one-minute and hard the next!
Now for the flavor explosion! Put those apples in a great big bowl. Toss them with both sugars, the cinnamon, nutmeg, and allspice. Oh, wow, just smelling that mix of spices hitting the apples is heavenly—it instantly takes me back to school holidays. But here’s the bit that stops the soup: we add two tablespoons of flour. That tiny bit of flour is crucial because it coaxes the juices released during baking into a gorgeous, thick sauce instead of letting them run all over the bottom of your beautiful crust! A squeeze of lemon brightens everything up beautifully. Just toss it gently until everything is coated, and get ready to layer it into that chilled bottom crust. For just the spice blend and liquid mix, you can sometimes find my quick stovetop version when you need a quick fix over here: spiced apple filling.
Step-by-Step Instructions to Bake the Perfect Classic Apple Pie
We’ve got the dough chilled and the apples seasoned perfectly. Now it’s time for assembly, and this is where you treat your pie with respect! Remember that you chilled your dough disks? Take one out and roll it gently on a floured surface until you get about a 12-inch circle. Don’t panic about size; we trim later. Carefully ease that dough into your 9-inch pie plate. Trim the edge, leaving about an inch of overhang—you’ll need that for sealing it up later.
Assembling and Sealing Your Classic Apple Pie
Now, dump all those fragrant, spiced apples into the bottom crust. I always mound them up high in the center; they shrink down as they bake, and we want a full pie! Dot the top of the fruit mound with any tiny bits of leftover cold butter you might have. Take that second disk of dough and lay it over the top. Crimp those edges together—use your fingers or a fork, whatever feels natural for you to get a nice tight seal! Now, steam needs to escape, so cut a few slits right down the middle. If you want that real bakery look, you can cut strips for a lattice top—you can see how I do a full lattice over at my guide for the homemade apple pie. Finally, brush the top crust lightly with that beaten egg wash; it’s what makes it shine!
Baking Times and Temperature Adjustments
This two-temperature bake is my trick for setting the crust and cooking the apples perfectly. Heat your oven up high to 425°F (220°C) and place the pie on a baking sheet—yes, drips happen! Bake it hard for just 15 minutes. That blast of heat sets that gorgeous bottom crust! Then, drop the temperature down to 375°F (190°C) and let it continue for about 40 to 50 minutes. If you notice those beautiful edges getting too dark too fast, just cover them loosely with aluminum foil. You know it’s done when the crust is golden brown and you hear the filling bubbling thick underneath.
The absolute last, most important step is cooling. You have to let it sit on a wire rack for three solid hours before cutting. Patience pays off, or you’ll have liquid pie!
Expert Baking Tips for a Flawless Classic Apple Pie
Even with the best recipe, sometimes the oven needs a little coaching! My biggest fear, and I know yours too, is that sad, wet layer at the bottom—the soggy bottom curse! If you’re nervous about that, here’s an old trick: before you pour in any apples, take a spoonful of that beaten egg white (the leftover from what you used for the top wash) and brush the entire inside of the bottom crust. It acts like a little waterproof shield! Trust me on this one.
If you’re ditching the full top crust for something prettier, like a lattice, make sure your strips are cut evenly. You don’t want thin strips burning while thick ones stay pale. You can find my full lesson on making that perfect lattice over here, which works great with this best pie crust dough. Mostly, remember the cooling time—it’s not really optional if you want slices that stand up proud!
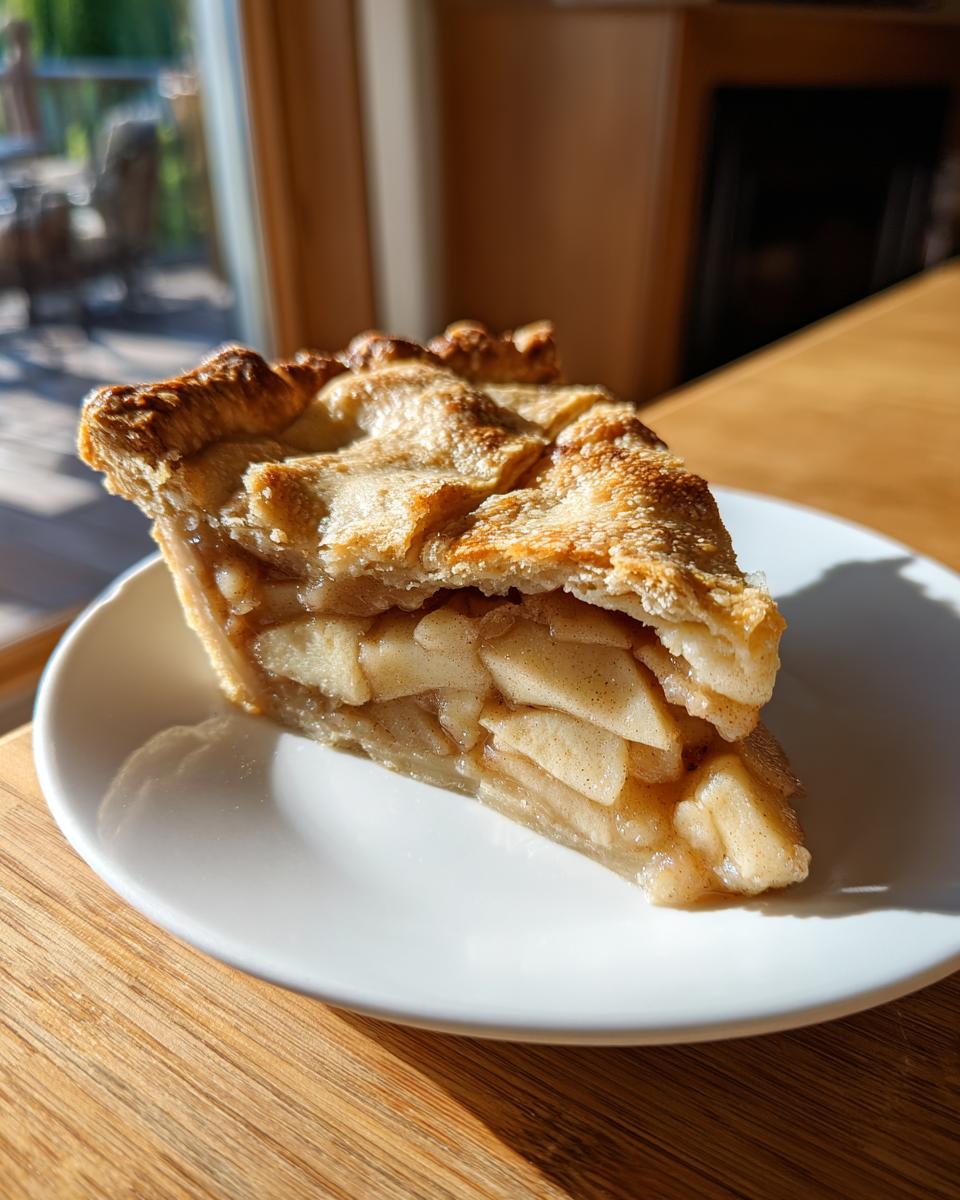
Serving Suggestions for Your Homemade Apple Pie
Honestly, this pie is perfect all by itself, but who are we kidding? It’s best served warm—not scalding, warm enough that the spices are fragrant. A generous scoop of good vanilla bean ice cream melting slowly down the side is my personal favorite way to enjoy this slice of traditional american desserts. If you aren’t a fan of ice cream, a dollop of fresh, lightly sweetened whipped cream cuts the richness beautifully. Keep it simple!
Storage and Reheating Instructions for Classic Apple Pie
Now, if you’re lucky enough to have leftovers—which I rarely do!—don’t panic about storage. This pie is sturdy. You can keep your homemade apple pie covered tightly at room temperature for a full day because of all that sugar we used. After that, it’s safer in the fridge for up to four days.
To wake up that crust the next day, avoid the microwave! It gets soft right away. Instead, just reheat individual slices uncovered in a toaster oven or a regular oven at about 350°F for about ten minutes. That little bit of dry heat brings the butter back to life in the crust. Trust me, it tastes almost fresh-baked!
Frequently Asked Questions About Making Classic Apple Pie
I get so many lovely notes asking for clarification on tricky spots, so I wanted to wrap up with a few easy answers to common concerns. Don’t worry if you have questions; that’s why we’re here to learn together! My goal is always a successful bake for your homemade apple pie.
What is the best way to keep the bottom crust of my homemade apple pie from getting soggy?
That dreaded soggy bottom! The best proactive step is brushing the inside of the bottom crust with a beaten egg white right before you add the apples—it seals the dough beautifully. Also, make sure your oven racks are positioned in the lower third of your oven, giving that bottom crust direct heat. That helps things set up perfectly!
Can I use only one type of apple in this spiced apple filling?
You certainly *can*, but I really advise against it if you want the flavor payoff! Mixing sweet apples, like Honeycrisp, with tart apples, like Granny Smith, gives you a complexity that one apple type just can’t achieve. The tartness balances the sugar in the spiced apple filling so it tastes vibrant, not just sweet.
How long does the Classic apple pie need to cool before slicing?
This is where everyone gets impatient, but you have to hold back! You need that full three hours on the cooling rack. If you try to cut it earlier, that gorgeous, thickened filling will just run right out onto your plate. Those three hours let the thickener (the flour we added!) do its job and let the fruit set up for those perfect slices.
PrintClassic Apple Pie: The Best Pie Crust and Spiced Filling

This recipe provides instructions for a traditional American apple pie with a flaky crust and a perfectly spiced, non-soggy filling. It is a tribute to comforting flavors that taste like home.
- Prep Time: 45 min
- Cook Time: 65 min
- Total Time: 110 min
- Yield: 8 servings 1x
- Category: Dessert
- Method: Baking
- Cuisine: American
- Diet: Vegetarian
Ingredients
- 2 1/2 cups all-purpose flour
- 1 teaspoon salt
- 1 cup (2 sticks) cold unsalted butter, cut into cubes
- 1/2 cup ice water, plus more if needed
- 6 medium apples (a mix of sweet and tart varieties like Granny Smith and Honeycrisp)
- 3/4 cup granulated sugar
- 1/4 cup packed light brown sugar
- 1 teaspoon ground cinnamon
- 1/4 teaspoon ground nutmeg
- 1/8 teaspoon ground allspice
- 2 tablespoons all-purpose flour (for thickening)
- 1 tablespoon lemon juice
- 1 large egg, beaten with 1 teaspoon water (for egg wash)
Instructions
- Prepare the Pie Crust: In a large bowl, whisk together the 2 1/2 cups flour and salt. Cut in the cold butter using a pastry blender or your fingers until the mixture resembles coarse crumbs with some pea-sized pieces of butter remaining.
- Gradually add the ice water, one tablespoon at a time, mixing until the dough just comes together. Do not overmix. Divide the dough in half, flatten each half into a disk, wrap in plastic, and chill for at least 1 hour.
- Prepare the Filling: Peel, core, and slice the apples about 1/4 inch thick. In a large bowl, combine the sliced apples, granulated sugar, brown sugar, cinnamon, nutmeg, allspice, 2 tablespoons flour, and lemon juice. Toss gently to coat the apples evenly.
- Assemble the Pie: Preheat your oven to 425°F (220°C). On a lightly floured surface, roll out one disk of dough into a 12-inch circle. Carefully place it into a 9-inch pie plate. Trim the edges, leaving a 1-inch overhang.
- Fill the bottom crust with the apple mixture, mounding the apples slightly in the center. Dot the top of the apples with small pieces of any remaining cold butter, if desired.
- Roll out the second disk of dough for the top crust. Place it over the filling. Trim the edges, leaving a 1-inch overhang. Crimp the top and bottom crust edges together to seal. Cut several slits in the top crust to allow steam to escape.
- For a golden crust, brush the top crust evenly with the egg wash.
- Bake the Pie: Place the pie on a baking sheet to catch any drips. Bake at 425°F (220°C) for 15 minutes. Then, reduce the oven temperature to 375°F (190°C) and continue baking for 40 to 50 minutes, or until the crust is golden brown and the filling is bubbly. If the edges brown too quickly, cover them loosely with foil.
- Cool: Let the pie cool on a wire rack for at least 3 hours before slicing and serving. This allows the filling to set properly.
Notes
- To prevent a soggy bottom crust, consider brushing the inside of the bottom crust lightly with a beaten egg white before adding the filling.
- Use a mix of apples for the best flavor balance between sweet and tart.
- If you prefer a lattice top, cut the top dough into even strips and weave them over the filling.
Nutrition
- Serving Size: 1 slice
- Calories: 450
- Sugar: 35g
- Sodium: 250mg
- Fat: 24g
- Saturated Fat: 15g
- Unsaturated Fat: 9g
- Trans Fat: 0g
- Carbohydrates: 60g
- Fiber: 3g
- Protein: 5g
- Cholesterol: 60mg