
Do you ever look at a dish—a simple salad, maybe some roasted broccoli—and think, It just needs something extra? That little bit of texture that wakes up your mouth? Me too! That’s why I rely on the simplest, most flavorful little addition: the walnut parm crumble. Seriously, making this topping takes about five minutes, and it instantly elevates anything you sprinkle it on. In my kitchen, we believe simple additions make the biggest difference. This savory crunch is a total game-changer for your everyday meals; keep a jar of this on hand, and you’ll never have a boring plate again!
- Why This Walnut Parm Crumble Recipe is a Kitchen Staple
- Gathering Ingredients for Your Savory Walnut Crumbles
- Step-by-Step Guide: How to Make Walnut Parm Crumbles
- Tips for Success When Making Your Crunchy Walnut Topping
- Ingredient Notes and Substitutions for Your Parmesan Nut Topping Recipe
- Serving Suggestions: How to Use Your Walnut Parm Crumble
- Storage Instructions for Homemade Parmesan Garnish
- Frequently Asked Questions About This Savory Crumble Mix
- Share Your Homemade Parmesan Garnish Creations
Why This Walnut Parm Crumble Recipe is a Kitchen Staple
This recipe has earned its permanent spot right next to my salt and pepper shakers. Why mess with complicated garnishes when you can make something delicious in a flash? It’s reliable, truly versatile, and packs way more flavor than those stale croutons you sometimes find.
- It’s ready faster than you can decide on a side dish.
- The savory notes from the cheese and herbs are fantastic.
- It gives you a much better, far superior crunchy walnut topping!
- It tastes gourmet, but requires zero special skill.
Gathering Ingredients for Your Savory Walnut Crumbles
When we make this Parmesan nut topping recipe, I always tell my grandkids that the magic starts with good ingredients. You don’t need much, but we do need to pay attention to quality! Since you’re only using these few things, make sure they are the best you can find. Freshly grated Parmesan is absolutely non-negotiable here; the pre-grated stuff just won’t melt right.
Ingredient Clarity and Preparation Notes
Keep your pantry stocked for this quick mix! You’ll need 1 cup of raw walnuts—no salt or roasting on those yet! For the aromatics, we use a teaspoon of garlic powder and half a teaspoon of dried thyme; that thyme really adds that savory, almost earthy note we love. And yes, use 2 tablespoons of unsalted butter, just melted, to bring it all together nicely.
Step-by-Step Guide: How to Make Walnut Parm Crumbles
This is where the transformation happens! Don’t worry about making this complicated; honestly, the hardest part is sticking around the oven long enough to watch it brown. Precision isn’t everything here, but you do need to pay attention so you don’t scorch that lovely Parmesan cheese.
Preheating and Chopping for Texture
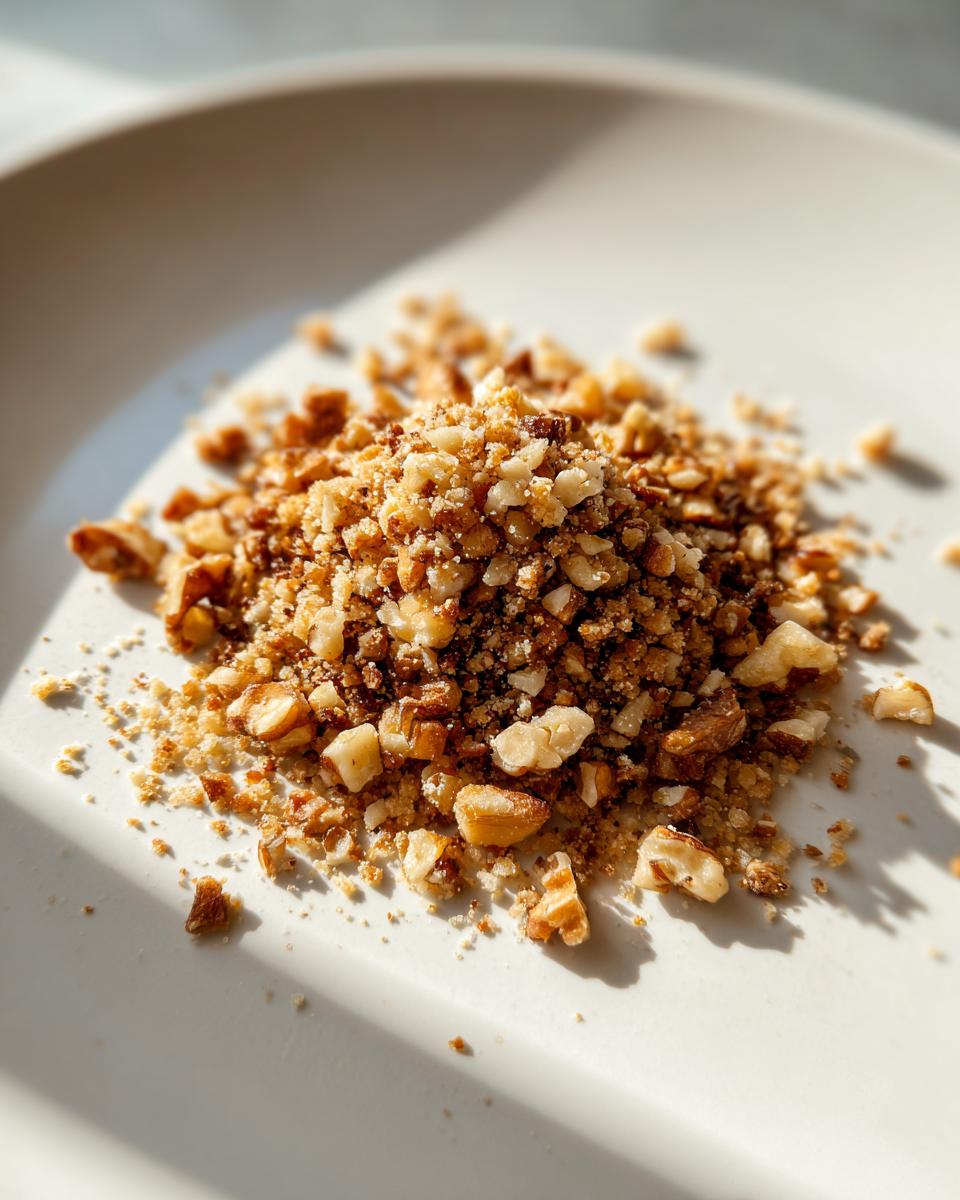
First things first: get that oven warmed up to 350 degrees Fahrenheit. While it heats, go ahead and chop your walnuts roughly. I usually give them a few good whacks with a knife. You want a mix—some fine bits, some chunkier pieces. That variation is what makes our final product such a satisfying buttery walnut crunch when it comes out! Remember to line a baking sheet with parchment paper; cleanup is so much easier that way.
Mixing and Baking the Walnut Parm Crumble
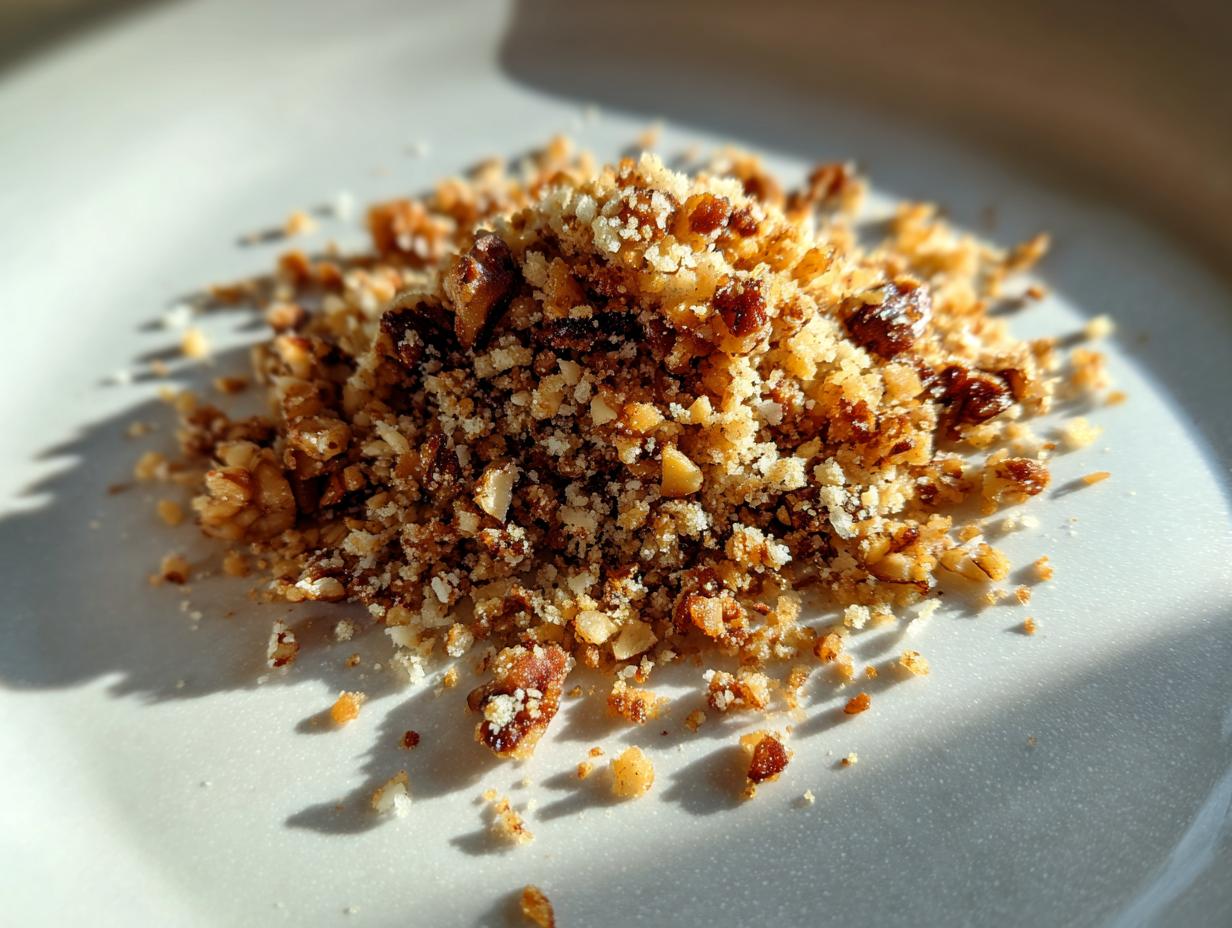
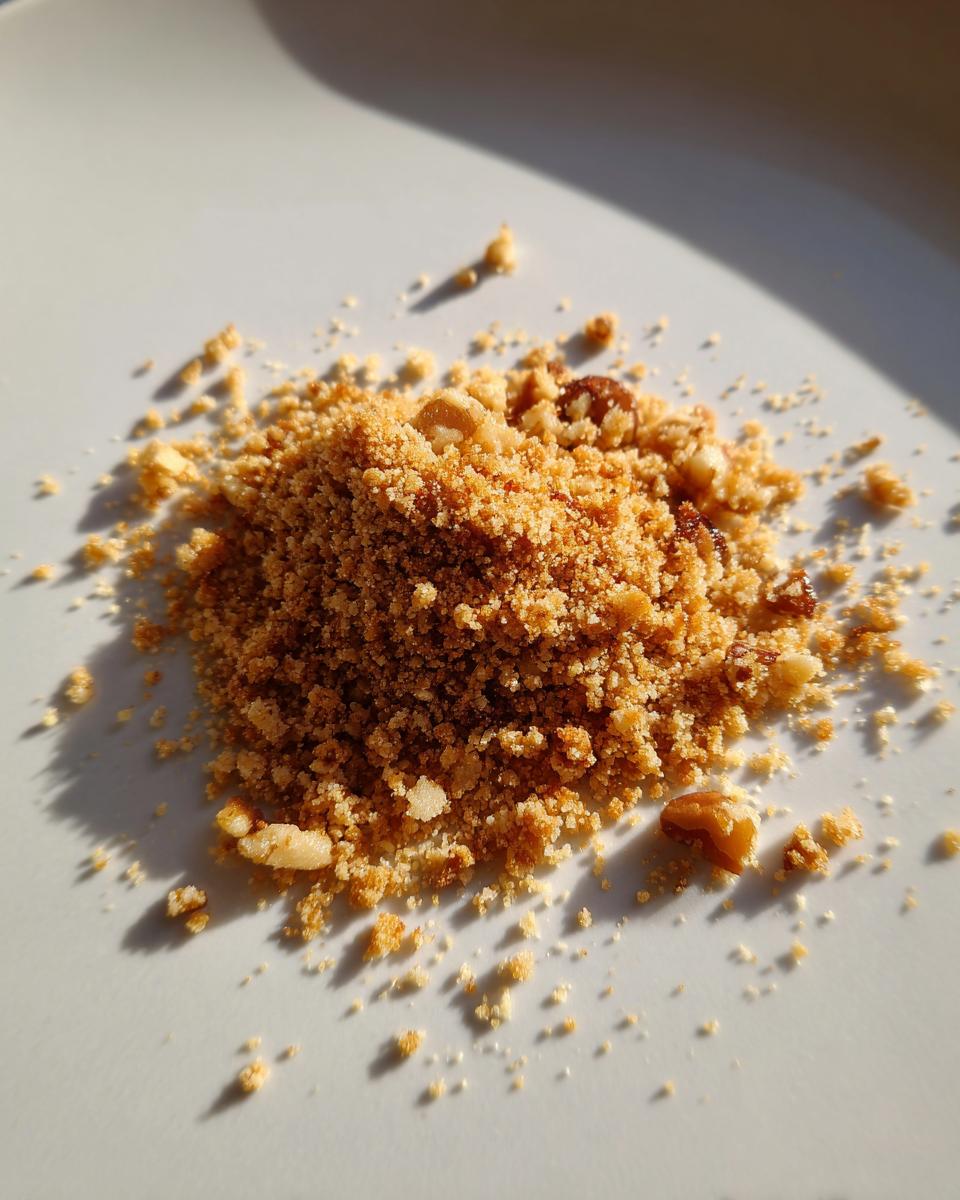
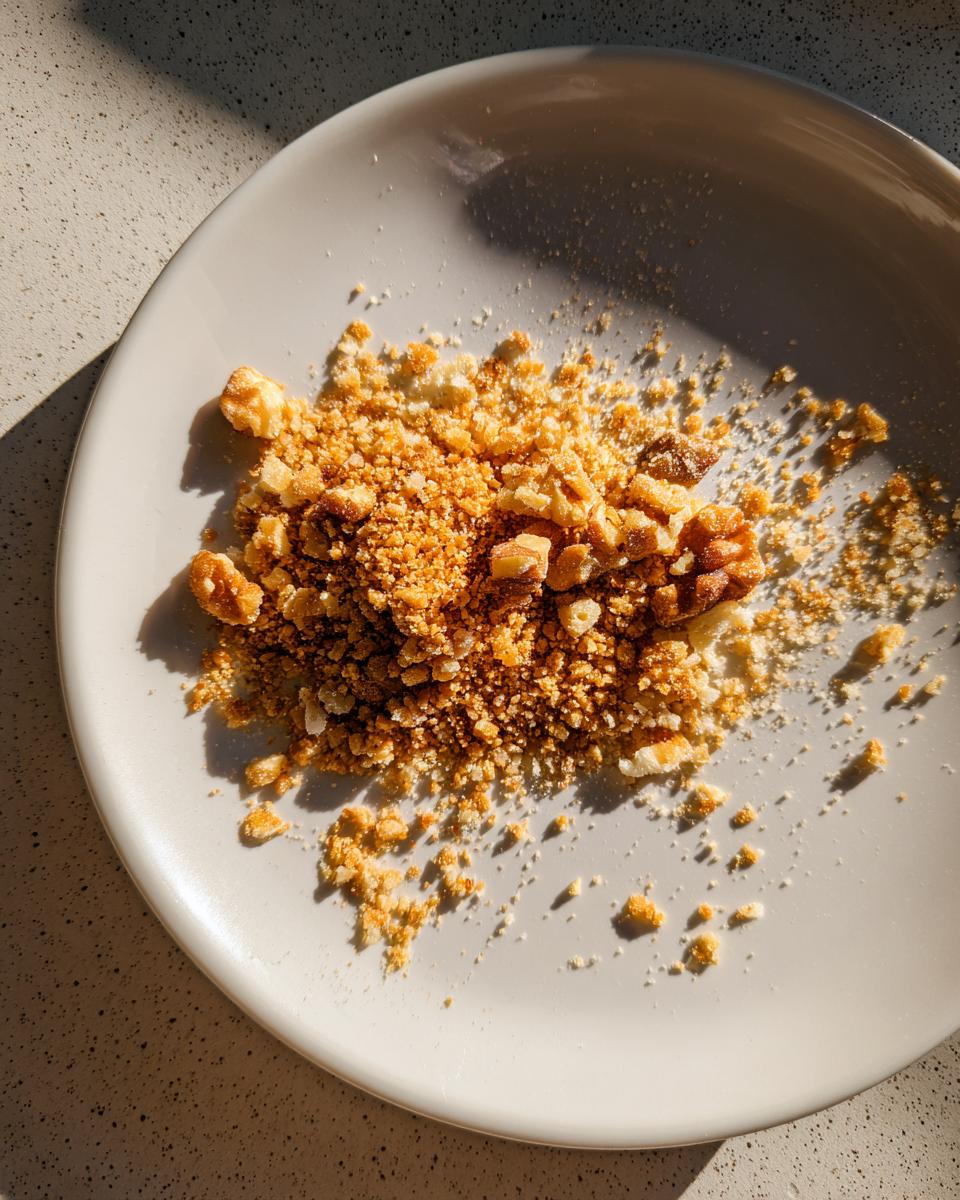
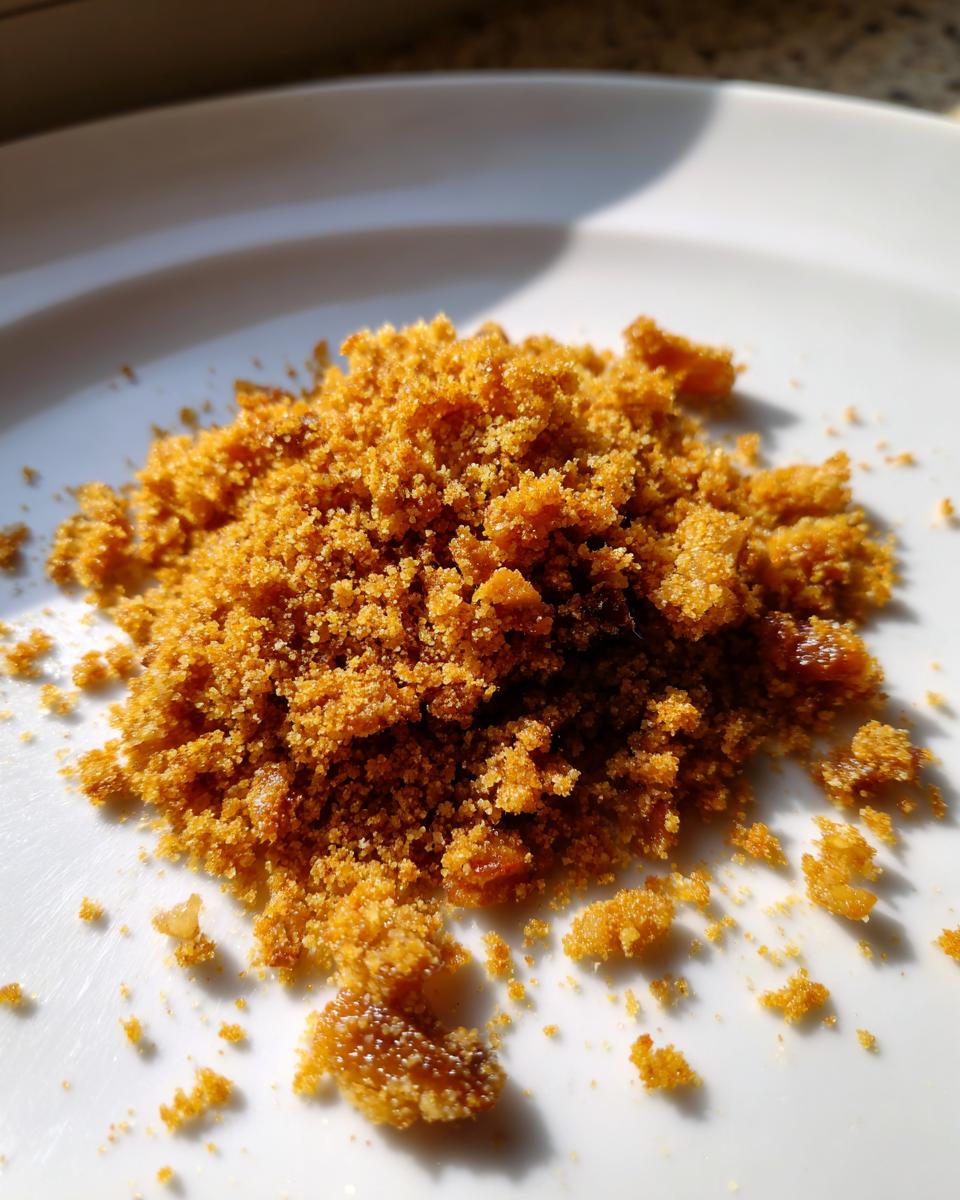
Now grab a bowl and toss those chopped nuts with the Parmesan, melted butter, garlic powder, thyme, pepper, and salt. Make sure every single walnut piece is coated beautifully. Spread everything out onto that prepared sheet in one even layer. Pop it into the oven for 8 to 10 minutes. Here is your warning: stir it halfway through, and watch it like a hawk for the last two minutes. You’re looking for golden brown edges and a really fragrant smell. Once it looks perfect, pull it out immediately, and let that walnut parm crumble cool completely on the sheet—that’s how it gets perfectly crisp!
Tips for Success When Making Your Crunchy Walnut Topping
I’ve made this savory crumble dozens of times over the years, and I’ve learned a few little tricks that really make the difference between good and truly great. Baking is mostly science, but these little nuances are where the heart comes in!
My biggest piece of advice for achieving that perfect crispness on your walnut parm crumble is patience during the cooling phase. Seriously, don’t touch it for at least fifteen minutes after it comes out of the oven. If you try to move it while it’s warm, those cheesy edges will stick to the paper. They firm up and go crunchy as they cool down completely on the baking sheet.
Also, taste your cheese before you start mixing! Different Parmesans are saltier than others out of the bag. If your cheese is already quite sharp, hold back that pinch of salt entirely, or just dust it very lightly at the end. You want the flavor to be balanced, not aggressively salty.
For those of you looking for a slightly toastier nut flavor, you can toast your raw walnuts for about 5 minutes before mixing them into the bowl, then let them cool down slightly. This deepens the flavor profile of your homemade Parmesan garnish without actually cooking the cheese yet. It’s a small step, but boy, does it amp up the nutty richness!
Ingredient Notes and Substitutions for Your Parmesan Nut Topping Recipe
Now, I know not every pantry looks the same, and sometimes we need to make things work with what we have on hand, or maybe we have dietary concerns. That’s perfectly fine! This Parmesan nut topping recipe is very forgiving, and we can easily make swaps without losing that savory punch.
First, I want to assure you: if you’re looking for a Gluten Free Nut Crunch, you’re already set! This recipe uses zero flour, so it’s naturally gluten-free, which is wonderful for so many families.
If walnuts just aren’t your favorite, try pecans! Pecans offer a slightly sweeter base, but they hold up beautifully in the oven right alongside the cheese, giving you a lovely variation on these savory walnut crumbles. Just watch them closely since they can brown a tiny bit faster than walnuts.
For my friends who prefer to keep things vegetarian, swapping the Parmesan is easy. You can use a great vegetarian hard cheese substitute, or if you want that salty, nutty, cheesy flavor profile without dairy, use nutritional yeast! Start with about 1/4 cup of nutritional yeast for every 1/2 cup of Parmesan the recipe calls for, and you’ll still get that amazing depth in your final sprinkle.
Serving Suggestions: How to Use Your Walnut Parm Crumble
The best part about mastering this walnut parm crumble is realizing how many dishes suddenly get an upgrade! Honestly, I keep this stuff on hand because it solves the age-old problem of what to put on top of things. It’s not just a garnish; it’s an experience enhancer!
If you’re into salads, these fall squarely into the category of the Best Salad Toppings you can imagine. Forget flavorless slivered almonds; the savory hit from the cheese and thyme works wonders on everything from simple greens to a hearty roasted vegetable mix like that wonderful roasted broccoli salad.
But don’t stop there! My personal favorite way to use this topping is when I make a really simple bowl of creamy tomato soup. Just a tablespoon sprinkled right on top turns it into something that feels like it came from a fancy bistro. It’s truly transformative.
Try it over baked sweet potatoes, toss it with your favorite pasta instead of breadcrumbs for a delightful crunch, or sprinkle it liberally over any roasted vegetable—it makes a fantastic crusted vegetable topper. That buttery walnut crunch just makes everything better, promise!
Storage Instructions for Homemade Parmesan Garnish
Now that you’ve made this amazing flavor booster, you want to make sure it stays perfectly crunchy, right? You don’t want your beautiful walnut parm crumble turning soft and sad on you. The good news is, keeping this fresh is remarkably easy because we baked out all the moisture!
You absolutely must let it cool completely—and I mean stone cold—before you put it away. Warm ingredients trap condensation, and that’s the fastest way to lose your crunch. Once it’s totally cooled down, transfer your Parmesan nut topping recipe batch into an airtight container.
I just use an old mason jar with a tight lid, or a small plastic container that snaps shut well. Keep it right there on your counter at room temperature. Because of the cheese and the nuts, it’s going to stay wonderfully crisp for at least a week, sometimes even two! If you notice it loses a little snap after about ten days, just toss it onto a baking sheet and pop it back in a 300-degree oven for about three minutes. It instantly renews that glorious, savory crunch!
Frequently Asked Questions About This Savory Crumble Mix
I know when I first started making this, I had a million little questions pop up! It’s so great that you all are getting creative with how you use this topping. These little tweaks are what turn following directions into feeling like a real home cook. Here are a few things readers ask me most often about our nut and cheese topping.
Can I toast this walnut parm crumble on the stovetop instead of the oven?
Oh, absolutely you can! This is a wonderful option if you are just making a tiny batch or maybe you want to stir it constantly so you can smell it all cook—which I totally do! Use a heavy, dry skillet over medium-low heat. You have to stir it almost constantly, though. The cheese browns super fast, and if you walk away for even thirty seconds, you’ll end up with burned bits instead of that lovely, buttery walnut crunch. The oven gives you steadier heat, but the skillet works in a pinch!
What is the best way to get a vegetarian Parmesan nut topping recipe?
That’s an important question! If you are aiming for a completely vegetarian meal, you need to bypass the store-bought Parmesan, as too many use animal rennet. The easiest solution, which I adore for adding that savory background note, is using nutritional yeast. Start by substituting about 1/4 cup of nutritional yeast for every half cup of cheese the recipe asks for. If you can find a vegetarian hard cheese substitute that you like the taste of, that works too! It hits those savory notes perfectly for our homemade Parmesan garnish.
Can I use other nuts besides walnuts for this gourmet crumb recipe?
You certainly can, and I encourage you to try them out! As I mentioned before, pecans are fantastic—they are slightly sweeter, but the flavor blends beautifully. If you have slivered almonds on hand, those work well too, but you need to watch them extra closely because they thin out when toasted and can burn much quicker than the walnuts. If you use different nuts, keep an eye on that bake time; they might only need 7 or 8 minutes total to reach that perfect golden state for your best salad toppings.
Share Your Homemade Parmesan Garnish Creations
Well, that’s it! You now have the recipe for what I truly believe is one of the easiest flavor boosters you’ll ever make. I sincerely hope this walnut parm crumble becomes a regular fixture in your meal planning, just like it is in mine. It’s just so satisfying to take a handful of pantry staples and turn them into something that tastes that rich and crunchy!
I always love hearing what you all make! Did you try this topping on roasted cauliflower? Did you dust it over a bowl of creamy pasta? Please don’t be shy! Head over to the comments section below and tell me how you used your homemade Parmesan garnish. A simple 5-star rating really helps other cooks find this dependable recipe, too!
If you snap a picture of your dish—maybe it’s a gorgeous salad topped generously, or perhaps you’ve used it on your favorite pasta dish—I’d love to see it! Send me a message through the contact page. Happy cooking to you all, and enjoy that wonderful texture!
PrintSimple Walnut Parmesan Crumble Topping
Make this savory walnut parm crumble for a crunchy, flavorful topping for salads, pasta, or roasted vegetables.
- Prep Time: 5 min
- Cook Time: 10 min
- Total Time: 15 min
- Yield: About 1.5 cups 1x
- Category: Garnish
- Method: Baking
- Cuisine: American
- Diet: Vegetarian
Ingredients
- 1 cup raw walnuts
- 1/2 cup grated Parmesan cheese
- 2 tablespoons unsalted butter, melted
- 1 teaspoon garlic powder
- 1/2 teaspoon dried thyme
- 1/4 teaspoon black pepper
- Pinch of salt
Instructions
- Preheat your oven to 350 degrees Fahrenheit. Line a small baking sheet with parchment paper.
- Roughly chop the walnuts. You want a mix of small pieces and some larger chunks for texture.
- In a medium bowl, combine the chopped walnuts, grated Parmesan cheese, melted butter, garlic powder, dried thyme, black pepper, and salt. Mix until the walnuts are evenly coated.
- Spread the mixture in a single layer on the prepared baking sheet.
- Bake for 8 to 10 minutes, stirring halfway through, until the crumble is golden brown and fragrant. Watch carefully to prevent burning.
- Remove from the oven and let it cool completely on the baking sheet. The crumble will crisp up as it cools.
- Store leftovers in an airtight container at room temperature.
Notes
- For a gluten free nut crunch, this recipe is naturally gluten free.
- If you prefer a milder flavor, substitute Pecans for walnuts.
- To make this vegetarian, use a vegetarian Parmesan alternative or nutritional yeast instead of Parmesan cheese.
- This topping works well sprinkled over roasted green beans or creamy tomato soup.
Nutrition
- Serving Size: 1/4 cup
- Calories: 220
- Sugar: 1
- Sodium: 150
- Fat: 20
- Saturated Fat: 4
- Unsaturated Fat: 16
- Trans Fat: 0
- Carbohydrates: 3
- Fiber: 2
- Protein: 8
- Cholesterol: 10