
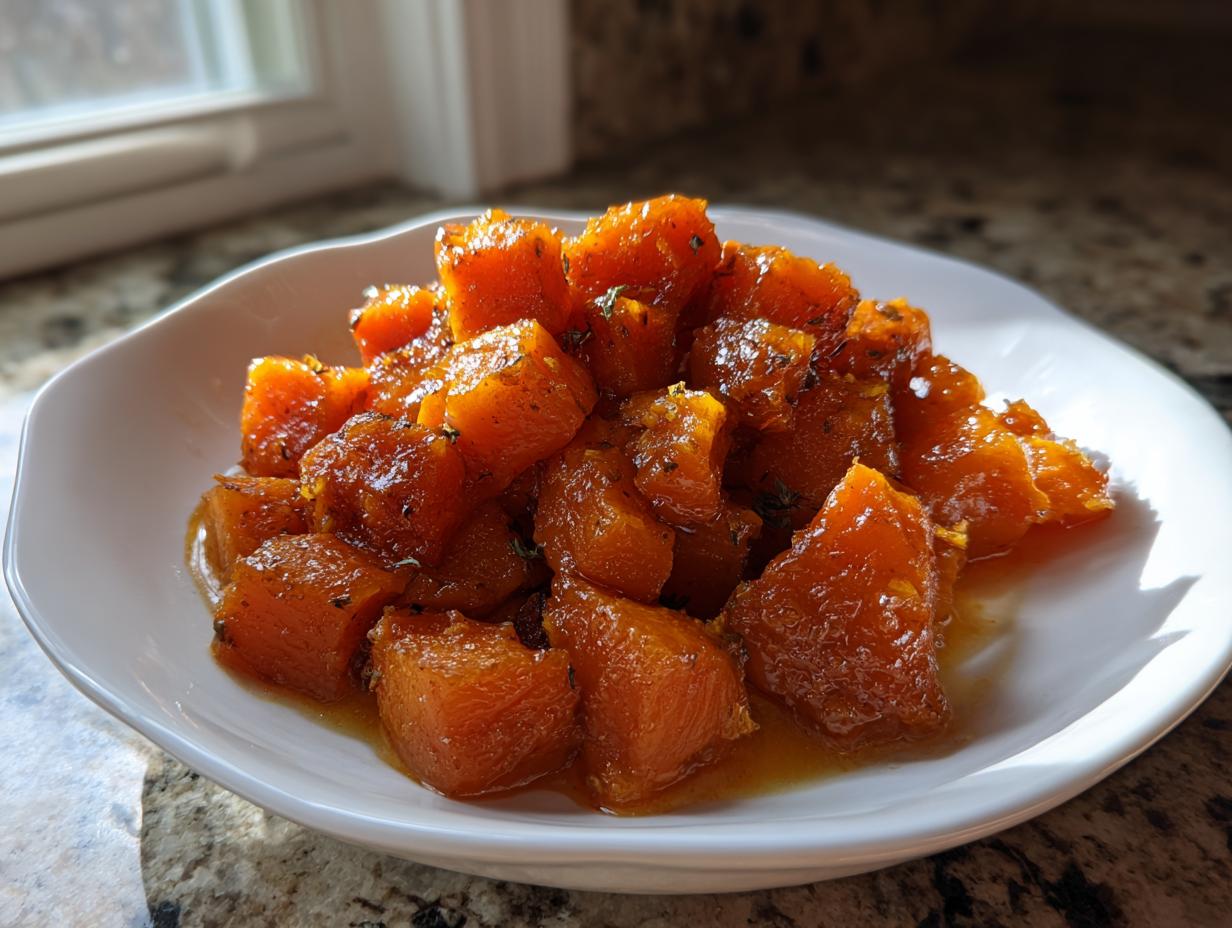
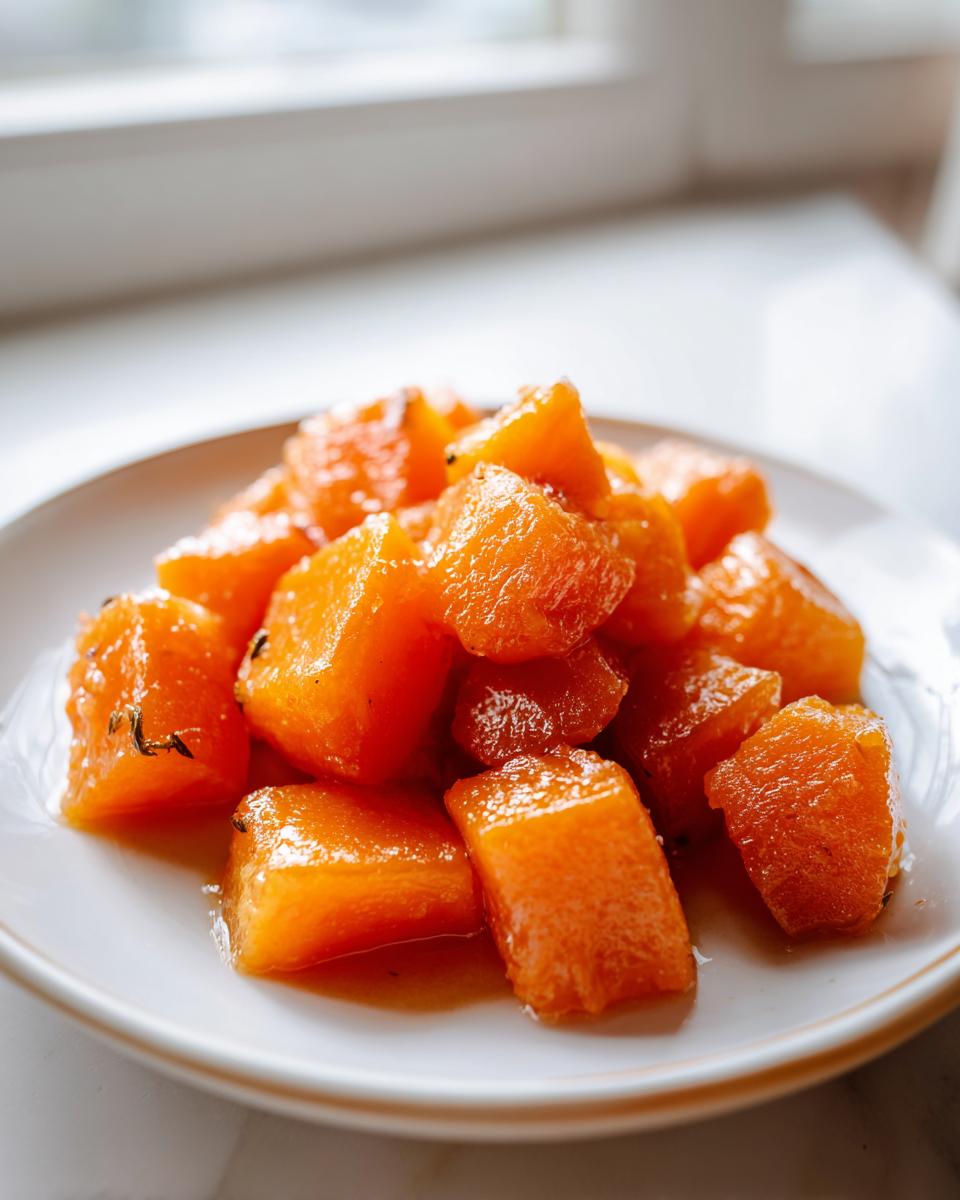
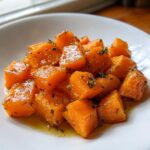
Oh, when those first crisp days of autumn roll around, my heart just sings! It’s time to trade those light summer sides for something truly heartwarming. That’s why I’m so excited for you to try my favorite way to prepare squash: simple, tender, flavorful braised butternut. It’s soft, slightly sweet, and perfectly seasoned. Trust me, after teaching elementary school for thirty years, I learned exactly how to break down a recipe so that even the newest cook can get it right the first time. This method, passed down from my mother, guarantees the squash melts in your mouth without losing its shape. It’s pure comfort, Grandma-approved!
- Why This Simple Recipe for Braised Butternut Works So Well
- Gathering Ingredients for Perfect Braised Butternut
- How to Braise Butternut: Step-by-Step Instructions
- Tips for Success with Your Braised Butternut Squash Recipes
- Savory Winter Squash Preparations: Serving Suggestions
- Storage and Reheating Instructions for Leftover Braised Butternut
- Variations on This Braised Butternut Recipe
- Frequently Asked Questions About Slow Cooked Butternut Squash
- Nutritional Snapshot of Your Homemade Braised Squash
- Share Your Comfort Food Fall Side Dishes
Why This Simple Recipe for Braised Butternut Works So Well
When you’re looking for that perfect fall side, you need assurance that your efforts result in something deeply flavorful and perfectly textured. This simple braised butternut squash recipe delivers every time. It avoids the dryness sometimes associated with roasting, giving you a comforting side dish that truly sings.
- It hits that savory-sweet spot we all love during the holidays and chilly evenings.
- The low-and-slow nature means you can focus on your main dish while this cooks away happily on the stovetop.
- It’s quicker than a slow cooker but yields incredibly tender results.
Achieving Tender Butternut Squash Cooking Methods
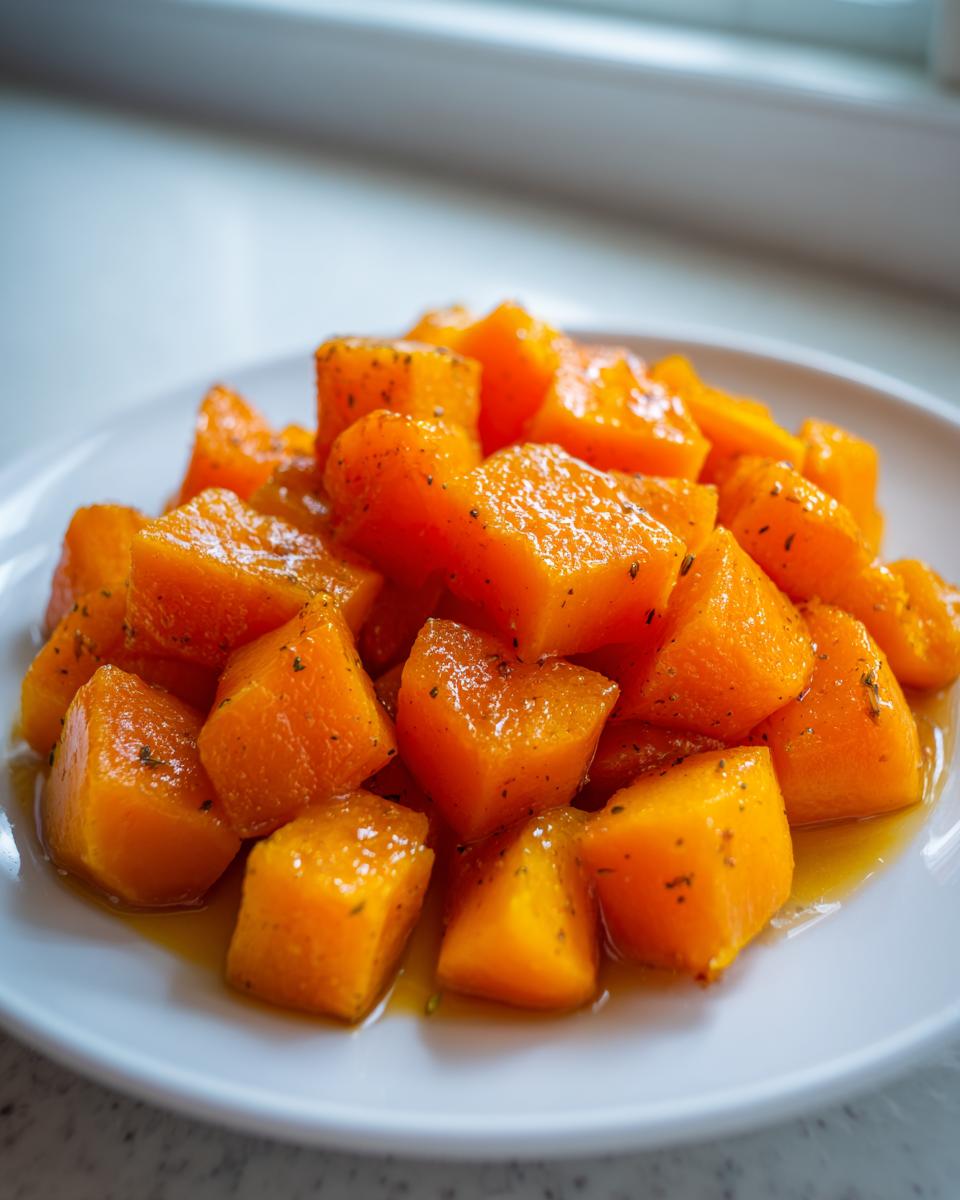
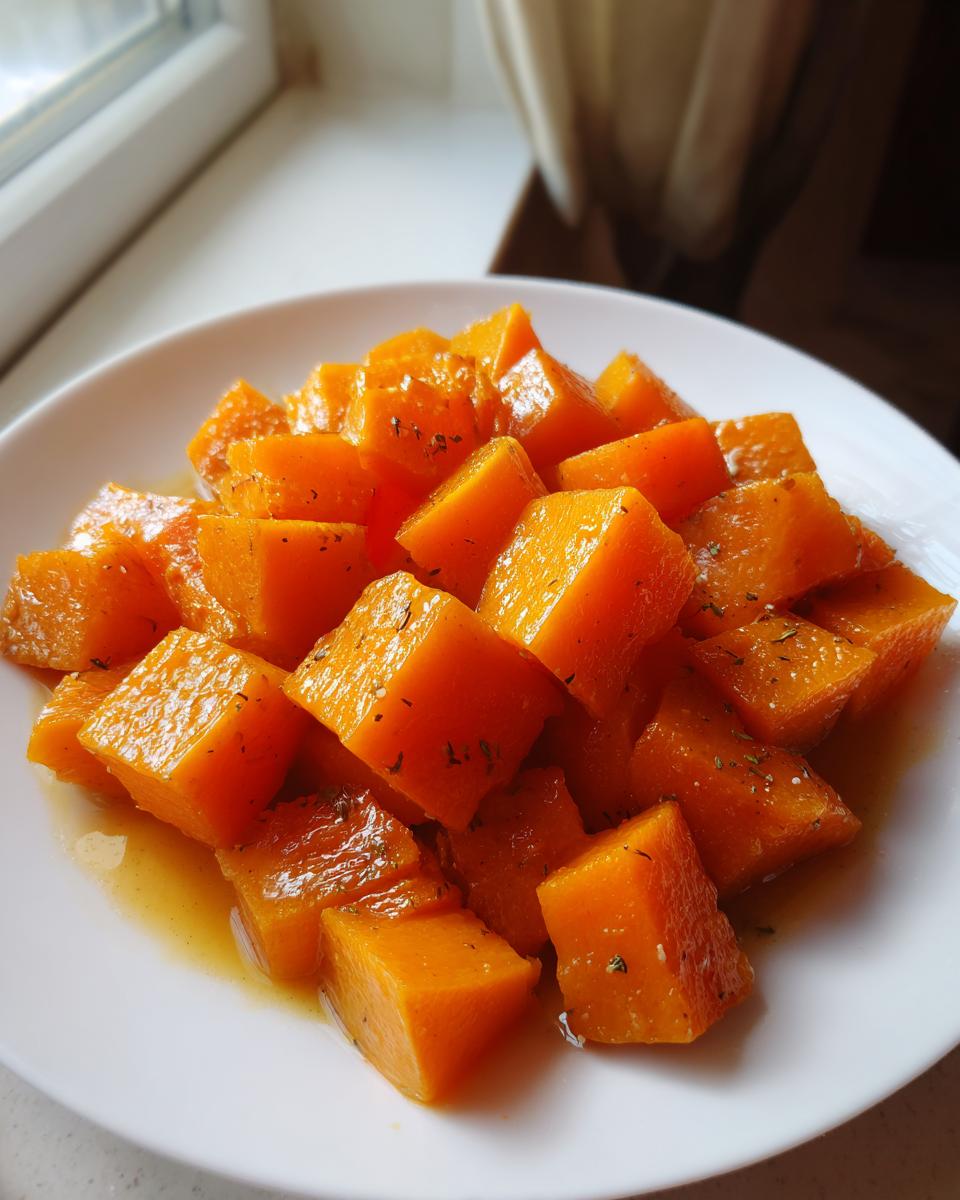
The secret magic here is the braise itself. Unlike roasting, where the dry heat can sometimes let the edges get tough or dry out the middle, braising keeps that squash submerged just enough in flavorful liquid. We aren’t boiling it, though! We’re looking for that delicate stage where the cubes are fork-tender but still politely hold their shape. You don’t want squash mush!
Building Deep Flavor in Your Braised Butternut
We layer flavor right from the start! Sautéing the onions and garlic wakes up their sweetness before we even add the actual squash. Then, combining the stock, wine, thyme, and maple syrup creates a beautiful, complex cooking environment. This combination turns simple cubes into one of my favorite deep flavor vegetable sides. The final result is richly seasoned, balanced braised butternut!
If you’re looking for other ways to get that squash soft and flavorful, you might want to check out my recipe for Butternut Squash Casserole, too!
Gathering Ingredients for Perfect Braised Butternut
One of the simplest ways to build trust in a recipe, especially when teaching someone how to braise butternut, is to be perfectly clear about what you need. My list here is short, meaning you likely have most of this on hand—which is always a bonus! When you gather these items, remember that quality truly matters here, especially for our aromatics. Don’t skip the fresh thyme; it brightens everything up wonderfully.
Here’s the lineup for making a delightful batch of flavorful braised butternut squash:
- 1 medium butternut squash (aim for about 3 lbs—not too small for a holiday side!).
- 2 tablespoons olive oil (just plain and simple, nothing fancy).
- 1 medium yellow onion, chopped nicely.
- 2 cloves garlic, minced super fine.
- 1 cup vegetable or chicken stock (see below).
- 1/2 cup dry white wine or apple cider (this is where the tartness comes from!).
- 2 tablespoons maple syrup (the real stuff, please!).
- 1 teaspoon fresh thyme leaves (or dried if that’s all you have, but fresh is miles better).
- 1/2 teaspoon ground cinnamon.
- 1/4 teaspoon salt and 1/8 teaspoon black pepper.
Butternut Squash Cooking Liquids and Aromatics
You’ll notice we aren’t using heavy cream or tons of butter; we rely on our liquid base to do the heavy lifting. That 1 cup of stock combined with the 1/2 cup of wine or cider creates a perfect acidic and savory balance. The maple syrup isn’t just for sweetness; it helps lightly glaze the squash as it tenderizes. These liquids, married with the fresh thyme, are what turn this dish into a standout braised butternut experience, rather than just bland cooked vegetables. It’s all about balance!
If you love using these warm flavors in other ways, you should definitely take a peek at my creamy butternut squash pasta sauce recipe—it uses similar tones!
How to Braise Butternut: Step-by-Step Instructions
Alright, let’s dive into the actual cooking part! Learning how to braise butternut is so much easier than worrying about the perfect oven temperature. Once you have your cubes ready, we move quickly into building that flavor base. Patience is important for the simmering later, but the initial steps move pretty fast, so make sure your pot is ready!
Preparing the Squash and Sautéing Base
First things first: that tough exterior has to go. Don’t shy away from peeling the squash; you want nice 1-inch cubes so they cook evenly. Scoop out those stringy seeds—I usually toss them aside or clean them up for roasting later. Once cubbed, you’ll heat your olive oil in a heavy Dutch oven over medium heat. Toss in your chopped onion and let them soften up for about five full minutes until they look translucent. Now, add your minced garlic. You only want one minute here! Garlic burns fast, and burnt garlic makes everything taste bitter. We want fragrant, sweet, happy garlic mingling with soft onions.
Next, drop in those beautiful squash cubes and stir them around just long enough to get coated in that savory base. That’s your big moment before adding the liquids!
The Simmering Process for Tender Braised Butternut
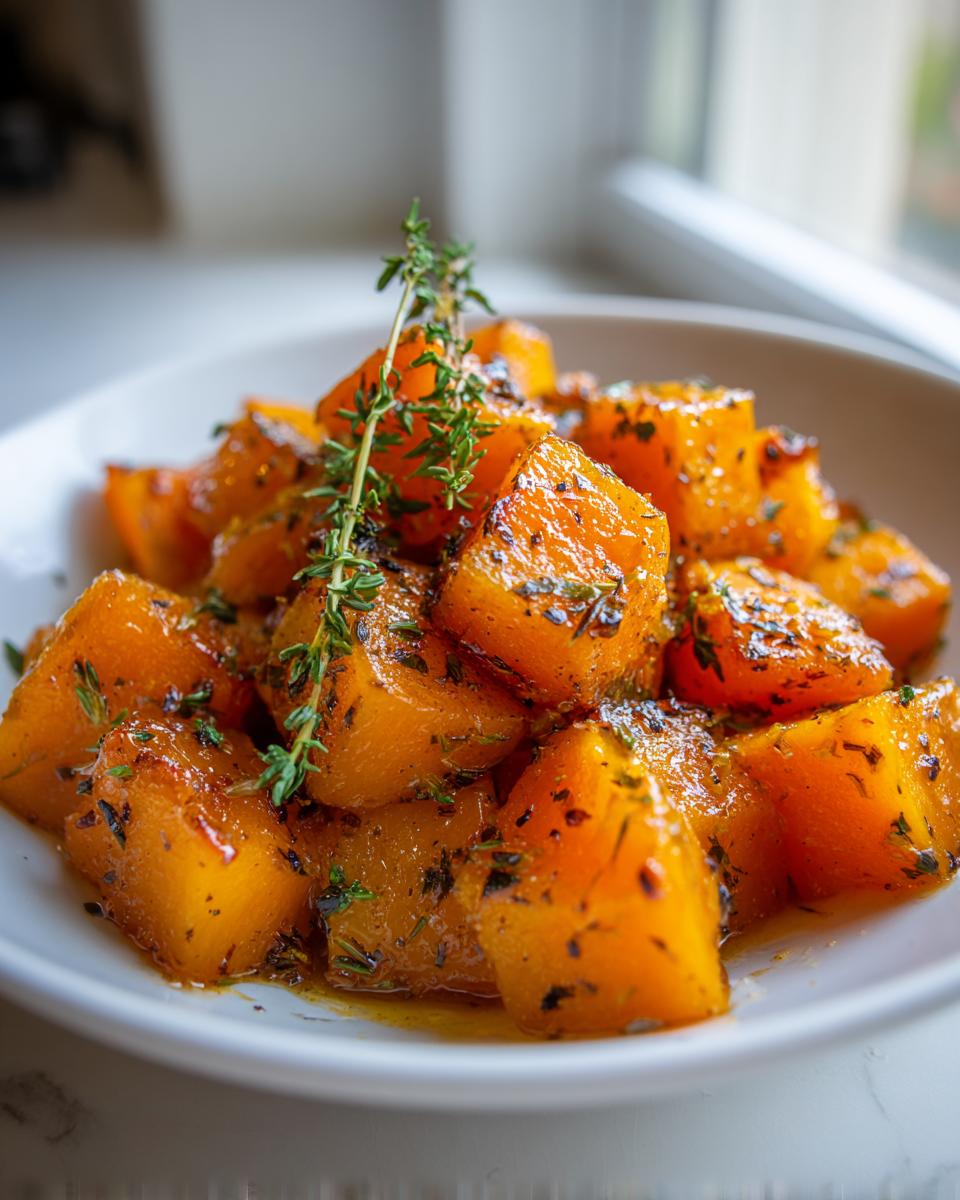
Now we introduce the stock, cider, maple syrup, and all those wonderful spices. Give it a gentle stir to make sure everything is cozy in the pot. Bring that mixture up just until it starts to bubble—we call that a simmer. Once you see that gentle bubble action, turn the heat way down low. Cover that pot tightly. This traps all the steam and liquid, which cooks the squash gently. You’re aiming for 25 to 35 minutes of low-and-slow cooking time for the perfect braised butternut.
Remember, you must test it! After 25 minutes, pierce a cube with a fork. If it’s tender, great! If not, keep checking every five minutes. If you like a slightly thicker sauce at the end, take the lid off for the final five minutes to let some steam escape. You can always find more tips for cooking squash perfectly in my guide to velvety roasted squash soup!
Tips for Success with Your Braised Butternut Squash Recipes
You’ve mastered the steps, but as a seasoned cook, I always have a few extra little tricks up my sleeve to ensure your braised butternut turns out magnificent every single time. These small adjustments separate a good dish from one everyone asks you to make again!
When following these braised butternut squash recipes, texture control is your very best friend. If you tend to like your squash softer, don’t be afraid to let it go the full 35 minutes, maybe even longer on the absolute lowest setting. However, if you’re serving picky eaters or want it to hold up better on a buffet, pull it right at 25 minutes when it’s just starting to yield to a fork.
For flavor adjustment right at the end, taste that liquid! If your stock was a little bland, stir in a tiny pinch more salt. Does it need a lift? A small drizzle of good balsamic vinegar just before serving (after you turn off the heat!) gives the sweet elements a wonderful, sharp finish. If you’re looking for even more flavor from roasting before braising, you might want to check out my easy roasted butternut squash guide for an alternative start!
Savory Winter Squash Preparations: Serving Suggestions
When you pull that pot lid off and that sweet, earthy aroma of cinnamon and thyme fills your kitchen, you’re faced with the best kind of decision: what are we eating this with? Because this dish is so beautifully balanced—it leans savory with the stock and onion, but sweetens up nicely with that maple syrup—it plays well with so many main courses. This is where my experience putting together whole family meals really comes in handy!
These delightful cubes make for fantastic savory winter squash preparations. They are thick enough to stand up next to big cuts of meat, but mellow enough not to overpower them. I usually find myself making this right alongside pork or poultry around the holidays, but honestly, it’s perfect any night of the week.
Here are a few ways I love serving this tender squash:
- With Roasted Meats: This side is divine next to a simple roasted chicken or a pork loin. The sauce that develops in the pot acts like a built-in gravy!
- Vegetarian Main: If you’re looking for a meatless meal, serve a nice big scoop over creamy polenta or quinoa. That way, the squash and the flavorful cooking liquid become the star.
- Holiday Spread: This is a wonderful addition to any spread of best side dishes for holiday meals because it’s familiar yet slightly elevated beyond the basic baked squash. It’s a guaranteed crowd-pleaser without taking up the oven space!
If you need more inspiration for assembling that perfect holiday plate, take a look at my tips for putting together my best savory side dishes! You’ll find lots of great pairings there.
Storage and Reheating Instructions for Leftover Braised Butternut
Now, sometimes we make too much, don’t we? That’s the best kind of cooking mistake! The good news is that this braised butternut holds up beautifully, which means leftovers are going to be just as comforting the next day. I hate seeing good food go to waste, and thankfully, this recipe stores like a dream.
You’ll want to make sure the squash has cooled down properly before you seal it up. Put any leftovers into a sturdy, airtight container. I usually give it about 3 or 4 days in the refrigerator—any longer than that and the texture starts to change a bit too much for my liking. It’s perfect for a quick workday lunch!
When it comes time to reheat, please, I’m begging you, skip the microwave if you can! The microwave works fast, sure, but it heats unevenly and can turn those lovely tender cubes right back into mush. Instead, grab a small saucepan or skillet. Reheat your portion over medium-low heat. You might want to add just a tiny splash of water, stock, or even a dash of cider to prevent the sauce from getting too thick while it warms up slowly. Stirring gently every minute or so keeps everything cohesive and delicious. This simple trick ensures your second-day braised butternut tastes almost as good as the first batch!
Variations on This Braised Butternut Recipe
Isn’t it wonderful that once you master the core technique for braised butternut, you can start playing dress-up with the spices? I always encourage my grandkids to try a little twist when they make this, just to see how different flavor combinations work. Because the base recipe is so solid—thanks to that lovely stock and maple syrup—you really can’t mess it up too badly!
Here are a few simple ways I like to change things up to keep our autumn meals interesting:
For a Smoky Kick: If you’re looking for something that feels heartier, try substituting the cinnamon with 1/2 teaspoon of smoked paprika instead. Or, you can add a small pinch of both! It brings out a wonderful, deep, savory element that turns this from a sweet side dish into something that tastes almost roasted over a bonfire. It’s fantastic with red meat.
For a Deeper Sweetness: Sometimes, if I’m serving this to people who really love desserts, I swap out the maple syrup. Instead of those 2 tablespoons of maple, use 2 tablespoons of packed dark brown sugar. The molasses notes in the brown sugar give the final sauce a richer, almost caramel-like depth that pairs beautifully with the cinnamon. It turns the liquid into a beautiful glaze!
For Tangy Finish: My favorite grown-up trick is adding brightness right at the very end. Once you’ve turned the heat off and you’re ready to serve, stir in about one teaspoon of good quality balsamic vinegar. It sounds strange—vinegar!—but the little burst of tang cuts through the sweetness of the squash and maple perfectly. It just wakes everything up! If you enjoy playing with these warm, earthy flavors, you absolutely must check out my recipe for simple roasted autumn squash soup for another way to enjoy the season!
Frequently Asked Questions About Slow Cooked Butternut Squash
It’s natural to have questions when you’re trying a new technique, especially when dealing with a vegetable that can sometimes be tricky to handle, like butternut squash! I’ve gathered a few common queries I always get when friends or family try my braised butternut squash recipes for the first time. Don’t fret—these are usually simple fixes!
Can I use chicken stock instead of vegetable stock for the braised butternut?
Absolutely, yes! You certainly can. My base recipe calls for vegetable stock because I wanted to keep this dish firmly in the vegetarian realm for general appeal, but using chicken stock is a wonderful idea if you aren’t worried about that restriction. I find that swapping to chicken stock adds just a bit more savoriness and depth to the final sauce. It makes this one of the best comfort food fall side dishes because it just tastes richer that way. Just be sure if you use chicken stock, you still taste the sauce before serving!
What is the best way to cut butternut squash safely?
Oh, cutting squash can be intimidating! They are so hard, and you don’t want to slip. My biggest piece of advice for safe preparation, especially when you’re about to cube it up for this braise, is to remove the skin and seeds *before* you start portioning it. It’s much easier to handle a smooth half or two sturdy chunks than a whole, oddly shaped squash. If you have a very sharp, heavy chef’s knife, place the squash vertically on a cutting board, slice it in half lengthwise from stem to base, scoop out the seeds with a sturdy spoon, and *then* you can peel the skin off with a vegetable peeler or carefully slice it away. Always cut away from your body, and remember to set the flat side down if you need to slice through the middle.
Can this be made ahead of time for holiday meals?
Yes, this is one of the great benefits of these slow cooked butternut squash preparations! You can absolutely make this dish a day ahead of time. Once it has cooled completely, store it tightly sealed in the fridge. When it’s time for your big meal, just reheat it gently on the stovetop over low heat until warmed through, adding a tiny splash of water or stock if the sauce has thickened too much during cooling. This takes up zero oven space, which is crucial when you’re cooking big holiday dinners! You can find more helpful ways to manage your meal prep schedule in my guide on assembling the perfect timing for holiday dishes.
Nutritional Snapshot of Your Homemade Braised Squash
I always tell my grandchildren that cooking with love is the greatest ingredient, but knowing what’s in the food we eat is important too! Since we use simple, whole ingredients like squash, onion, and a touch of maple syrup in this braised butternut, the nutrition is quite lovely overall. Remember, these numbers are just estimates based on the recipe servings, so they can shift slightly depending on the exact size of your squash or the brand of stock you grab.
It’s wonderful knowing that this delicious side dish is low in cholesterol and brings a healthy dose of fiber to your holiday table. Here is the snapshot for one serving (about 1 cup cooked) of your perfectly tender, slow cooked butternut squash:
- Serving Size: 1 cup cooked
- Calories: 185
- Fat: 5g (with 1g saturated fat)
- Carbohydrates: 33g
- Fiber: 6g
- Protein: 3g
- Sugar: 12g
- Sodium: 210mg
- Cholesterol: 0mg
See? Nothing scary hiding in here! Just those wholesome ingredients doing their job to make a wonderful, healthy side dish.
Share Your Comfort Food Fall Side Dishes
Well, friends, that’s my tried-and-true method for getting you the most delicious, fork-tender braised butternut squash you’ll ever make at home. I truly hope this recipe becomes a staple in your kitchen too, especially when the leaves start turning!
Now I need your help! I’m always listening to what works best for my community. If you made this dish, please take a moment to pop down and leave me a quick star rating. It helps other home cooks find reliable recipes, and I just love seeing the feedback!
More than that, tell me about *your* experience in the comments below. Did you add a little splash of balsamic at the end? Did you serve it with roasted chicken? I love reading how you adapt these classic flavors. And if you know someone who is always searching for that perfect side dish, please feel free to share this recipe with them—spreading the joy of real food is what Cooking by Carla is all about!
If you are keen on finding even more amazing comfort food fall side dishes to complete your meal, I have tons more recipes waiting for you. Happy cooking, and please don’t hesitate to reach out if you have any final questions for me via my contact page!
PrintSimple Braised Butternut Squash
A straightforward recipe for tender, flavorful braised butternut squash, perfect as a comforting fall side dish.
- Prep Time: 15 min
- Cook Time: 40 min
- Total Time: 55 min
- Yield: 6 servings 1x
- Category: Side Dish
- Method: Braising
- Cuisine: American
- Diet: Vegetarian
Ingredients
- 1 medium butternut squash (about 3 lbs)
- 2 tablespoons olive oil
- 1 medium yellow onion, chopped
- 2 cloves garlic, minced
- 1 cup vegetable or chicken stock
- 1/2 cup dry white wine or apple cider
- 2 tablespoons maple syrup
- 1 teaspoon fresh thyme leaves
- 1/2 teaspoon ground cinnamon
- 1/4 teaspoon salt
- 1/8 teaspoon black pepper
Instructions
- Peel the butternut squash, scoop out the seeds, and cut the flesh into 1-inch cubes.
- Heat the olive oil in a large Dutch oven or heavy-bottomed pot over medium heat. Add the chopped onion and cook until soft, about 5 minutes.
- Add the minced garlic and cook for 1 minute until fragrant.
- Add the cubed butternut squash to the pot and stir to coat with the onion and oil.
- Pour in the stock, white wine (or cider), maple syrup, thyme, cinnamon, salt, and pepper. Stir everything together gently.
- Bring the liquid to a simmer. Once simmering, reduce the heat to low, cover the pot tightly, and let it braise for 25 to 35 minutes.
- Check the squash after 25 minutes; it should be fork-tender but still hold its shape. If it is not tender, continue cooking, checking every 5 minutes.
- Remove the lid for the last 5 minutes of cooking if you prefer a slightly thicker sauce.
- Serve warm as a side dish for holiday meals or as a main component for a vegetarian meal.
Notes
- For a deeper flavor, use homemade chicken stock in the braising liquid.
- If you prefer a sweeter dish, increase the maple syrup to 3 tablespoons.
- To check for tenderness, pierce a piece with a fork; it should offer little resistance.
- This dish pairs well with roasted chicken or pork loin.
Nutrition
- Serving Size: 1 cup cooked
- Calories: 185
- Sugar: 12
- Sodium: 210
- Fat: 5
- Saturated Fat: 1
- Unsaturated Fat: 4
- Trans Fat: 0
- Carbohydrates: 33
- Fiber: 6
- Protein: 3
- Cholesterol: 0