
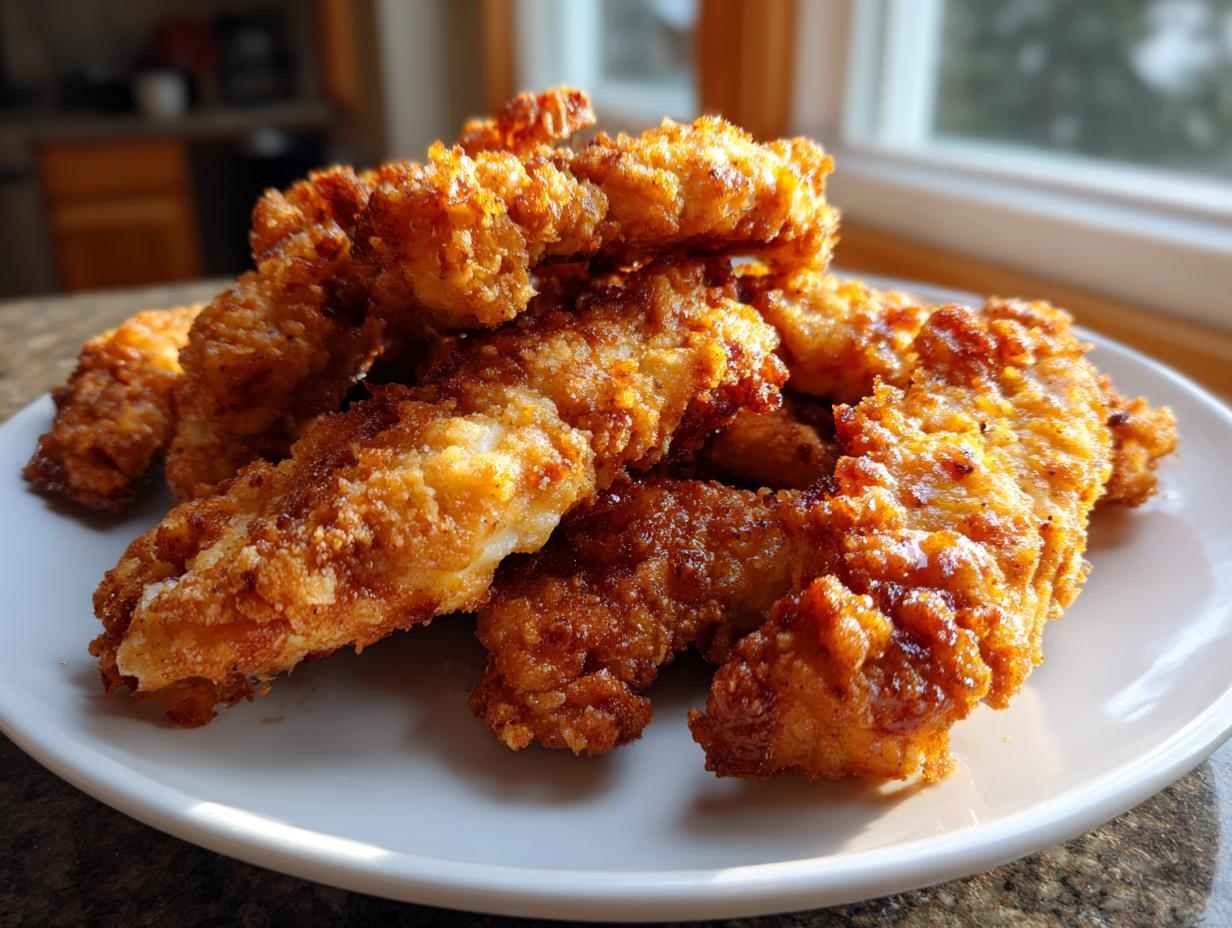
There’s just something about sinking your teeth into a perfectly crispy, unbelievably juicy piece of fried chicken that just screams ‘home,’ isn’t there? Forget the drive-thru, friends. I’m Carla, and after thirty years of teaching patience in the classroom and thirty years more feeding my own family in my Midwest kitchen, I promise this recipe is the one you need. We’re talking about the ultimate homemade chicken tenders recipe. It’s straightforward, relies on simple techniques, and always delivers that satisfying crunch and moisture you look for in amazing chicken tenders. This is your new go-to for an easy weeknight dinner that feels like a celebration!
- Why This Buttermilk Marinade Makes the Best Chicken Tenders
- Step-by-Step Guide to Homemade Chicken Tenders Recipe
- Mastering the Fry: Cooking Crispy Chicken Tenders Oven Baked or Fried
- Variations on Classic Chicken Tenders
- Serving Suggestions for Your Easy Weeknight Chicken Tender Dinner
- The Best Dipping Sauces for Chicken Strips
- Storage and Reheating Instructions for Leftover Chicken Tenders
- Frequently Asked Questions About Making Chicken Tenders
- Sharing Your Perfect Chicken Tenders
Why This Buttermilk Marinade Makes the Best Chicken Tenders
If you take one thing away from my kitchen today, please let it be the power of the buttermilk soak. It’s honestly the shortcut to achieving those incredibly juicy chicken tender marinade ideas you’ve been searching for. That mild acid in buttermilk? It does serious work breaking down the toughest muscle fibers in the chicken breast. I learned this trick decades ago when my mom realized the chicken breasts we were using for Sunday supper were a little chewy. She soaked them overnight, and the texture change was night and day!
It basically seasons the meat from the inside out while simultaneously softening it up. That’s why my chicken tenders never come out dry, even if I forget about them for an extra hour in the fridge. You really just can’t skip this step if you want true tenderness.
Essential Ingredients for Perfect Chicken Tenders
When we gather our ingredients, remember that quality counts, especially for the coating. For two pounds of boneless, skinless chicken breasts cut into those perfect 1-inch strips, we rely on the buttermilk, of course. For the breading—this is where flavor happens—you’ll need two full cups of all-purpose flour.
Mix that flour with exactly one teaspoon each of salt, black pepper, and paprika. Don’t forget half a teaspoon of garlic powder and half a teaspoon of onion powder. That blend is classic for a reason! And the crucial final detail: you must have a thermometer handy to keep that oil at 350 degrees Fahrenheit. Too cool, and your tenders get greasy; too hot, and the outside burns before the inside cooks.
Step-by-Step Guide to Homemade Chicken Tenders Recipe
Okay, now we get down to the real fun part. Following these steps ensures your chicken tenders are the star of the show. I taught this exact sequence to hundreds of third-graders learning to follow instructions, so trust me, you can handle this! The goal is a deeply flavored, perfectly coated piece of chicken ready for that hot oil. It’s all about timing and layering your texture.
Marinating and Preparing the Chicken Tenders
First, the marinade. Remember, you need at least two hours for that buttermilk to work its magic, but honestly, overnight is even better for ultimate juiciness. Once that time is up, pull the chicken out. This next bit is crucial for crispiness: let the excess buttermilk drip right off. You don’t want to rinse it, but you need to shake off the heavy drips before it hits the flour, or your coating will just turn into a soggy paste.
Creating the Homemade Breading for Chicken Tenders
While the chicken is dripping, whisk up that seasoned flour mixture we talked about. This is your classic homemade breading for chicken tenders—salt, pepper, paprika, garlic, onion—all combined. Grab each strip, let the excess buttermilk fall away, and totally bury it in the flour. Really press that flour coating on there with your hands. We want maximum surface area sticking to that meat so it gets beautifully crunchy when it cooks!
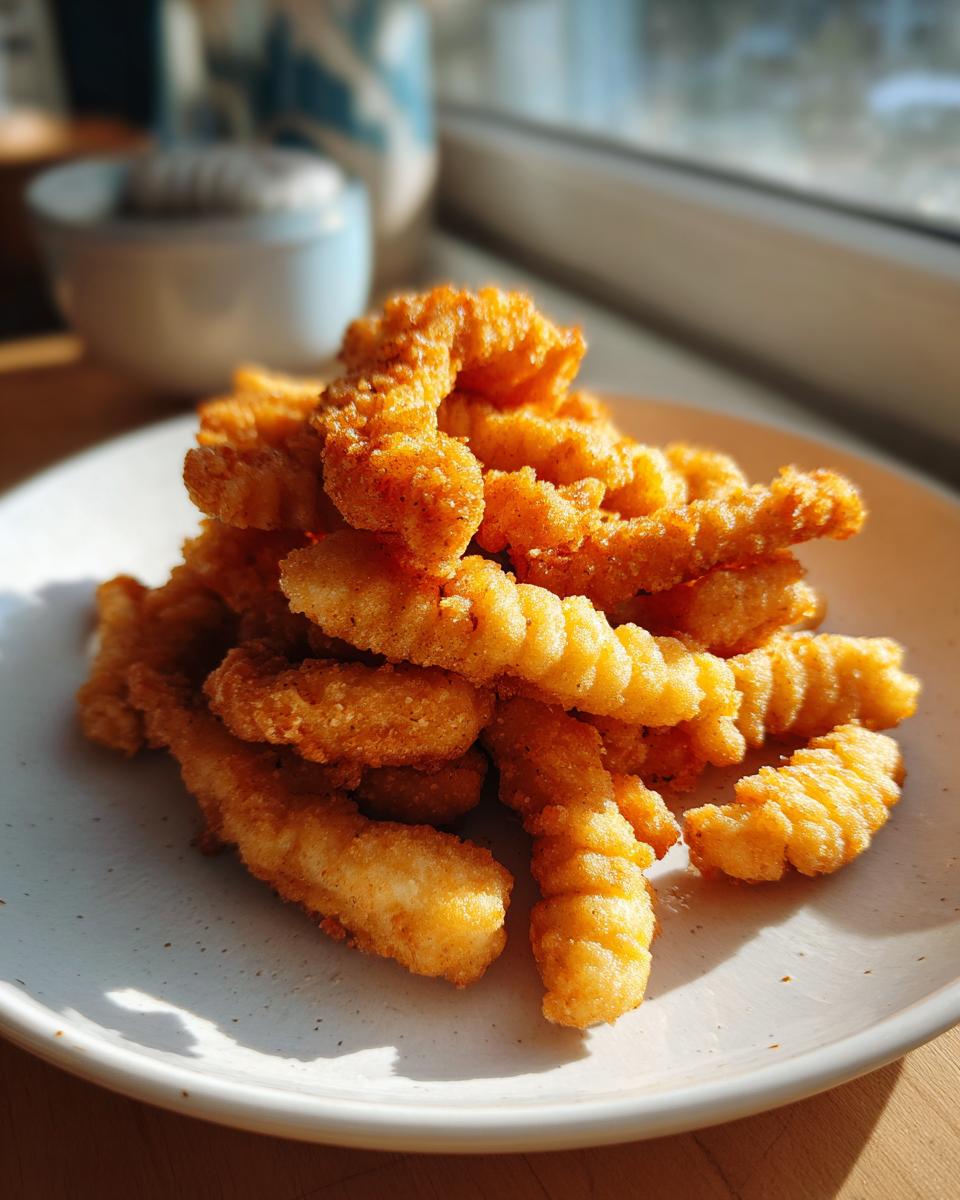
Mastering the Fry: Cooking Crispy Chicken Tenders Oven Baked or Fried
Now that our chicken is plump and totally ready, we have to cook it right! We live in a modern world, so I always make sure this base recipe works whether you’re craving the classic, deep-fried texture or you’re looking for the {crispy chicken tenders oven baked} version. For frying, remember that oil temperature is everything—keep it steady at 350 degrees. You’ll only need about 4 to 6 minutes per batch until they are golden and cooked through to 165 degrees internally. Don’t overcrowd that pot, or the oil temperature drops fast!
If you’re going the oven route, it’s super simple, too. Preheat to 400 degrees, give those coated tenders a nice spray of cooking oil, and bake them for about 20 to 25 minutes, flipping them halfway through. Both ways give you fantastic results, but that deep-fry gives you that authentic comfort flavor the best.
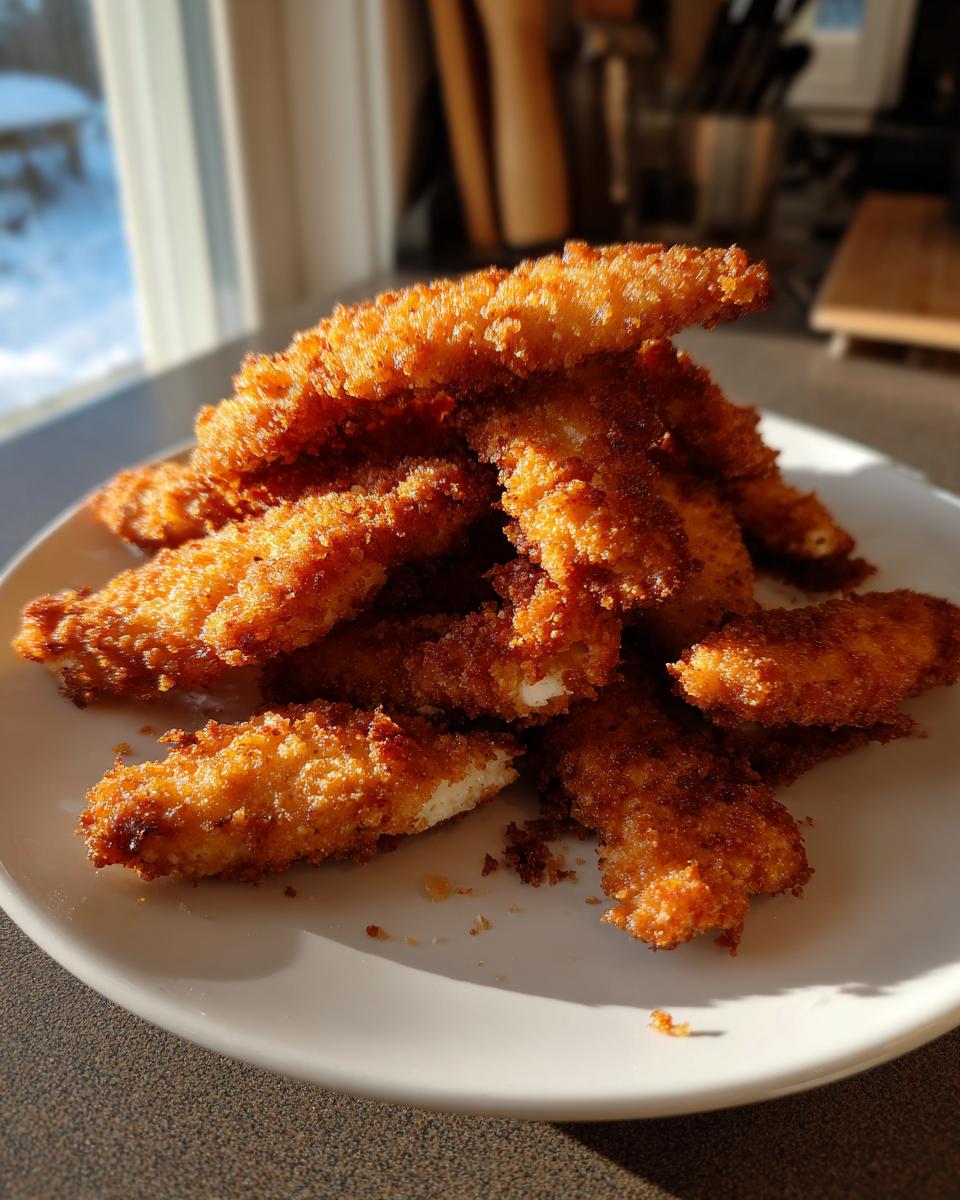
Tips for Extra Crispy Chicken Tenders
If you want your chicken tenders to have the absolute crunchiest shell imaginable—the kind that actually shatters when you bite it—you need to try the ‘double-dip.’ It seems silly, but it works every time! After you coat the buttermilk-soaked chicken strip in the flour mixture the first time, dunk it right back into the wet buttermilk for just a quick second, and then return it to the flour.
That second layer of dry flour hitting the wet coating creates so much texture! It builds up those little nooks and crannies that crisp up beautifully when they hit the hot oil. It adds just a little bit of extra surface area for that wonderful crunch we all love.
Variations on Classic Chicken Tenders
Now that you have mastered the base recipe for these amazing buttermilk chicken tenders, it’s time to get playful! Once you have your wet and dry stations set up, changing the flavor is as easy as mixing up the flour blend. If you like a little heat, swap out some of that regular flour for finely ground cornflakes or panko breadcrumbs and add a hefty shake of cayenne pepper to your spice mix.
My grandkids love when I make my Parmesan crusted chicken tenders. Just add about half a cup of finely grated Parmesan cheese right into your dry flour mixture before you dredge the chicken. That cheese crisps up beautifully in the oil and adds such a savory punch. You can even try adding a bit of dried Italian seasoning to the mix for a nice herby twist. See? It’s all about taking that foundational technique and making it your own!
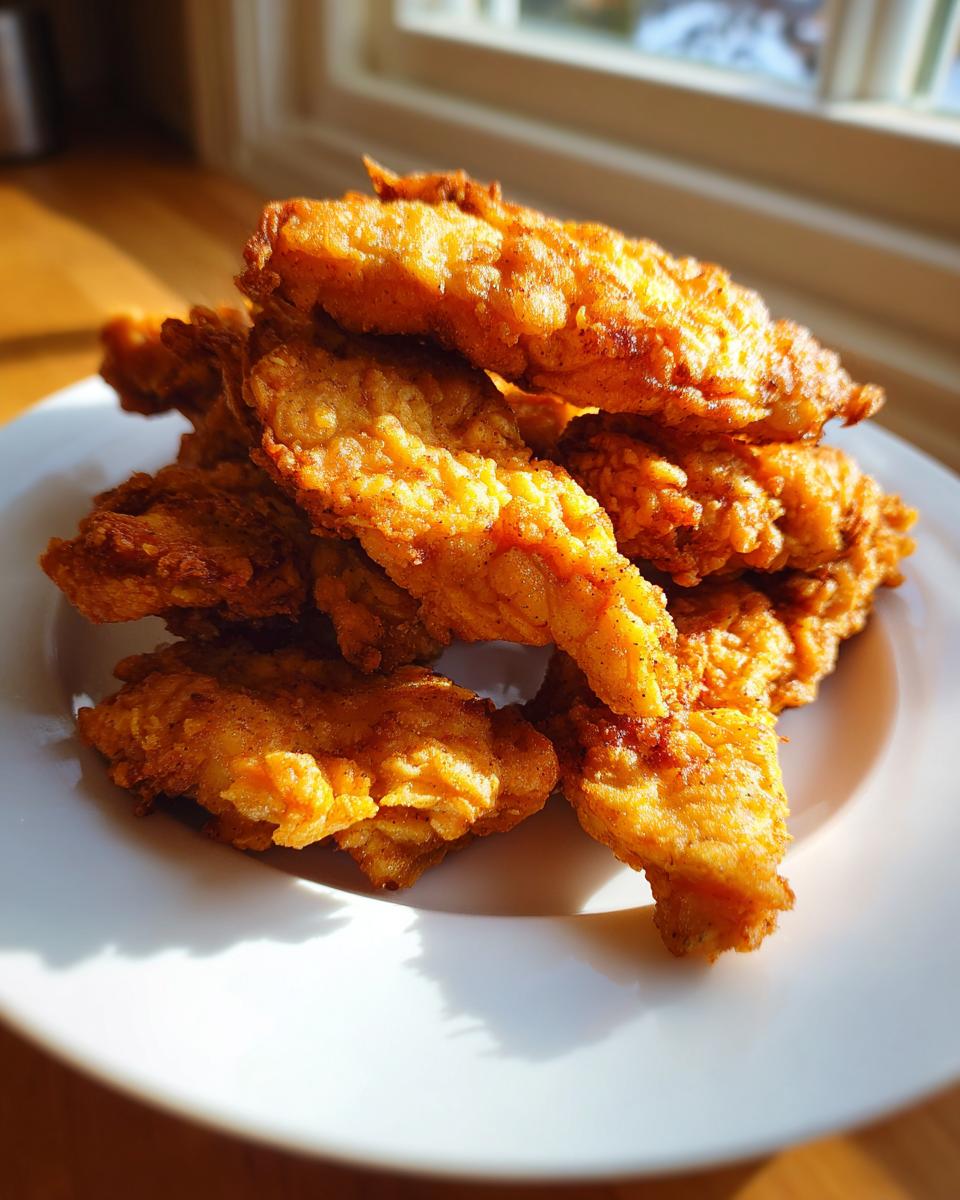
Serving Suggestions for Your Easy Weeknight Chicken Tender Dinner
A beautiful plate of crispy chicken tenders deserves the right supporting cast! When I’m putting together a fast and fun easy weeknight chicken tender dinner, I always try to balance that fried goodness with something fresh and slightly tangy. Nobody wants a heavy meal five nights in a row, right?
For me, that usually means a bright, crisp side salad. My favorite pairing is my creamy cucumber salad—it’s cool, refreshing, and cuts through the richness of the fry perfectly. If you need something warmer, a simple side of sweet potato fries works wonders, or even just some steamed green beans tossed with a squeeze of fresh
The Best Dipping Sauces for Chicken Strips
What’s a perfect batch of homemade chicken tenders without the right partner for dipping? Nothing, that’s what! Seriously, the sauce can make or break the whole eating experience. When you’re looking for the best dipping sauces for chicken strips, you have to offer variety to please everyone at the table. I always make sure I have at least three options ready to go.
You absolutely must have a classic honey mustard—it’s non-negotiable for me. Ranch is always a huge hit, especially with the grandkids. And of course, a tangy, smoky BBQ sauce rounds out the trio perfectly. If you’re feeling fancy, try my simple Fry Sauce trick: just mix equal parts good mayonnaise, ketchup, a splash of pickle juice, and a touch of garlic powder. It comes together in two minutes, and everyone asks for the recipe for that ‘special sauce’! Don’t forget, if you ever need a fun dessert to go with it, I have a recipe for easy homemade chocolate sauce!
Storage and Reheating Instructions for Leftover Chicken Tenders
If you are lucky enough to have any of these chicken tenders left over—which is rare in my house—how you store and reheat them is critical to keeping that crunch we worked so hard for! Always let them cool completely on the counter first, don’t put hot food directly into an airtight container. Store the cooled pieces in a single layer inside a good, tight, airtight container.
When it’s time to eat them again, toss that microwave! The microwave is the enemy of crispiness. Instead, reheat them in a 375-degree oven for about 10 minutes, or even better, pop them back into the air fryer for 5 minutes. That quick blast of dry heat revives the crust beautifully and they taste almost as good as fresh.
Frequently Asked Questions About Making Chicken Tenders
I know when you start tinkering in the kitchen, especially with a dependable classic like this, questions pop up! That’s perfectly normal. I always tell folks when they’re learning something new, ask everything! My goal is for you to have success every single time you make these chicken tenders, so let’s clear up any sticky spots hanging around your mind before you start dredging.
What is the safest internal temperature for these chicken tenders?
Safety first, always! Because we are dealing with poultry, we need to be absolutely sure the meat is cooked through. You’re looking for that magic number of 165 degrees Fahrenheit, or 74 degrees Celsius, right in the thickest part of the strip. If you don’t have a meat thermometer, just be aware that the juices should run completely clear, not pink or cloudy. Trust your thermometer, though; it’s one of the most important pieces of equipment in a home kitchen!
Can I use chicken thighs instead of breasts for this recipe?
Oh, absolutely you can! Chicken breasts are lean and tend to dry out if you look at them wrong, which is why they need that rich buttermilk bath. Chicken thighs are naturally higher in fat, which means they stay ridiculously moist, even if you have to fry them a minute or two longer. The flavor is richer, too. The only trade-off is that the texture will be a little less firm than the breast meat when you bite into it. It’s a delicious variation, perfect if you prefer that darker meat flavor!
Speaking of variations, if you ever need help with those tricky frozen varieties, I have some tips over here on how to cook frozen chicken tenders perfectly that might save you in a pinch!
Got more questions about keeping that coating crispy or achieving the ultimate homemade chicken tenders recipe? Drop them in the comments below!
Sharing Your Perfect Chicken Tenders
Well, that’s it! You’re now the proud owner of the absolute best, most reliable recipe for crispy and juicy chicken tenders. I hope every single bite transports you back to a comforting family dinner, just like it does for me every time I make them.
Now, my favorite part: hearing from you! When you try this classic buttermilk recipe, please, please come back and leave a rating. Five stars are fantastic, but I truly want to read your notes. Did you try the Parmesan crust? Did you dip them in homemade ranch? Let’s keep the conversation going!
If you run into any trouble or have a brilliant idea for a new flavor profile, don’t hesitate to reach out to me through the contact page. Happy cooking, and thank you for bringing these traditions into your kitchen!
PrintClassic Buttermilk Chicken Tenders Recipe

Make juicy, homemade chicken tenders with a crispy coating using this straightforward recipe inspired by Midwestern comfort cooking.
- Prep Time: 15 min
- Cook Time: 25 min
- Total Time: 2 hours 40 min
- Yield: 4 servings 1x
- Category: Dinner
- Method: Frying
- Cuisine: American
- Diet: Low Lactose
Ingredients
- 2 lbs boneless, skinless chicken breasts, cut into 1-inch strips
- 2 cups buttermilk
- 1 tablespoon hot sauce (optional)
- 2 cups all-purpose flour
- 1 teaspoon salt
- 1 teaspoon black pepper
- 1 teaspoon paprika
- 1/2 teaspoon garlic powder
- 1/2 teaspoon onion powder
- Vegetable oil, for frying (about 2 inches deep in pot)
Instructions
- Place the chicken strips in a bowl. Pour buttermilk and hot sauce over the chicken. Cover and refrigerate for at least 2 hours, or up to overnight, to tenderize the meat.
- In a separate shallow dish, whisk together the flour, salt, pepper, paprika, garlic powder, and onion powder to create the breading mixture.
- Remove the chicken from the buttermilk, letting excess drip off, but do not rinse.
- Dredge each piece of chicken thoroughly in the flour mixture, pressing the coating onto the chicken to adhere well. Place coated tenders on a wire rack.
- Heat the vegetable oil in a deep, heavy-bottomed pot or Dutch oven to 350 degrees Fahrenheit (175 degrees Celsius). Use a thermometer to monitor the temperature.
- Carefully place 4-5 tenders into the hot oil, ensuring you do not overcrowd the pot.
- Fry for 4 to 6 minutes, turning occasionally, until the crust is golden brown and the internal temperature reaches 165 degrees Fahrenheit (74 degrees Celsius).
- Remove the cooked tenders with a slotted spoon and place them on a clean wire rack set over a baking sheet to drain excess oil.
- Repeat with remaining chicken, adjusting the oil temperature as needed between batches.
Notes
- For extra crispy chicken tenders, double-dip the chicken: coat in flour, dip back into the buttermilk briefly, then coat again in the flour mixture.
- If you prefer baking, preheat your oven to 400 degrees Fahrenheit (200 degrees Celsius). Spray the coated tenders lightly with cooking spray and bake for 20-25 minutes, flipping halfway through, until golden.
- Serve these homemade chicken tenders with your favorite dipping sauces like honey mustard or ranch dressing.
Nutrition
- Serving Size: 4 tenders
- Calories: 380
- Sugar: 3
- Sodium: 550
- Fat: 18
- Saturated Fat: 4
- Unsaturated Fat: 14
- Trans Fat: 0
- Carbohydrates: 25
- Fiber: 1
- Protein: 30
- Cholesterol: 110