
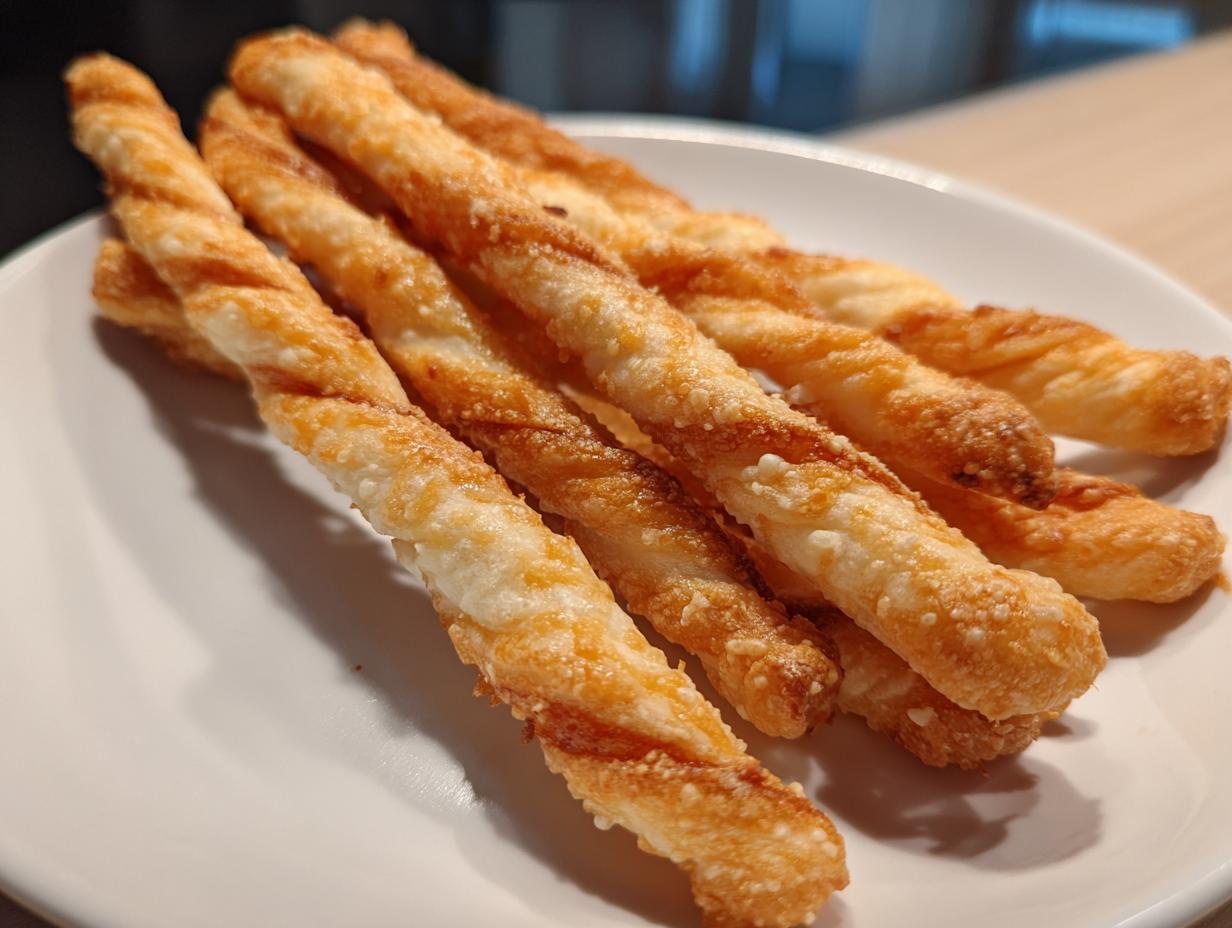
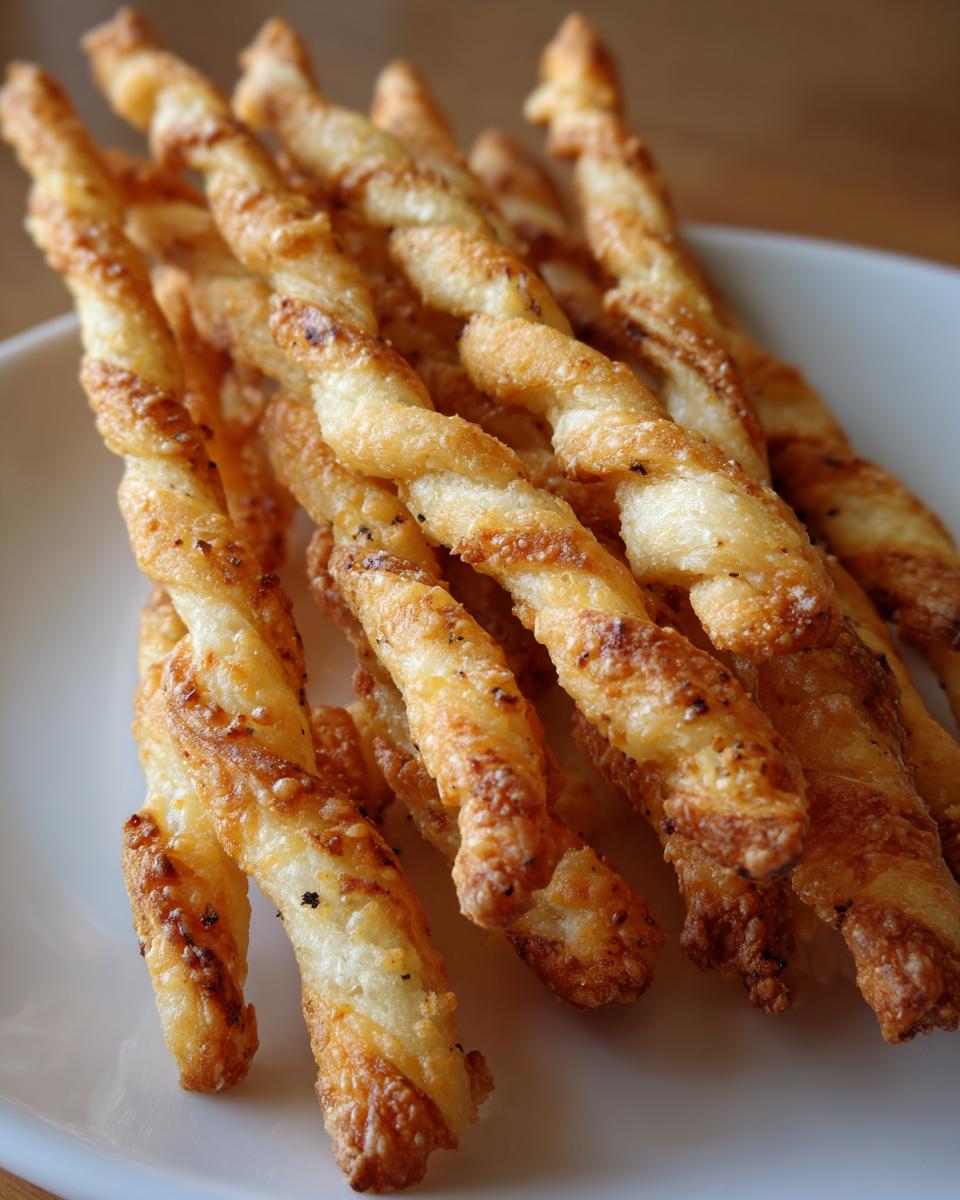
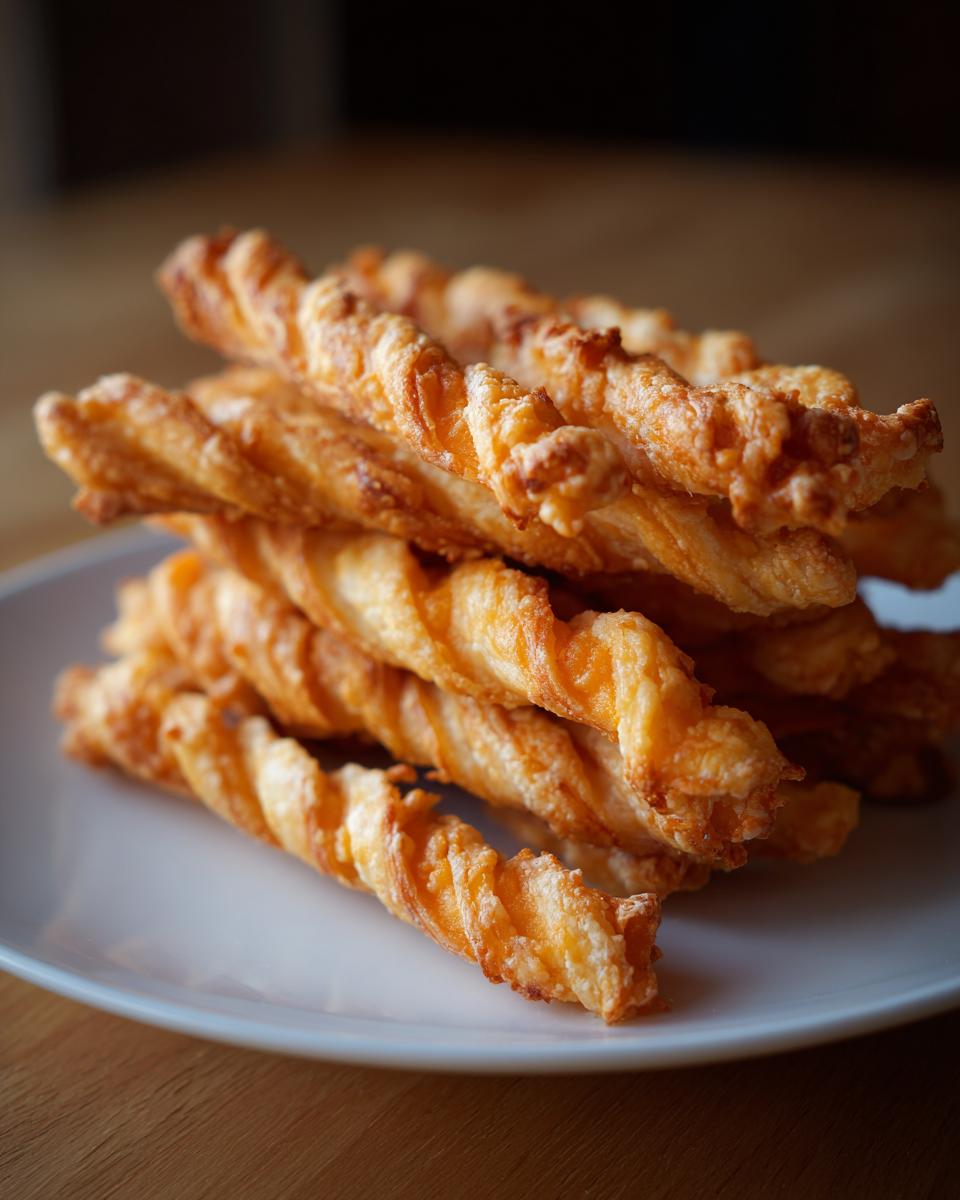
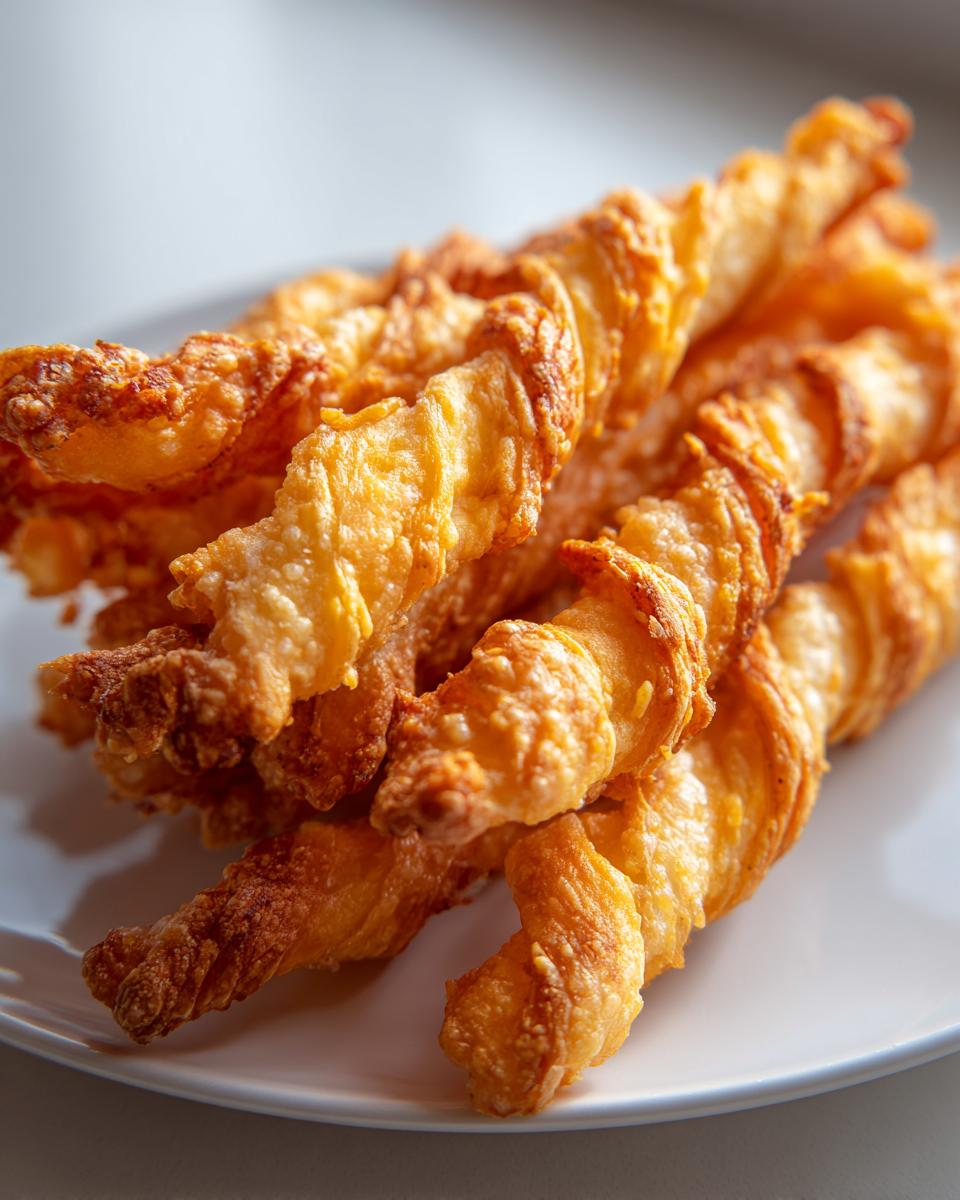
Oh, there is just nothing in the world quite like that satisfying, savory crunch when you bite into a perfectly baked snack, is there? Forget those store-bought crackers that crumble too easily! Today, we are making something truly special: the Classic Crispy Southern Cheddar Cheese Straws. These are flaky, buttery, and bursting with sharp cheese flavor. As a former teacher, I promise I’ve broken this down so clearly that even if this is your first time baking, you’ll have success. If you are ready for the best homemade cheese straws recipe you’ve ever tried, pull out your sharpest cheddar!
- Why This Homemade Cheese Straws Recipe Tastes Like Home
- Gathering Ingredients for Your Classic Cheese Straws Recipe
- Step-by-Step Instructions for Perfect Southern Cheese Straws
- Tips for Success with Your Cheddar Cheese Straws
- Serving Suggestions for These Savory Snacks
- Make Ahead Appetizers: Storing Your Cheese Straws Recipe
- Frequently Asked Questions About Cheese Straws
- Nutritional Estimates for This Cheese Straws Recipe
- Share Your Homemade Cheese Straws Success
Why This Homemade Cheese Straws Recipe Tastes Like Home
When you’re hosting a gathering, the last thing you want is a snack that falls apart halfway through the party. That’s why I trust this classic Southern approach to my cheese straws recipe. It’s built on dependability, much like my years teaching elementary school. I put the same care into explaining the steps here as I did in teaching cursive!
- They deliver that authentic Southern crispiness that you can’t find in a box.
- The flavor is pure, buttery, and perfectly cheesy—just simple, wonderful ingredients.
- It results in a savory snack that never fails to be the first thing cleared off the platter.
The Secret to Crispy Cheese Straws Texture
If you want that delightful snap, you have to respect the dough. We keep that butter ice cold, and we don’t knead it like bread dough. Rolling it out thin—and I mean *thin*, about 1/8 of an inch—is what guarantees the snap. This prevents them from becoming chewy. Trust me, the little extra work on rolling is totally worth that perfect, brittle bite.
Gathering Ingredients for Your Classic Cheese Straws Recipe
When making my cheese straws recipe, I always preach using the best sharp cheddar you can find. Cheese quality really makes the difference here! Since there aren’t too many components, make sure every piece is measured correctly. You’ll need one cup of all-purpose flour, half a teaspoon of salt, and just a whisper of cayenne if you want a friendly little kick in the background—optional, of course! The magic relies on half a cup of cold unsalted butter, cut into those little cubes. Don’t forget that one cup of finely shredded sharp cheddar and the egg yolk and ice water for binding it all up.
Step-by-Step Instructions for Perfect Southern Cheese Straws
Now for the fun part! Making these Southern Cheese Straws comes down to a few crucial steps. Remember what I said about patience? That applies right here. We need to treat this dough gently so we don’t develop too much gluten, which would steal that beautiful flakiness right out from under us. Follow these steps exactly, and you’ll have golden, savory straws ready for your next gathering.
Mixing the Dough for Your Cheese Straws Recipe
First things first: you want to work that cold butter right into the dry ingredients until you have coarse crumbs. Use a pastry blender if you have one, or just your fingertips—but work fast! Then, sprinkle in your sharp cheddar. When you add the wet ingredients (the egg yolk mixed with ice water), stir minimally. I mean it! Just bring it together until it looks like it *might* hold if you squeezed it. If you mix until it’s perfectly smooth here, you are defeating the purpose and heading toward tough crackers.
Chilling and Shaping Your Cheese Straws Recipe
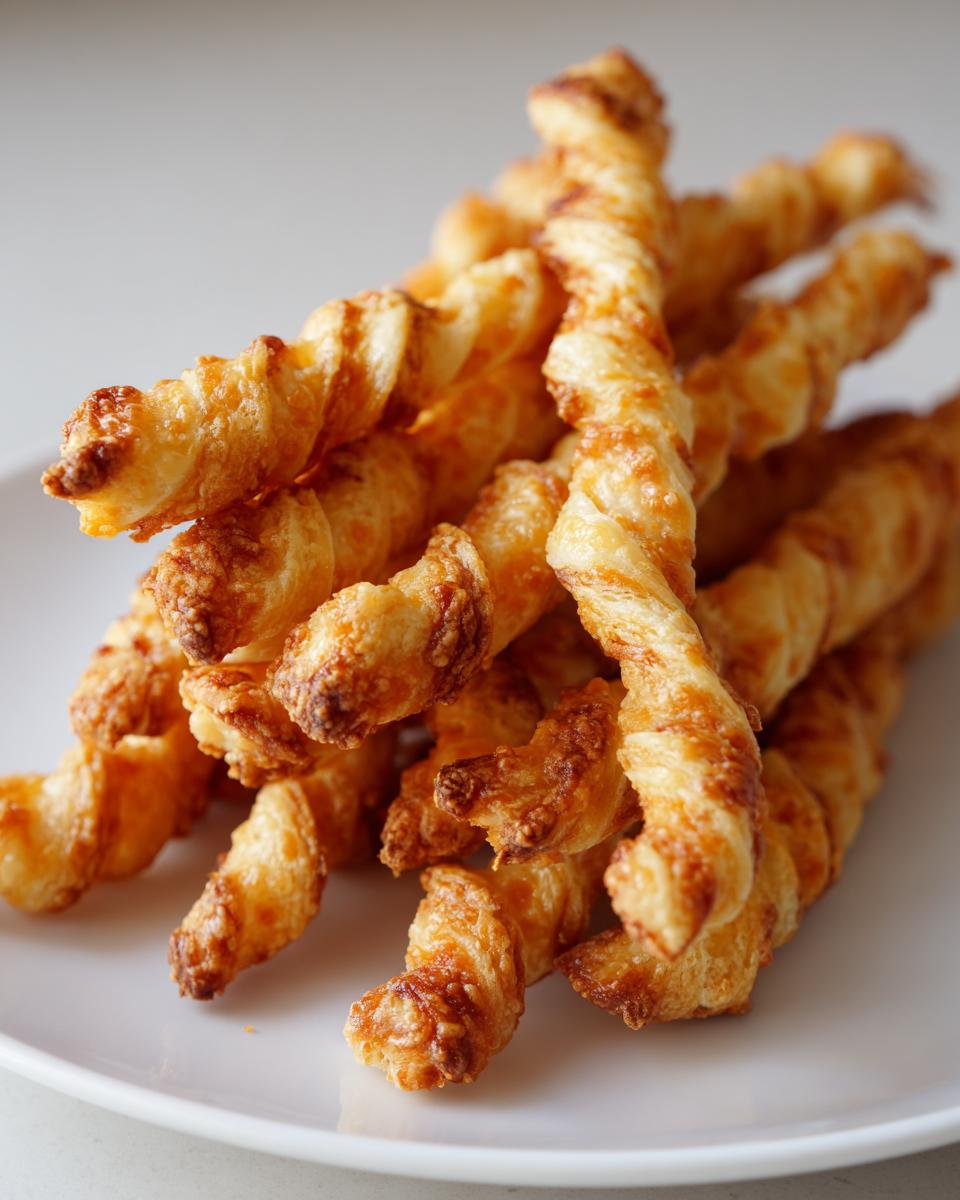
Once the dough is barely holding together, form it into a flat disc, wrap it well, and put it in the fridge. You must chill it for at least 30 minutes. This resting time is non-negotiable; it lets the butter firm back up so you can roll it properly! When you roll it out, aim for that 1/8-inch thickness. Use a pizza cutter to slice them into strips, and then gently twist each one once or twice before placing them on the baking sheet. Those twists are what make them look so fancy!
Tips for Success with Your Cheddar Cheese Straws
Even with a clear recipe, sometimes little things trip us up in the kitchen, right? When making these Cheddar Cheese Straws, always use sharp, good-quality cheese. Mild cheddar just won’t give you that savory punch we are looking for! Also, watch your oven like a hawk during the last few minutes. Because we roll these so thin, they can go from golden to burnt awfully fast. Keep an eye on them, and look for that deep golden-brown color signaling they are perfectly crisp.
Quick Savory Baking Variation: Puff Pastry Cheese Straws
Now, if you’re short on time—and trust me, I know how that goes with five grandkids—you absolutely must try my shortcut using puff pastry. This is an amazing option for quick savory baking! Just take one sheet of good, all-butter puff pastry, let it thaw just a little, and cut it into strips. Sprinkle everything right on top—extra cheese, maybe some rosemary—twist them up, and bake! They turn into beautiful, flaky puff pastry cheese straws in just minutes. They won’t be quite as dense as the homemade dough, but they are wonderfully buttery!
Serving Suggestions for These Savory Snacks
These savory snacks are just the thing when you need easy finger foods for parties. They stand up perfectly next to a cold glass of lemonade or a nice glass of wine—they are fantastic alongside drinks! If you’re serving them as part of a light lunch spread, they are the absolute best companion for a hearty soup. Seriously, pair these buttery bites with a warm bowl of hearty ham and navy bean soup, and you’ve got a meal everyone will remember.
For game days, stack them high on a platter! They are wonderful alone, but if you want to get fancy, a little pepper jelly on the side for dipping works beautifully. They’re so crisp and flavorful, they really don’t need much else, but presentation is always fun!
Make Ahead Appetizers: Storing Your Cheese Straws Recipe
One of the best things about whipping up a batch of these party appetizers is knowing they can be made ahead of time! That’s a lifesaver when you have company coming over. For the best crunch, I always recommend letting them cool completely on the rack before storing them. Once cool, pop them into a standard airtight container at room temperature. They stay wonderfully crisp for a full week! You might be tempted to freeze them, but honestly, they are best when eaten within that first week.
Frequently Asked Questions About Cheese Straws
Oh, I always get so many wonderful questions when folks try this cheese straws recipe for the first time! It’s natural to wonder about a few details, especially when aiming for that perfect crispness. Here are the things I hear asked most often about making lovely, flaky bites.
What cheese is best for Southern Cheese Straws?
My dear, the very best cheese is sharp cheddar, hands down! When I say sharp, I mean *sharp*. You want a cheese that can fight its way through the butter and flour to give you that distinct savory flavor. Because we are using so little seasoning other than cheese and salt, that robust cheddar really shines through in these classic Southern Cheese Straws.
Can I use pre-shredded cheese?
Now, if you want the absolute crunchiest straws, please, please grate your own! Pre-shredded cheese usually has starches or cellulose added to keep it from clumping in the bag. That little bit of starch can sometimes interfere with how well the dough comes together and tends to prevent that perfectly tight bake we want. Whole blocks grate up much cleaner!
How do I prevent my cheese straws from getting soft or soggy?
A soggy straw is a sad straw! The biggest culprit is biting them before they are fully cooled. They firm up as they cool down on the wire rack—that’s when the snap develops! Make sure you bake them until they are deeply golden, not just pale yellow. If you store them in a container that isn’t fully airtight, moisture creeps in quickly, so use a good seal on your storage container.
Can I add herbs or spice to this recipe?
Absolutely! While the classic version is purely cheese and butter, tossing in a teaspoon of dried rosemary or half a teaspoon of smoked paprika with your dry ingredients is wonderful. If you like heat, you can definitely boost that cayenne pepper for a spicy twist!
Nutritional Estimates for This Cheese Straws Recipe
Now, I know some of you are watching your numbers, and while these cheese straws recipe gems are certainly a treat and not exactly diet food, it’s good to have a general idea! Remember, these numbers are just estimates based on the standard ingredients used here, and using a different type of cheese or measuring slightly differently will change things up.
I used a calculator based on the recipe data, assuming a serving size of three straws. Because these are buttery and cheesy finger foods for parties, they do contain more fat than, say, a simple breadstick, but they are packed with flavor!
- Serving Size: 3 straws
- Calories: Around 95 per serving
- Total Fat: About 7 grams
- Protein: 4 grams
- Carbohydrates: 5 grams
- Sodium: I saw about 150mg in the estimate.
See? Not too bad for a delicious, homemade cheesy cracker recipe! The beauty of making them at home is that you know exactly what’s going into them. If you are making these for a holiday party snack, knowing the basic structure helps when you want to pair them with other savory snacks.
Share Your Homemade Cheese Straws Success
You know, getting those flaky, crispy cheese straws recipe perfect is such a rewarding feeling! I truly hope these buttery bites are making their way onto your tables, whether it’s for a big holiday party or just a quiet afternoon snack with a cup of tea.
I just love hearing how you customized them. Did you go with a little bit of smoked paprika, or maybe you mixed in some Parmesan like I suggested? Don’t be shy! Pop down into the comments below and let me know what your favorite cheese combination was or if you found these were the perfect cheddar and herb cheese straws recipe variation.
If you snapped a picture of your perfect batch—maybe twisted just right or stacked high next to some soup—I’d be thrilled if you shared it on social media! Tag Cooking by Carla so I can see your wonderful work. Happy baking, and thank you for inviting my little piece of home cooking into yours!
PrintClassic Crispy Southern Cheddar Cheese Straws

Make these classic Southern Cheddar Cheese Straws for a flaky, buttery, and savory snack perfect for parties or enjoying with soup. This recipe delivers the crisp texture you expect from homemade cheese crackers.
- Prep Time: 20 min
- Cook Time: 14 min
- Total Time: 54 min
- Yield: About 3 dozen 1x
- Category: Appetizer
- Method: Baking
- Cuisine: American
- Diet: Vegetarian
Ingredients
- 1 cup all-purpose flour
- 1/2 teaspoon salt
- 1/4 teaspoon cayenne pepper (optional, for a little heat)
- 1/2 cup (1 stick) cold unsalted butter, cut into small pieces
- 1 cup sharp cheddar cheese, finely shredded
- 1 large egg yolk
- 2 tablespoons ice water
Instructions
- In a large bowl, whisk together the flour, salt, and cayenne pepper.
- Cut the cold butter into the flour mixture using a pastry blender or your fingertips until the mixture resembles coarse crumbs.
- Stir in the shredded cheddar cheese until it is evenly distributed.
- In a small bowl, whisk the egg yolk with the ice water. Add this liquid mixture to the flour and cheese, mixing just until the dough comes together. Do not overmix.
- Form the dough into a flat disk, wrap it in plastic wrap, and chill in the refrigerator for at least 30 minutes.
- Preheat your oven to 400 degrees Fahrenheit (200 degrees Celsius). Line two baking sheets with parchment paper.
- On a lightly floured surface, roll the chilled dough out to about 1/8-inch thickness.
- Use a pizza cutter or knife to cut the dough into strips about 1/2-inch wide and 5 to 6 inches long.
- Gently twist each strip once or twice to form a straw shape. Place the straws on the prepared baking sheets, leaving a small space between them.
- Bake for 10 to 14 minutes, or until the cheese straws are golden brown and crisp. Baking time varies based on thickness.
- Transfer the straws to a wire rack to cool completely. They will crisp up more as they cool.
Notes
- For extra flavor, substitute half the cheddar cheese with grated Parmesan cheese.
- If you prefer a quicker method, you can use one sheet of thawed, all-butter puff pastry. Cut the pastry into strips, sprinkle generously with cheese and seasonings, twist, and bake according to package directions until golden.
- You can make these savory snacks ahead of time. Store cooled cheese straws in an airtight container at room temperature for up to one week.
Nutrition
- Serving Size: 3 straws
- Calories: 95
- Sugar: 0.1
- Sodium: 150
- Fat: 7
- Saturated Fat: 4
- Unsaturated Fat: 3
- Trans Fat: 0.1
- Carbohydrates: 5
- Fiber: 0.2
- Protein: 4
- Cholesterol: 25