
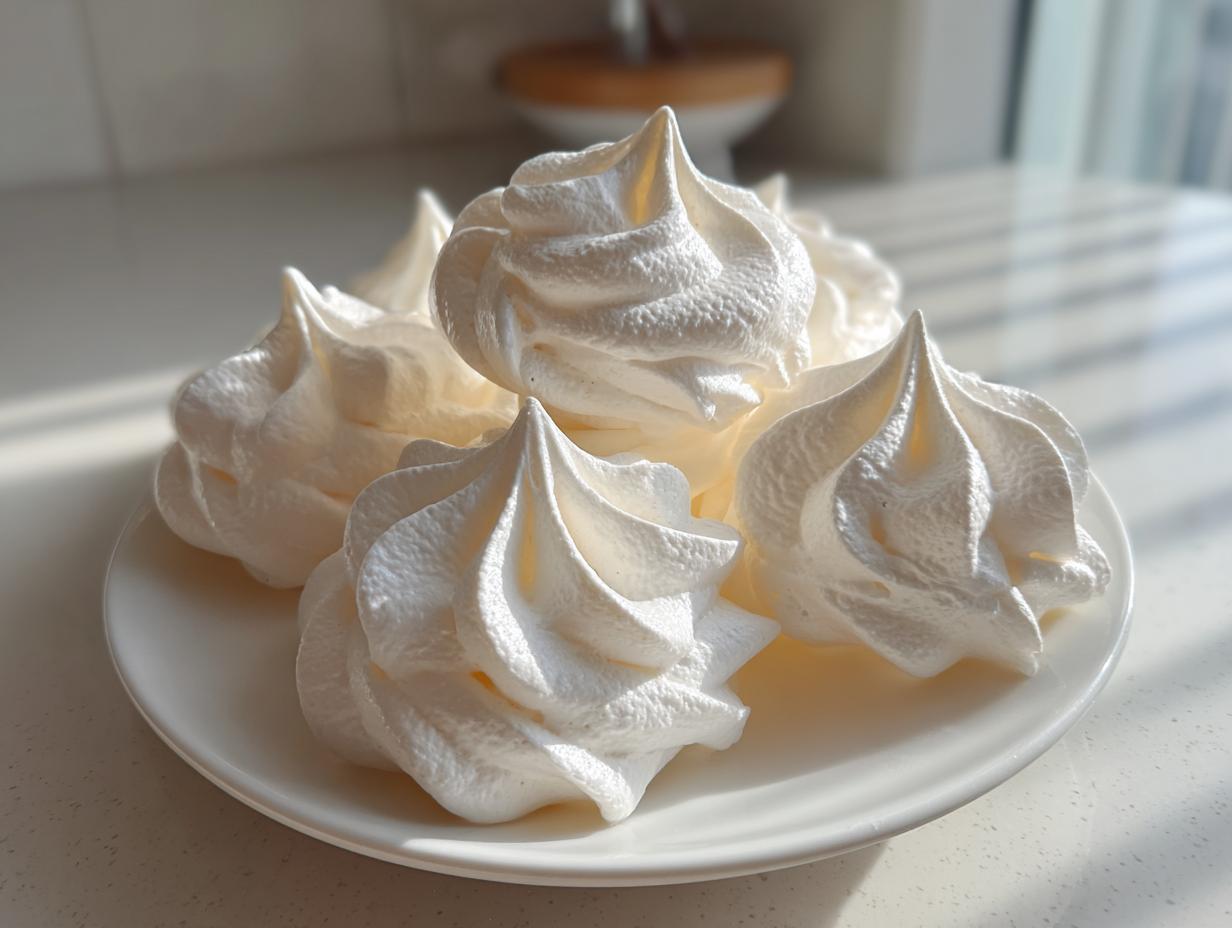
When you’re looking for a sweet treat that feels absolutely magical but barely registers as dessert, you have to turn to meringues. These airy clouds are the definition of melt in your mouth cookies—ethereally light and wonderfully crisp. I know when I first tried making meringue cookies as a young teacher, I was intimidated. But that’s where my years in the classroom helped! I’ve broken down the classic meringue technique into simple, clear steps here. There’s really no need to worry; if you can whip egg whites, you can master these delicate, sweet egg white treats. Trust me, you’ll want to add these to your collection of best dessert recipes right away.
- Why Our Classic Meringue Cookies Recipe Delivers Light and Airy Desserts
- Gathering Your Ingredients for Perfect Meringue Cookies
- How to Prepare Easy Meringue Cookies: Step-by-Step Instructions
- Tips for Success When Making Meringue Cookies
- Making Meringue Cookies for Parties and Gifting
- Storage and Keeping Your Meringue Cookies Fresh
- Frequently Asked Questions About Meringue Cookies
- Estimated Nutritional Information for Meringue Cookies
- Share Your Sweet Egg White Treats
Why Our Classic Meringue Cookies Recipe Delivers Light and Airy Desserts
When it comes to meringue cookies, it’s all about the texture, isn’t it? We aren’t making chewy cookies here; we are aiming for that delightful, delicate snap. My version guarantees you get something truly special. You’ll find these are wonderful because they are:
- Perfectly melt in your mouth cookies.
- Naturally one of the best gluten free cookie recipes you can find.
- Incredibly versatile for holiday cookie baking or party trays.
The Secret to Crispy Meringue Recipe Results
The real trick for a stable, crispy meringue recipe isn’t in the mixing—it’s in the baking and cooling! We bake these low and slow, meaning 225°F is our sweet spot. Once they look dry, you turn the oven OFF. That slow, gentle retreat from the heat is essential to the classic meringue technique; it dries them out completely instead of shocking them, which prevents those nasty cracks.
Gathering Your Ingredients for Perfect Meringue Cookies
Gathering your supplies is the first real step in making these gorgeous meringue cookies. You only need just a few things, but preparation here makes all the difference. Please, please make sure your four large egg whites are at true room temperature! Cold whites just won’t whip up to the volume we need. Don’t worry if you don’t have superfine sugar; regular granulated sugar works just fine if we beat it in slowly.
Ingredient Notes and Substitutions for Sweet Egg White Treats
The absolute most important thing is clean equipment. Any tiny smudge of grease or leftover yolk means your egg whites won’t foam up right, and that’s what gives us those light and airy desserts. Cream of tartar is our secret stabilizer here; it helps hold those delicate air bubbles in place. If you are truly out, a half teaspoon of white vinegar or lemon juice can stand in, but I always try to keep cream of tartar stocked!
How to Prepare Easy Meringue Cookies: Step-by-Step Instructions
Now that we have our clean bowl ready and our ingredients measured out, let’s dive into the actual process of making meringue cookies. This is where patience truly pays off, especially when we transition from those initial foamy whites to that gorgeous, stiff peak stage. I’ve found that mastering this part is the key to all easy breakfast recipes, simply because it teaches patience! There’s really no need to worry; if you can whip egg whites, you can master these delicate, sweet egg white treats.
Whipping the Egg Whites: Mastering the Classic Meringue Technique
Remember Rule Number One: your bowl must be spotless! Even a drop of water or grease will ruin your volume. I start beating the room temperature egg whites with the cream of tartar and salt on medium speed until they look like bathtub bubbles—that’s what we call soft peaks. You can lift the whisk, and the tip curls over gently. That’s your cue! You’ll want to slow down and start adding that sugar, just one tablespoon at a time. Speed this step up, and your meringue cookies will weep later. Keep beating on high until the mixture is intensely glossy and holds a stiff peak straight up when you lift the whisk. If you rub a bit between your fingers and you can still feel sugar grit, keep going! This is essential for the classic meringue technique.
Piping and Baking Your Meringue Cookies Low and Slow
Once you’ve mixed in your vanilla, get that meringue into your piping bag if you’re feeling fancy, or just use two spoons for casual dollops. Pipe them onto your parchment-lined sheets, keeping them about an inch apart.
Now, into the oven they go at a very specific low heat: 225 degrees Fahrenheit. They need to bake for about 60 to 75 minutes until they feel completely dry to the touch. Here’s the secret to a truly crispy meringue recipe: when time’s up, turn the oven OFF. Prop the door open just a tiny bit—maybe with a wooden spoon—and leave those meringue cookies right inside until they are totally cool. This slow cooling prevents cracking and guarantees that lovely airy texture we want in our light and airy desserts.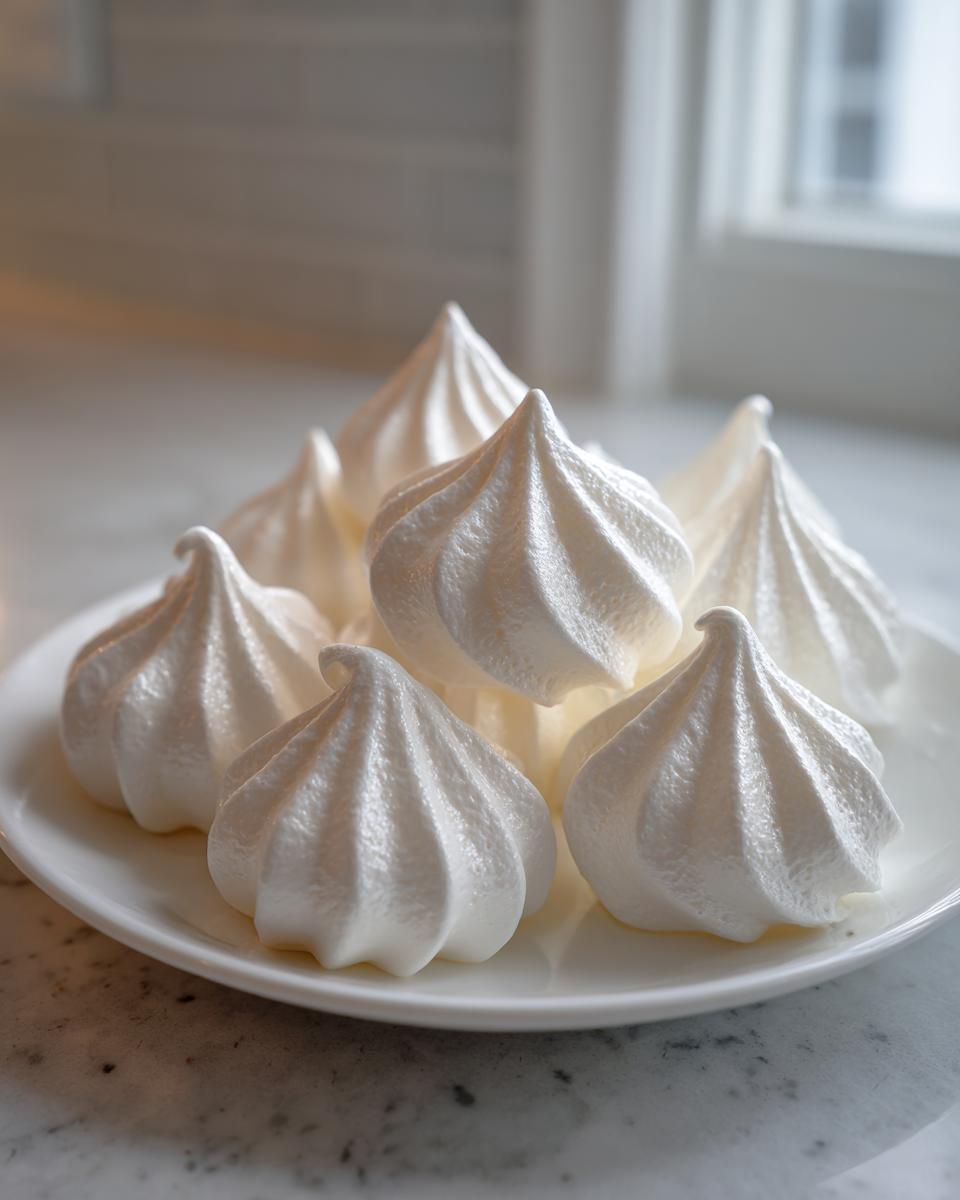
Tips for Success When Making Meringue Cookies
I see a lot of questions pop up when folks start trying out meringue cookies, and honestly, 99 times out of 100, it comes down to a tiny spot of grease or the weather outside. Remember, I taught third grade for thirty years, and I know how important foundational knowledge is! These aren’t like a sturdy chocolate chip cookie; these sweet egg white treats need respect.
Here are a few things I’ve learned over the years that ensure you get those perfect, airy results instead of a sad, sticky puddle. For all my deep-dive baking knowledge, you can always check out my full guide on baking tips for meringues.
- Humidity is the Enemy: This is my biggest warning for making meringue cookies. Egg whites are magnets for moisture! If it’s raining, foggy, or just a generally sticky summer day, wait. Meringues don’t like to be rushed, and they certainly don’t like humidity trying to sneak into their structure.
- The Bowl Must Be Pristine: I can’t say this enough. Before you even think about adding egg whites, wash your mixing bowl and whisk attachments with hot, soapy water, then wipe them down with a splash of white vinegar or lemon juice. That final wipe-down ensures every speck of fat is gone, which is crucial for getting those high, stiff peaks.
- Sugar Addition Speed: Always add sugar slowly once you have soft peaks. If you dump it all in at once, you deflate all the air you just carefully whipped in there. It needs time to dissolve properly into the whites so you get that smooth, glossy finish instead of grainy meringue.
- Never Open the Oven Early: Resist the urge to peek once they are in! Temperature drops cause rapid contraction, and that’s what makes those beautiful swirls collapse or crack apart right when they look done. Trust the low temperature and the long cooling time we talked about.
Follow these little rules, and you won’t just make good meringue cookies; you’ll make the most delicate, airy desserts you’ve ever managed!
Making Meringue Cookies for Parties and Gifting
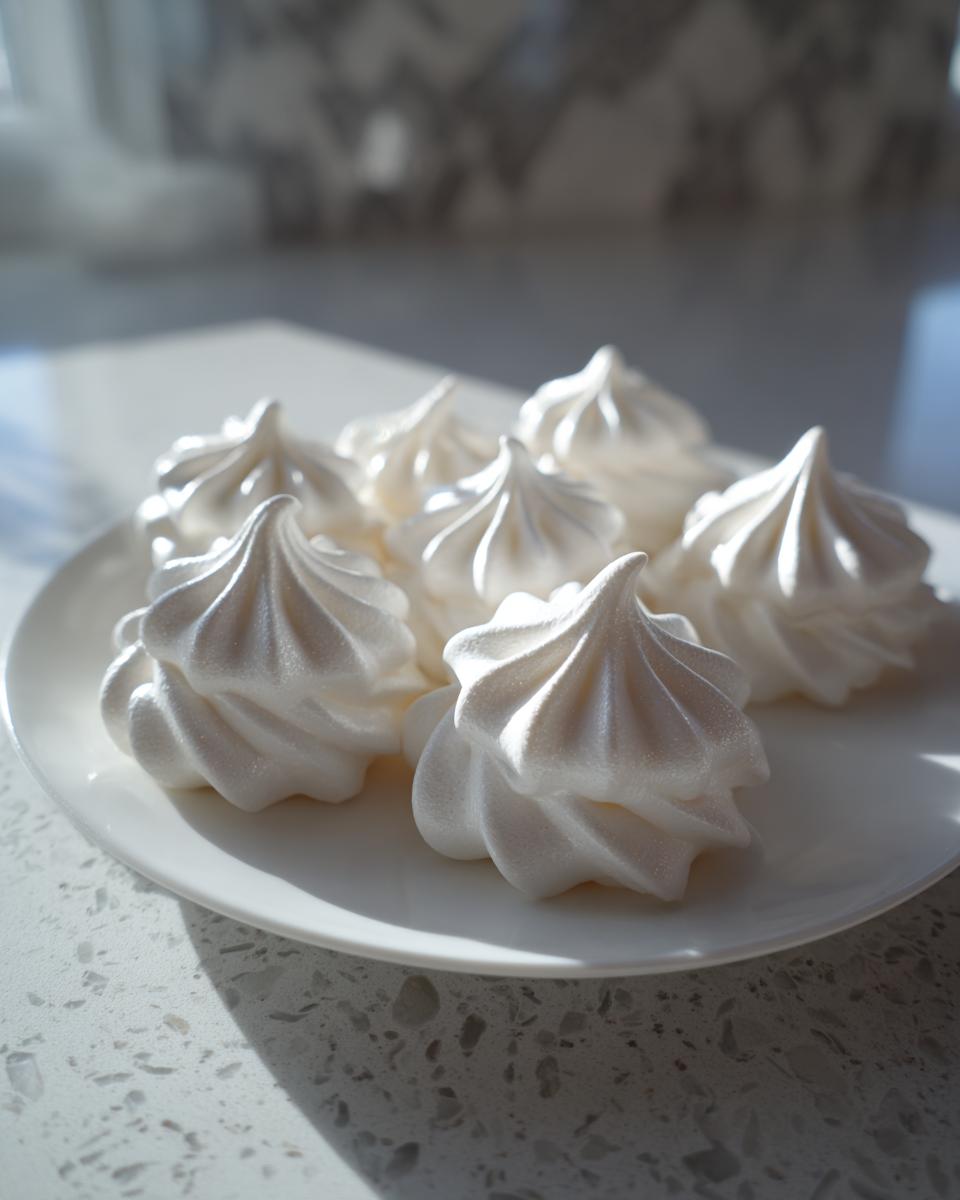
These little clouds are almost too pretty to eat! Because they are so light, meringue cookies are simply fantastic for filling up a dessert table when you need a beautiful cookie presentation without a lot of heavy calories. These are such a simple dessert for parties because they use such basic ingredients, but they look like you spent hours fussing over them—and that’s my favorite kind of baking!
If you’re feeling fancy, grab that star tip! Piping them into little swirls or kisses makes them look very elegant. But honestly, if you don’t have a piping bag, just use two spoons to drop dollops onto the sheet. They look rustic and charming that way, too. For holiday cookie baking, I sometimes add a drop of gel food coloring during the last minute of whipping to get pale pink or mint green meringue cookies.
After they have baked and cooled completely, you can dust them with a little powdered sugar or gently dip the tips into melted chocolate. If you’re looking for other great ideas for your gathering, I have a whole collection of easy appetizers and snacks to balance out all this sweetness. Honestly, people always ask me for this recipe first, which is why I love sharing this easy meringue cookies guide!
Storage and Keeping Your Meringue Cookies Fresh
Once you’ve successfully made these wonderfully light meringue cookies, the next challenge is keeping them perfect until they’re ready to be eaten. Because they are so delicate, keeping out moisture is absolutely key! If you skip proper storage, those crisp, airy desserts we worked so hard to create will turn sticky and chewy again overnight, and nobody wants that.
The main enemy of a perfect, melt in your mouth cookie is humidity. You need to treat them like delicate little jewels that hate dampness! My approach is always the same, and it keeps my holiday bake batches fresh for days.
- Airtight is Mandatory: Always store your fully cooled meringue cookies in a container that seals tightly. I prefer glass containers with good locking lids, but a high-quality plastic container works too.
- Room Temperature Only: Never put meringues in the refrigerator! The cool, damp environment of a fridge will instantly cause them to absorb moisture and weep. They should stay right out on your counter, provided your kitchen isn’t soaking wet outside!
- Don’t Pack Them Tight: If you are layering them, you must use parchment or wax paper between the layers. These cookies are surprisingly fragile, and smashing them together will just result in crumbs when you go to separate them. Less crushing means more beautiful meringue cookies for everyone!
If you’ve followed the low-and-slow baking and cooling method, they should remain perfectly crisp for at least three to five days. If you notice they start feeling soft, you can often revive them by baking them again at that same low 225°F temperature for about 15 minutes, then letting them cool completely inside the oven again. It works like magic!
Frequently Asked Questions About Meringue Cookies
Can I make meringue cookies ahead of time for holiday cookie baking?
Absolutely, you can! That’s one of the best things about these meringue cookies—they keep so well if stored correctly. I usually make mine a good week before any major gathering, especially during busy holiday cookie baking season. Just ensure they are completely cooled—and I mean stone cold—before sealing them up in an airtight container at room temperature. They are quite stable, but remember, humidity is their sworn enemy, so keep that container away from steam sources like the dishwasher!
Why did my meringue cookies crack during baking?
Cracking usually happens for two main reasons, both related to temperature shock. The first reason is if the oven temperature was too high. If the exterior sets too fast, the interior keeps expanding and punches a hole right through the crust—ouch! The second, and most common, reason is rapid cooling. That’s why I tell everyone to turn the oven off and leave them inside to cool slowly. If you pull them out into a cool kitchen right away, they shrink too fast and crack. We want slow, gentle drying for perfect, glossy meringue cookies.
Are these meringue cookies a good option for gluten free cookie recipes?
They are arguably one of the best options available! Since these meringue cookies are made primarily from egg whites and sugar, they are naturally wheat-free. They don’t use any flour, extracts, or leavening agents other than the air whipped into the whites. So yes, these are perfect for anyone looking for reliable, beautiful, and truly light and airy desserts that fit perfectly into any gluten free cookie recipes collection. Everyone deserves a gorgeous, sweet treat!
Estimated Nutritional Information for Meringue Cookies
Now, let’s talk numbers for a moment, just so you know what you’re whipping up here. Since these meringue cookies are essentially just sweet egg whites, they are wonderfully light compared to most cookies. But remember, they are pure sugar and protein, so we measure them strictly by the piece.
This information is based on the recipe yielding about 3 dozen cookies, giving us a very small serving size. Please remember, this is an estimate, as your exact measurements and how much sugar stays on your bowl will change things slightly. They make for a lovely, light addition to any dessert spread!
- Serving Size: 1 cookie
- Calories: 45
- Sugar: 11g
- Protein: 1g
- Fat: 0g
As you can see, they register almost zero fat, making them a fantastic alternative when you are looking for light and airy desserts that satisfy that sweet craving without being overly heavy!
Share Your Sweet Egg White Treats
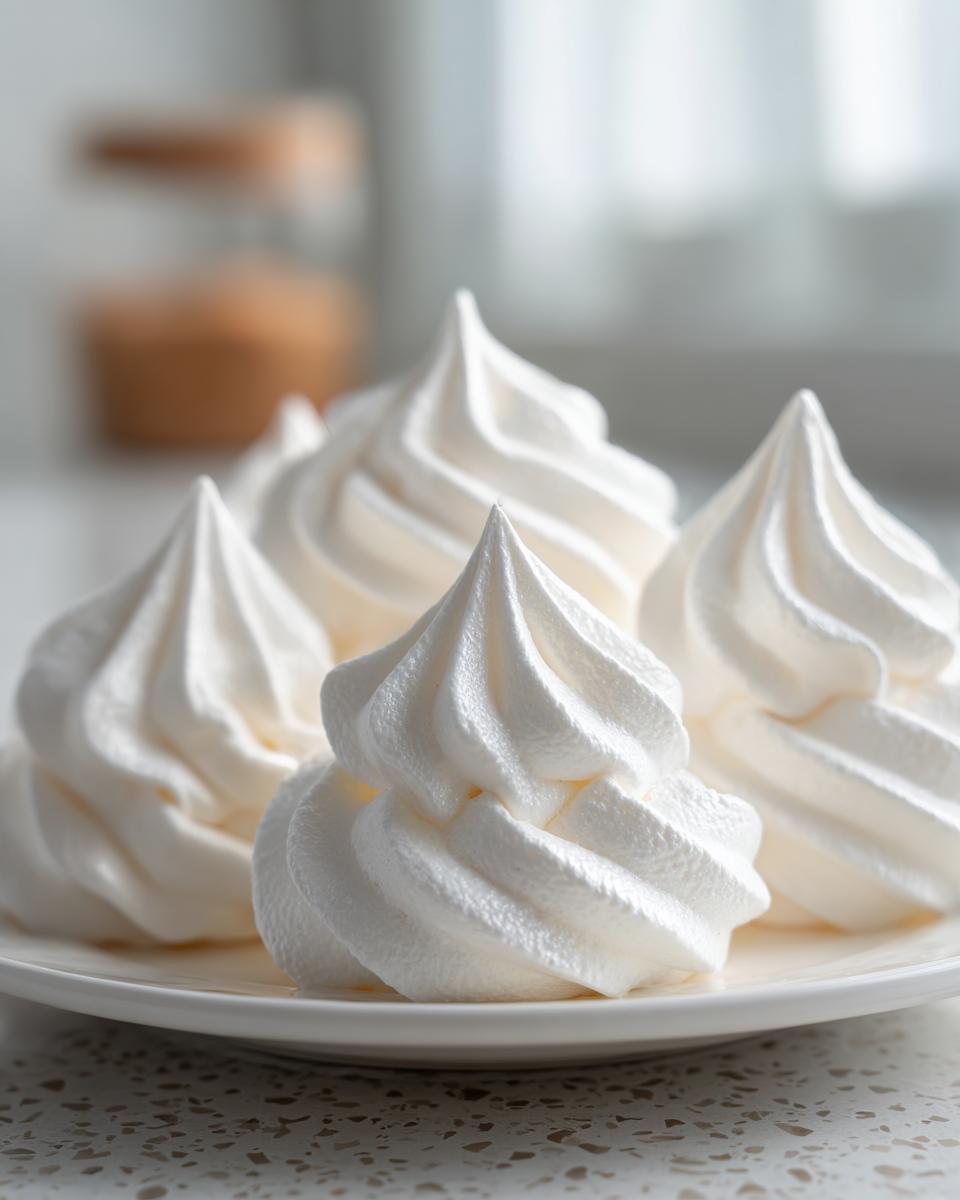
Well, we did it! You’ve conquered the classic meringue technique and produced a batch of the most delicate, beautiful meringue cookies. I am so proud of you for tackling something that seems so fussy but is actually so straightforward once you understand the method. These truly are some of my favorite simple dessert for parties because they make such a stunning visual impression.
Now, I truly love hearing from you all! As a teacher, getting feedback on how the lesson went was always my favorite part of the day. That curiosity carries over into my kitchen, too. Did your meringue cookies turn out perfectly crisp? Did you try piping them into little festive shapes for holiday cookie baking?
Please take a moment and leave a comment down below telling me how the recipe worked for you. If you loved how light and airy they turned out, leaving a star rating helps other home cooks find this dependable recipe. Happy baking, friends! I can’t wait to see the beautiful swirls you’ve made!
PrintClassic Meringue Cookies: Light, Crisp, and Melt-in-Your-Mouth

Make perfect, airy meringue cookies using this straightforward recipe. These delicate, sweet treats are naturally gluten free and bake up beautifully crisp, ideal for holiday baking or any time you need a light dessert.
- Prep Time: 15 min
- Cook Time: 75 min
- Total Time: 1 hour 30 min
- Yield: About 3 dozen 1x
- Category: Dessert
- Method: Baking
- Cuisine: American
- Diet: Gluten Free
Ingredients
- 4 large egg whites, room temperature
- 1 cup granulated sugar
- 1 teaspoon vanilla extract
- 1/4 teaspoon cream of tartar
- Pinch of salt
Instructions
- Preheat your oven to a low temperature, 225 degrees Fahrenheit. Line two baking sheets with parchment paper.
- In a clean, dry mixing bowl, combine the egg whites, cream of tartar, and salt. Beat with an electric mixer on medium speed until soft peaks form.
- Slowly add the granulated sugar, one tablespoon at a time, while continuing to beat the mixture on high speed. Wait about 30 seconds between each addition.
- Continue beating until the meringue is stiff, glossy, and holds firm peaks. When you rub a small amount between your fingers, you should not feel any sugar granules. This step is key for crispy meringue recipe results.
- Beat in the vanilla extract until just combined.
- Transfer the meringue to a piping bag fitted with a large star tip (or use two spoons for rustic dollops).
- Pipe or spoon small mounds onto the prepared baking sheets, leaving about one inch between each cookie. You can shape these into festive swirls or simple kisses.
- Bake for 60 to 75 minutes. The exact time depends on the size of your cookies and your oven. You are looking for them to be dry to the touch and easily lift off the parchment.
- Turn off the oven, prop the door open slightly with a wooden spoon, and allow the meringue cookies to cool completely inside the oven for at least one hour, or preferably overnight. This slow cooling prevents cracking and ensures they are melt in your mouth cookies.
- Store the finished meringue cookies in an airtight container at room temperature.
Notes
- Make sure your bowl and whisk attachments are completely free of any grease or water; fat prevents egg whites from whipping properly.
- For colorful meringue cookies, add a few drops of gel food coloring during the last minute of mixing.
- If you are making these for a humid day, consider adding an extra 1/4 teaspoon of cream of tartar to help stabilize the structure.
Nutrition
- Serving Size: 1 cookie
- Calories: 45
- Sugar: 11g
- Sodium: 5mg
- Fat: 0g
- Saturated Fat: 0g
- Unsaturated Fat: 0g
- Trans Fat: 0g
- Carbohydrates: 11g
- Fiber: 0g
- Protein: 1g
- Cholesterol: 0mg