
If you’ve ever spent sweet time cutting out and decorating cookies only to have your icing crack, bleed colors, or just refuse to dry hard, you know the heartbreak! That’s why I want to share what I truly believe is the absolute royal icing recipe secret weapon. This isn’t some fussy version; this is my foolproof guide to making a smooth, wonderfully glossy icing that dries firm every single time. We’re ditching the raw egg fear here and using meringue powder, keeping things simple and reliable. My thirty years of teaching helped me break this down clearly, so whether you’re piping a simple line or getting fancy, you’ll nail this perfect sugar cookie icing on your first try. For all the details on how I bake with clarity and love, you can read more in my story over on the About Page.
- Why This Royal Icing Recipe Works for Every Decorator
- Ingredients for the Best Royal Icing Recipe
- How to Make Royal Icing: Step-by-Step Instructions
- Mastering Piping Icing Consistency for Your Royal Icing Recipe
- Tips for Success with Your Hardening Icing Recipe
- Coloring and Storing Your Royal Icing Recipe
- Frequently Asked Questions About This Royal Icing Recipe
- Nutritional Estimates for This Royal Icing Recipe
- Share Your Perfect Cookie Glaze Creations
Why This Royal Icing Recipe Works for Every Decorator
When you’re decorating cookies, you need an icing you can absolutely trust, and that’s exactly what this formula gives you. It’s designed to be wonderfully dependable, which is why I call it foolproof! You shouldn’t ever have to worry about cracked decorations the day before a party—that’s my job to solve beforehand. Because we are using meringue powder, this royal icing recipe is much safer and easier for any beginner to jump into. There’s no mystery here; just great results every time.
- It mixes up remarkably fast, usually ready in under 15 minutes!
- The texture is stable: it pipes beautifully and holds its shape while you work.
- It dries completely hard, making beautiful stackable cookies or sturdy gingerbread houses.
The Advantage of Meringue Powder Royal Icing Recipe
I know some folks swear by raw egg whites for their royal icing recipe, but honestly, for home bakers doing batches for gifts or school events, meringue powder is superior. It’s just safer, and you get consistent stability every single time without worrying about freshness. It acts as a great stabilizer, meaning you easily end up with a smooth, professional look without all the fuss! That’s reliability you can count on.
Achieving That Glossy Cookie Icing Finish
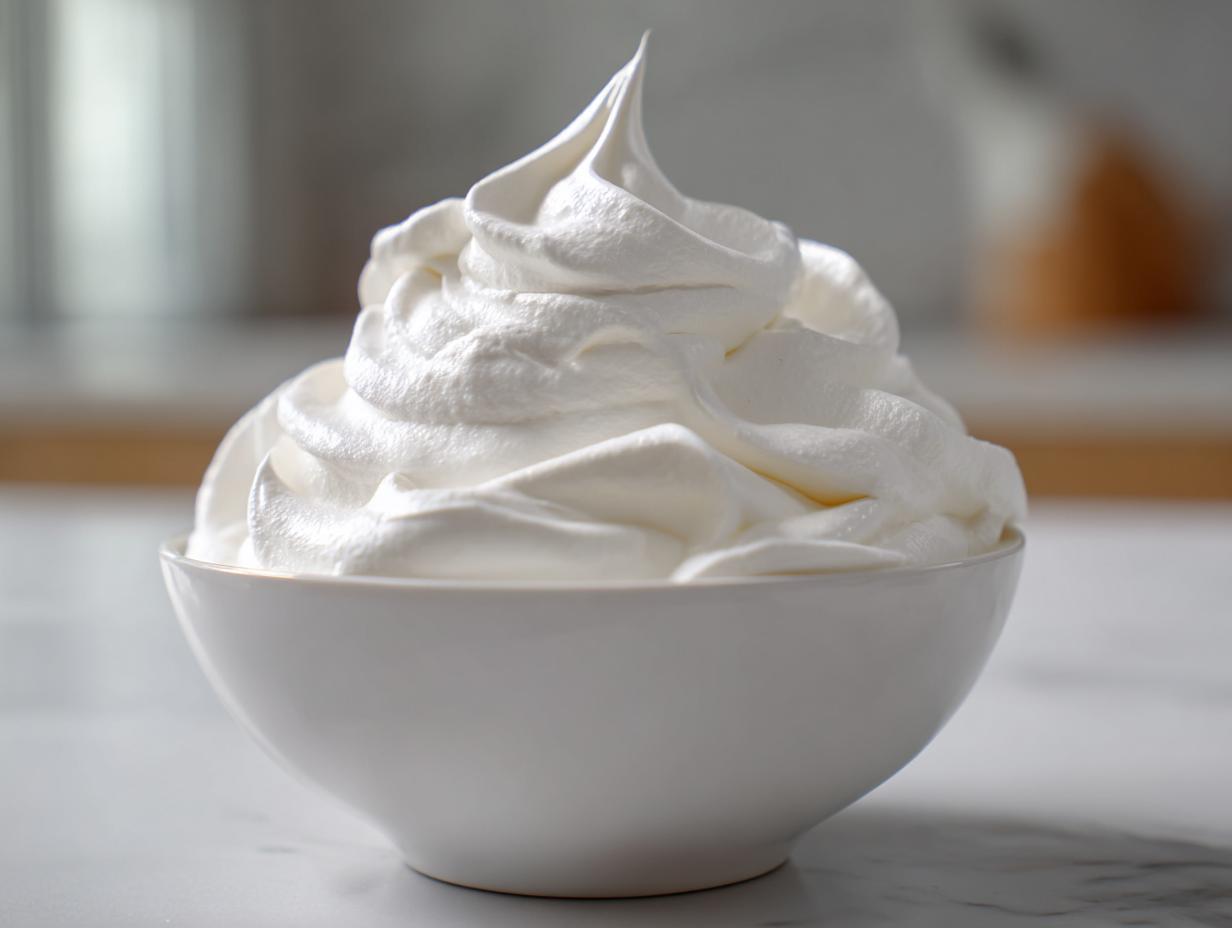
The secret to that high-shine, glossy cookie icing isn’t just the ingredients; it’s the mixing time! You *have* to let the mixer run long enough—I mean really beat it until it looks like smooth, thick velvet. If you stop too soon, your royal icing recipe will look dull when it dries. Trust me on this; those extra minutes of beating are what give you that polished, professional shine.
Ingredients for the Best Royal Icing Recipe
Okay, let’s talk turkey—the materials needed for this amazing royal icing recipe. You don’t need a million things, but the ones we do use need to be handled correctly. Everything must be measured precisely because icing doesn’t forgive guesswork! For a batch big enough to cover about two dozen regular cookies, you’ll need…
- 4 tablespoons meringue powder
- 6 cups powdered sugar, sifted
- 1/2 teaspoon vanilla extract or clear vanilla extract
- 6 to 8 tablespoons warm water
Ingredient Notes and Substitutions
Listen up, because the details here matter a lot for your final beautiful cookie decorating icing. First, you absolutely must sift that powdered sugar. If you don’t, you’re just asking for tiny, grainy lumps in your beautiful work. That’s just guaranteed texture failure!
Second, for the vanilla: If you want that bright, pure white look, use clear vanilla extract. Standard vanilla has a slight brown tint and will make your beautiful white icing look sad and off-white. Finally, the meringue powder is the workhorse here; it replaces messy egg whites perfectly in this royal icing recipe and gives everything structure and stability.
How to Make Royal Icing: Step-by-Step Instructions
This whole process is genuinely the best part because it’s so fast—you’re looking at about 10 minutes of prep time before you can start decorating! That’s lightning speed for such a professional result. When we make this royal icing recipe, we have to be methodical about how we mix it. I learned early on that throwing everything in high speed right away leads to a sugary explosion all over the kitchen! Oops!
First off, grab your biggest, sturdiest mixing bowl. Combine your meringue powder and all that beautiful, sifted powdered sugar. We want them nice and blended before we introduce any liquid. Now, add the vanilla extract and start with just 6 tablespoons of warm water. Mix it all gently on the absolute lowest speed on your electric mixer until that sugar is incorporated and you don’t see any dry patches floating around. That step is key—just incorporating.
Once it looks like a thick, slightly grainy paste, you crank the speed up! This is where the magic happens. You need to beat this mixture on medium-high for a full 5 to 7 minutes. Don’t cheat this timing! You are beating air into it to create that fantastic gloss and ensure it holds stiff peaks. If you want a fantastic visual guide on mixing consistency, check out the tips over at Chef Yoyo’s site for their essential meringue royal icing guide.
Mastering Piping Icing Consistency for Your Royal Icing Recipe
This is, hands down, the most important part of the whole adventure! You can have the best royal icing recipe in the world, but if the consistency is wrong for what you’re trying to do, you’re going to have a frustrating time. It’s all about knowing how to thin it down just perfectly. Remember, you started with 6 tablespoons of water, but we need to talk about those final drops because they turn your stiff mountain mix into the perfect decorating tool. You must have two main textures ready—one stiff for borders and one runny for filling in the middle.
Achieving Flood Consistency Icing
The flood consistency is what we use to fill in the middle of the outlined cookie shapes. This is where that ribbon test becomes your best friend! If you lift your mixing spoon and let a ribbon of icing fall back into the bowl, you want that ribbon to take about 10 seconds to smooth out and disappear completely back into the surface. If it vanishes instantly, add a tiny bit more water! This is the Goldilocks zone for smooth, beautiful coverage on your cookies.
Creating Thick Consistency Icing for Outlining
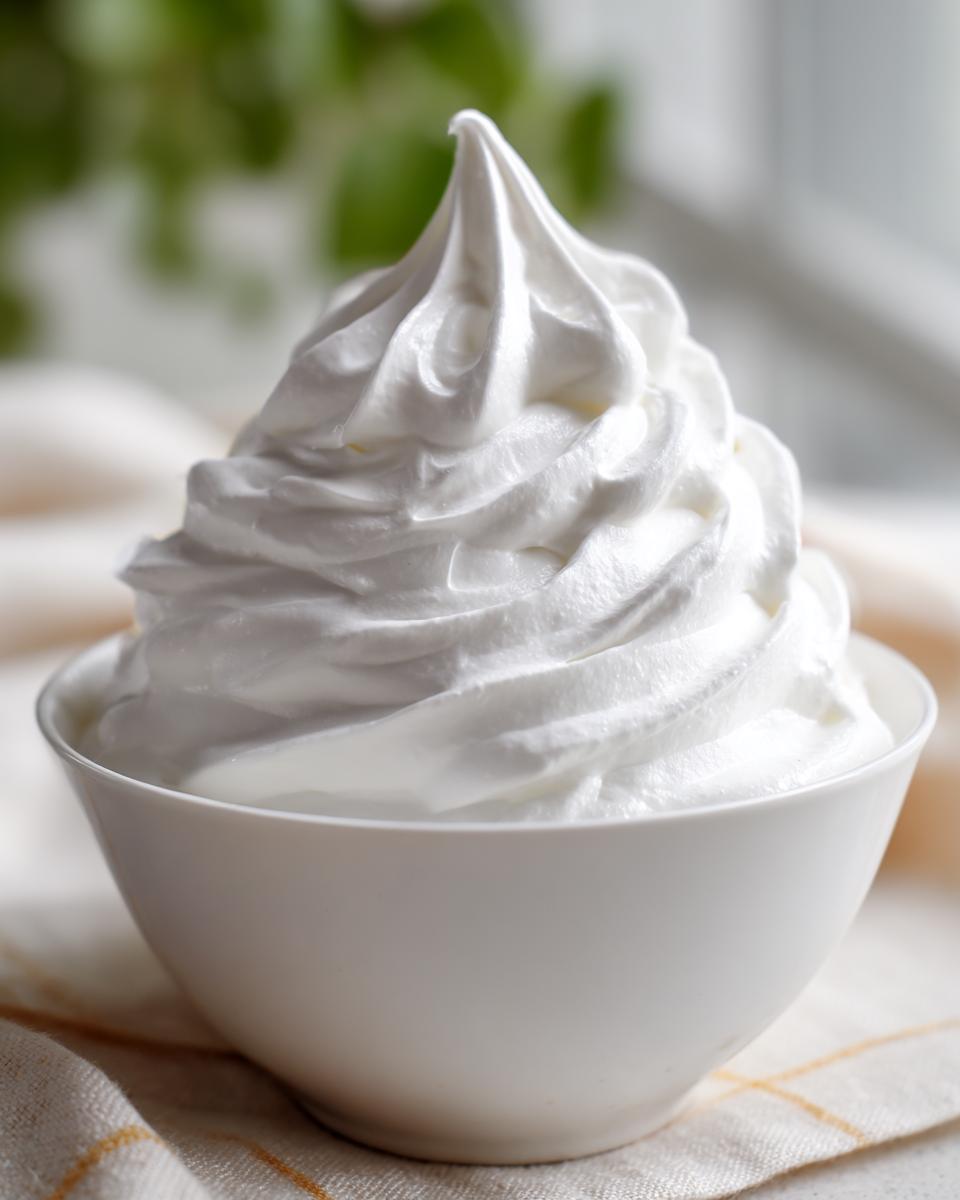
For outlining, which acts as the dam holding in your flood icing, you need what we call a thick consistency icing. This is the stage right after the initial mix when the icing is still holding very stiff peaks. If you stick a spoon in it, the icing should stand straight up and point confidently! This stiff peak power keeps your design sharp. When you’re working with this specific royal icing recipe, make sure this outlining icing is firm enough that it doesn’t slump at all when you pipe it onto the cookie surface.
Tips for Success with Your Hardening Icing Recipe
Now that you have your stunning royal icing recipe mixed up, let’s talk about keeping it perfect until you actually use it! The biggest enemy here is air, that sneaky little thing that dries out the surface and makes a crust. If you are coloring batches ahead of time or if you just need to pause decorating for a little while, you have to cover it *right*.
My trick for any Hardening Icing Recipe used for decorative work is simple: plastic wrap. But here’s the special part—you have to press that plastic wrap directly onto the surface of the icing in the bowl. I mean, smoosh it down until there are absolutely no air bubbles trapped on top! I learned this the hard way during Thanksgiving one year; I thought I covered my outline icing just fine, but when I came back, the entire top layer was stiff and unusable! What a waste!
To make sure your cookies dry rock solid, especially if you are building a cookie gingerbread house, just let them sit out on the counter. Don’t rush them into the fridge or anywhere humid. Air drying at room temperature overnight is usually perfect for that glossy cookie icing to become super firm. For more amazing insider secrets on making cookies that look professional, peek at the advice from The Miller’s Wife here!
Coloring and Storing Your Royal Icing Recipe
Once you finish whipping up your basic royal icing recipe, you’ll want to divide it up right away if you’re planning on using more than one color. I try to use gel food coloring for this, as the liquid drops can throw off your carefully measured water ratio and make things too runny. Just dip a toothpick into your gel, swirl it into a small portion of the icing, and mix until you get that rich color you want.

Now, storage is critical! This recipe yields enough to cover about 2 dozen good-sized sugar cookies, so if you have leftovers, protect them! Remember what I said about air being the enemy? For any batch you aren’t using immediately, grab some plastic wrap and physically press it right down onto the surface of the icing in the bowl. If you leave even a tiny gap, you’ll wake up to a thick, crusty layer on top, and nobody wants to scrape that off their beautiful cookie decorating icing!
Frequently Asked Questions About This Royal Icing Recipe
I get so many great questions once folks start trying this straightforward royal icing recipe! It’s easy to get caught up in the details when you’re trying to get that perfect look for decorated cookies. Here are a few things I hear often from bakers just starting out with this meringue-based glaze.
Can I use this Easy Royal Icing Recipe for Gingerbread Houses?
Oh, absolutely! In fact, this is one of my favorite uses for this Hardening Icing Recipe. Since this icing dries rock hard, it acts like edible glue! You need that powerful, stiff consistency to hold those gingerbread walls together securely while they set up.
How long does it take for this Cookie Decorating Icing to dry?
That depends on how thick you pipe it! If you’re doing a thin flood coat, it might be dry handling in 4 to 6 hours depending on the humidity in your kitchen. For a thick outline or for decorating cookies that need to be stacked or shipped, I always recommend letting them sit out completely overnight. That ensures your glossy cookie icing is totally firm!
Since I’m here to help you get cooking with confidence, if you ever have a question about any of my recipes—even if it’s about how to make royal icing flowers—please don’t hesitate to reach out via the Contact Page!
Nutritional Estimates for This Royal Icing Recipe
Now, I’m not a nutritionist, and honestly, when you’re making something this delicious for holiday decorating, who’s counting, right? *Really*? But for those of you who like to keep charts, I want you to know the royal icing recipe is mostly sugar, as you’d expect! These numbers are just estimates based on a 1/4 cup serving size, which feels like a good amount for one or two cookies.
- Calories: Around 180
- Sugar: About 45g (Yep, it’s sweet!)
- Protein: 1g
- Fat: 0g
Keep in mind that because this is mostly powdered sugar, these numbers are based on volume, not weight, so trust them only as a general idea while you focus on making your beautiful cookie decorating icing!
Share Your Perfect Cookie Glaze Creations
Seeing what you all create with this Basic Royal Icing Formula honestly makes my whole week! I hope this recipe gives you all the glossy, firm results you’ve been dreaming of for your sugar cookies and holiday treats. If you made a batch of this perfect cookie glaze, please do me a favor and leave a rating right here on the post. And shoot me a picture if you can; I love seeing your beautiful work! Remember to check out our Privacy Policy if you have any questions about sharing photos.
PrintThe Best Foolproof Royal Icing Recipe Using Meringue Powder
Make smooth, glossy royal icing that dries firm using meringue powder. This recipe is easy for beginners and perfect for decorating sugar cookies or gingerbread houses.
- Prep Time: 10 min
- Cook Time: 0 min
- Total Time: 10 min
- Yield: Enough to cover 2 dozen cookies
- Category: Baking
- Method: Mixing
- Cuisine: American
- Diet: Vegetarian
Ingredients
- 4 tablespoons meringue powder
- 6 cups powdered sugar, sifted
- 1/2 teaspoon vanilla extract or clear vanilla extract
- 6 to 8 tablespoons warm water
Instructions
- In a large bowl, combine the meringue powder and sifted powdered sugar.
- Add the vanilla extract and 6 tablespoons of warm water to the dry ingredients.
- Beat the mixture with an electric mixer on low speed until the sugar is incorporated.
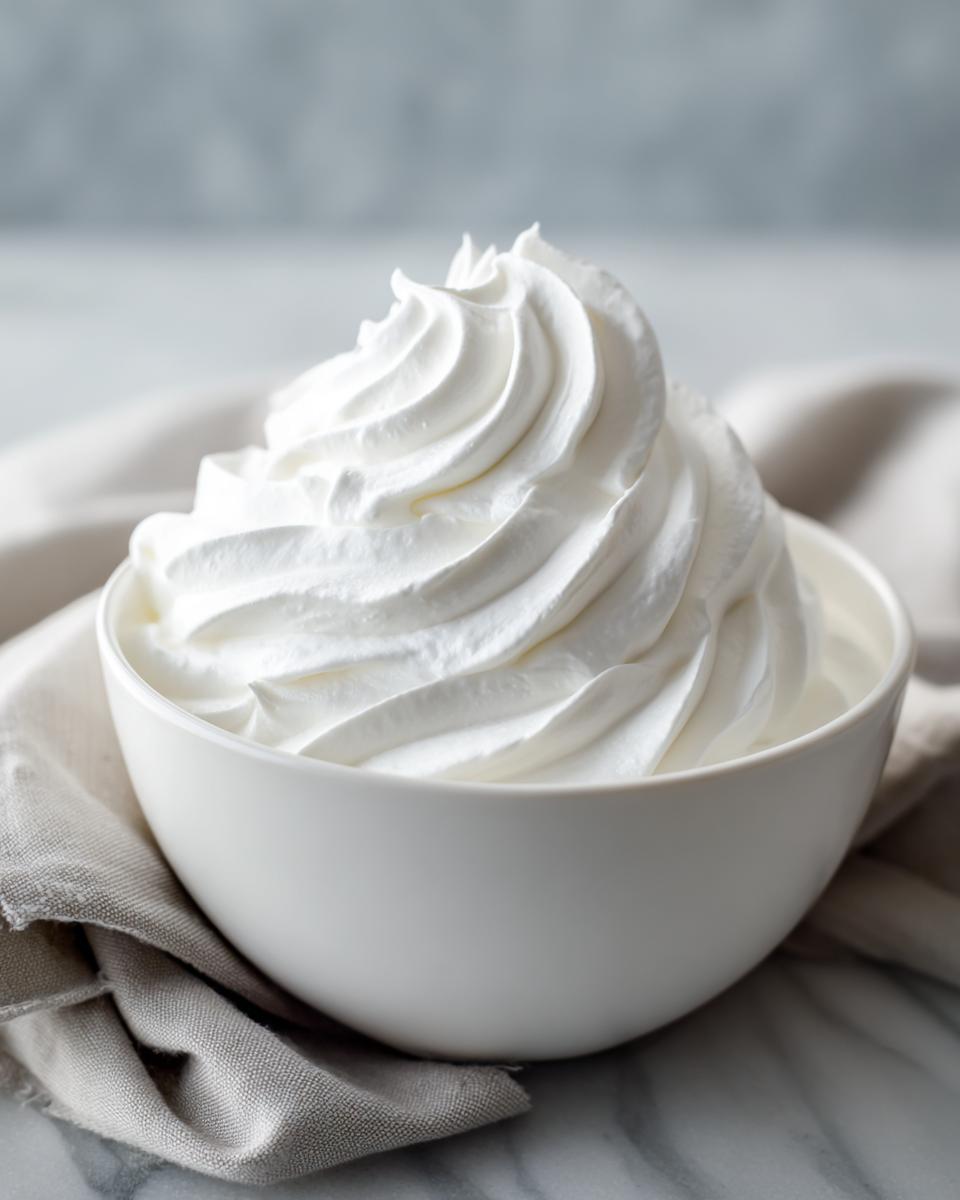
- Increase the mixer speed to medium-high and beat for 5 to 7 minutes until the icing is very thick, glossy, and holds stiff peaks.
- Check the consistency. If the icing is too thick for your needs, add the remaining water one teaspoon at a time, beating well after each addition, until you reach the desired texture.
- Divide the icing into separate bowls if you plan to color it. Cover the bowls with plastic wrap, pressing the wrap directly onto the surface of the icing to prevent a crust from forming.
- Use immediately for decorating or store in an airtight container.
Notes
- For outlining consistency (stiff peaks), use 6 tablespoons of water.
- For flooding consistency (flows slowly), add water until the icing falls from a spoon in a ribbon that slowly disappears back into the bowl, usually requiring 7 to 8 tablespoons total.
- To make the icing dry hard, allow decorated cookies to air dry at room temperature for several hours or overnight until completely firm to the touch.
- If you need pure white icing, use clear vanilla extract instead of standard vanilla extract.
Nutrition
- Serving Size: 1/4 cup
- Calories: 180
- Sugar: 45g
- Sodium: 15mg
- Fat: 0g
- Saturated Fat: 0g
- Unsaturated Fat: 0g
- Trans Fat: 0g
- Carbohydrates: 45g
- Fiber: 0g
- Protein: 1g
- Cholesterol: 0mg