
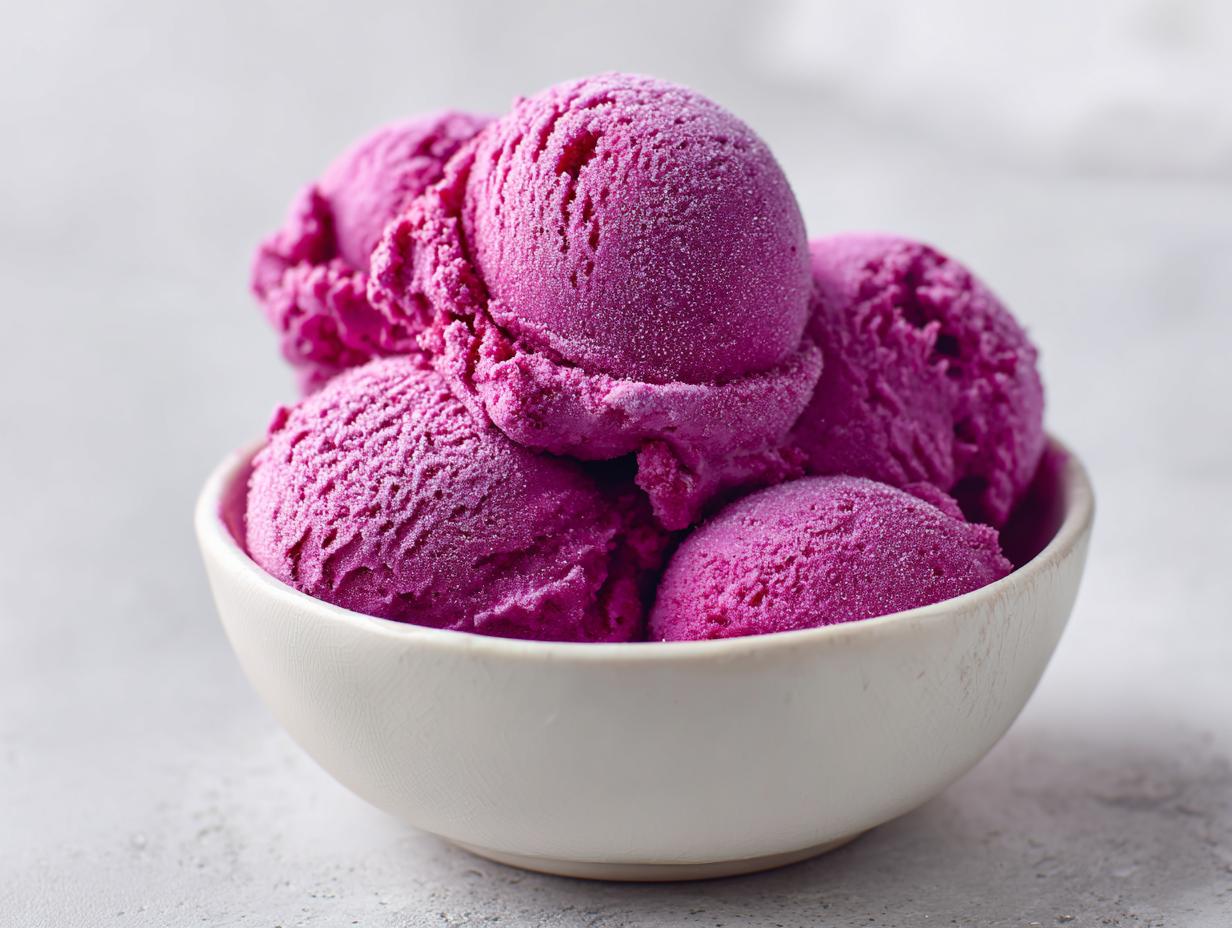
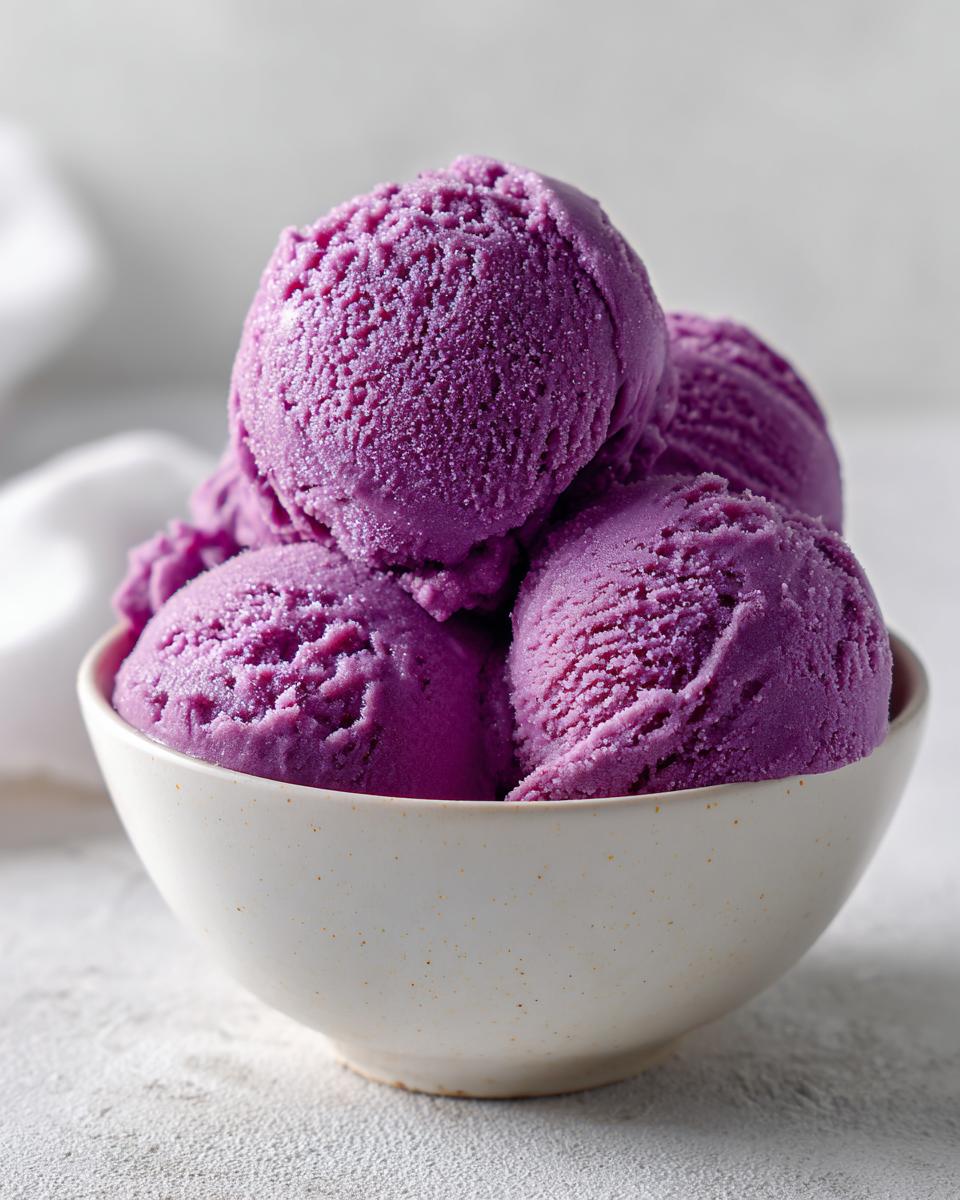
When that mid-July sun beats down and you think you need a nap just to survive, what’s the first thing you reach for? For me, it’s the freezer door! Nothing whispers ‘sweet relief’ quite like a perfect, icy scoop of something bright and fruit-filled. Forget those heavy ice creams for a moment; we need something lighter, tangier, and faster. That’s why I am so excited to share my very best summer sherbet recipe with you today: the No-Churn Blackberry Lemon.
As a former teacher, I learned that the trick to success is showing you the simple steps clearly, and this recipe is exactly that. No fancy ice cream machine needed whatsoever! This recipe proves you can achieve a beautifully smooth, deeply flavored frozen dessert using just a stovetop and a freezer. Trust me, once you taste the vibrant zing of lemon mixed with sweet blackberry, you’ll wonder how you ever bought sherbet from the store.
- Why This No-Churn Blackberry Lemon Summer Sherbet is Your New Favorite
- Gathering Ingredients for Your Summer Sherbet
- How to Make This Easy Summer Sherbet Recipe Step-by-Step
- Tips for the Best Homemade Sherbet Guide Results
- Variations on Your Summer Sherbet
- Serving Suggestions for This Citrus Sherbet Cooling Treat
- Storage and Reheating Instructions for Your Summer Sherbet
- Frequently Asked Questions About Making Summer Sherbet
- Nutritional Estimates for this Blackberry Lemon Summer Sherbet
Why This No-Churn Blackberry Lemon Summer Sherbet is Your New Favorite
I know you’re busy, especially when the temperatures climb, so I designed this recipe to be the ultimate quick summer sherbet solution. It hits all the right notes without requiring any complicated machinery. If you’re looking for refreshing frozen dessert ideas, look no further!
- No Churn Fruit Sherbet Simplicity: You don’t need a bulky ice cream maker gathering dust! This is honestly the easiest summer sherbet recipe you’ll ever try.
- Vibrant Sherbet Flavors for Parties: The bright blackberry and tart lemon pairing is absolutely unforgettable. This is such a light frozen fruit recipe that’s perfect for serving after a big summer meal.
Gathering Ingredients for Your Summer Sherbet
To get started on this fantastic summer sherbet, we need the freshest things we can find. Because this recipe is so simple, the quality of what you put in really shines through in the end. I like to think of this as the ‘less is more’ approach to making a great frozen treat!
- 3 cups fresh or frozen blackberries (no need to thaw if using frozen!)
- 1 cup granulated sugar
- 1/2 cup fresh lemon juice (This is key for that bright flavor!)
- 1/2 cup water
- 1 (14 ounce) can sweetened condensed milk
- 1 teaspoon lemon zest
Ingredient Notes and Substitutions for this Summer Sherbet Recipe
I always stress using fresh lemon juice here. I know the bottled stuff is convenient, but you lose so much vital zing when you skip squeezing them yourself. If you don’t have blackberries, please don’t panic! Raspberries work wonderfully here, making a lovely tart-sweet combination. Strawberries are also a great choice if that’s what looks best at the market. Remember, sugar is really important in sherbet because it keeps the mixture from freezing rock solid, so don’t go cutting that down too much, or you’ll end up with an ice block!
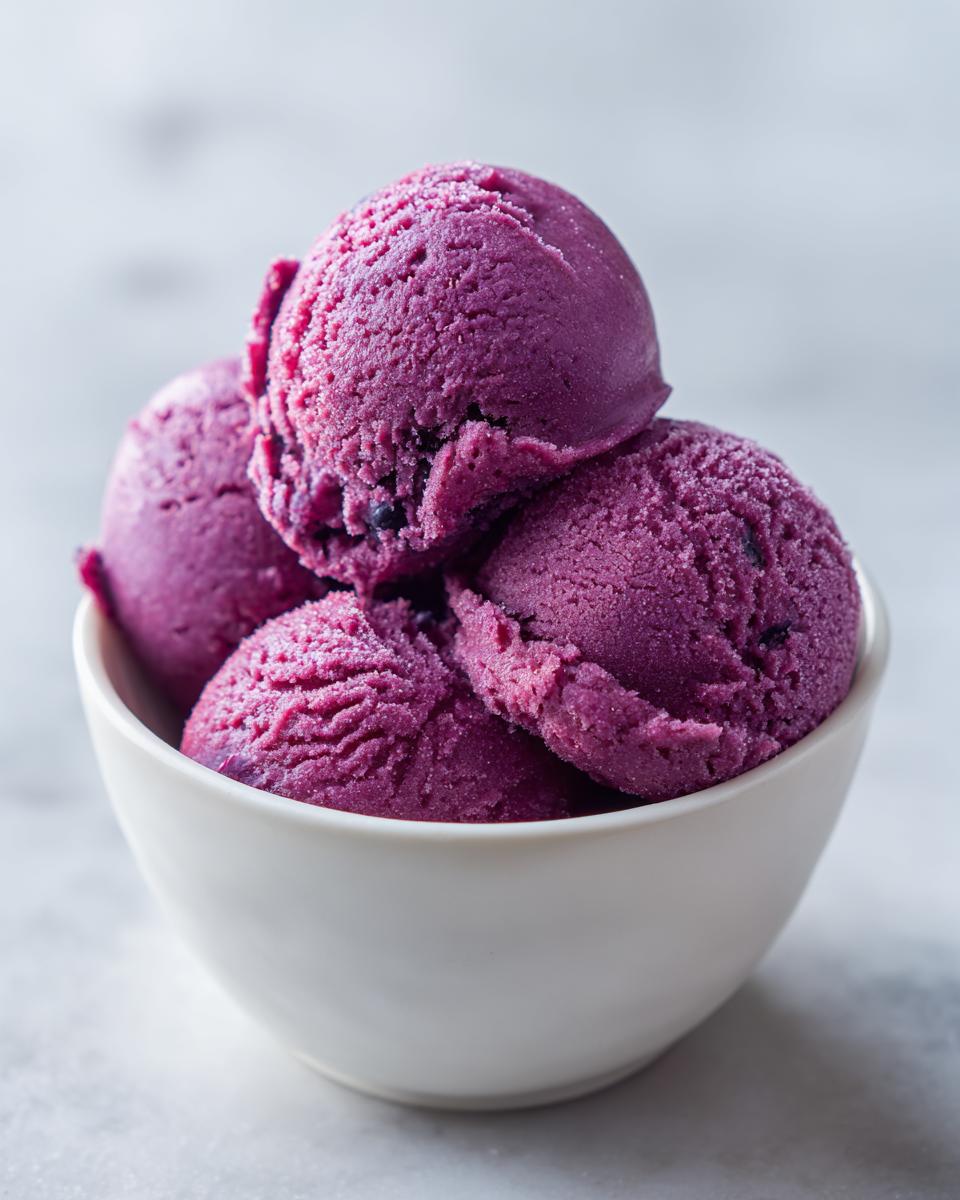
How to Make This Easy Summer Sherbet Recipe Step-by-Step
Alright, this is where the magic truly happens, and it’s easier than you think! Learning how to make sherbet from scratch doesn’t require sweat, just a little patience as things cool down. We are keeping things simple, but technique matters when you aren’t churning!
Cooking and Straining the Blackberry Base
First things first, we need to coax all that marvelous flavor out of the berries. Toss your blackberries, sugar, lemon juice, and water right into a saucepan over medium heat. Keep stirring until that sugar is completely gone—I mean *completely* dissolved. It usually takes about eight minutes, but use your sight and feel for it.
Once the berries have softened up nicely, take the pan right off the heat. I like to gently mash them a bit with a fork just to help them along, but don’t go crazy turning it into a mush. Now, here’s the non-negotiable step for smooth goodness: let that whole mixture cool down for about 15 minutes. If it’s too hot when you strain it, you risk burning your hands!
Use a fine-mesh sieve over a mixing bowl. This is what separates a nice dessert from a truly *great* summer sherbet. Press the berry solids gently to get every last drop of liquid through. You want that silky juice, not the seeds or pulp. Aim for about 1.5 cups of liquid when you’re done.
Achieving the Perfect No Churn Fruit Sherbet Texture
Now that our base is smooth and perfect, grab that can of sweetened condensed milk and whisk it right into the cooled blackberry liquid. Don’t forget the lemon zest in here—it adds such a high, bright note to the finished product! Whisk until everything is uniform.
Pour this colorful mixture into a freezer-safe container, like a standard loaf pan. Here’s my biggest tip for this no churn fruit sherbet: cover the surface directly with plastic wrap before putting the lid on or covering it with foil. This prevents those annoying, crunchy little ice crystals from forming right on top.
It needs at least six hours in the freezer, but if you want that soft, scoopable texture, you have to help it along. For the first three hours, pull the pan out every 90 minutes and gently stir it up. This breaking up of the crystals is exactly what an ice cream maker does for you, so we do it by hand! Trust me, that extra stirring makes all the difference between solid ice and dreamy sherbet.
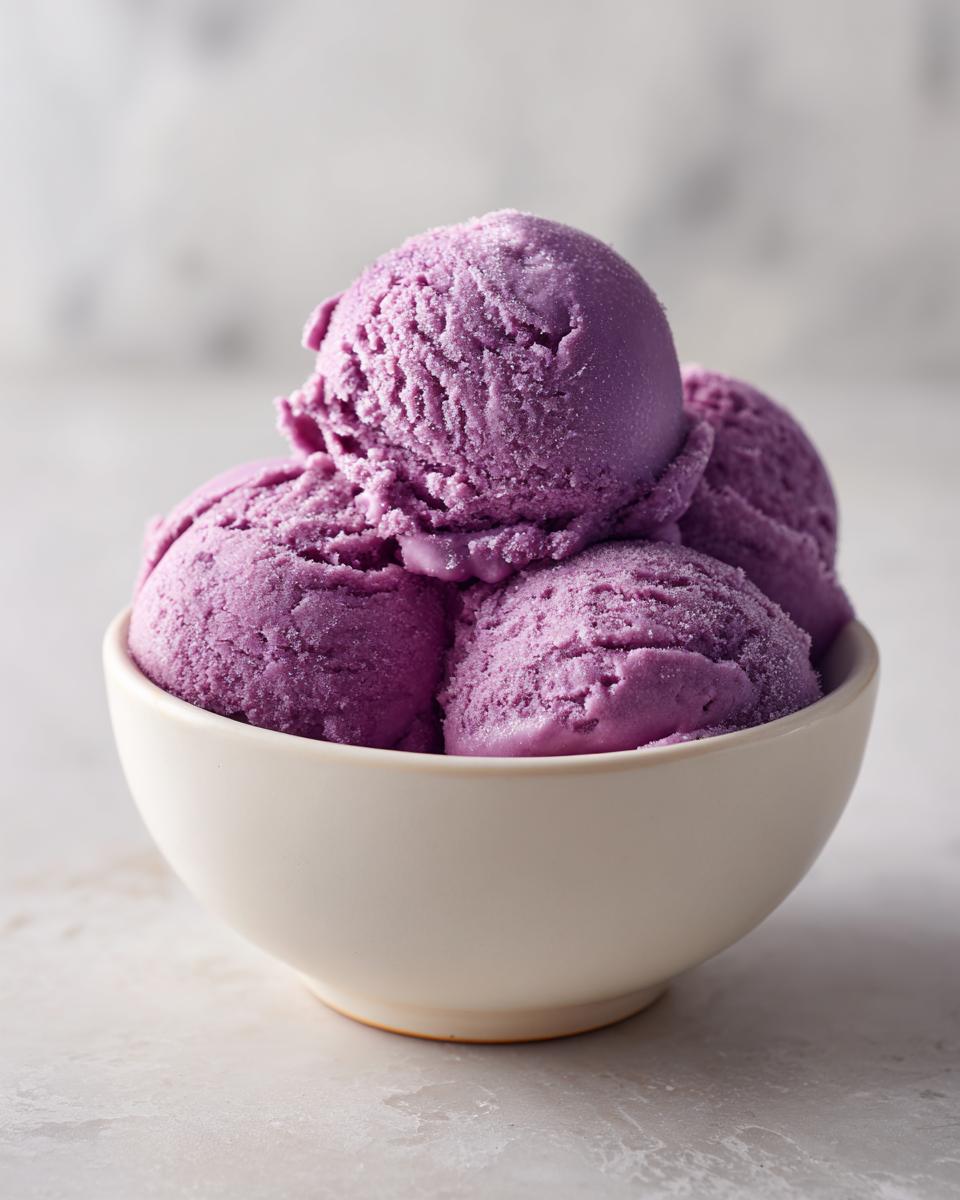
Tips for the Best Homemade Sherbet Guide Results
Even though this is an easy summer sherbet recipe, a few little tricks from my kitchen can elevate it from good to absolutely unforgettable. When you’re putting together the best homemade sherbet guide for your family, these are the details I always share.
First, let’s talk containers. While a loaf pan works fine, a shallower metal dish works even better! Metal transfers the cold faster than glass or plastic, meaning your sherbet freezes more evenly. If you use a loaf pan, make sure it’s not too deep, or the center will stubbornly stay soft while the edges get rock hard.
My biggest tip for scoopability is the resting period you see in the instructions. Don’t skip that final five to ten minutes on the counter before serving! Sherbets, especially those using condensed milk, need that little bit of time to soften up. If you try to scoop it straight from a rock-hard freezer, you’ll end up with shards instead of lovely scoops.
Also, taste test often during the cooling phase! Once that blackberry lemon liquid is mixed with the condensed milk, it’s hard to adjust for sweetness or tartness later. If you feel it needs an extra pinch of zest or a tiny splash more lemon juice before it hits the freezer, now is the time to do it. It’s like grading papers—you need to check your work before you send it off!
Variations on Your Summer Sherbet
One of the great things about this base recipe is just how versatile it is! Once you master the blackberry lemon combination, you realize you can swap out that fruit for almost anything. This is where you can really get creative with making light frozen fruit recipes that suit whatever you have growing in the garden or what looks tempting at the store. It’s all about understanding that blackberry base sets up the perfect texture for us.
Making a Tropical Summer Sherbet
If you’re looking to shift gears away from berries and need a proper tropical summer sherbet, this formula is ready for it! Instead of blackberries, try using about 3 cups of fresh or frozen mango chunks or even crushed pineapple. You still cook it down with the same amount of sugar and water until it’s soft. Now, here’s where you adjust the citrus: if you use mango, you might only need half the lemon juice or swap it entirely for lime juice, which is divine with mango!
The key is that straining process still needs to happen, especially if you use pineapple, to keep things smooth. The sweetened condensed milk stays exactly the same, which keeps the no-churn magic working perfectly. These alternatives make for such a stunning, colorful refreshing frozen dessert when you’re skipping the standard vanilla options!
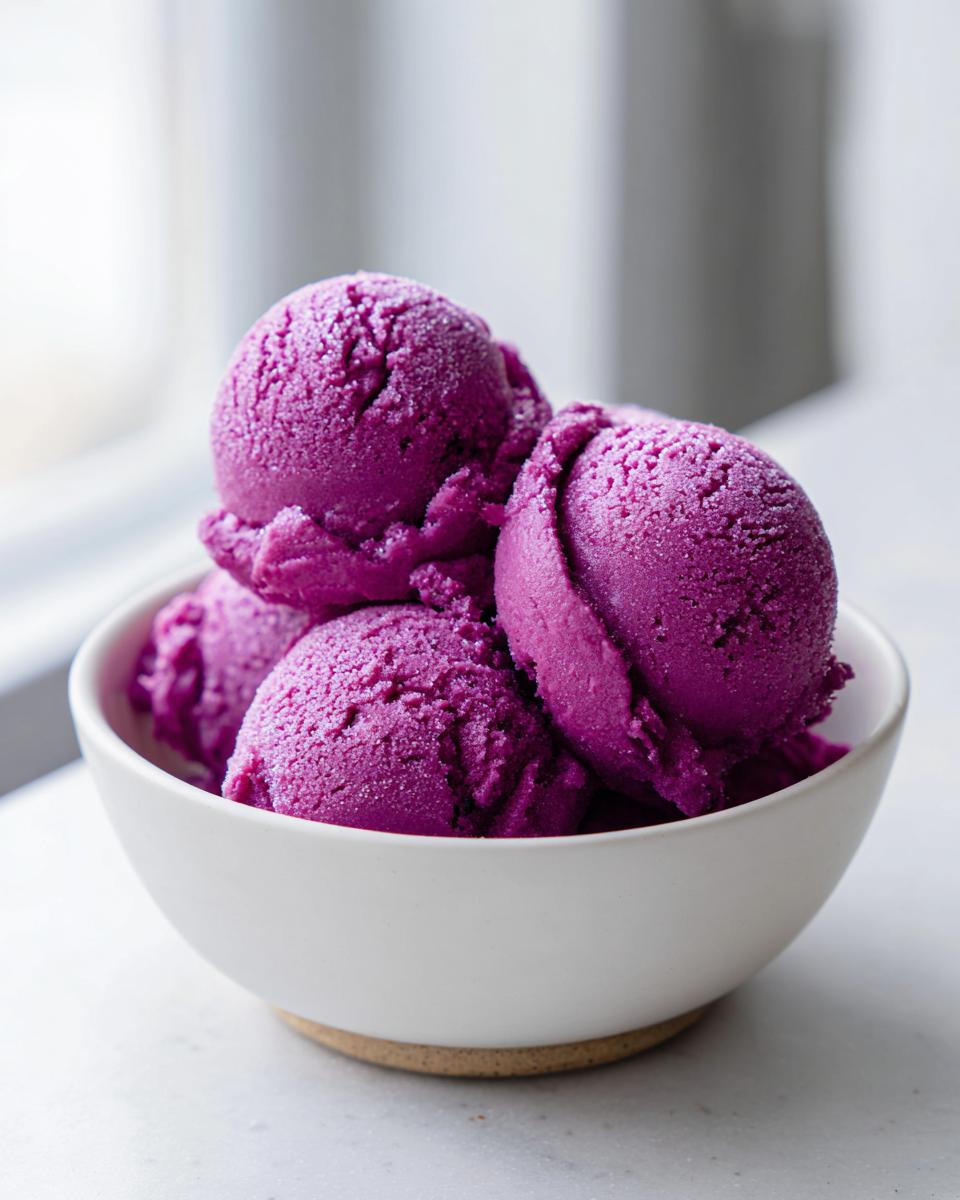
Serving Suggestions for This Citrus Sherbet Cooling Treat
When you finally pull that perfect, vibrant citrus sherbet cooling treat from the freezer, you want the presentation to match the wonderful flavor, right? It’s not just for looks, either! A little garnish can provide a wonderful textural contrast to our creamy, smooth scoop.
For a simple evening treat, just a small sprig of fresh mint on top is beautiful. The green against that deep blackberry color is just striking. If you’re serving this at a summer BBQ or party, presentation really matters. I always suggest serving this right alongside a light, fruity pasta salad or maybe even some grilled peaches—it complements all those light frozen fruit recipes we love in the summer.
If you made a tropical variation, try serving a scoop in a hollowed-out lime shell or a small pineapple cup—it looks fancy, but it’s truly zero effort! You can also make a little pile of finely chopped, toasted nuts to sprinkle on top just before serving for a little crunch. Just remember to toast those nuts separately, as warm nuts on cold sherbet aren’t as delicious!
For the kids (and the kid-at-heart adults!), you can press a few whole blackberries and tiny slivers of lemon zest onto the side of the scoop *before* it fully firms up in the final freeze. They stick right on the surface and look so charming waiting for you in the freezer. It ensures every single serving looks like you put in ten times the effort it actually took!
Storage and Reheating Instructions for Your Summer Sherbet
This summer sherbet is designed to be best enjoyed within the first week, but knowing how to store it properly means you can make a big batch ahead of time when you have a free afternoon and save it for later!
The absolute biggest enemy of homemade frozen treats is freezer burn. Those fuzzy white crystals are just moisture escaping the sherbet and freezing onto the surface, and they ruin the lovely smooth texture we worked so hard to achieve during the stirring phases. So, pay close attention here, because this is the secret to keeping this recipe tasting freshly made.
When you put your loaf pan into the deep freeze after the final stir, you must seal it tight. I always use a layer of plastic wrap pressed directly onto the surface of the sherbet—no air gaps allowed! Think of it like giving the top a protective blanket. Then, cover the whole container with a snug lid or heavy-duty foil. This double barrier stops air circulation, which is what causes freezer burn.
This recipe keeps beautifully for up to three weeks, though honestly, ours never lasts that long! If you plan on storing it longer than a week, I highly recommend giving it a good, firm stir even after it’s fully frozen. Just pull it out, let it sit for 15 minutes so you can work a sturdy spoon through it, mix it up a bit, and then reseal it immediately. This re-incorporates any separated ice and keeps it that delightful, scoopable consistency we love in an easy summer sherbet recipe!
Frequently Asked Questions About Making Summer Sherbet
When I first started teaching people how to make frozen treats, the questions always piled up! It’s totally normal to have a few concerns before you commit your lovely berry puree to the freezer. Here are the things folks ask me most often about this summer sherbet.
Can I make this a healthy summer frozen dessert by reducing sugar?
This is a really common question, especially when we are aiming for healthy summer frozen dessert options. Sugar in frozen desserts does more than just sweeten things up; it’s actually what keeps the sherbet soft enough to scoop! Sugar lowers the freezing point of water, which is why candy stays soft when ice cream freezes hard. If you cut the sugar drastically, you risk ending up with a rock-solid block of berry ice that you can’t eat without a chisel.
I recommend sticking close to the original amount. If you absolutely must reduce it, try cutting back by just 1/4 cup maximum. You might also be able to slightly reduce the amount of sweetened condensed milk since that adds *a lot* of sugar, but the texture will definitely suffer if you remove it completely.
What if I don’t have sweetened condensed milk for my summer sherbet?
If you don’t have sweetened condensed milk, this recipe shifts from being a dead-simple “no churn” favorite to requiring an ice cream maker, sadly. The sweetened condensed milk is what replaces the cream and the churning action all at once. It’s thick, sweet, and stays soft when frozen, giving us that wonderful creamy texture in our no churn fruit sherbet base.
If you only have regular milk or heavy cream, you’ll need to whip the cream until it forms soft peaks, then gently fold that into the chilled blackberry-lemon mixture. You will definitely need to run that mixture through a machine that churns, though! If you don’t have one, you’ll have to rely on stirring every 30 minutes for about four hours to try and mimic the churning effect, but it won’t be as perfect as this recipe intends.
What is the key to avoiding ice crystals in this sherbet?
For the smoothest easy summer sherbet recipe, the two most important things are the fat/sugar content (from the condensed milk) and the stirring process. You absolutely must stir it every 90 minutes for those first three hours in the freezer. Those coarse ice crystals form slowly when the mixture is beginning to freeze; stirring breaks them up before they get too big. And remember what I said about touching the surface with plastic wrap? That prevents surface crystallization, which is just as bad!
Can this be made ahead of time for a party?
Yes, absolutely! This recipe is actually better made a day ahead. It needs that full six hours, minimum, to set up properly. I often make it the afternoon before a gathering, wrap it tightly, and keep it frozen overnight. Just pull it out 10 minutes before you plan to serve it, and it will be perfectly scoopable for your guests. It’s a fantastic way to stay ahead of the rush!
Nutritional Estimates for this Blackberry Lemon Summer Sherbet
Now, I know some of you are counting macros or just curious about what you’re serving up, so here are the quick numbers for this beautiful summer sherbet. I always want you to have this information, but please remember these details are just an estimate for you!
Since we are making this scratch, the exact values can shift a little depending on how sweet your berries are or exactly how much liquid you strain out. But based on the recipe measurements we used, here is what you can generally expect per serving size of about a half-cup:
- Serving Size: 1/2 cup
- Calories: 195
- Sugar: 35g
- Sodium: 45mg
- Fat: 2g (Saturated Fat: 1g)
- Carbohydrates: 44g
- Protein: 3g
- Cholesterol: 7mg
See? That’s why I love this recipe! It’s wonderfully light—only 2 grams of fat per scoop. This makes it such an easy refreshing frozen dessert compared to super-rich ice creams, which is perfect for those hot summer afternoons when you just want a bright, sweet finish without feeling weighed down. Enjoy!
PrintNo-Churn Blackberry Lemon Summer Sherbet

Make this easy, refreshing blackberry lemon sherbet at home. This no-churn recipe is perfect for a light, cool treat on a hot day.
- Prep Time: 15 min
- Cook Time: 10 min
- Total Time: 6 hr 25 min
- Yield: 6 servings 1x
- Category: Dessert
- Method: Freezing
- Cuisine: American
- Diet: Vegetarian
Ingredients
- 3 cups fresh or frozen blackberries
- 1 cup granulated sugar
- 1/2 cup fresh lemon juice
- 1/2 cup water
- 1 (14 ounce) can sweetened condensed milk
- 1 teaspoon lemon zest
Instructions
- Combine the blackberries, sugar, lemon juice, and water in a saucepan. Heat over medium heat, stirring until the sugar dissolves and the berries soften, about 8 minutes.
- Remove the mixture from the heat and mash the berries slightly with a fork. Let the mixture cool for 15 minutes.
- Strain the blackberry mixture through a fine-mesh sieve into a bowl, pressing on the solids to extract as much liquid as possible. Discard the seeds and pulp. You should have about 1.5 cups of liquid.
- Whisk the sweetened condensed milk and lemon zest into the cooled blackberry liquid until fully combined.
- Pour the mixture into a freezer-safe container, like a loaf pan or shallow dish. Cover the surface directly with plastic wrap to prevent ice crystals.
- Freeze for at least 6 hours, or until firm. Stir the sherbet every 90 minutes for the first 3 hours to break up ice crystals and keep the texture smooth.
- When ready to serve, let the sherbet sit at room temperature for 5 to 10 minutes before scooping.
Notes
- For a brighter color, use only the strained juice and skip mashing the berries, but this may slightly alter the final texture.
- You can substitute raspberries or strawberries for blackberries if desired.
- This is a great light frozen fruit recipe for parties.
Nutrition
- Serving Size: 1/2 cup
- Calories: 195
- Sugar: 35
- Sodium: 45
- Fat: 2
- Saturated Fat: 1
- Unsaturated Fat: 1
- Trans Fat: 0
- Carbohydrates: 44
- Fiber: 2
- Protein: 3
- Cholesterol: 7