
Oh, I know that feeling! You want that glorious, crackly crunch you get from deep frying, but you really don’t want the kitchen to smell like an oil slick for three days, right? Honestly, that mess is the reason half the country avoids making proper comfort food. Well, let me put your mind at ease. After decades of teaching kids how to line up neatly, I’ve learned a thing or two about giving clear, foolproof instructions, and this recipe is the result! These baked chicken tenders are my go-to for a fast, healthy weeknight chicken recipe that absolutely satisfies that craving. We’re skipping the fry pan completely and still getting that satisfying crunch. You trust me on this one; it’s simpler than you think!
- Why You Will Love These Crispy Baked Chicken Tenders
- Gathering Ingredients for Juicy Baked Chicken Tenders
- The Best Breading for Baked Chicken Tenders: Step-by-Step
- Baking the Perfect Crispy Baked Chicken Strips
- Tips for Success with Baked Chicken Tenders
- Serving Suggestions for Your Baked Chicken Tenders
- Storage and Reheating Instructions for Leftover Baked Chicken Tenders
- Frequently Asked Questions About Oven Baked Chicken Tenders Recipe
- Sharing Your Cooking by Carla Experience
Why You Will Love These Crispy Baked Chicken Tenders
When you’re looking for a simple dinner solution that doesn’t compromise on texture, you need a recipe you can depend on. These baked chicken tenders are the cornerstone of my quick meals because they truly deliver on promises. They are everything you want in a family favorite without the fuss or the extra grease.
- They genuinely taste like they’ve been fried! We don’t mess around with soggy coatings here.
- This is a much healthier chicken tenders option—we’re using just a light spray of oil, not gallons of hot fat.
- Prep time is only about 15 minutes. That means you can have these on the table faster than ordering takeout.
- They are shockingly juicy on the inside, meaning you won’t end up with dry, chalky chicken at dinner.
I’ve linked to my Greek Meatballs recipe too, if you ever want another light dinner option, but let’s focus on these beautiful tenders!
Achieving Oven-Fried Perfection
The secret to getting that satisfying crunch without ever turning on the deep fryer involves two key things we discuss in the steps below. First, we use panko breadcrumbs—they just hold up better in the oven than regular crumbs. Second, and this is non-negotiable, you absolutely must use a wire rack over your baking sheet. I can’t stress this enough!
That rack lets the heat circulate underneath the chicken strips. If the coating touches the flat pan, it steams, and we end up with that dreaded soft bottom. The rack allows the bottom to crisp up just as beautifully as the top. Combined with our double-dip breading method, you get results that rival any restaurant for truly oven fried chicken tenders.
Simple and Family-Friendly Preparation
As a former teacher, I love creating steps that anyone—even a slightly hesitant cook—can follow without getting confused. This is precisely why I designed this as an easy weeknight chicken recipe. You set up three little bowls, and the breading station takes care of itself.
The whole hands-on preparation takes about 15 minutes. That means if you start chopping right when you get home, you can have these tenders baking while you set the table. They are always a big hit with my grandkids, making them one of my top kid friendly baked snacks go-tos!
Gathering Ingredients for Juicy Baked Chicken Tenders
Now that you know we’re ditching the deep fryer oil, let’s talk about what you need to pull this off. Good ingredients mean good results, especially when you are aiming for those beautifully juicy baked chicken tenders. I’ve always taught that listing everything out first prevents that mid-recipe panic when you realize you’re out of an egg or missing a spice! Don’t forget, you can check out my tips on getting chicken extra juicy if you want to soak the strips beforehand, but honestly, this recipe stands on its own.
For the Chicken and Breading Base
We keep the seasoning simple here because the crunch is the star of the show. You’ll be grabbing your chicken breasts first—remember, we want uniform strips so they all cook evenly. Aim for pieces about one inch wide.
- 1.5 lbs boneless, skinless chicken breasts, cut into 1-inch strips
- 1 cup all-purpose flour
- 2 large eggs, lightly beaten (really get those yolks and whites combined!)
- 1 teaspoon salt
- 1/2 teaspoon black pepper
- 1/2 teaspoon garlic powder
- 1/4 teaspoon paprika
The Secret to Crispy Baked Chicken Tenders Coating
This combination is where we build that satisfying, non-fried texture. Panko is your best friend for crispy baked chicken strips because its coarse flakes absorb less moisture and stay light. The addition of cereal is optional but trust me, it adds an extra layer of shatter!
- 1 cup panko breadcrumbs
- 1/2 cup crushed cornflakes or plain cereal (if you skip this, your tenders will still be great, but maybe not *as* aggressive on the crunch factor!)
- Cooking spray or 2 tablespoons olive oil (for the top coating)
The Best Breading for Baked Chicken Tenders: Step-by-Step
Okay, here is where the magic happens, and where my teaching background really comes in handy—we’re setting up a structure that prevents chaos! Following these breading steps exactly is what separates a slightly crunchy tender from one that rivals any panko crusted chicken tenders you’ve had out. It’s all about organization and making sure every piece is fully encased. You might want to check out my specific guide on panko coatings if you want a deeper dive, but for now, just follow along!
Preheating and Preparing Your Baking Setup
You absolutely must start with a hot environment for these oven fried chicken tenders to crisp up right. Don’t even think about putting them in a cold oven; they’ll just get soggy waiting for the heat! Preheat your oven right now to 400°F (200°C).
While that’s heating, get your pans ready. Line a sturdy baking sheet with parchment paper—this helps if anything falls off or sticks a little. The most important part comes next: place a wire rack right on top of that parchment. Give that rack a good spray with cooking spray. Remember what I said? Air circulation is the key to getting that all-over crunch that makes these the best baked chicken tenders!
Setting Up the Breading Station
You need three shallow dishes, like pie plates or wide bowls, set up next to each other in a clear assembly line. This keeps everything neat and keeps your fingers clean—mostly!
- Dish One (The Dry): Mix your flour, salt, pepper, garlic powder, and paprika together well right in this dish. Make sure those spices are evenly distributed so you don’t get a bite that’s overwhelmingly salty.
- Dish Two (The Wet): This is just your two lightly beaten eggs. Whisk them enough so the yolk and white are fully incorporated.
- Dish Three (The Crunch): Combine your panko breadcrumbs and the optional crushed cornflakes here. Stir them up nicely.
The Double-Dip Technique for Crispy Baked Chicken Tenders
Now we coat! You need to handle each tender individually. Follow this exact order for the best adhesion. If you skip a step, you risk having your coating fall off in the oven, which defeats the whole purpose of how to bake chicken tenders beautifully!
- Flour First: Take one chicken strip and dredge it completely in the flour mixture. Use your fingers to press it in slightly, and then shake off all the extra flour. We want a light dusting, not a heavy jacket.
- Egg Wash Second: Dip that floured strip into the egg wash. Lift it out and let the excess drip back into the bowl—give it maybe two seconds to drain.
- Panko Last: Immediately press the strip firmly into the panko mixture. Roll it around and press down until every surface is thoroughly covered. That firm press is what helps everything stick when we bake it.
Once coated, lay that strip right onto your prepared rack. Don’t let them overlap! They need space to breathe in the oven so they can dry out and get crispy. We’ll finish them off with a light spray right on top before they go in.
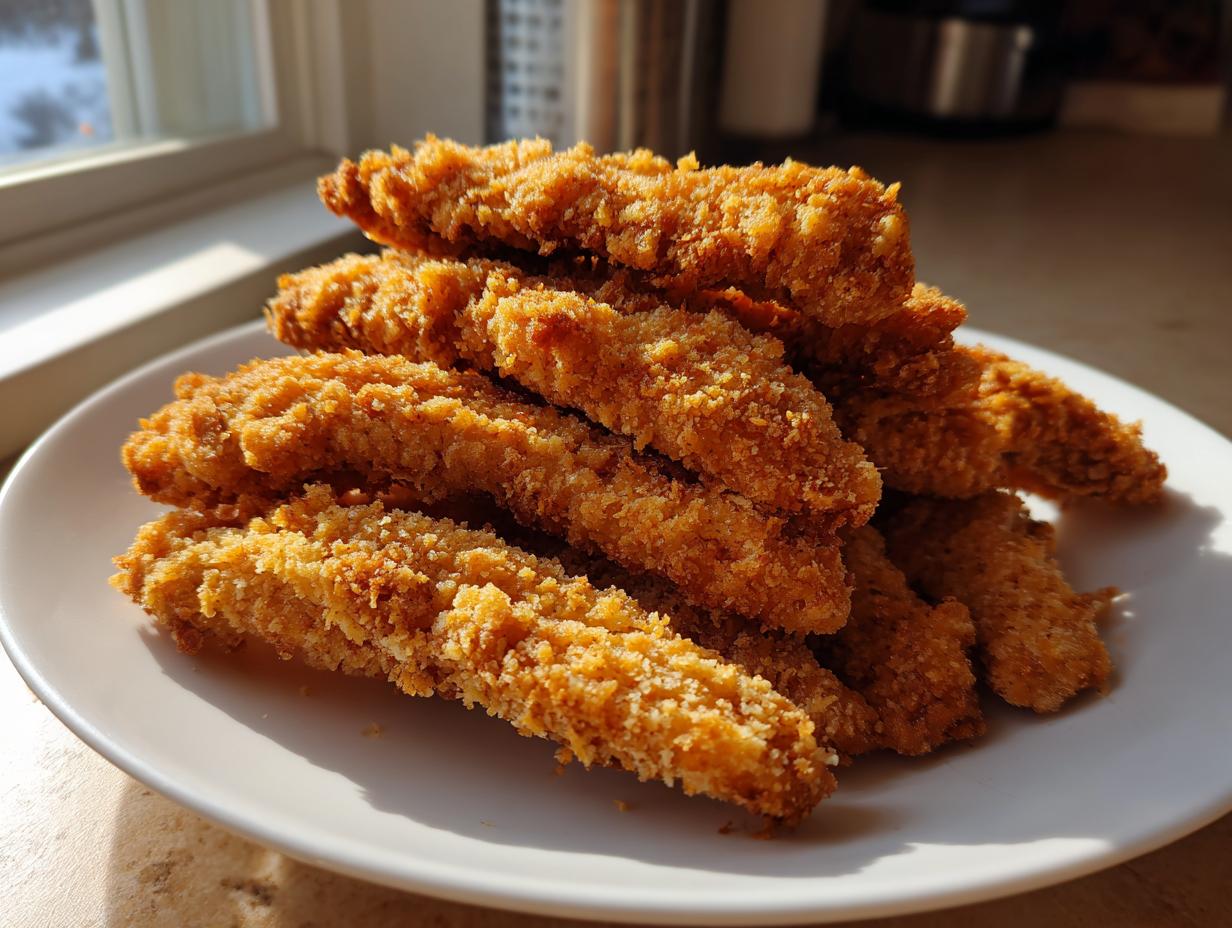
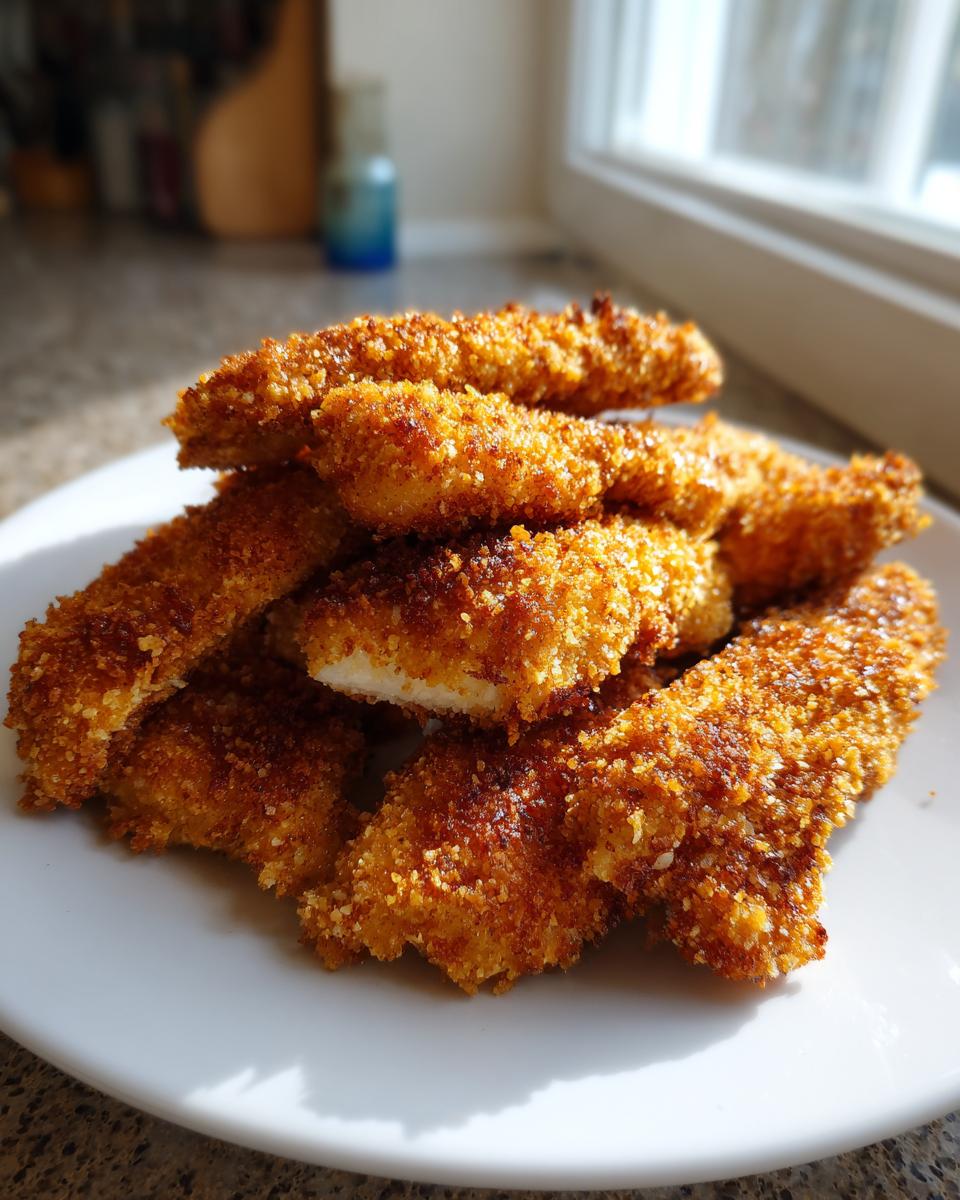
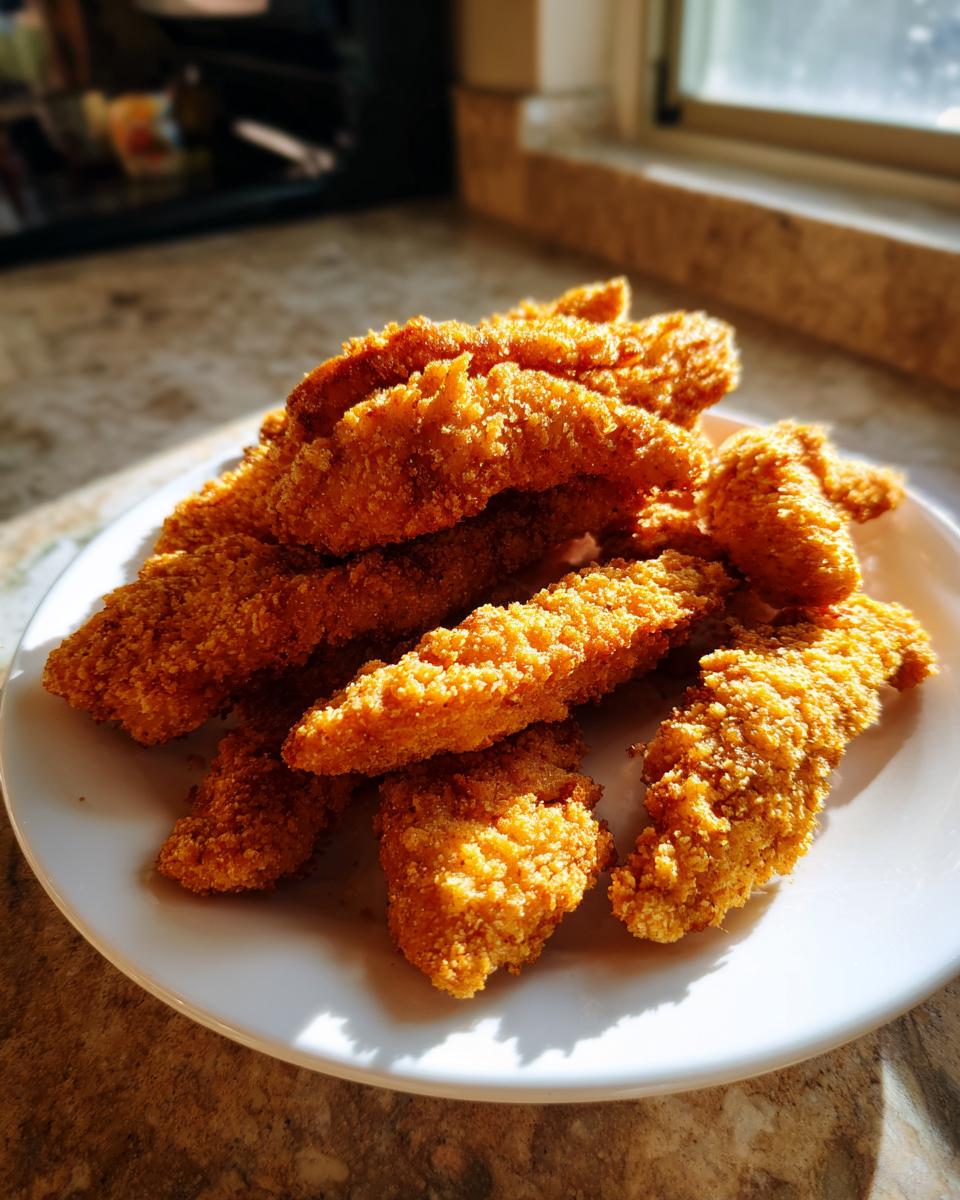
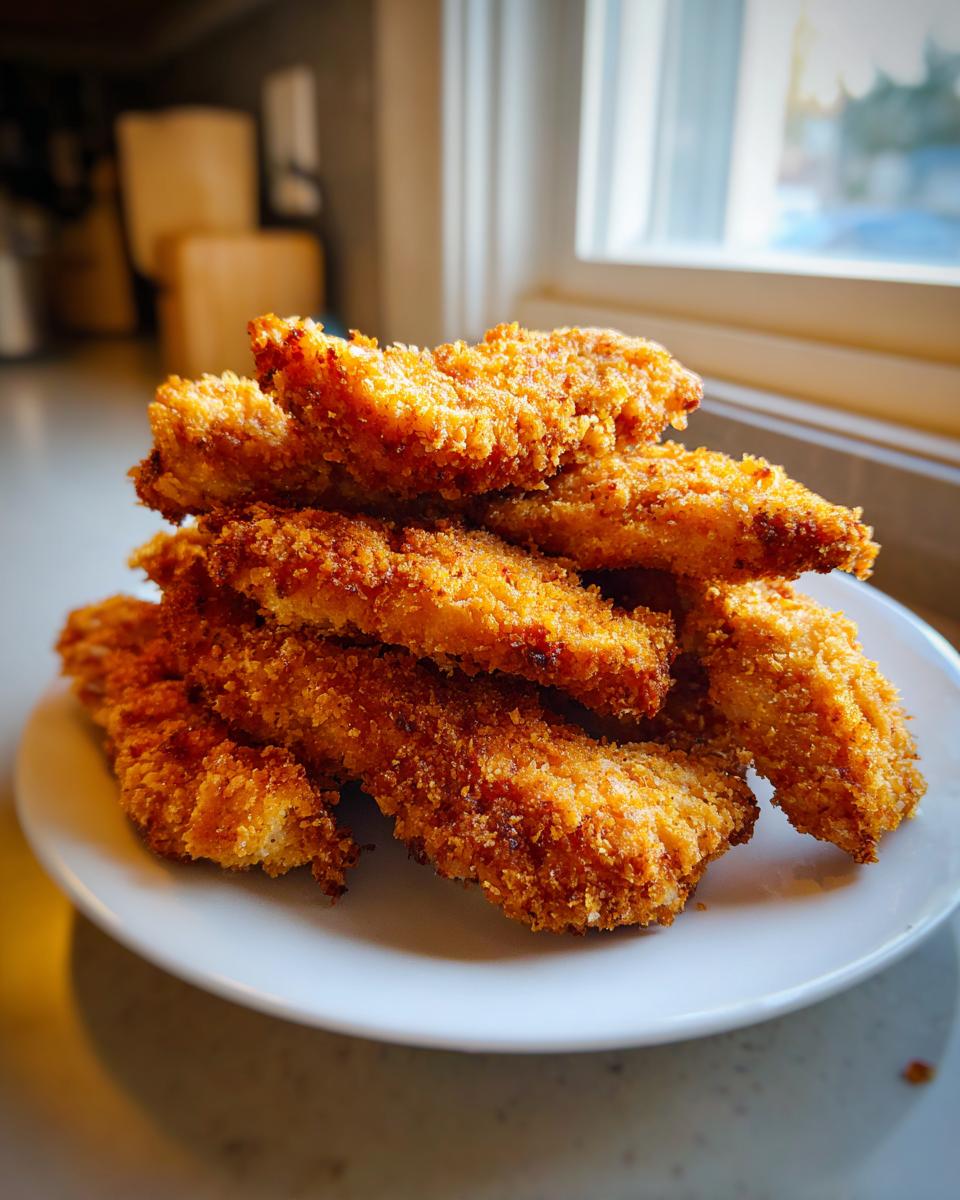
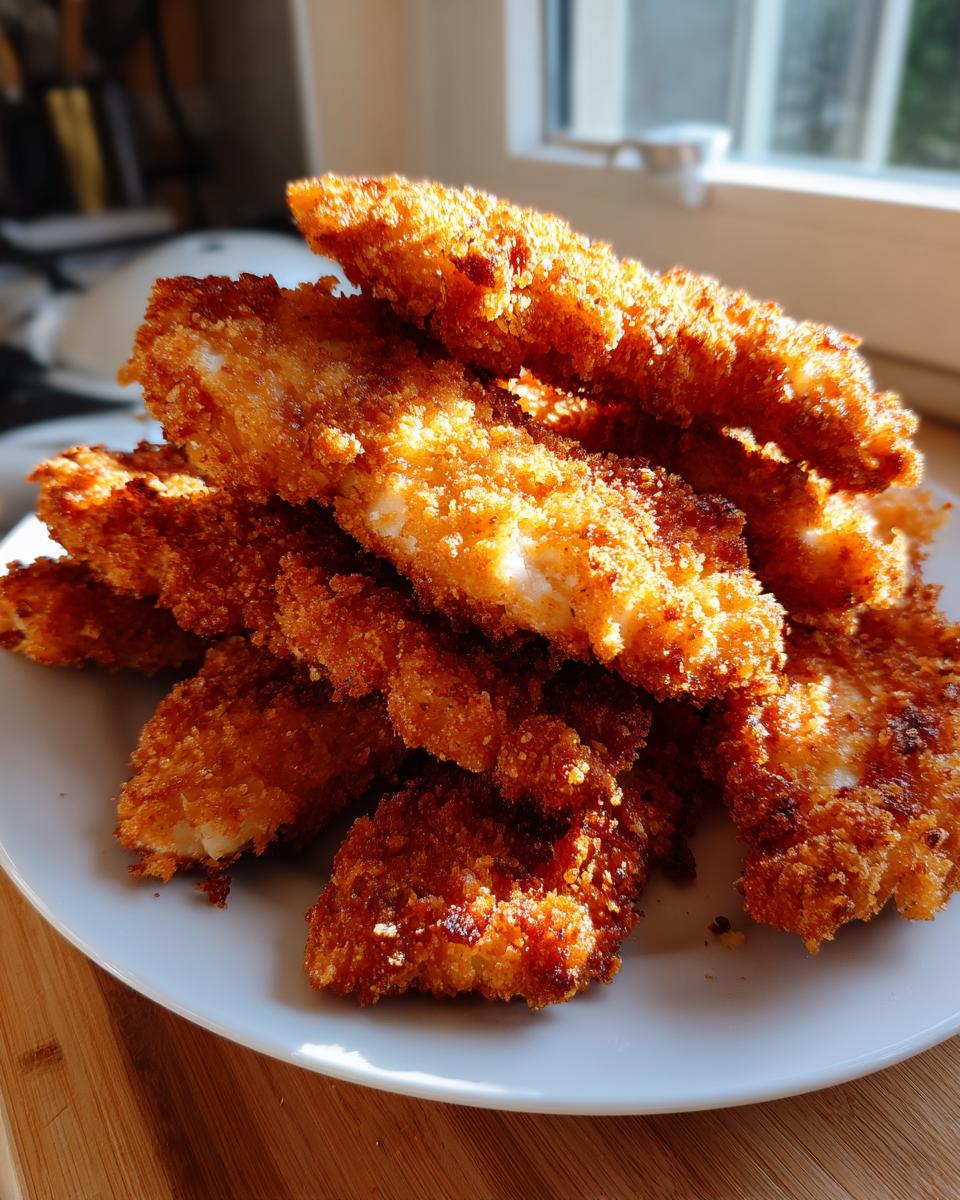
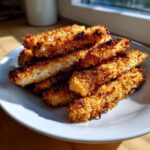
Baking the Perfect Crispy Baked Chicken Strips
We’ve done the hard work of setting up that beautiful breading station, and now it’s time for the oven to take over! Honestly, watching these transform from pale strips to golden-brown perfection is one of the most satisfying parts of this oven baked chicken tenders recipe. Since we aren’t dumping them in hot oil, we need to be a little more deliberate about giving them the heat they need to seal in the moisture and get that crunch.
Remember how I mentioned the wire rack? Make sure you’ve got that rack set up on your baking sheet. Before they even leave the counter, take your cooking spray—or if you prefer a little drizzle of olive oil, go for it—and give the tops of those beautiful crispy baked chicken strips a light, even misting. This tiny bit of fat on the surface helps the coating brown beautifully and really seals the deal on getting that desirable oven fried chicken tenders look.
Cooking Time and Temperature for Baked Chicken Tenders
Put that pan into your preheated 400°F oven. The magic window for these strips is usually between 18 to 22 minutes total. But remember what I always say in the classroom—you watch the student, not just the clock! You need to flip these tenders about halfway through, maybe around the 10-minute mark. This is essential for even coloring and cooking.
Now for the most important part: food safety! Whether you’re making healthy chicken tenders or the full works, you must check the internal temperature. When you stick a thermometer into the thickest part of a strip, you are looking for 165°F (74°C). If they hit that temp and the coating is looking gorgeously golden, they are done! If they look done but aren’t quite 165°F, just give them another couple of minutes, but don’t let them sit much longer or they might dry out. Since we are using these easy instructions, turning to my air fryer guide is handy if you want to mimic this great result in a different appliance!
Tips for Success with Baked Chicken Tenders
I’ve been cooking for families for decades, and I know that sometimes, you just can’t start from scratch right when dinner time rolls around. That’s why I always try to build flexibility right into my favorite baked chicken tenders recipe. These little tips, learned from trial and error over many busy evenings, should help you make dinner work perfectly for YOUR schedule. You want reliability, and this method delivers.
Making Ahead and Freezing Baked Chicken Tenders
This is the ultimate trick for busy parents or anyone who likes to cook once and eat twice! Yes, you absolutely can bread these tenders ahead of time. The key here is flash freezing them before they ever go into the freezer bag. If you skip this, they will all freeze into one giant, breaded brick—and we don’t want that!
Once you have completely coated your strips using the three-dish system, lay them out flat on a baking sheet (no touching!). Pop that sheet into the freezer for about an hour, until they are totally solid. Once they are hard little nuggets, you can transfer them right into a sturdy freezer bag. These are great for quick lunches or turning into an impromptu make ahead chicken tenders snack later. Just remember, when you go to bake them from frozen, you’ll need to add about 5 to 7 minutes to the total cook time.
Low Calorie Coating for Chicken Variations
If you are trying to keep things lighter but still crave the crunch, you can adjust the flour mixture easily. This is one of my simple switches for making these into truly healthy chicken tenders without sacrificing too much texture.
Instead of using the all-purpose flour in the first dish, you can substitute almond flour. It doesn’t absorb oil exactly the same way, but it gives a wonderful, subtle nutty flavor. My biggest recommendation for a low calorie coating for chicken is this: use the almond flour, stick with the Panko breadcrumbs because they are lighter than traditional crumbs, and then make sure you skip that optional crushed cereal step you saw in the main recipe. You will still get great browning, especially with that light spray of non-stick oil on top!
Serving Suggestions for Your Baked Chicken Tenders
You’ve got a pan full of golden, hot, crispy perfection—congratulations! Now, what are we eating them with? That’s half the fun, isn’t it? Since these baked chicken tenders are so versatile, they work equally well as the centerpiece of a quick family dinner or as a substantial appetizer for game night. They are excellent served up as kid friendly baked snacks, too!
When I serve these for dinner, I always default to classic, comforting pairings. Think about what you’d dip a fresh French fry into; those sauces work perfectly here! A side of simple sweet potato fries or some oven-roasted broccoli makes a complete, satisfying meal in under 40 minutes.
But let’s talk about the dips, because that really elevates the experience. My grandkids are huge fans of a simple honey mustard, but if you want to try something a little zesty that really cuts through the richness of the breading, you must check out my recipe for Healthy Big Mac Sauce! It sounds unusual, but the creaminess with just a tiny bit of tang is fantastic with these non fried chicken tenders.
Here are a few ways we like to serve them up:
- The Classic Plate: Serve alongside mashed potatoes or plain noodles and steamed green beans for a balanced meal.
- The Dipper Station: Lay them out platter-style with small bowls of BBQ sauce, ranch dressing, ketchup, and perhaps that Big Mac Sauce I mentioned. This is always a hit for casual Friday nights.
- Tender Salad: If you want a lighter lunch, let the tenders cool slightly, slice them up, and toss them over a bed of crisp romaine with cucumbers and tomatoes. A light vinaigrette works wonders with the seasoned coating!
No matter how you serve these beautiful crispy baked chicken strips, they disappear quickly. Keep the dipping sauces handy!
Storage and Reheating Instructions for Leftover Baked Chicken Tenders
One of the best things about having such a lean and simple easy weeknight chicken recipe is that you usually end up with some leftovers—which is great! But we all know the tragedy of reheating a baked good and having it turn soggy in the process. That’s just heartbreaking after all the work we put into getting that gorgeous crunch.
If you have any leftovers from your batch of baked chicken tenders, the key is how you store them and, especially, how you reheat them. Keep them covered loosely in the refrigerator for two to three days. Don’t seal the container completely airtight right away; if the coating is still warm when you seal it, that moisture will condense and soften everything.
The Best Way to Reheat for Maximum Crispness
Forget the microwave for these! I know it’s fast, but the microwave basically steams the crust right off your beautifully prepared food. You want to bring that original crispness back, and the best way to do that is by using dry heat again, just like we did the first time around.
You have two reliable options here:
- The Oven Method: This is my preferred route. Reheat your tenders on a wire rack set over a baking sheet—yes, use the rack again! Pop them into a 375°F oven for about 8 to 10 minutes. That gentle, dry heat will warm them all the way through while reviving that panko crust perfectly.
- The Toaster Oven Option: If you only have one or two tenders left, the toaster oven works wonderfully and heats up much faster than the big oven. Set it to 375°F and check them after about 5 minutes. Just watch closely so they don’t burn, as toaster ovens can be intense!
If you’re looking for other ways to utilize leftovers in a new meal, sometimes I’ll slice up the leftover crispy baked chicken strips and use them cold in a sandwich wrap the next day. If you’re planning on making a big batch to use throughout the week for lunches, I suggest checking out my tips on repurposing leftovers—sometimes a little creativity is all you need to make food exciting again!
Frequently Asked Questions About Oven Baked Chicken Tenders Recipe
It’s completely normal to have questions when you’re trying a new way of cooking an old favorite! I’ve gathered the ones I hear most often from folks trying to nail that perfect oven baked chicken tenders recipe. Every question you have, I’ve probably already tried to answer it myself in the tests for this guide. Don’t worry if you’re hesitant; that just means you care about getting it right! We want these to be keepers, right?
Can I use chicken thighs instead of breasts for these baked chicken tenders?
You certainly can! Chicken thighs are naturally higher in fat, which means they stay incredibly moist—often even juicier than the breast meat. That’s a win in my book, especially when aiming for juicy baked chicken tenders. The only thing I would caution you about is the cooking time. Since thighs can be a bit thicker or have more connective tissue, you might need to add an extra couple of minutes to that 18-22 minute window. Always, always verify that internal temperature of 165°F before pulling them out, no matter what cut you use!
What is the best way to get non fried chicken tenders truly crispy?
Ah, the million-dollar question! If you want truly non fried chicken tenders that still deliver that satisfying crunch, you have to respect the air circulation, honey. Seriously, this is the single most important thing outside of the coating itself. You must use a wire rack set over your baking sheet. Don’t just try to lean them up against each other; lay them flat with space between.
Also, the coating matters! As we discussed, the panko breadcrumbs are far superior for crispness in the oven compared to regular breadcrumbs because they stay loftier and drier. Finish it all off with a light but thorough spray of oil right before they go into the hot oven. That surface fat toasts up beautifully while the oven air dries the outside layer.
Can I skip the flour step in this easy weeknight chicken recipe?
Oh, please don’t skip the flour! I understand wanting to cut down on ingredients for a faster process, but the flour in Dish One serves a critical purpose: adhesion. The flour acts like a primer for the egg wash. If you skip it, the egg simply slides off the slightly slick surface of the raw chicken, and your beautiful panko coating won’t stick properly.
When you pull those crispy baked chicken strips out, you’ll likely have sad, naked tenders with breading clumps left on the tray. It’s just not worth it! The process is designed to be fast—the flour step only takes about 30 seconds to dredge through. If you are looking for a quicker process, try substituting that all-purpose flour with finely ground almond flour; it still primes the chicken perfectly for adherence! If you were looking for appliance alternatives, you can always check out my guide to making them in the air fryer, which tends to be even crispier!
Sharing Your Cooking by Carla Experience
Honestly, seeing what you all create in your kitchens is the most rewarding part of running this little community. I pour years of experience teaching and testing into these recipes, hoping they bring you dependable, delicious results right when you need them most.
Now that you’ve made this wonderful batch of baked chicken tenders—I hope they were perfectly golden and delightfully crisp!—I would just love to hear how they turned out for you. Did your family devour them? Did the kids ask for seconds?
If you followed these steps for the oven baked chicken tenders recipe and it worked well for your family, please take a moment to leave a rating right below! Stars matter so much to me and help other cooks know they can trust this simple dinner idea.
And if you took a wonderful photo of your platter of crispy baked chicken strips, please share it over on social media and tag me! It gives me such a lift to see my recipes making their way onto your tables. If you are ever curious about my background or how all these reliable recipes came to be, you can always read more on my About page.
Thank you for letting me share a little bit of my kitchen with yours. Happy cooking, friends!
PrintCrispy Oven Baked Chicken Tenders Recipe
Make juicy, crispy chicken tenders right in your oven. This simple recipe uses a double-dip method to achieve a satisfying crunch without deep frying, perfect for a healthy weeknight dinner.
- Prep Time: 15 min
- Cook Time: 22 min
- Total Time: 37 min
- Yield: 4 servings 1x
- Category: Dinner
- Method: Baking
- Cuisine: American
- Diet: Low Fat
Ingredients
- 1.5 lbs boneless, skinless chicken breasts, cut into 1-inch strips
- 1 cup all-purpose flour
- 2 large eggs, lightly beaten
- 1 cup panko breadcrumbs
- 1/2 cup crushed cornflakes or plain cereal (optional, for extra crisp)
- 1 teaspoon salt
- 1/2 teaspoon black pepper
- 1/2 teaspoon garlic powder
- 1/4 teaspoon paprika
- Cooking spray or 2 tablespoons olive oil
Instructions
- Preheat your oven to 400°F (200°C). Line a baking sheet with parchment paper and place a wire rack on top of the sheet. Lightly spray the rack with cooking spray.
- Set up a standard breading station with three shallow dishes. Place the flour, salt, pepper, garlic powder, and paprika in the first dish and mix well.
- Place the beaten eggs in the second dish.
- Combine the panko breadcrumbs and crushed cereal (if using) in the third dish.
- Take one chicken tender strip and dredge it completely in the flour mixture, shaking off any excess.
- Dip the floured strip into the egg wash, letting excess drip off.
- Press the strip firmly into the breadcrumb mixture, coating all sides well. This double coating helps create a crispy texture.
- Place the coated tenders on the prepared wire rack, ensuring they do not touch.
- Lightly spray the tops of the tenders with cooking spray or drizzle with olive oil.
- Bake for 18 to 22 minutes, flipping the tenders halfway through the cooking time, until the internal temperature reaches 165°F (74°C) and the coating is golden brown and crisp.
- Serve immediately with your favorite dipping sauce.
Notes
- For a low calorie coating option, use almond flour instead of regular flour and skip the crushed cereal.
- To make these ahead, bread the tenders completely, arrange them on a baking sheet, and freeze until solid. Transfer to a freezer bag. Bake from frozen, adding about 5-7 minutes to the cook time.
- A wire rack allows air to circulate around the chicken, which is key for achieving oven fried chicken tenders results.
Nutrition
- Serving Size: 4 tenders
- Calories: 320
- Sugar: 2
- Sodium: 450
- Fat: 9
- Saturated Fat: 2
- Unsaturated Fat: 7
- Trans Fat: 0
- Carbohydrates: 25
- Fiber: 1
- Protein: 35
- Cholesterol: 105